
Working with Visual Studio and GitHub
Tutorial
Beginner
+5XP
25 mins
(294)
Unity Technologies
In this tutorial, we will demonstrate using version control when working within the Visual Studio IDE. This tutorial is a continuation of the previous tutorial, Working with Unity and GitHub, so be sure to work though that tutorial first if you haven’t!
Languages available:
1. Before you begin
In order to get set up with Visual Studio and GitHub, install the GitHub extension for Visual Studio. For this example, we have previously opened up a Unity project, and have configured GitHub to sync with the project.
2. Open a C# script
We will next open up a C# script in Visual Studio, and make some edits. In this example script, sound effects have been scripted to influence certain GameObjects in our Scene. To illustrate recent changes, several additional AudioClip variables have been added to the original version.
Before uploading any recent changes to the GitHub repository, first ensure that the C# script file is saved.
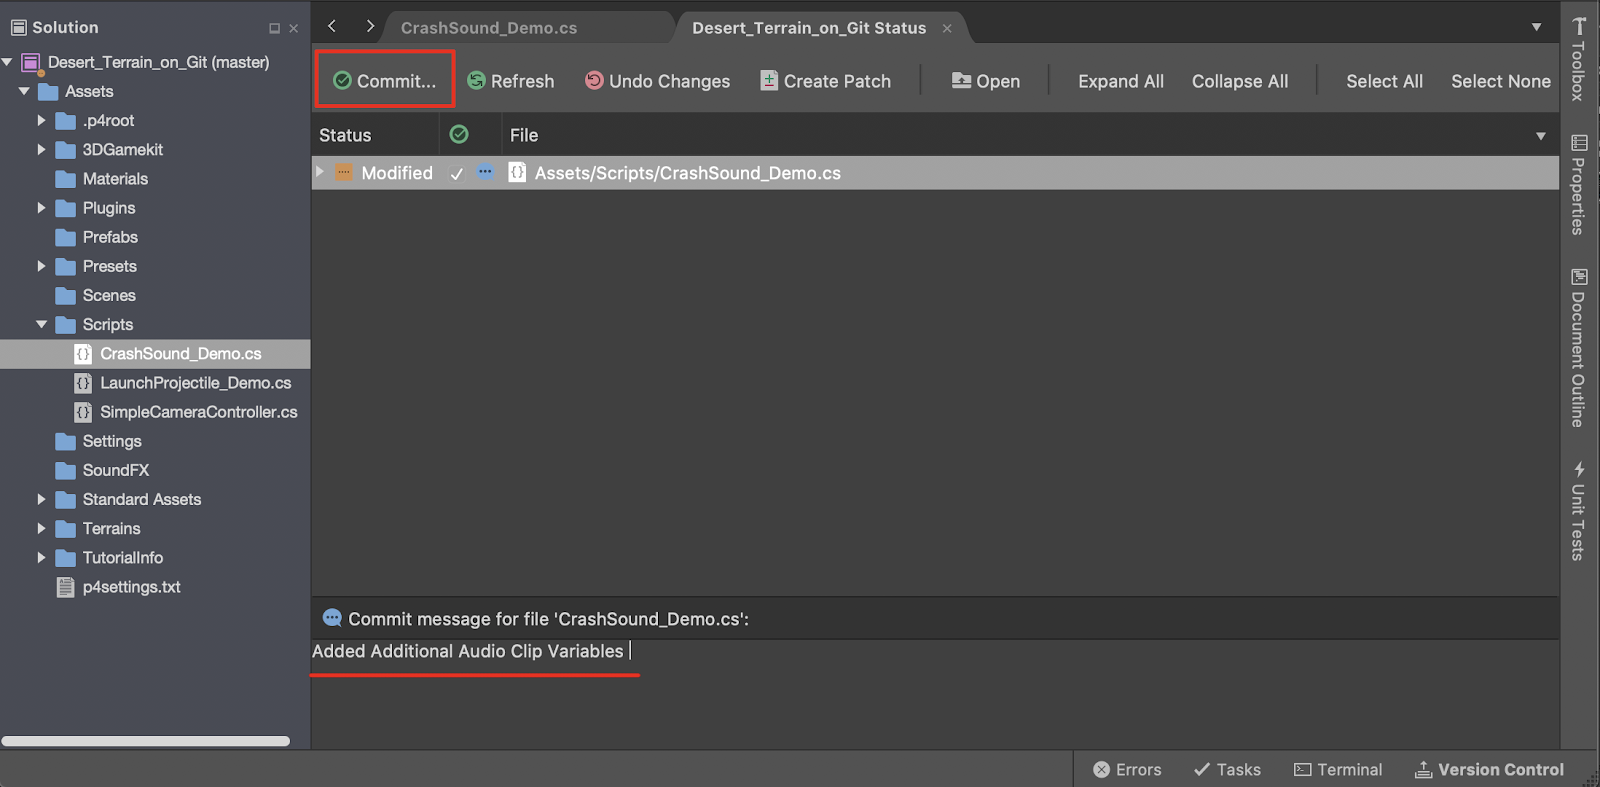
3. Commit and push changes
Let’s now commit and push these changes within Visual Studio.
1. From the top menu dropdown: select Version Control > Review and Commit. A new Tab will open. Type in a comment in the description field, and then select the Commit button.
2. A review window will open, awaiting confirmation. Again, select the Commit button.
3. From the top menu dropdown, select: Version Control > Push. The Push to Repository popup window will open. Select the Push Changes button to upload to the GitHub cloud repository.
From your team member’s Visual Studio perspective, they would update the changes from the GitHub cloud repository by selecting from the top menu dropdown: Version Control > Pull.
The C# script has now been successfully updated.
4. Review changes
1. To preview changes in a side-by-side comparison view, select the Changes tab at the lower-left corner of the Visual studio window.
For our example workflow, let’s demonstrate that our team member has also made recent edits to our C# script. After they have saved their version, they will follow the same procedure to commit and push the file. From our end, we will pull the recent changes back into our script.
2. To preview all of the specific changes made to our C# script, or to restore from a previous version, select the History tab at the bottom of the Visual Studio window.
5. Next Steps
Now that you have successfully applied the GitHub version control system to work directly within Visual Studio, you and your teammates will have the freedom to work both collaboratively and autonomously with your C# scripts. You will have the flexibility and control over managing complex C# scripts, as well as having the additional tools to collaborate with your team.