
Zoe - Setting up your Interactive Objects
Tutorial
Beginner
+10XP
15 mins
Unity Technologies
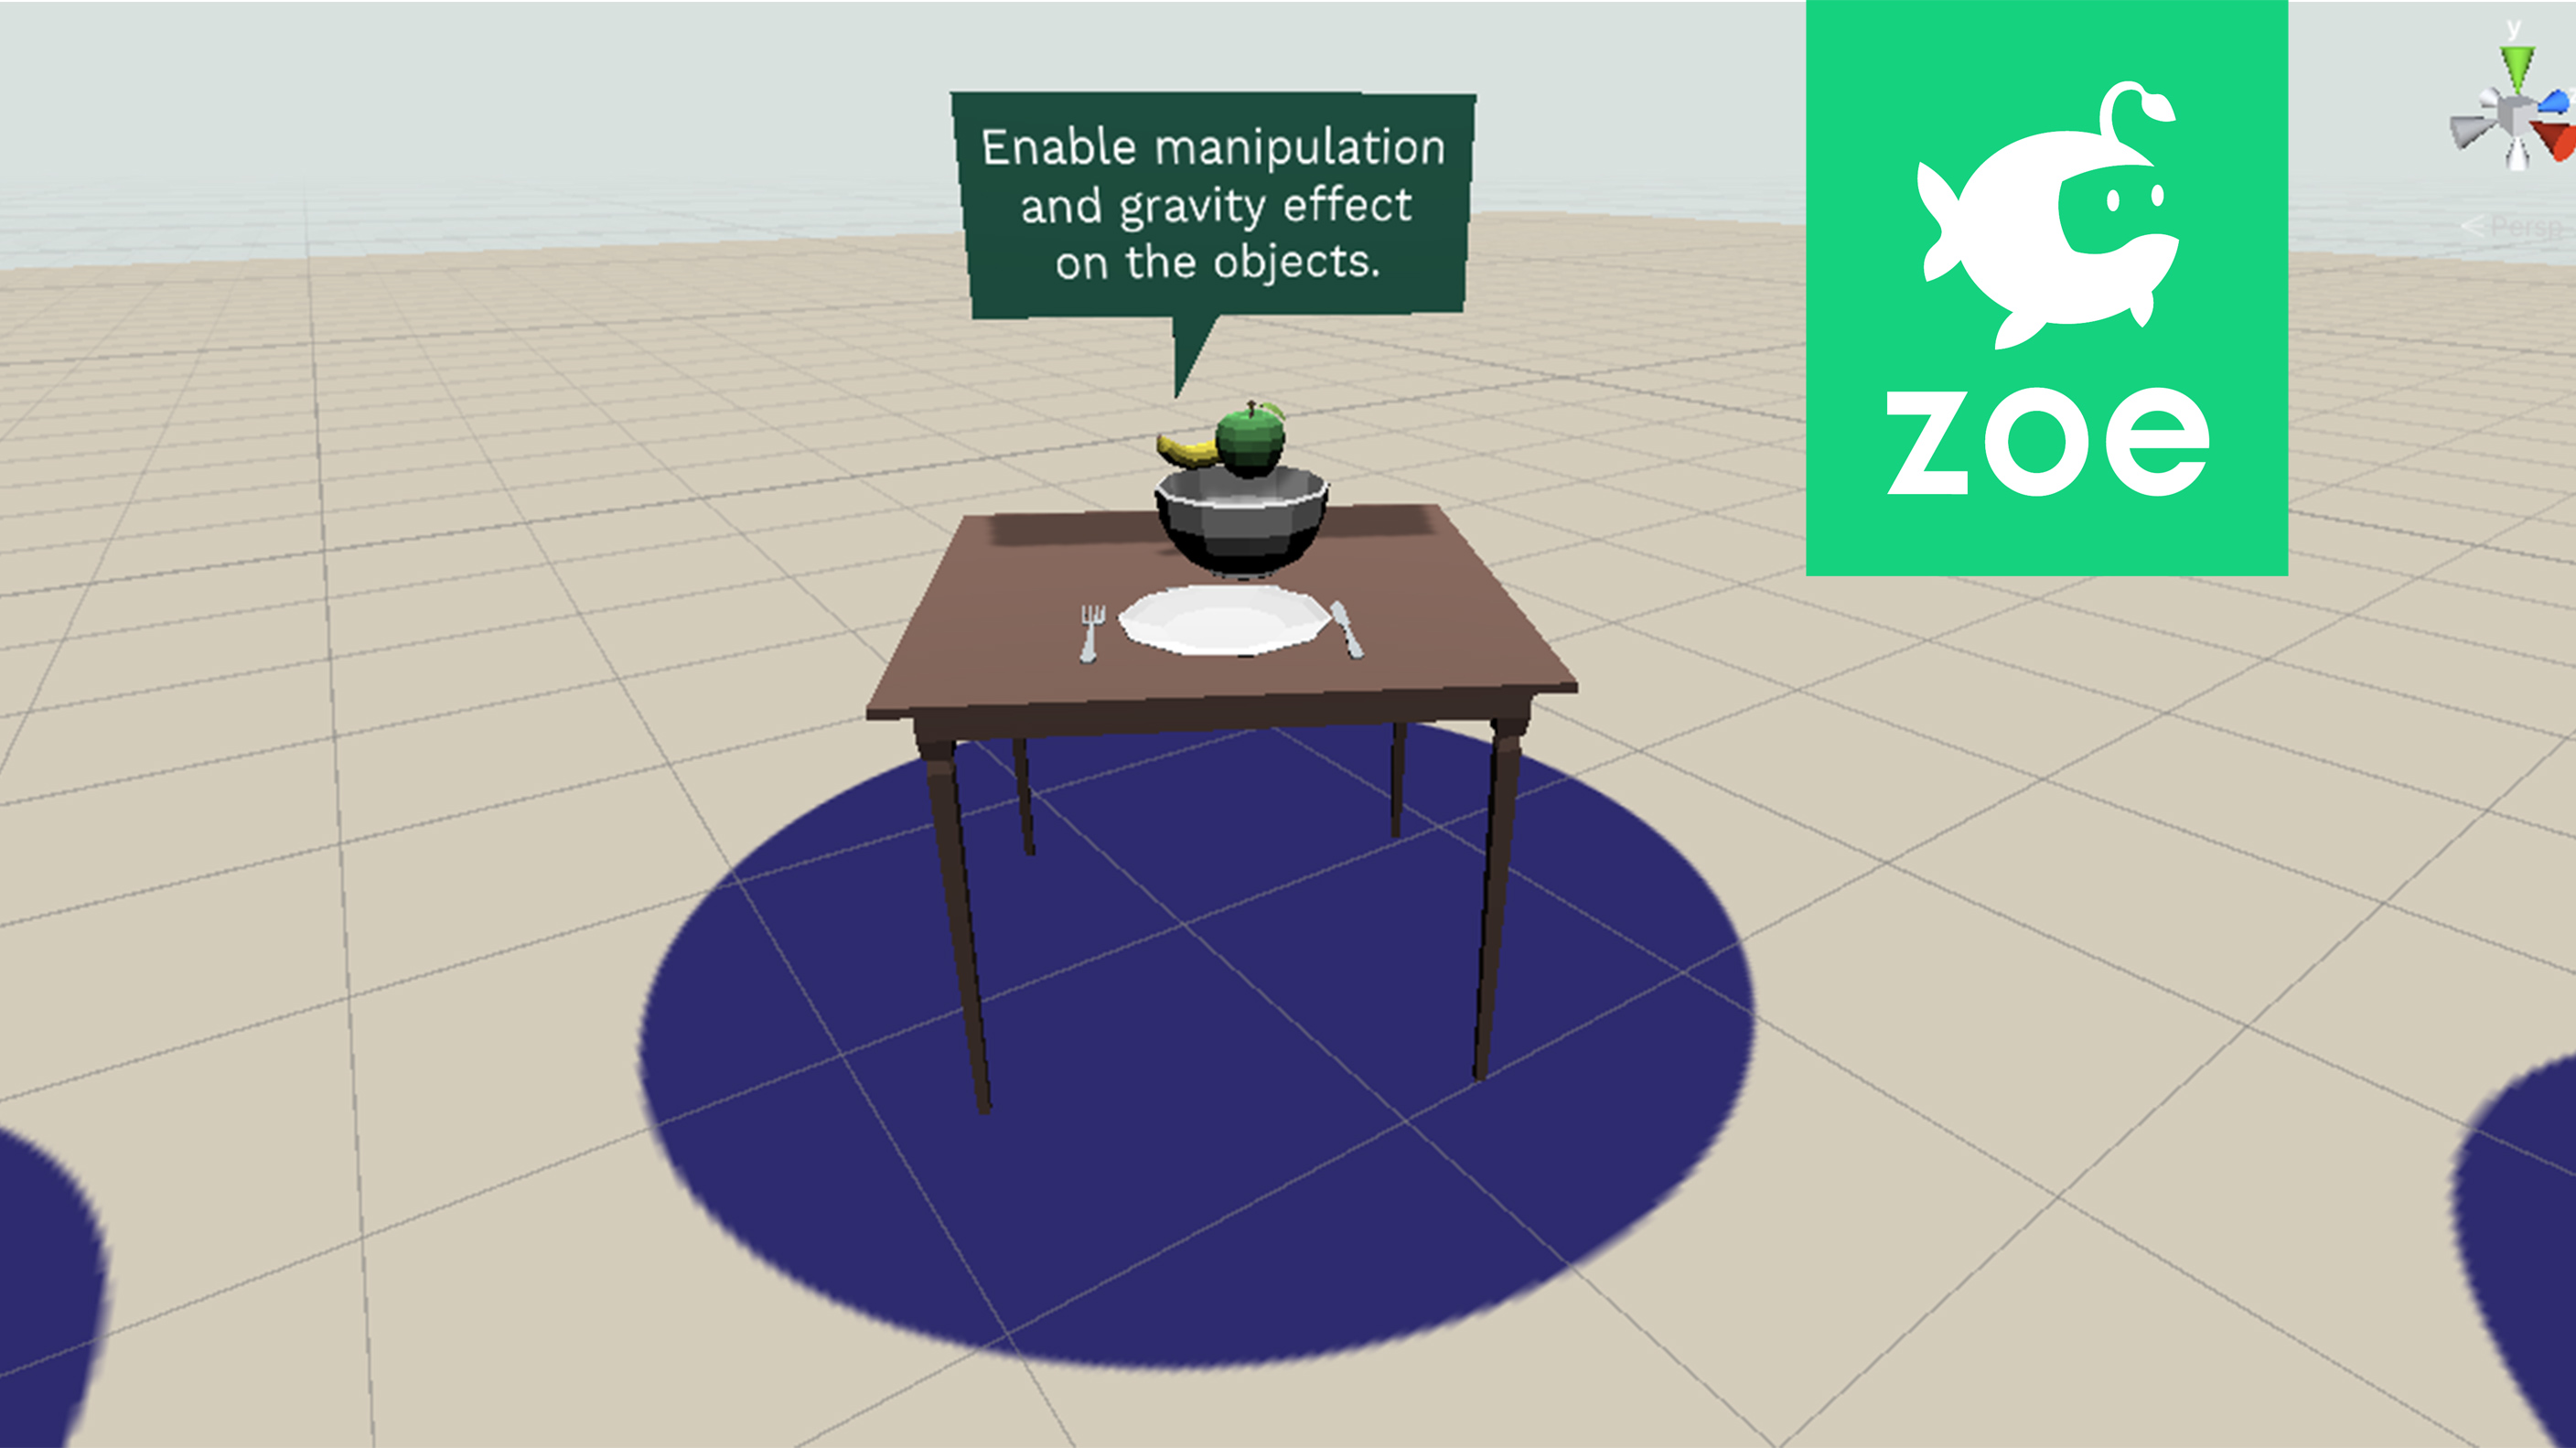
Set objects to be manipulated and to be subject to gravity.
Languages available:
1. Placing assets
To quickly dive into Zoe’s possibilities and also to focus only on interactivity we have prepared a scene with a series of exercises. If you followed the previous tutorial you should already be inside the 'Getting StartedSet’ scene and have converted the camera into an interactive one:
All assets are already set in place*.
*If you wanted to create your own experience you would have to drag to the scene all the objects you want to use.
2. Create an Interactive Camera
If you opened the 'GettingStartedSet' scene and have already converted the Main Camera into Camera (IO) please skip this step.
If you are creating a scene from scratch select the Main Camera, right-click on it and go to Zoe > Convert Into Interactive Camera.
Set the navigation to the one you want, we recommend using the Joystick Navigation:
3. What is an Interactive Object?
To be able to interact with objects Zoe needs them to be what we call Interactive Objects or IOs. An interactive object has a specific structure and specific components attached to it in order to be aware of other (IO)s in the scene and also of the user.
For creating IOs you simply convert an existing GameObject into an Interactive Object.
Expand the Activity1 in your Hierarchy. You can see the assets used in this first activity. Select the ‘Fork’, right-click on it and go to Zoe > Convert Into Interactive Object:
You should have the following structure:
4. Enabling manipulation
If you test the experience at this moment you won’t be able to interact with anything in your scene, not even grab an object.
When converting objects with Zoe you can now set different parameters to interact with them. What we want here is the objects on the table to be grabbed by the user.
Select the newly created Fork(IO) and go to the Inspector window, you will find the Interactive Object Setup.
Check “Enable Manipulation”. The ‘Min Distance’ is the distance from which the user can manipulate the object. If the user is further away the object won’t react. Leave ‘2’ meters which is a comfortable distance for the user to interact with the object.
The dropdown list below shows three manipulation modes possible:
- GRAB
- LEVITATE
- POINT AND CLICK
Leave the ‘GRAB’ option as we want the fork to be held by the user as if it were in their hands.
The ‘Attraction Speed’ is the speed at which the object comes towards the user’s controllers.
The option ‘Snap’ allows the object to always be snapped in a specific position and rotation to the controller. This is not explained in this tutorial.
Press ‘Play’ in the middle of the Unity Editor to test the experience. Grab the fork and release it (using the trigger).
If everything works as expected you are able to grab the fork but when you release it it does not fall to the ground. This is because the object is not subject to gravity yet.
5. Enabling gravity effect
Being subject to gravity is another parameter you can set for an object. Inside the ‘Interactive Object Setup’, check “Affected by Gravity”.
When enabling gravity you also need to make sure that objects have colliders properly scaled and placed for the collisions to look real. Physic collisions happen between colliders with the following setup:
If ‘Is Trigger’ is false (not checked) this collider will react to physic collisions.
By default, Zoe generates a Box collider at the root of every IO, of the size of the object, to ensure collisions happen.
However we need a collider that has the shape of the object for collisions to look real. For the purpose of the tutorial all assets are already provided with the right colliders, like this:
So you will need to remove the one that was generated when converting it into an IO:
Test the experience again. The fork should now fall whenever you release it and collide with the table and any other object.
Repeat Step 3 to 5 for all the objects on the table then press play and have fun with them!