Design and paint your game tilemap
Tutorial
·
Beginner
·
+0XP
·
30 mins
·
(2050)
Unity Technologies
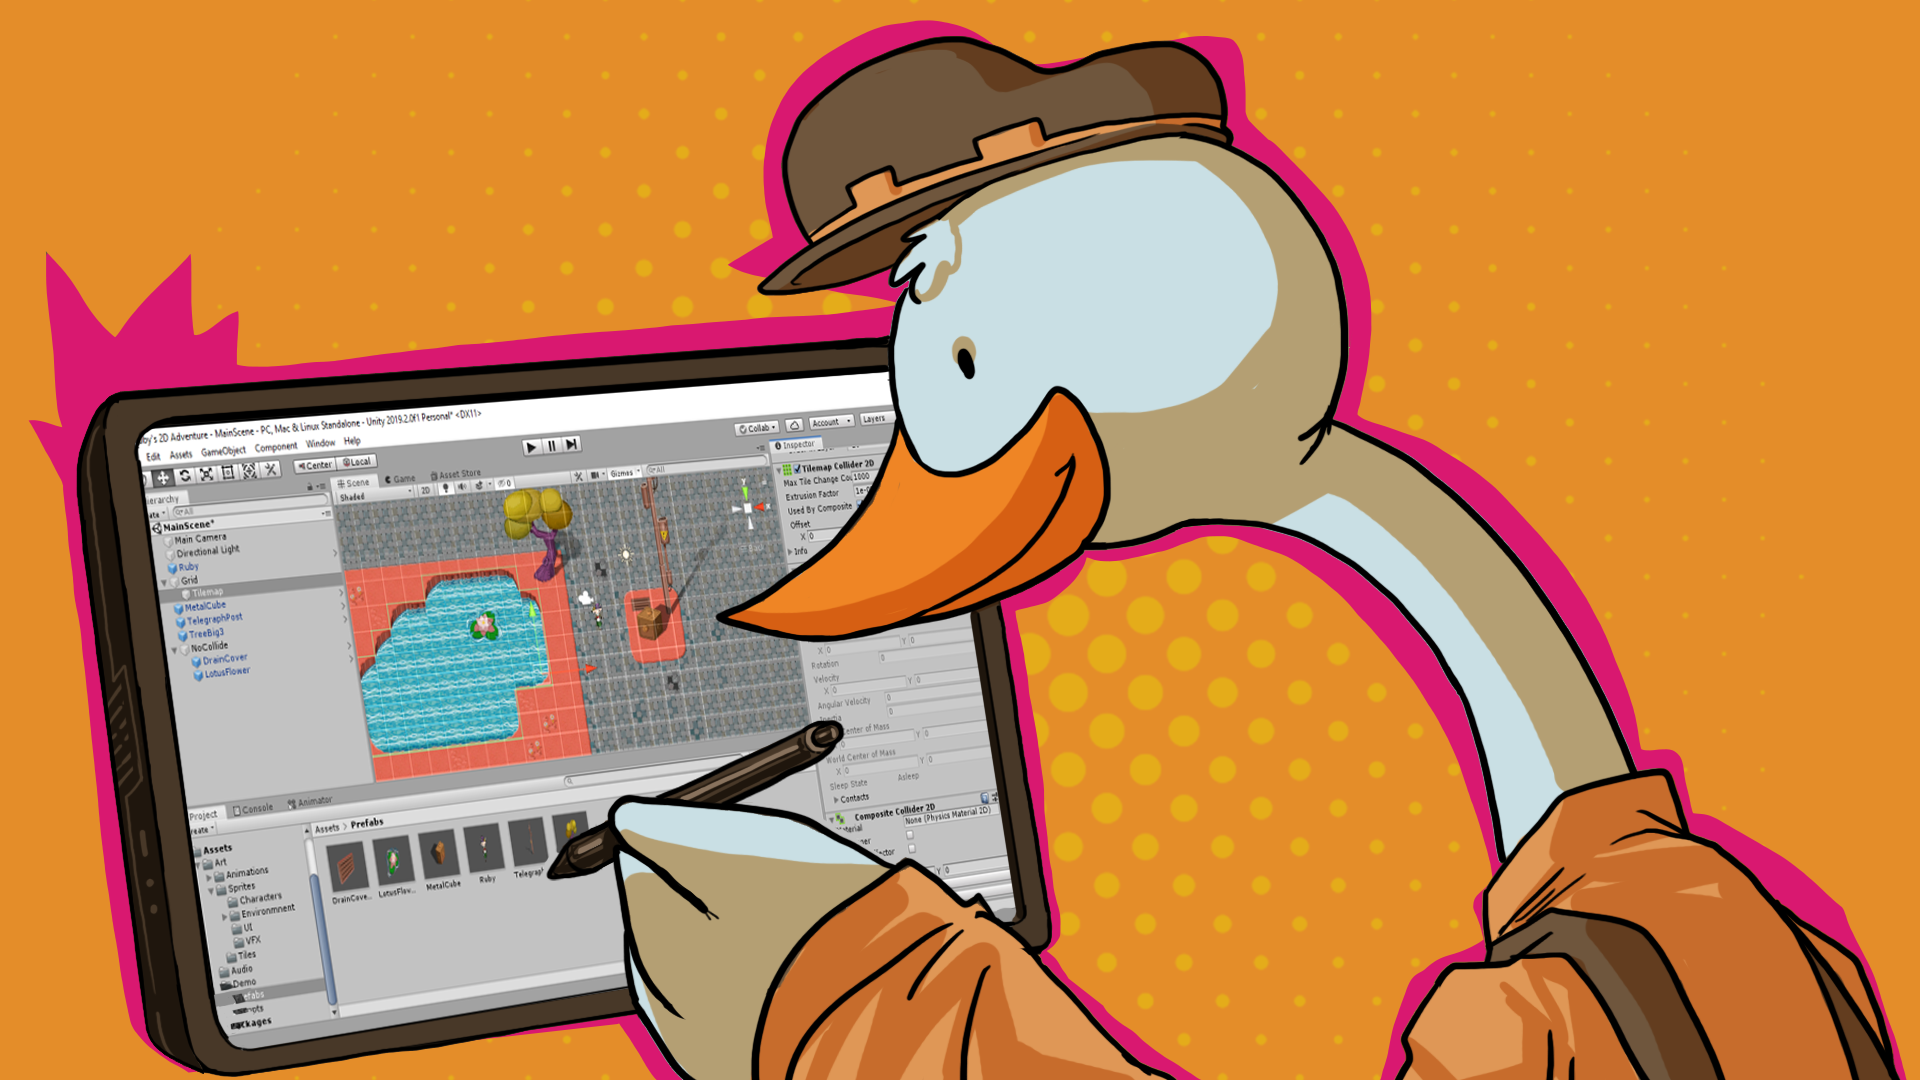
In this tutorial, you’ll create a work with tilesets to create a full tilemap for your game.
By the end of this tutorial, you’ll be able to do the following:
- Explain what a tileset is.
- Adjust an existing tileset.
- Paint your game tilemap.
1. Overview
So far in 2D Beginner: Adventure Game, you have used a placeholder tilemap while you configured the player character movement. Now it’s time to work on the design of your scene in more detail, implementing a tilemap design and placing props to decorate the space and create an engaging environment. Once you’ve done that, you’ll be able to configure your game so the player can actually interact with that world.
By the end of this tutorial, you’ll be able to do the following:
- Explain what a tileset is.
- Adjust an existing tileset.
- Paint your game tilemap.
Working on your own project?
This tutorial is part of Beginner 2D: Adventure Game and refers to the game project for that course, but this information will be helpful for any beginner creator who wants to configure a tilemap for a 2D game. If you haven’t already done so, start with Create a basic gameplay environment before you complete this tutorial.
Note: For the purposes of this tutorial, we chose to use the Ruby’s Adventure asset set, and the file paths used in instructions will reflect this. If you chose another asset set, the file names will be the same, but in your corresponding theme folder.
2. Plan a layout for your level
Before you begin to create the full tilemap for your game, you should spend some time thinking about the assets that you will have available and the environment that you want to create.
Review the example scenes
Open the first project you created in the first tutorial that contained the complete project files and replay the example scene for either your chosen asset pack or all three of the packs available. Pay attention to the following things as you play:
- The floor tiles that are available in your chosen asset pack.
- How you are encouraged to move around the game environment by its design, for example the use of tiles representing a path and non-interactive decorations.
- Enemy placement, behavior, and interactions — you’ll be implementing similar things in your game.
- Health collectible placement.
Sketch out your own design
Take some time to sketch out a design for your tilemap layout. The sketch doesn’t need to be detailed, polished, or perfect — it’s a tool to help you make decisions about the game environment and how it impacts the player before you spend a lot of time working on the tilemap.
Consider the following questions as you work on your own design:
- Player direction: Where does the environment encourage the player to move in the scene? Will you encourage them to stay on the paths or to stray beyond them?
- Obstacle placement: Can the player avoid some of the obstacles in the scene (damage zones and moving enemies)? If so, why? And what are the consequences of this?
- Health collectible placement: You’re going to add health collectibles to your game — where could you place them to help players without removing all the challenge of your game?
Note: You don’t have to stick to anything that you include in your sketch! You can make changes when you’re working on your tilemap or later in the development process.
3. Get started with tilesets
In Create a basic gameplay environment, you created a placeholder tilemap for your game by creating individual tiles from sprites. There is a more efficient way to work with tiles when you want to create a more complex tilemap: tilesets.
A tileset is a single image file that contains multiple sprites that you can use to create a palette of tiles. This sort of image, sometimes called a sprite sheet or a sprite atlas, contains multiple sprite textures in one image file. Grouping tiles together like this means that you can apply adjustments to them in a batch. Related sprites organized into sprite atlases are also easier for Unity to render in your game in a resource-efficient way.
The sprites in a tileset are often arranged in a regular grid. Here’s an example of a tileset from the Ruby’s Adventure asset pack, which contains a paved stone path on coral ground in a three by three grid:
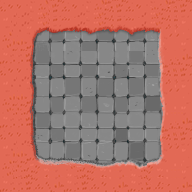
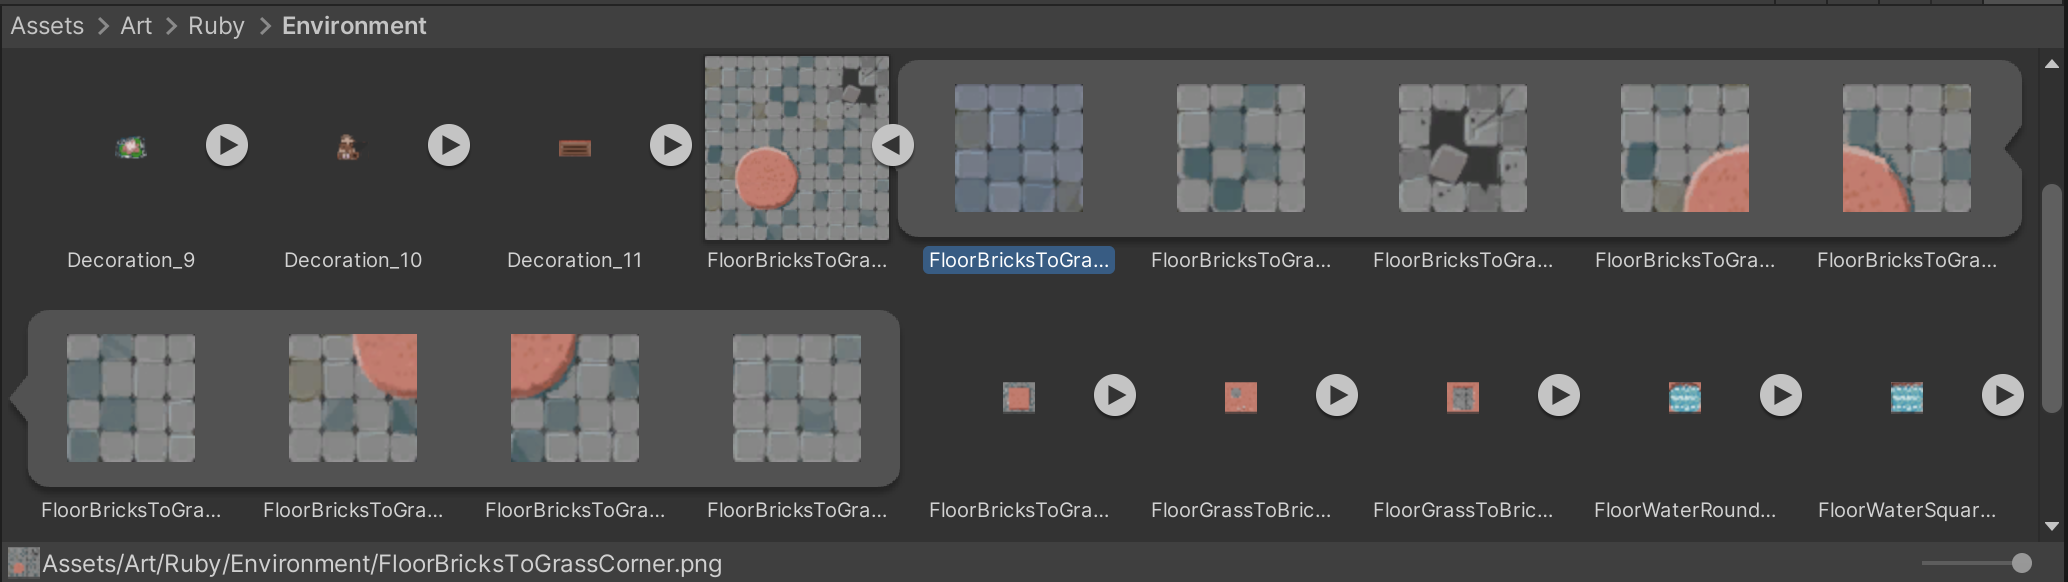
When this tileset is broken down into its nine separate sprites, each one will be unique:
4. Configure tileset image import settings
Now you’re ready to update the tilemap using your design and the tilesets that we’ve provided for this course. You can also use other tilemap assets that you’ve found yourself, but make sure that you’re using a three by three grid spritesheet to complete this tutorial.
To configure the settings for your chosen tileset, follow these instructions:
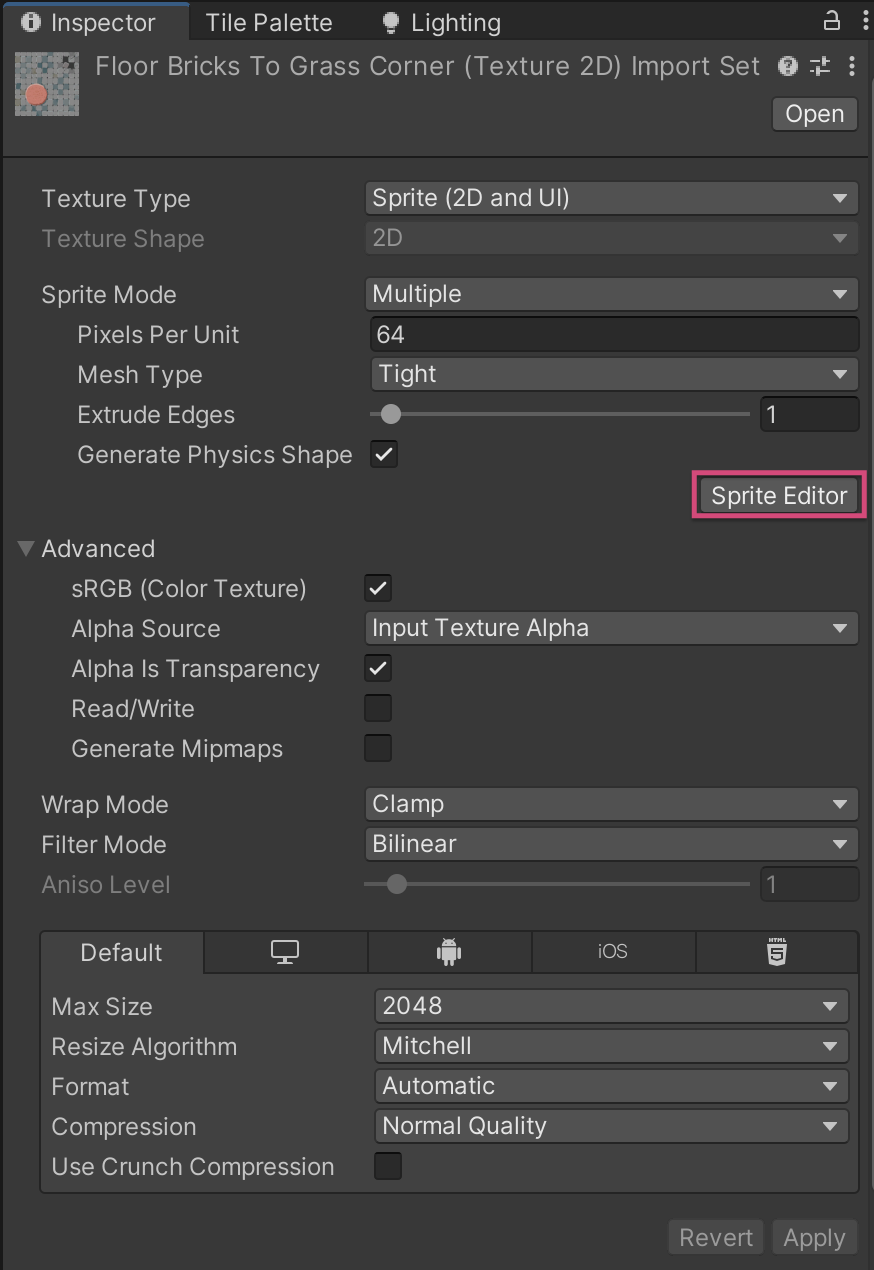
1. In the Project window, in the folder for your chosen asset pack, navigate to Assets > Art > [Your Chosen Project] > Environment. All of the files in this folder with names that start with “Floor” are tilesets.
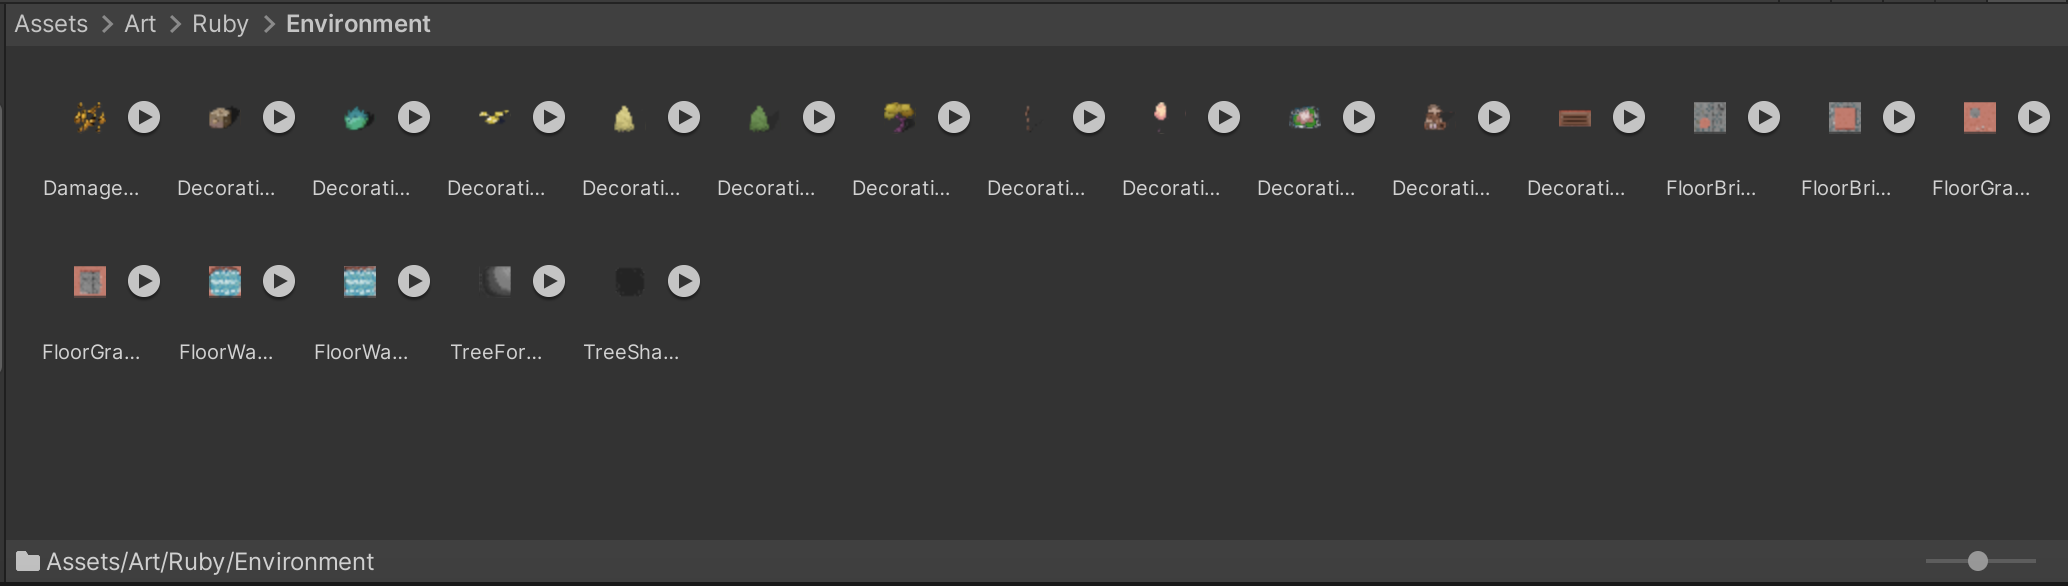
2. Select the FloorBricksToGrassCorner tileset and then select the arrow to review the sprite for the image file.
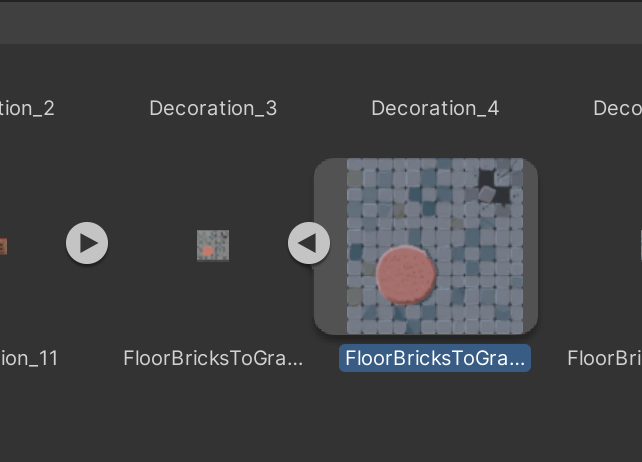
There’s currently only one sprite visible because this tileset hasn’t been sliced.
3. In the Inspector window, set the Sprite Mode property to Multiple.

4. Change the Pixels Per Unit property to 64. This matches the tile size that you established in Create a basic gameplay environment.
5. Select Apply to apply your changes.
5. Slice the tileset into sprites
Now that you’ve changed the import settings, you can split the asset into the different individual sprites that you’ll use to create the game tilemap.
To slice the tileset texture into sprites, follow these instructions:
1. In the Inspector window, select Sprite Editor.
2. Expand the Sprite Editor window so you can see all the options in the window toolbar.
3. Select the Slice dropdown.
4. Set the Type property to Grid By Cell Count.

5. Set the Column & Row property values (both C and R) to 3. A red grid will be overlaid on the image as a preview of the sprites that will be created when you slice the file.
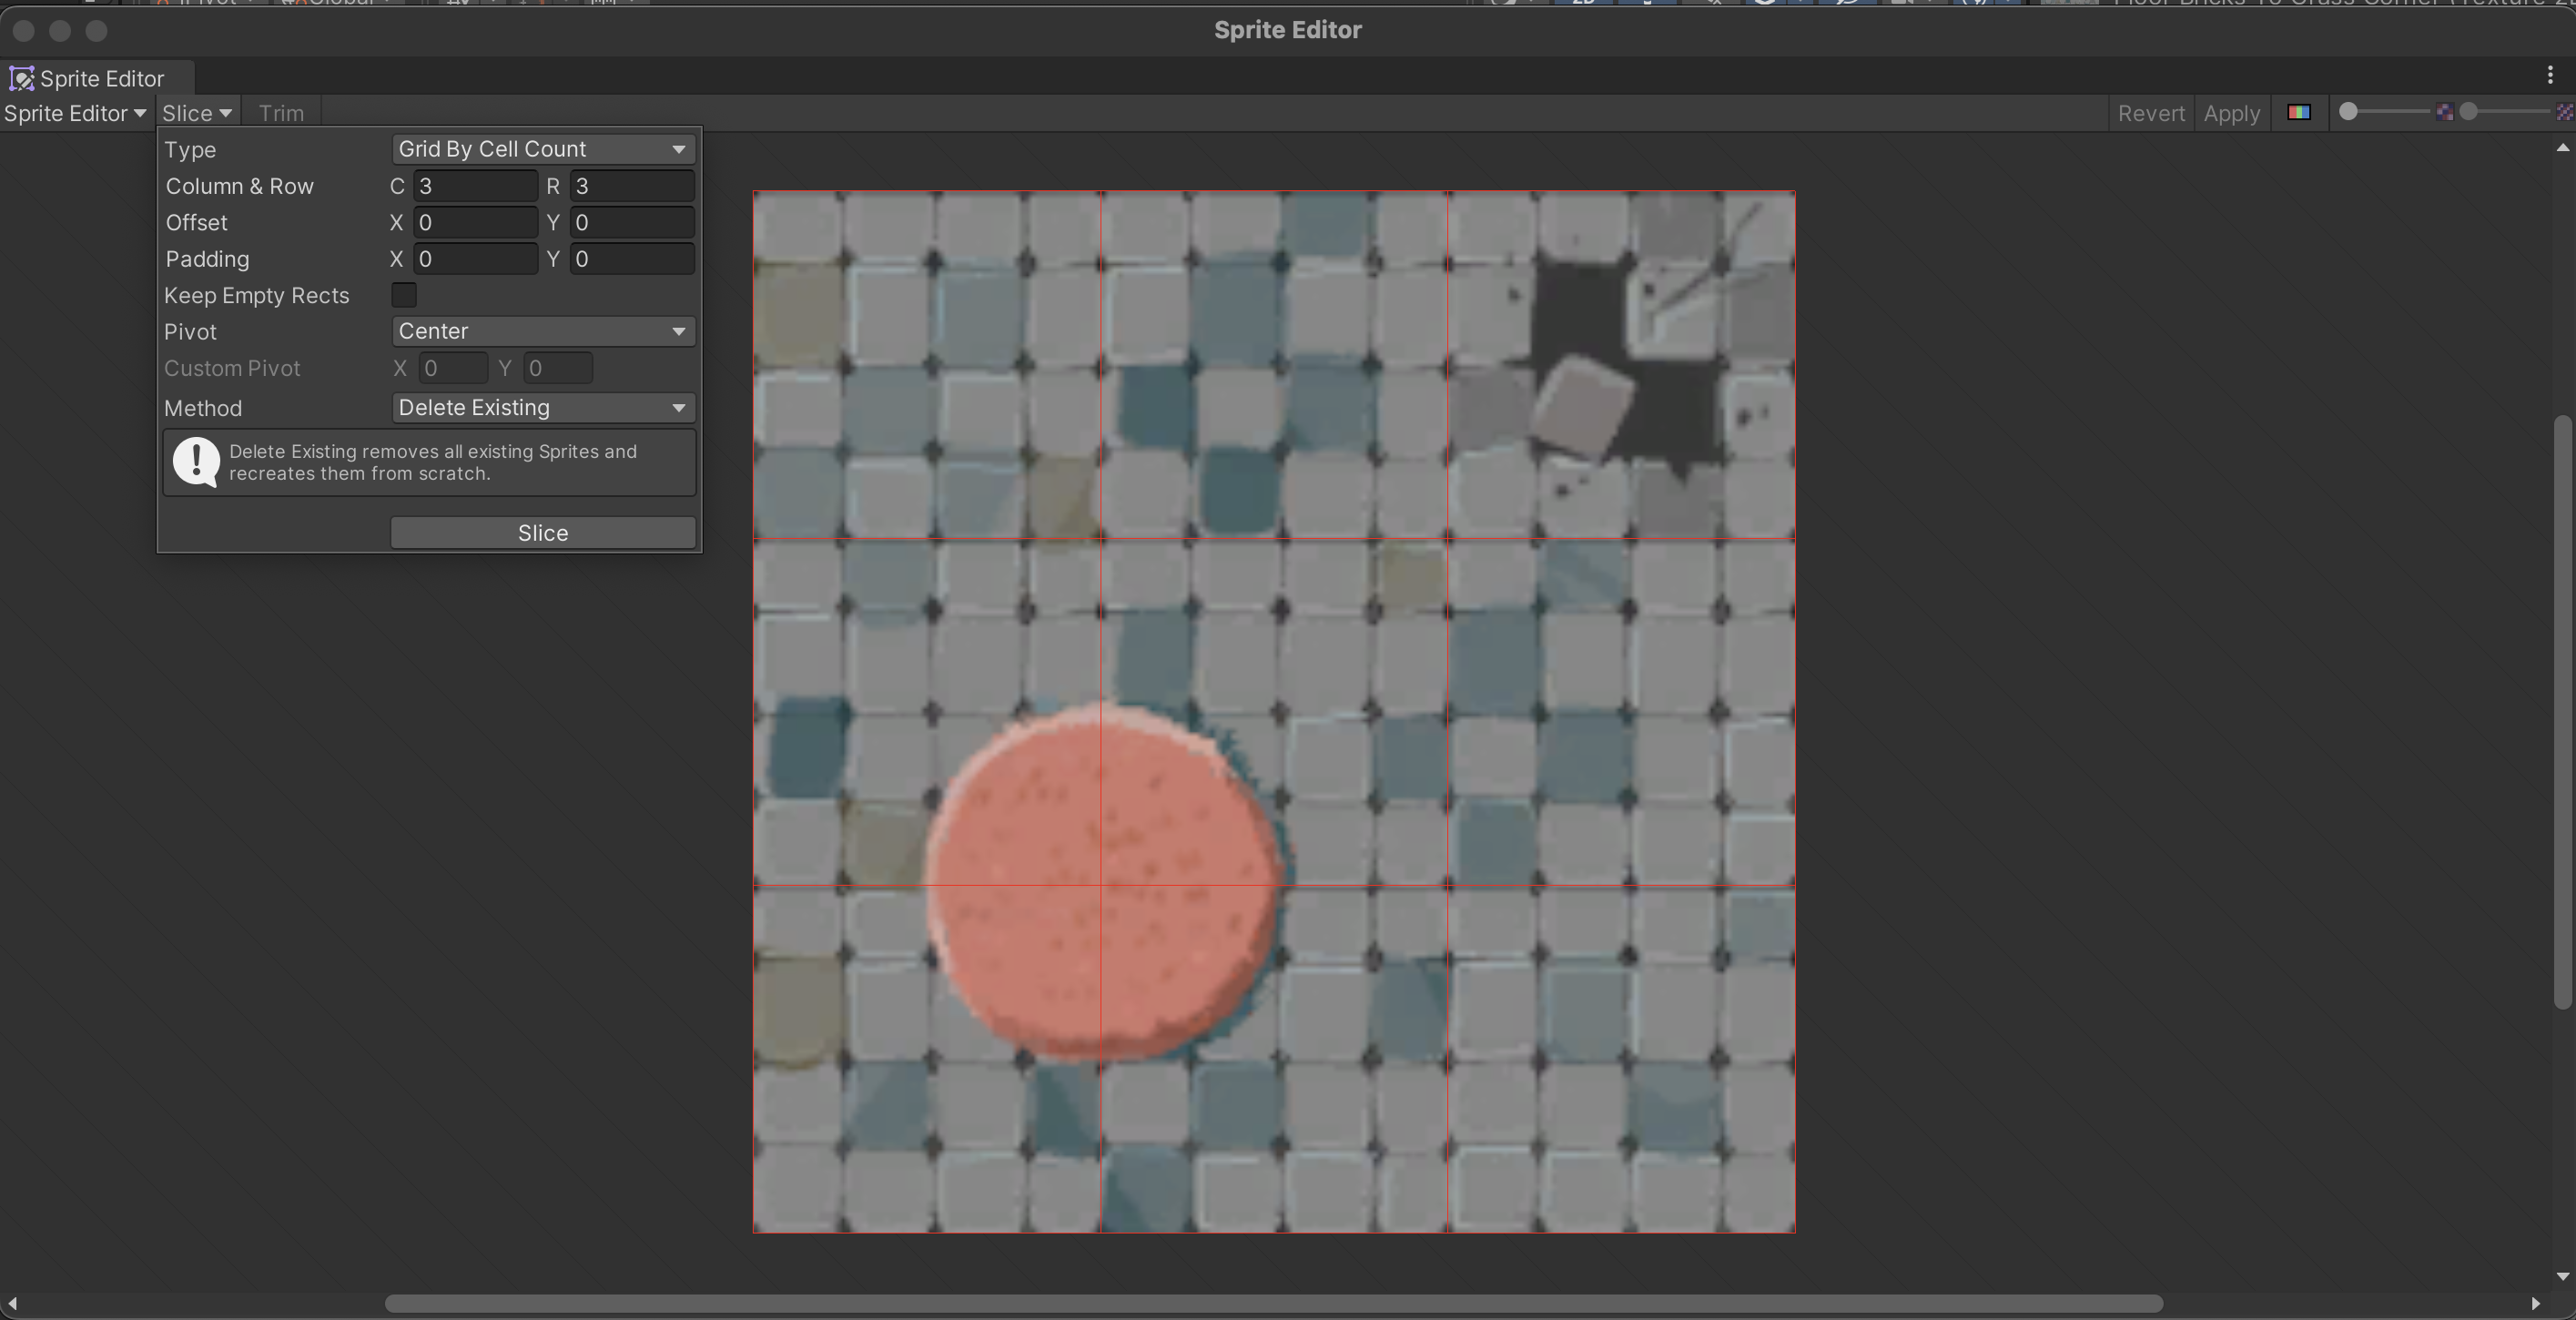
6. Select Slice.
7. In the Sprite Editor window toolbar, select Apply. Now the image has been sliced into nine separate sprites.
8. Close the Sprite Editor window.
Note: If you try to close the window without applying your changes, a dialog will open that asks you to confirm that you want to proceed.
6. Assign sprites to tiles
You previously created tiles one by one, but there’s a more efficient way to complete this when you’re working with a tileset. To assign your new sprites to tiles as a batch, follow these instructions:
1. In the Project window, select the arrow icon to reveal the sprites for FloorBricksToGrassCorner. Nine separate sprites that you created by slicing the tileset will now be displayed.
2. If you need to, open the Tile Palette window (Window > 2D > Tile Palette). You might find it helpful to dock the window in a convenient location in the Editor.
3. Drag the FloorBricksToGrassCorner tileset from the Project window and release it over the grid in the Tile Palette window.
4. In the Generate tiles into folder dialog, navigate to the folder that you created for tiles and then select Choose.
5. Your new tiles are now available from the Tile Palette window, ready for you to paint your tilemap!

7. Paint the tilemap for your game
Now you’re ready to set up the rest of the tilesets from your chosen asset pack and to paint in your tilemap design.
Set up the remaining tilesets
Repeat the process that you just followed to set up the remaining five tilesets for your chosen asset pack.
Important: If you want to mix and match tilesets between asset packs, make sure that you change the tileset file name so you don’t override existing tiles.
Paint your tilemap design
Before you start painting your tilemap design, take a few minutes to review the tilemap painting tools available at the top of the Tile Palette window (and their shortcuts).
Important: Give your tilemap a border of two grid squares outside the white camera bounding box — later you’ll configure the camera to follow the player’s movement on the tilemap. You can add more space for later if you want to, though!
8. More things to try
If you want to further develop your skills, explore new concepts, or improve your project, check out some of the optional activities below. Each one is tagged as either Easy, Medium, or Difficult, so you can choose the level of challenge.
These activities are entirely optional, so if you’re not interested, no problem — just skip this step. We do recommend attempting at least one of them in order to get the most out of this learning experience. Good luck!
Easy: Add multiple tilemap sorting layers
In the first unit for this course, you set the draw order for the player character sprite to ensure that it’s rendered on top of the tilemap. You can also create a multi-layered tilemap on the same grid to create different effects. For example, you could create an architectural arch with the bottom sprites rendered under the player on the same layer and the top of the arch on a separate layer so it’s rendered over the player.
To organize your tilemap in multiple layers, follow these instructions:
1. Create a new tilemap as a child GameObject of the Grid GameObject and name it “UpperTilemap”. Select the UpperTilemap GameObject.
2. Create a new layer for the tilemap with a higher draw order than the PlayerCharacter GameObject.
3. Set the UpperTilemap GameObject to the new layer.
Remember to check that you are painting on the correct tilemap!
9. Next steps
You’ve created a more engaging environment for your game, and now it’s time to build on that to create a lived-in world. In the next tutorial you’ll use sprites to decorate the environment and further customize your game.