
Creating an interactive VR scene with Android XR
Tutorial
Beginner
+10XP
20 mins
(14)
Unity Technologies
In this tutorial, you'll build a basic VR scene for Android XR using Unity’s XR Interaction Toolkit and XR Hands. You'll create grab-and-throw interactions using tracked hand input (with controller fallback), and implement a 3D pokeable button that resets a cube using a simple custom script.
You’ll gain hands-on experience with the following:
- Physics-based grabbing and throwing
- Poke interactions and affordances
- Unity Events for interaction scripting
1. Overview
In this tutorial, you’ll build a basic VR scene for Android XR using Unity’s XR Interaction Toolkit and XR Hands. You’ll create physics-based grab-and-throw interactions driven by tracked hand input with controller fallback, and implement a 3D pokeable button that resets a cube via a simple custom script. Along the way, you’ll gain hands-on experience with poke affordances and using Unity Events for interaction scripting.
2. Before you begin
Prerequisite: This tutorial builds on the scene created in Getting Started with Android XR in Unity.
Complete that tutorial first to set up the base XR project using the VR Template and XR Interaction Toolkit samples.
3. Initial scene setup
To begin, you’ll add the core components that are needed for hand tracking and turn off shadows, which aren’t necessary for this basic interaction scene.
1. In the Hierarchy window, delete the XR Origin (XR Rig) GameObject.
2. In the Project window, go to Assets > Samples > XR Interaction Toolkit > 3.2.1 > Hands Interaction Demo > Prefabs.
3. Drag the XR Origin Hands (XR Rig) prefab into the Hierarchy window.
4. Set its Transform component’s Position property to X = 0, Y = 0, and Z = 0.
This prefab includes preconfigured XR Hand GameObjects for poke and pinch interactions, as well as useful components like the XRInputModalityManager, which automatically switches between hands and controllers depending on the input source.
To access hand tracking data on Android, your app must prompt the user for the correct permission. The PermissionsManager prefab is preconfigured to request hand tracking but can also support additional permissions or platforms.
5. In the Project window, go to Assets > Samples > XR Interaction Toolkit > 3.2.1 > Starter Assets > Prefabs.
6. Drag the PermissionsManager prefab into the Hierarchy window.
The VR Template's BasicScene uses soft shadows by default, but for this basic scene, shadows are not needed.
7. In the Hierarchy window, select the Directional Light GameObject.
8. In the Inspector window, in the Light component, use the foldout (triangle) to expand the Shadows section, then open the Shadow Type property dropdown and select No Shadows.
You’ve now set up your project for hand tracking.
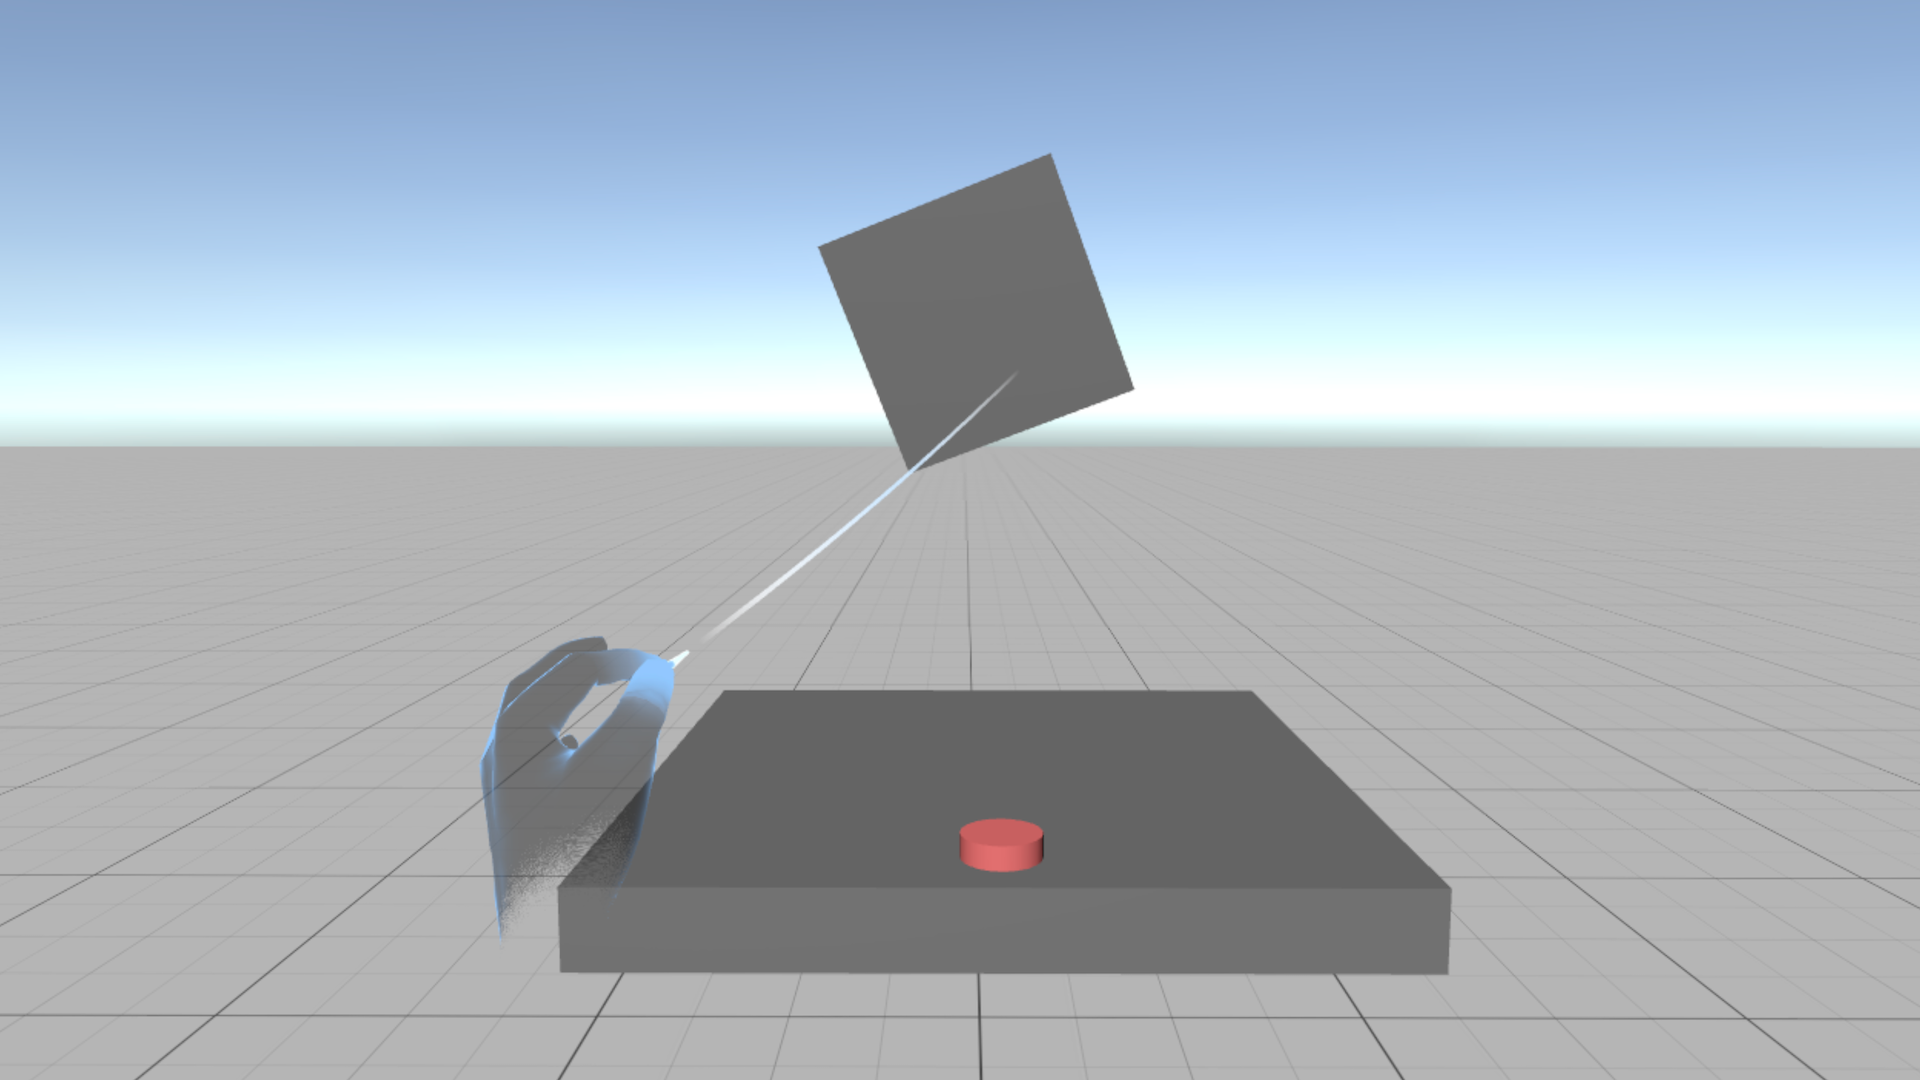
4. Create a table and interactable cube
Now you’ll create a small table and a cube that users can grab and throw using hands or controllers.
1. Right-click in the Hierarchy window, select Create Empty, and rename it “TableGroup”.
2. Under TableGroup, create a 3D Object > Cube, and rename it “Table”.
3. Set the Table GameObject’s Transform component’s Scale property to X = 1, Y = 0.1, and Z = 1 to create a flat surface.
4. Under TableGroup, create another Cube, and rename it “InteractableCube”.
5. Set the InteractableCube GameObject’s Transform component’s Scale property to X = 0.3, Y = 0.3, and Z = 0.3 so it can be easily grabbed.
6. Set its Transform component’s Position property’s Y value to 0.5 to lift it slightly above the table.
7. In the Inspector window, select Add Component and search for and add the XR Grab Interactable script component to the InteractableCube GameObject.
8. In the Inspector window, enable the Use Dynamic Attach property and the Force Gravity On Detach property.
The Use Dynamic Attach property keeps the cube from snapping too close to the hand, and the Force Gravity On Detach property simulates realistic throwing.
9. Add a Rigidbody component (if not present) and, in the Inspector window, disable the Use Gravity property.
Disabling the Use Gravity property allows the cube to float when released.
10. Select TableGroup GameObject and set its Transform component’s Position property to X = 0, Y = 1, and Z = 0.7 so the scene appears comfortably in front of the user in seated XR.
You can now grab and throw the cube using hands or controllers.
5. Add a 3D Button to the scene
Now you’ll create a simple 3D button that will later reset the cube's position.
1. Under TableGroup, create an empty GameObject and name it “InteractableButton”.
2. Under InteractableButton, create an empty GameObject called “ButtonOffset”.
3. Under ButtonOffset, add a 3D Object > Cylinder, rename it “ButtonMesh”, and set its Transform component’s Scale property to X = 0.1, Y = 0.03, and Z = 0.1.
These child GameObjects are necessary for implementing the XR Poke Follow Affordance component. Separating the mesh allows it to move independently during a poke interaction.
4. Right-click in the Assets folder, select Create > Material, rename it “ButtonMaterial”, set the Base Map property to #FD7B7B (or any other color), and drag the material onto the ButtonMesh GameObject.
To ensure a stable poke interaction, you need to add the collider separately from the moving mesh.
5. Remove the Capsule Collider from the ButtonMesh GameObject.
6. Under the InteractableButton GameObject, create an empty GameObject and name it “Button Collider”.
7. Add a Box Collider component to the ButtonCollider GameObject and set its Transform component’s Size property to X = 0.1, Y = 0.06, and Z = 0.1 to match the mesh.
8. Select the InteractableButton GameObject and set its Transform component’s Position property to X = 0, Y = 0.05, and Z = -0.4 so it sits near the table and within reach.
Your button is now positioned and visually styled.
6. Make the button pokeable
In this step, you’ll enable the button to respond visually to poke gestures using XR Hands.
1. Select the ButtonMesh GameObject and set its Transform component’s Position Y property to -0.025 to simulate the pressed position of the button.
This setup offsets the button mesh so that, once the XR Poke Follow Affordance is configured, the button appears in its unpressed starting position.
2. Add XR Simple Interactable, XR Poke Filter, and XR Poke Follow Affordance scripts components to the InteractableButton GameObject.
The XR Simple Interactable component enables Unity Events, the XR Poke Filter component is required for poke detection by the XR Hands prefab, and the XR Poke Follow Affordance component enables the mesh to move down during a poke.
3. Use the dropdown (triangle) to expand the Value section of the XR Poke Filter component’s Poke Settings, then, set the Poke Direction property to Negative Y. Ensure the Interactable property is set to InteractableButton, and the Poke Collider property is set to ButtonCollider.
4. Select the XR Poke Follow Affordance component’s Poke Follow Transform property picker (⊙) and select ButtonOffset, set the Max Distance property to 0.025, enable the Clamp to Max Distance property.
The button now visually moves when poked using hand tracking.
7. Create the reset script
To reset the cube when the button is poked, you’ll create a script that restores the cube’s original position and rotation.
1. Right-click In the Assets folder, select Create > Folder, and name it “Scripts”.
2. Right-click in the Scripts folder, select Create > MonoBehaviourScript, and name it “CubeResetController”.
3. Copy and paste the following lines of code into the CubeResetController script:
using UnityEngine;

public class CubeResetController : MonoBehaviour
{
    [SerializeField] private Rigidbody cubeRigidbody;

    private Pose originalCubePose;

    private void Awake()
    {
        if (cubeRigidbody == null)
        {
            Debug.LogError("CubeResetController: Rigidbody reference is missing.", this);
            return;
        }

        originalCubePose = new Pose(
            cubeRigidbody.transform.position,
            cubeRigidbody.transform.rotation
        );
    }

    public void ResetCube()
    {
        cubeRigidbody.linearVelocity = Vector3.zero;
        cubeRigidbody.angularVelocity = Vector3.zero;

        cubeRigidbody.transform.SetPositionAndRotation(
            originalCubePose.position,
            originalCubePose.rotation
        );

        cubeRigidbody.useGravity = false;
    }
}
4. Save the script.
This script stores the cube’s starting pose and includes a method to restore it.
8. Connect the button to the reset script
Now you'll use Unity Events to call the cube reset method when the button is poked.
1. In the Hierarchy window, select the InteractableButton GameObject, add the CubeResetController script component, and click and drag the InteractableCube GameObject’s Rigidbody component into the Cube Rigidbody property box.
2. In the XR Simple Interactable component, use the foldout (triangle) to expand the Interactable Events section.
3. Under the Select Entered property, select the Add (+) button to add an event.
4. Click and drag the InteractableButton GameObject into the None (Object) property box.
5. Open the No Function dropdown and select CubeResetController > ResetCube().
6. Build and deploy the scene to your Android XR device (Revisit Getting Started with Android XR in Unity for a refresher on building to the device if needed), grab and throw the cube, then poke the button to reset it.
You’ve now completed a full XR interaction loop using hands and the XRI Toolkit.
9. Next steps
Now that you’ve built a basic XR interaction scene, keep building by doing the following:
- Testing your scene with both hands and controllers and using the XR Input Modality Manager to react to input source changes
- Adding more interactive elements using components from the XR Interaction Toolkit.
- Experimenting with different types of interactables like sliders, toggles, or UI panels.