
Discover Sequences through the sample
Tutorial
Beginner
+5XP
10 mins
574
Unity Technologies
In this tutorial, you’ll learn about the concepts and features of the Sequences workflow tool in the Unity Editor.
1. Overview
Now that you’ve got the Cinematic Studio Template set up, you’re ready to get started. In this tutorial, you’ll:
- Identify various cinematics-related windows and features in the Unity Editor
- Navigate through the structure of a movie built on Sequences
- Find Sequence Assets available in the project and navigate to the ones used in the Sequences of the movie
2. Review the Editor interface
First, let’s take a few minutes to review the Unity Editor interface elements available through the Cinematic Studio Template:
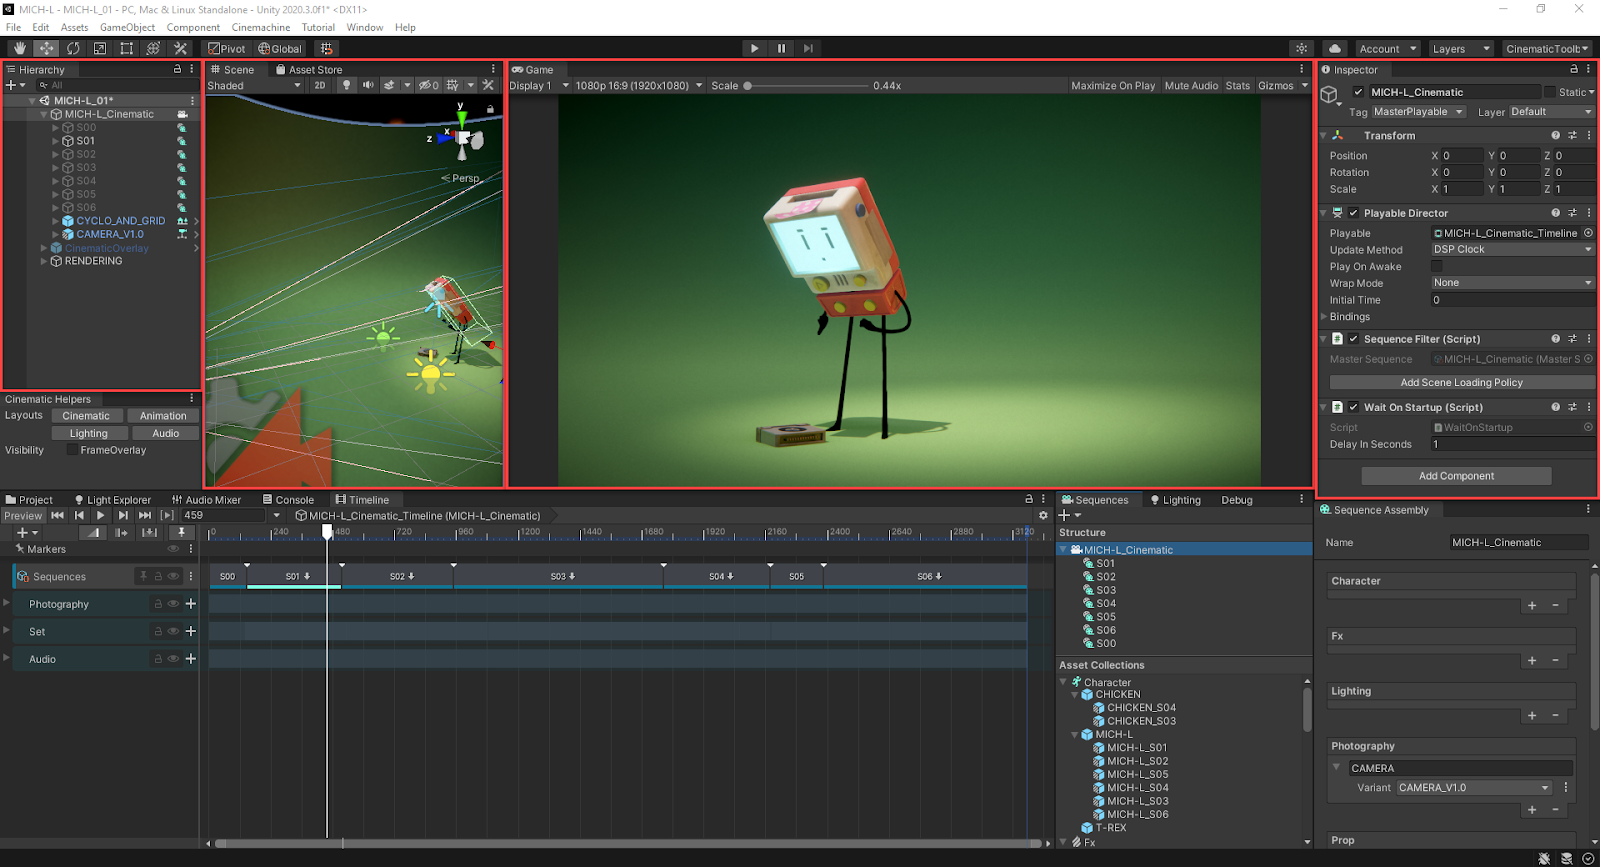
1. Locate four windows that are available by default in the Unity Editor:
- Hierarchy
- Scene view
- Game view
- Inspector
2. Locate the Cinematic Helpers window. This mostly gives shortcuts to change layouts according to your current task: Cinematic, Animation, Lighting and Audio.
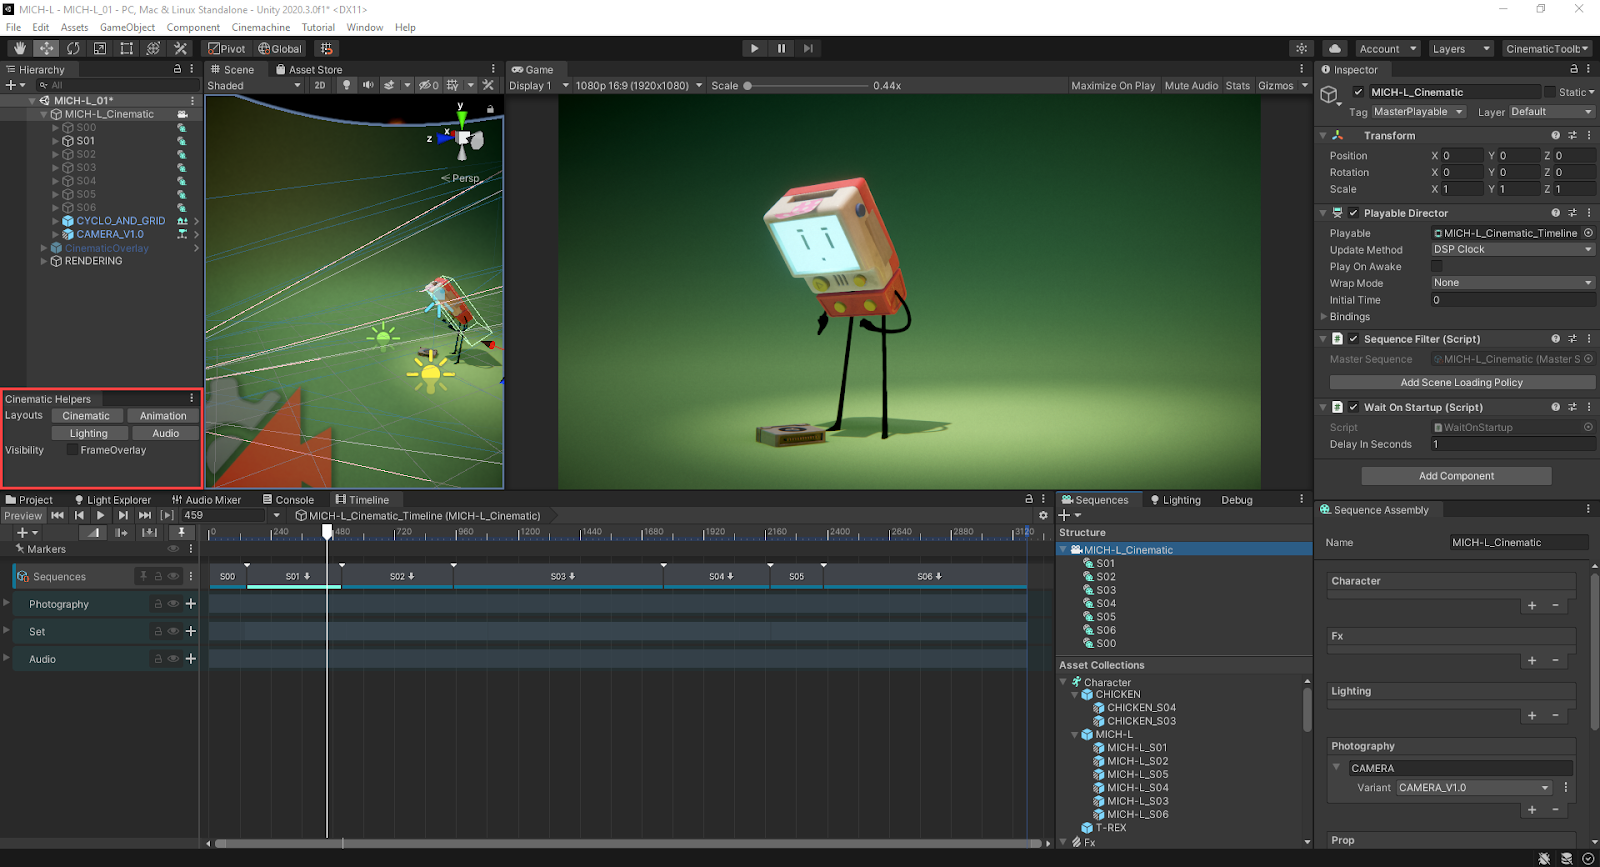
Note: You can try out the four available layouts. In the end, to continue this tutorial, you must select the Cinematic layout.
3. Locate the Sequences window. You can use the Structure section to create Sequences and build the structure of your cinematic.
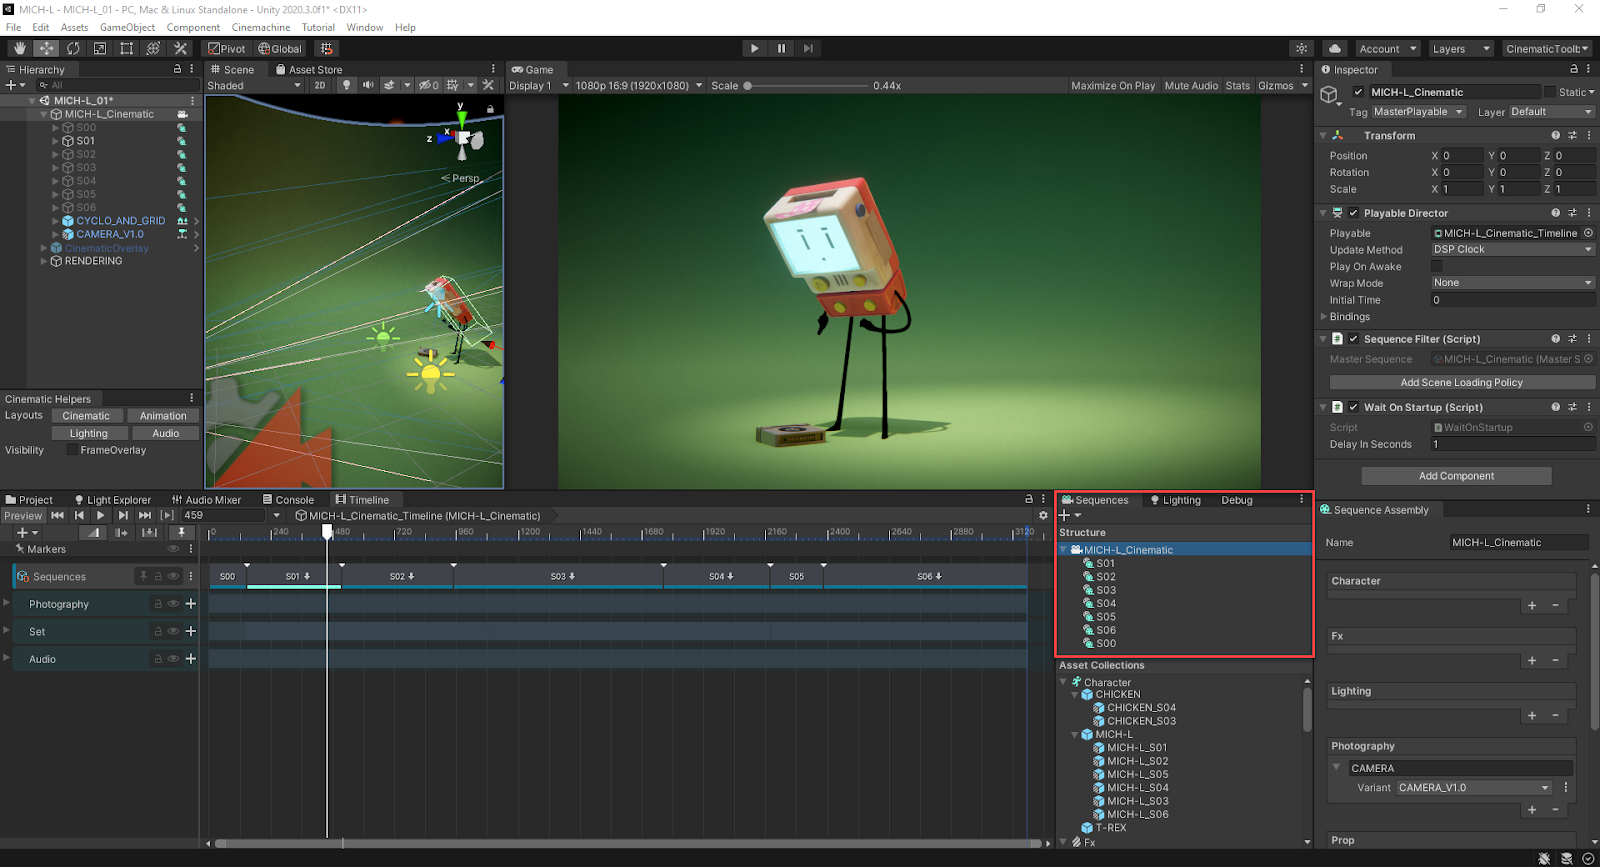
4. Still in the Sequences window, find the Asset Collections section. You can use this to organize and manage Sequence Assets, which correspond to the available content that you can use in your Sequences.
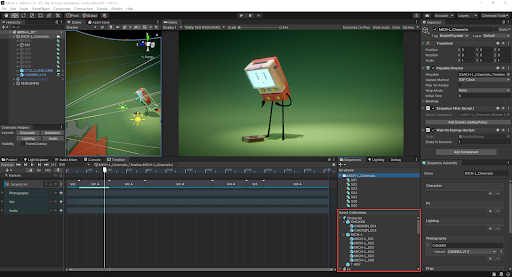
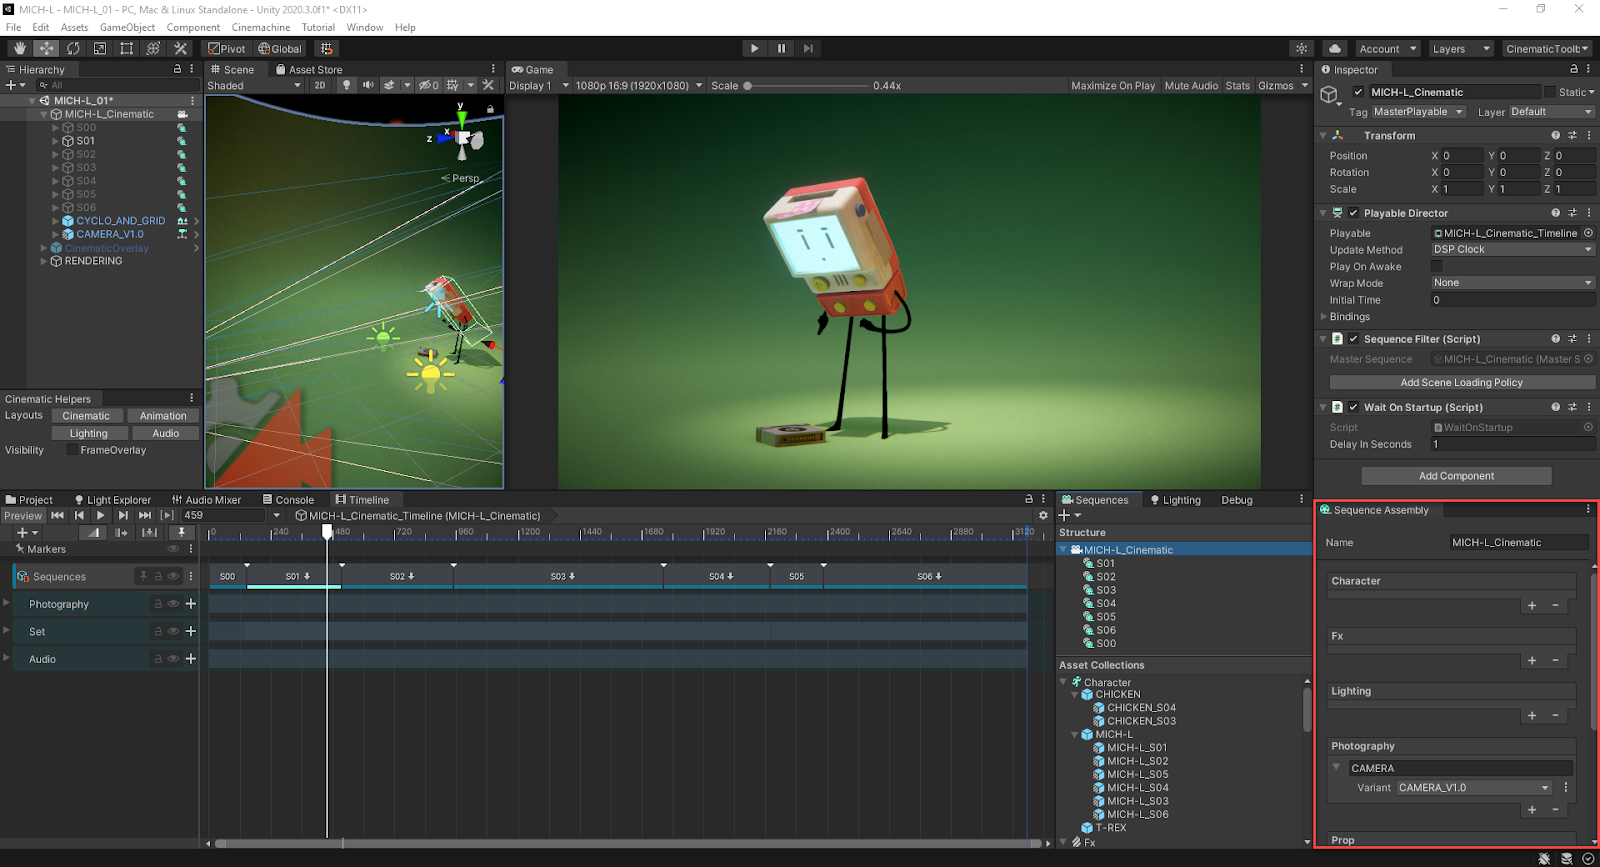
5. Locate the Sequence Assembly window. This allows you to populate your Sequences with Sequence Assets.
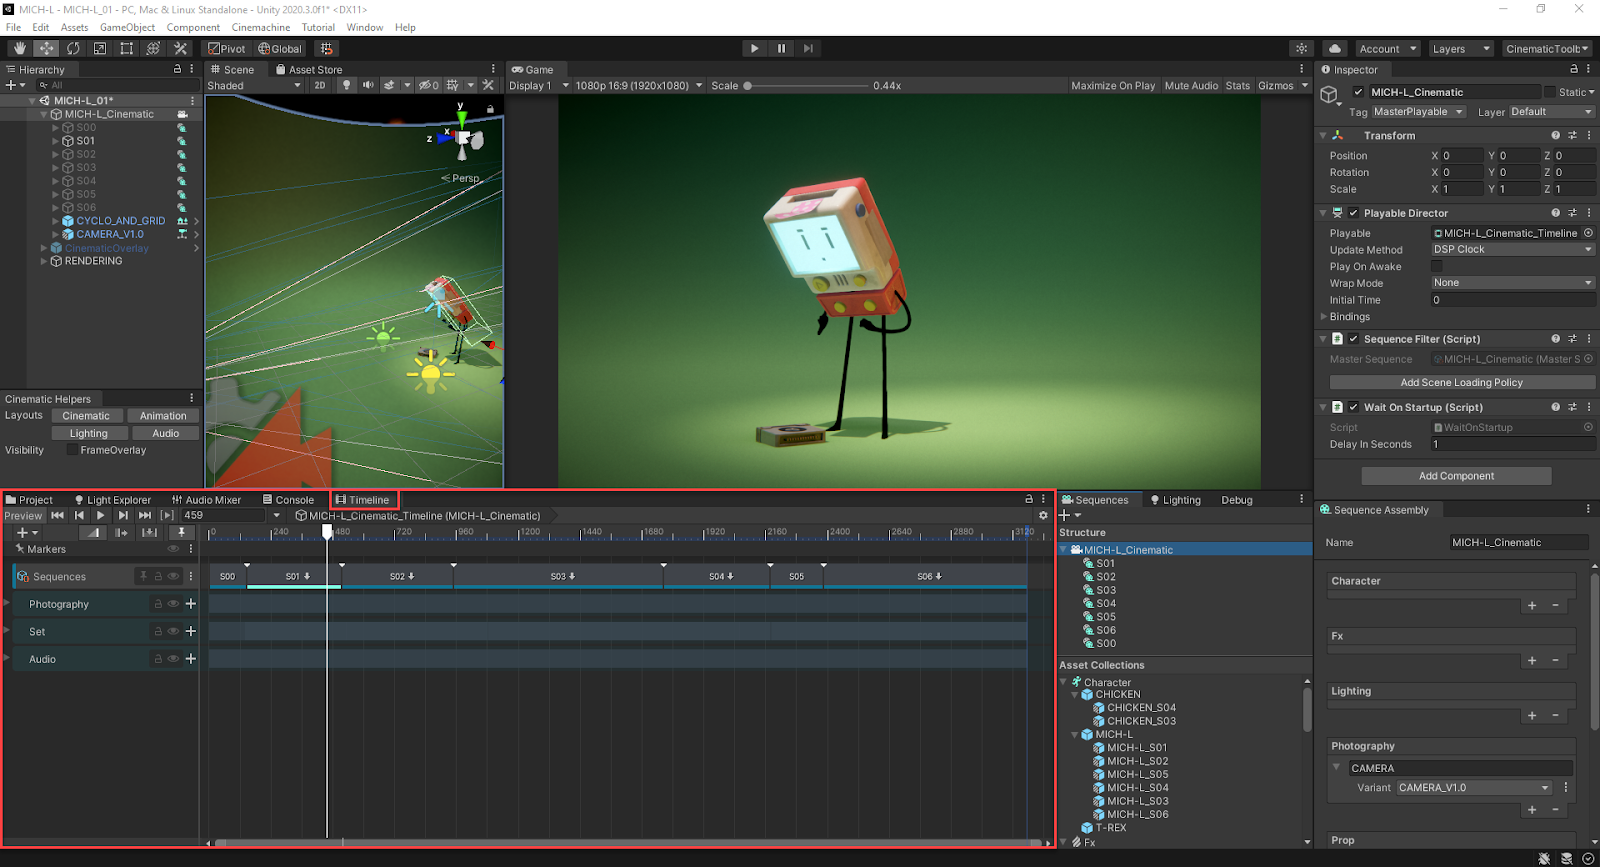
6. Next, find the Timeline window. You can use this to manipulate the Sequences and their content over time.
7. Notice a last window available by default in the Unity Editor, the Project window. You can access it from the set of tabs that currently include the Timeline window.
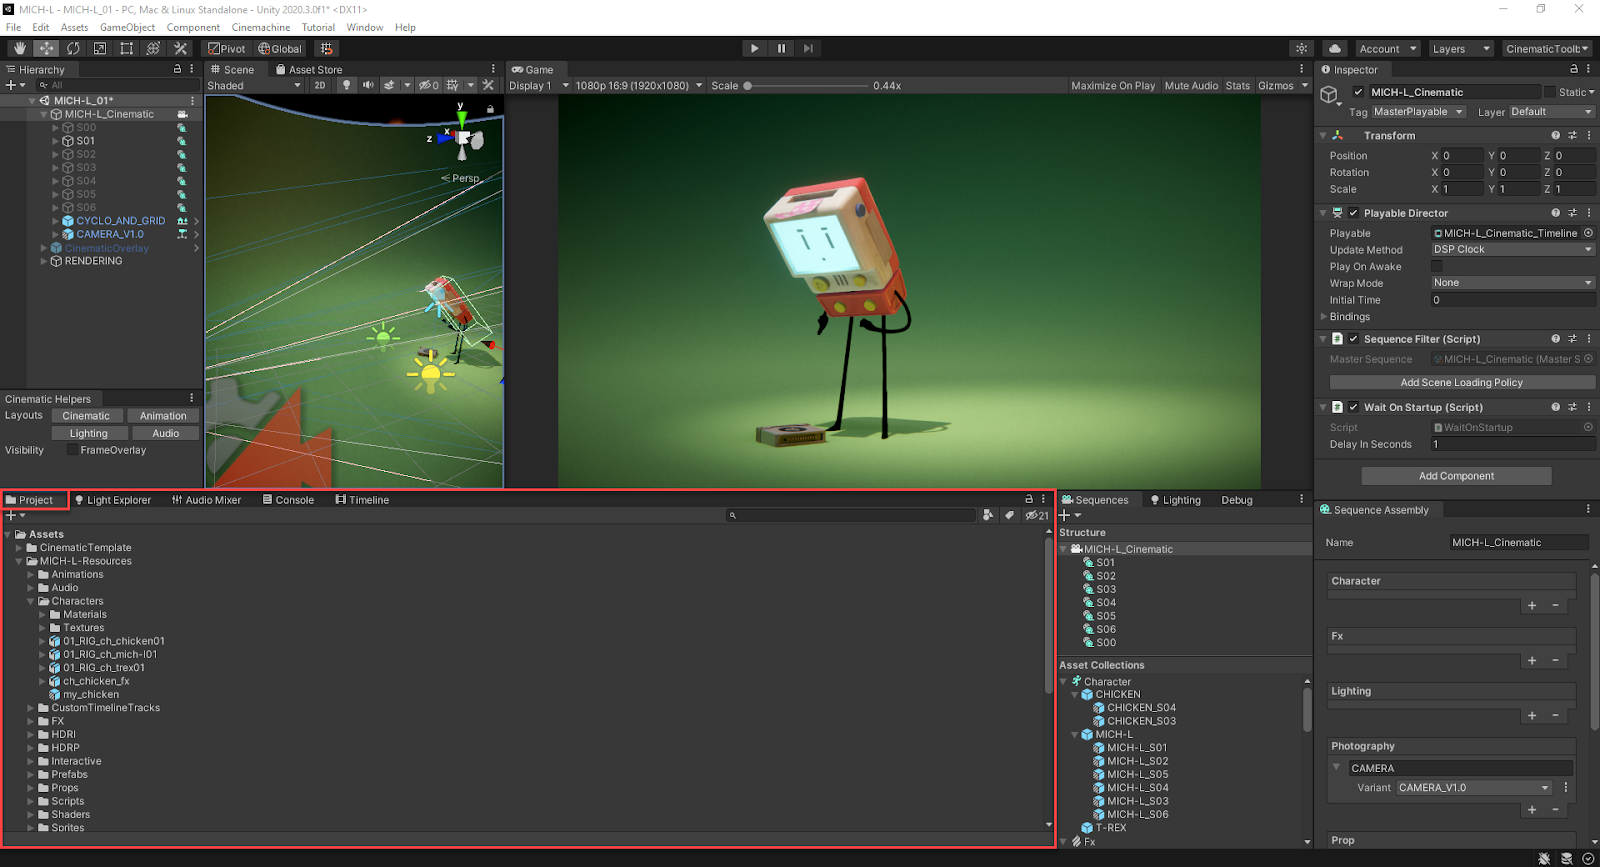
Note: If you selected the Project tab to see the window content, re-select the Timeline window to get a proper experience through the next steps of the tutorial.
3. Play the sample movie
To play the sample movie provided in the project:
1. Select Play at the top of the Editor layout.

2. Watch the movie in the Game view.
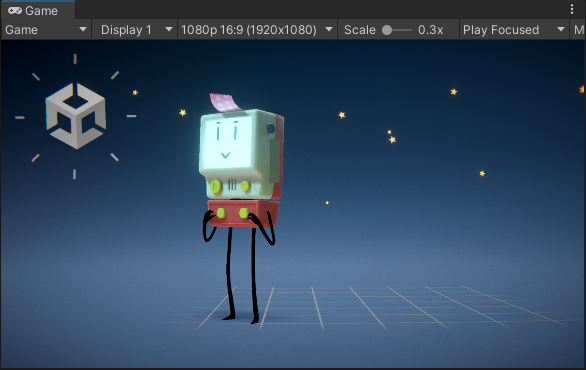
3. Click again on the Play button to stop when you’ve finished watching the movie.
4. Navigate through the movie structure
The structure of the sample movie you just watched consists of Sequences. Let’s navigate through this structure:
1. In the Sequences window, in the Structure section, select the item called MICH-L_Cinematic. This is the Master Sequence, the root of your cinematic.
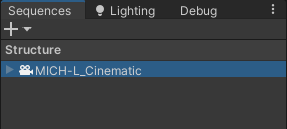
2. Expand the structure of the Master Sequence. It contains seven Sequences (S00 to S06), listed in the order in which they were created.
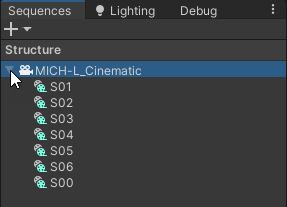
Notice that the Timeline window shows the same seven Sequences as separate clips arranged in time throughout the Master Sequence.

3. In the Timeline window, scrub the playhead to manually play the movie forward and backward through the various Sequences.

In the Hierarchy window, notice how GameObjects activate and deactivate according to the Sequence the playhead is on.
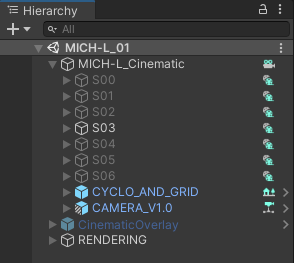
When you finish scrubbing, leave the timeline playhead in the range of S03.
4. In the Sequences window, in the Structure section, select the S02 Sequence.
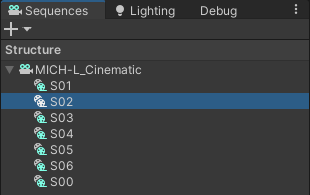
Notice that the Timeline window adapts its content to display the timeline of the selected Sequence. Also notice the breadcrumb, which indicates the name of the current Sequence and its position in the structure.

Notice the warning icon: it means the Game View doesn’t currently show the content of S02, as you previously left the timeline playhead in the range of S03.
5. In the Timeline window, click anywhere on the ruler to place the timeline playhead in the context of the current Sequence.

You can now scrub the playhead to manually play the current Sequence forward and backward.
6. Continue the navigation through the Timeline window: in the breadcrumb, select the upper level, MICH-L_Cinematic.

This gives you access to the timeline of the current Sequence’s parent, which is the Master Sequence, for instance.

7. In Timeline, double-click on a clip that represents a Sequence.

This gives you access to the timeline of the targeted Sequence.

5. Explore the Asset Collections
The Asset Collections section of the Sequences window groups assets that are readily usable in Sequences. These assets are called Sequence Assets and are grouped in categories called Asset Collections. Let’s explore the Assets Collections section:
1. In the Sequences window, notice the various types of Asset Collections: Character, Fx, Lighting, Photography, Prop, Set, and Audio.
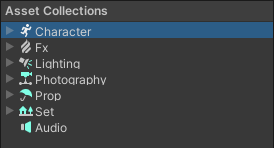
2. Expand the Character Asset Collection.

This Asset Collection contains three Sequence Assets: CHICKEN, MICH-L, and T-REX.
3. Expand the CHICKEN Sequence Asset.
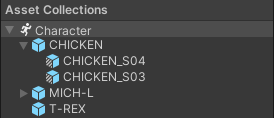
Notice that this Sequence Asset has two Variants: CHICKEN_S04 and CHICKEN_S03. These two Sequence Asset Variants are built from the original Sequence Asset and depend on it, but they include variations in their timeline and properties.
Note: You can use Variants either as independent versions of the same character across the movie (as here), or as swappable alternatives of the same Sequence Asset to refine the movie content.
4. Continue to explore the Character Asset Collection. Notice the MICH-L Sequence Asset has six Variants, and the T-REX has no variants.
5. Explore the other Asset Collections to see all the Sequence Assets and Variants available in the project and readily usable in Sequences.
6. Explore the movie content
The creative content of the movie consists of Sequence Assets assembled in the various Sequences of the movie structure. Let’s explore some of the movie content:
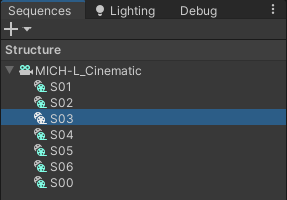
1. In the Sequences window, select the S03 Sequence.
2. Look at the Sequence Assembly window.
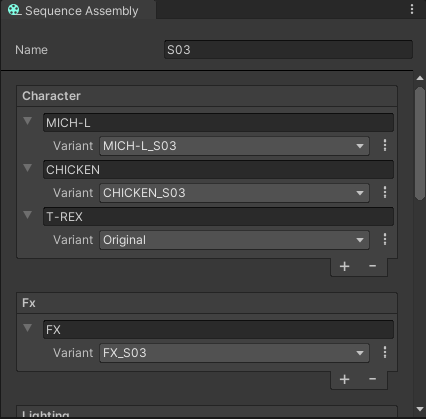
This window lists all Sequence Assets currently used in the S03 Sequence, grouped by Sequence Collection type, and indicates which Variant of each Sequence Asset is precisely used.
3. In the Character section, expand the Variant drop-down of MICH-L.
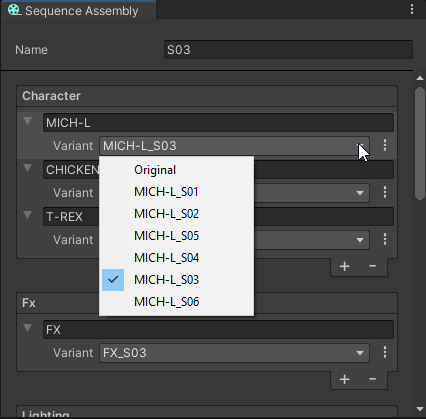
Notice that all Variants of the MICH-L Sequence Asset are available for selection, but the one selected for this Sequence is MICH-L_S03.
4. Expand the Variant drop-down of T-REX.
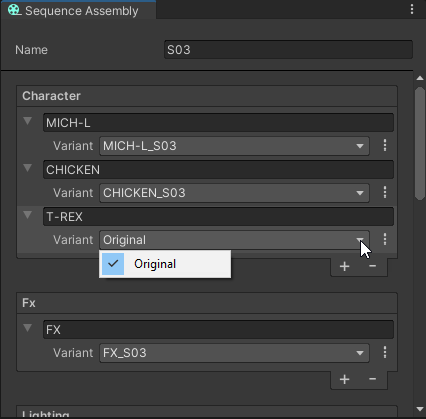
Notice that the T-REX Sequence Asset has no variant available here, as you’ve seen it when exploring the Asset Collections. The selected Variant is actually the original Sequence Asset.
5. In the Timeline window, expand the Character track group.
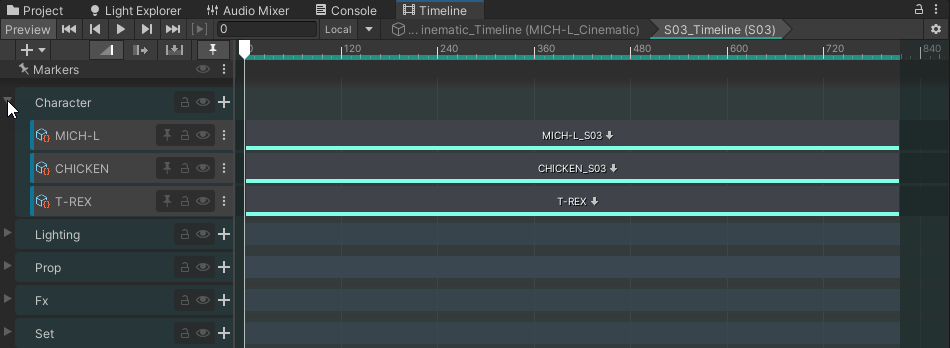
The tracks in this group correspond to all Sequence Assets of the Character type used in the current Sequence. Each one contains a single clip that corresponds to the Sequence Asset Variant currently selected in the Sequence Assembly window.
6. Double-click on the clip that corresponds to the MICH-L_S03 Sequence Asset Variant.

This gives you access to the timeline of the targeted Sequence Asset Variant in the context of the S03 Sequence.

7. Next steps
In this tutorial, you’ve explored Sequences and Sequence Assets through the sample. Next, you’ll create your own Sequence Asset so that you can add it to the movie.