
Week 2 | Session 4 - Player Control - Apr 2, 2020
Exercise
Beginner
+0XP
60 mins
Unity Technologies
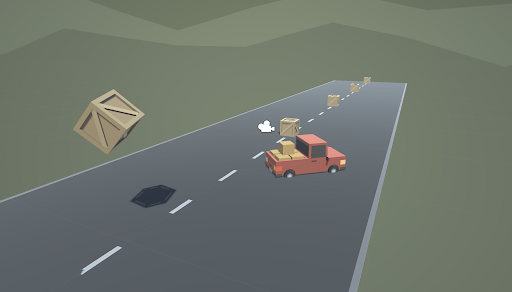
In this live session, we need to hit the road and gain control of the vehicle. In order to do so, we need to detect when the player is pressing the arrow keys, then accelerate and turn the vehicle based on that input. Using new methods, Vectors, and variables, you will allow the vehicle to move forwards or backwards and turn left to right.
Resources
1. Overview
This is the same content covered in Lesson 1.4 in the independent Create with Code Course.
What you will make:
- When the player presses the up/down arrows, the vehicle will move forward and backward. When the player presses the left/right arrows, the vehicle will turn.
What you will learn:
- Gain user input with Input.GetAxis, allowing the player to move in different ways
- Use the Rotate function to rotate an object around an axis
- Clean and organize your hierarchy with Empty objects
2. Before you Begin
To participate in this session and follow along, you need:
- Unity 2018.4 installed
- An up-to-date project open in Unity:
- If you have followed along with us this week and have your own project ready, you are good to go!
- You can also download the instructor's up-to-date project and import it (If you don't know how to import a project, you can read how here)
If this is your first Create with Code live learning session, you can catch up by:
- Following along with the recordings of our previous live learning sessions
- Completing the same lessons in the independent Create with Code Course
*Note - it is not necessary for you to catch up, but it is recommended for an ideal learning experience.
3. Recorded Live Session - 2nd April - 9am PST
If you missed this live session, you can catch up with the video below:
4. Recorded Live Session - 2nd April - 5pm PST
If you missed this live session, you can catch up with the video below:
5. Next Steps
Get caught up:
If you were not able to finish the session along with the instructors, you can catch up by:
- Re-watching this recorded session when it is posted in Step 3 above at 3am PT (10am UCT) the morning after this session's date
- Picking up where you left off in Lesson 1.4 of the independent Create with Code Course
Optional homework:
- Complete the "Plane Programming" challenge
- Add something cool to the prototype and post it below
Extra credit:
- If you want to go ahead and preview what we'll be covering in the next session, you can give it a try in Lab 1: Project Design Document of the independent Create with Code Course
6. Share your modified challenge or prototype
If you went above and beyond and added a cool new feature to your "Driving Simulator" prototype or the "Plane Programming" challenge, take a screenshot or screen-recording and post it here to share what you made! Please also share with us some of the "behind-the-scenes" info regarding how you did it.
Please login to submit
Complete this Tutorial
Submission Gallery
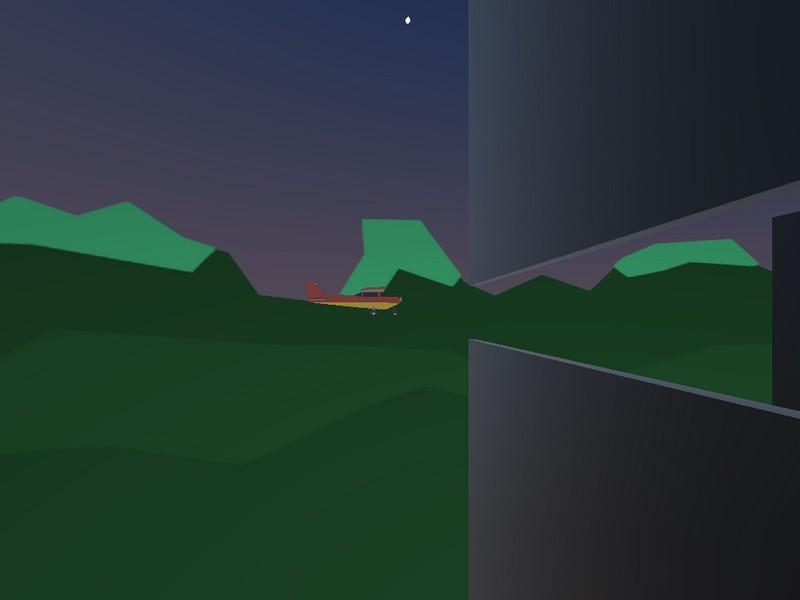
Plane Project
.

Car Control
Just completed a task from the lesson

Player controller
Add two vehicles

vehica_start
First experience

my plane
after completing the challenge to fix the plane game I decided to do some scripting and made some additions of my own, adding horizontal movement partical effects among other things.

twinstick test
t