The Unity AI Assistant Beta is Live
Need help with your Unity project or Learn course? Try the Unity AI Assistant to get un-stuck

Lesson 6.3 - Sharing your Projects
Exercise
Beginner
+10XP
30m
Unity Technologies
Overview:
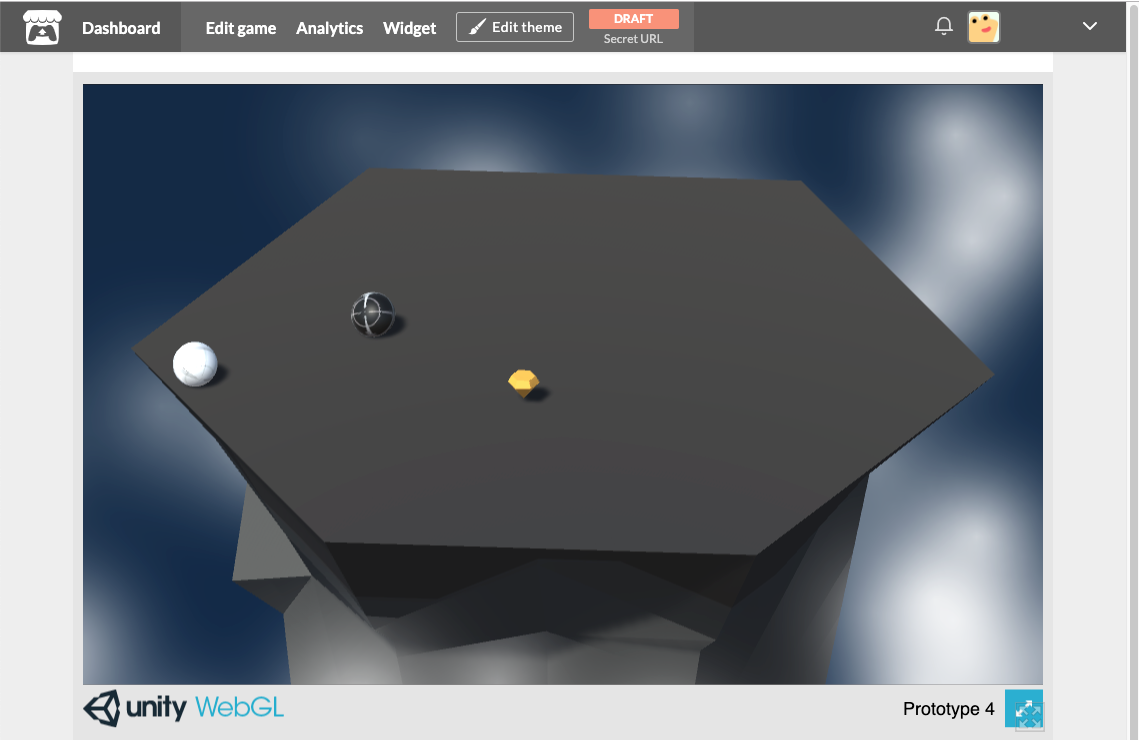
In this lesson, you will learn how to build your projects so that they’re playable outside of the Unity interface. First, you will install the necessary export modules to be able to publish your projects. After that, you will build your project as a standalone app to be played on Mac or PC computers. Finally, you will export your project for WebGL and even upload it to a game sharing site so that you can send it to your friends and family.
Project Outcome:
Your project will be exported and playable as a standalone app on Mac/PC or for embedding online.
1. Install export Modules
Before we can export our projects, we need to add the “Export Modules” that will allow us to export for particular platforms:
1. Open Unity Hub and navigate to the Installs Tab
2. On the Unity version you’ve been using in the course, select the gear icon, then select Add Modules.
3. Select Web Build Support, and either Mac or Windows build support, then click Done and wait for the installation to complete.
2. Build and publish your game
Now that we have the export modules installed, we can put them to use and export one of our projects:
1. Open the project you would like to build (could be a prototype or your personal project)
2. In Unity, click File > Build Profiles, then click Select Windows, macOS or Web as your target platform, then select Switch Platform. If a window pop up that say the Unity Editor needs to be restarted select Apply.
3. Select Open Scene List.
4. Select Add Open Scenes to add the current scene to the build.
5. Select Player Settings and adjust any settings you want, such as Windowed, Resizable Window, or whether to enable the Display Resolution Dialog.
For more information, refer to the documentation on configuring Player Settings
6. Select Build or Build and Run. Enter a name for the build, then save it in a new folder named Builds inside your Create with Code folder.
7. Play your game to test it. If needed, rebuild it with different settings.
Note: For detailed instructions on building and publishing a Web project to Unity Play, see the Build and publish a project tutorial.
3. Share your project
If you feel proud of the project you made and you want to share it, you can share screenshots of the game or upload a link so other learners can experience what you’ve made. You can also check out other Unity learners’ submissions below.
1. If you uploaded your game to Unity Play, locate the Unity Play link for your published project.
2. If you have not published your project, capture screenshots or recordings of your project from the Editor.
3. Add a submission title and description below. Be sure to include the screenshots and video recording. If you have a Unity Play link or any additional details about your process or project, you can include them in the description as well.
Please login to submit
4. Lesson Recap
New Concepts and Skills
- Installing export modules
- Building for Mac/PC
- Building for WebGL/HTML
Complete this Tutorial
Submission Gallery

Bola bolA
Kejar kejaran bola
Turret Rush
Turret Rush is a fast-paced top-down action game where you control a turret mounted on a moving car.

Pirate 2D
WASD for moving, arrows for shooting

Build_WebGL_Prototype5 Irsyad
Proyek Prototype 5 tentang kontrol pemain, sistem spawn musuh secara bertahap (wave system), serta implementasi power-up pada objek pemain.

Game clicky crates eiffelino
Uji kecepatan refleksmu di Cliky Crates! Klik kotak yang muncul secepat mungkin, pilih tingkat kesulitan, dan raih skor tertingginya!

The Life oF a Canadian
A Game I made I tried Different Things and ended here