
Simulate solid surfaces
Tutorial
Beginner
+10XP
30m
(467)
Unity Technologies
Materials define the ways that light will behave on an object.
In this tutorial, you’ll begin learning about materials by learning how light behaves with solid objects. Along the way, you’ll be creating materials for solid objects, and you’ll be able to simulate objects in the real world.
By the end of this tutorial, you'll be able to:
- Explain specular and diffuse reflectivity
- Distinguish between Specular and Metallic properties and explain how each is configured
- Adjust the Base Map of a material using a color
- Apply the Specular and Metallic workflows to achieve desired effects
- Identify the characteristics of a real-world surface to be configured in a new material
- Adjust material properties to simulate a given solid substance
Resources
1. Overview
To create materials that resemble the surfaces of real-world objects, you need to know some fundamental principles of light and how it acts upon those objects. After all, to see an object, our eyes must perceive the light that has interacted with it. The properties of materials are based on these principles.
In this tutorial, you will learn about solidly colored surfaces. Later, you can apply what you’ve learned to more complex surfaces.
2. How light behaves
When light comes in contact with any object, it can do one of three things: bounce off of it, which is known as reflection; pass through it, if the object is transparent or translucent; or be absorbed by it.
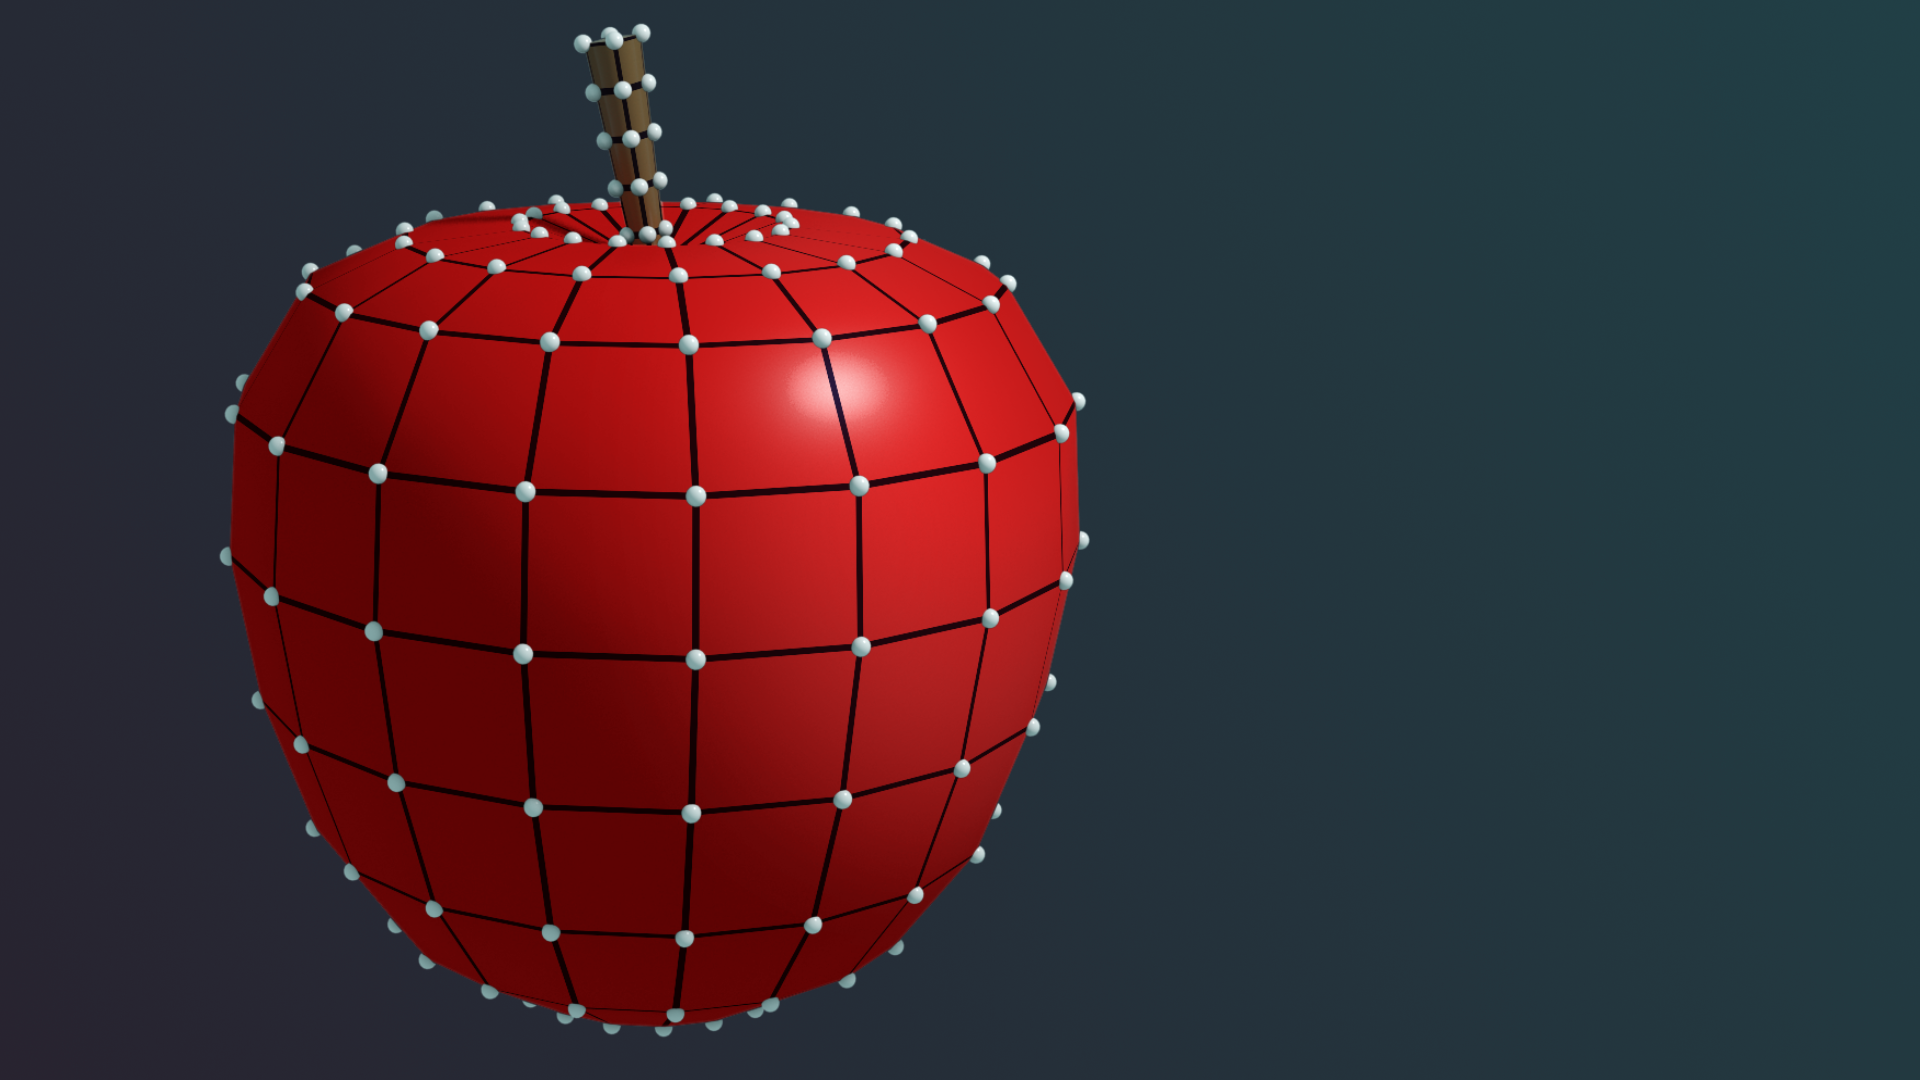
The way an object looks to the human eye depends on how it responds to light in some combination of these ways. We’ll use the apple on your workbench to demonstrate the ways light behaves on surfaces and the ways Unity simulates that behaviour.
3. Specular and diffuse reflections
There are two ways that light reflects from an object: there are specular reflections and diffuse reflections.
A specular reflection is the direct reflection that is most visible on shiny objects. In the example image below, the specular reflection is white, which indicates that the light source is white.
But not all the light that reaches the apple bounces off it directly. Other light penetrates the surface, and passes through or bounces around the outer layers of the apple. Some of this light is absorbed and some bounces out. The light that escapes is the diffuse reflection.
The diffuse reflection of an object determines its visible color. On the apple, the non-red light is absorbed, and the red light is reflected to our eyes.
All together, the specular and diffuse reflections make up the total reflectivity of the surface. All reflected light is either specular or diffuse.
4. Diffuse reflectivity: the base map
Now you know that diffuse reflectivity means the visible color of an object — that is, the color that is reflected from its surface. In Unity, to represent diffuse reflectivity the URP/Lit Shader calls for a Base Map, which you have already used. Other shaders commonly call this property Albedo or Diffuse Map (even though, technically, these terms don’t mean exactly the same thing).
What is albedo?
The term albedo describes the measurement of diffuse reflection. It is typically specified as a regular color, expressed as three values for red, green, and blue (RGB values). RGB values can be translated to values for hue, saturation, and luminosity (brightness). The luminosity of the albedo color corresponds to the amount of diffuse reflection, and the hue and saturation describe the quality of light that escapes from the surface.
Why is it called a map?
We will discuss mapping in more detail soon. Maps can be solid colors or they can be specified with 2D images to add variation to a surface. The color picker you have been using to set the Base Map property applies the selected color as a solid only.
5. Metals in the Specular workflow
Take a look at the metal objects that you can see in the real world around you right now. These might include a pen, a rivet on your bag or clothing, or some jewelry. How would you explain metal in terms of specular and diffuse reflectivity? It’s a trick question, because metals don’t have much, if any, diffuse reflection!
What if the apple in your scene was an apple-shaped paperweight made of steel? It would no longer have a red color — all of its reflection is specular, whether it comes directly from the light source or indirectly from the environment. In fact, you would see every source of direct or indirect light as specular reflections over the entire surface.
The property of a surface that makes it look like metal is called specularity.
You can tell that a reflection is specular when you can see the source of the light reflected in the object. With untinted metals, like silver and steel, the light we see has the colors of the light that hits the surface, just like a mirror.
Specularity is different from smoothness. We could polish a red apple until it is very smooth, but it would never turn into metal that way. However, to have any specular reflection, a smooth object must have some specularity.
The apples in the image below have the same smoothness, but increasing levels of specularity.
Like diffuse surfaces, metals do absorb light. You can tell this is true if you leave a metal object in the sun — it gets hot! But on colored metals, like gold and copper, the colored light we see is actually not a diffuse reflection — it is a tinted specular reflection. It must be specular because you can see the light sources in that reflection. The tint that you see is caused by the object absorbing part of the visible spectrum of light and only reflecting the tint color.
Specular workflow
Specularity, as a property of a material, is one way to specify that a surface looks metallic. There are two workflows you can use to specify a metallic appearance in your materials. When you use the Specularity property in the URP/Lit shader, you are using the Specular workflow. (We’ll explain another, the Metallic workflow, next.)
In the Specular workflow, smooth materials with a Specular setting greater than 0 will have some specular reflection.
In the Specular workflow:
- A shiny metal has a high Specularity setting and a high Smoothness setting.
- A shiny non-metal has a low Specularity setting and a high Smoothness setting.
- Smoothness focuses the specular reflection, and the Specular Map controls the amount and color of the specular reflection.
- The Specular Map can use RGB colors.
Let’s experiment with the specular reflection on the apple.
1. Select an apple and view the Material Inspector.
2. Make sure that the Workflow Mode property within the Material Inspector is set to Specular.
3. Adjust Smoothness to a value of 1.
4. Change the Specular Map color of the apple to white to create a metallic, mirror-like effect.
Notice what has happened to the diffuse color of your apple (Base Map). What happened to your yellow Golden Delicious or green Granny Smith? In the Specular workflow, as the specular value increases (approaching white), the amount of the base color (diffuse color) is ignored.
5. Experiment with the Specular color, even changing it from white to a color. You can get some strange effects! Keep in mind that you are playing with two types of reflected light: diffuse, with the Base Map, and specular with the Specular Map.
Here, you have the option to give these two reflection types different colors. The resulting effect is unusual, but not unheard of, in the real world. (Consider a metallic red car under a blue light, for example.)
6. When you are done experimenting, set the Specular color to create an apple made of gold. In this case, you’ll be simulating the way gold specularly reflects yellowish light and absorbs all the other colors.
6. Metals in the Metallic workflow
Unity provides two ways to make objects look metallic. The Specular workflow, which you have been using, is the more scientific of the two. The Metallic workflow is simpler, but doesn’t strictly follow the rules of physical light.
The base map color in the Metallic workflow remains visible in objects with a high Metallic setting. Compare the apples in the Specular workflow, above, with those in the Metallic workflow, below.
In the Metallic workflow:
- A shiny metal has a high Metallic setting and a high Smoothness setting.
- A shiny non-metal has a zero or low Metallic value and a high Smoothness value.
- Smoothness controls the focus of the specular reflection.
- The Metallic map only uses grayscale.
Here is a table to compare the two:
Try the Metallic workflow on a new apple:
1. Select an apple and view it in the Inspector. Open the Material section if it is not open already.
2. Open the color picker of the Specular Map. Write down the hex code of the color you selected in the previous step; for example: #ECCC15.
3. Duplicate the apple object so that you have two apples on the plinth.
4. Create a new material and apply it to the second apple.
5. Set the Workflow Mode of the second apple’s material to Metallic.
6. Use the color picker to set the Base Map color to the color you wrote down.
In the Metallic workflow, the Base Map color is not strictly the diffuse color — it remains visible whether or not the surface is purely metallic. Instead of specularity, this is called metalness.
7. Experiment with the Smoothness and Metallic values until your two apples match as closely as possible.
Note that unlike the Specular Map, the Metallic property doesn’t use a color, but has a slider. It is always expressed as a single value (grayscale), not as three (RGB color). It simply indicates an amount of metalness.
Whether Metallic has a low or high value, all reflected light — representing both specular and diffuse reflections — retains the base color.
Which workflow should you use?
When you import assets, you will see that some use the Specular workflow and others use Metallic. When you have a choice, you can use whichever you prefer. The Metallic workflow is more common because it is easier to work with, but it is not as scientific. The Specular workflow is based on real-world principles of reflectivity, but the coloured specular map makes it more challenging.
7. Smoothness
Observe solidly colored materials in your own world: plastic, paper, ceramic. Notice the specular highlights. Are they blurry or focused? Can you see the light source in the reflection? What does this tell you about the smoothness or roughness of each object?
Now consider the apples on your workbench. Their specular reflections are blurry highlights, which tells us that their surfaces are a little rough. But if we polish the apple to make the surface more glossy, we can see the shape of the light source reflected in the surface.
Smoothness, also called gloss or glossiness, brings the specular reflection into focus. From a smooth surface, light reflects in a uniform way so that you can see the shape of the light source in the reflection.
From a rough surface, there is still a specular reflection, but it is scattered. Small surfaces all over the apple give off a specular reflection.
Smoothness increases the specular reflection, but it’s important not to confuse the two. High specularity makes an object look like metal. A surface can be very smooth, like our polished red apple, but still not look like metal.
In the image below, all five apples have a Metallic setting of 0.5, with increasing smoothness. On the smoothest one, we can see the lights and reflection of the table.
Explore smoothness
In the URP/Lit Shader, you can set smoothness for the entire surface with one value. (There are also other options we will discuss soon.)
1. Experiment with the smoothness of your apples by adjusting the Smoothness value.
2. Move or rotate the apple and notice its specular reflection at different levels of smoothness.
3. Experiment with smoothness and specularity or metalness:
- What happens when your Metallic workflow apple has a Smoothness of 1, but a Metallic setting of 0?
- What happens when your Specular workflow apple has a Smoothness of 1, but a Specular map of 0 (black)?
As you work with models imported into Unity, you will encounter all combinations of settings in these two workflows. With an understanding of each workflow, you’ll be able to work in each one to get the results you want.
8. Explore: Create a solid material
Now you know several concepts that are key to physically-based materials: diffuse reflectivity, specular reflectivity, and smoothness. You know the difference between smoothness and metalness/specularity, and you can use both the Specular and Metallic workflows.
It’s time for a mini-challenge: simulate a real-world material.
1. Find a solidly colored object in the real world. It might be made of paper, plastic, metal, or something painted. Look for something with a uniform color and physical texture.
2. Create a new primitive (a sphere, capsule, or cylinder are best) with curves so you can see the specular reflection easily.
3. Create a new material in the Materials folder.
4. Apply the new material to your gallery piece.
5. Replicate the look of your real-world material in Unity.
Tip: In the real world, try putting your real-world object under a light that is similar to the spot light in our gallery so that you can compare the specular and diffuse reflections.
You’ll be successful if you can simulate your real-world object in a way that looks convincing to you.
For detailed illustrations showing the Specular and Metallic workflows in various materials, examine these Material Charts in the Unity Manual.
If you can’t quite get it perfect, don’t worry — there are more properties and techniques of physically-based materials in the upcoming tutorials that will help you. What’s important now is that you know how to apply these properties to make an object in Unity look real.
9. Next steps
You can now replicate many solid and metallic surfaces. However, most surfaces are not perfectly solid and uniform. In the next tutorial, you’ll learn how to use 2D images as maps to give your surfaces specific details.