
1.2 Core concepts: animation data
Tutorial
Beginner
+10XP
15 mins
(894)
Unity Technologies
In this tutorial, you will:
- Review the core concepts for 3D animation systems in Unity
- Explore and configure a simple animation in Unity Editor
When you’ve finished, you’ll be ready to complete the rest of the Beginner 3D Animation course.
1. Overview
In this introductory learning project, you’ll explore the two core concepts for creating an animation in Unity: animation data and animation blending. This tutorial, you will begin with animation data.
When you understand both core concepts, you’ll be able to apply your knowledge to all of Unity’s different animation features and explore them in more detail in the rest of the Introduction to 3D Animation Systems course.
2. Before you begin
This tutorial uses the Introduction to 3D Animation Systems Unity project. If you haven't already done so, download this before continuing.
When you’ve downloaded the project:
1. Open the project in Unity Editor.
2. In the Project window, go to Assets > 1.2 - Core Concepts Animation Data.
All the assets you need for this tutorial are located in this folder.
3. Introduction to animation data and Animation Clips
Animation data is stored as an asset called an Animation Clip. An Animation Clip can store any GameObject animation. This could be something relatively simple like a character jump or a flickering light, as well as more complex animations like a cutscene animation in a game.
Animation Clips are the fundamental building blocks of Unity’s animation systems. You’ll use them to make anything more complex than a very basic animation.
4. The two parts of animation data on an Animation Clip
The data stored on an Animation Clip is made up of two parts: values and bindings.
Values
The values of an Animation Clip are usually, but not always, represented by Animation Curves. Animation Curves contain information about the way the GameObject you’re animating changes. Animation Curves usually are a float value (a value that can be either an integer or a decimal) that can change over time.
Bindings
The bindings of an Animation Clip are a way of connecting the values to a particular field of a GameObject or component. Bindings are made up of two things:
1. The path through the Hierarchy to the GameObject’s Transform component
2. The path from that Transform component to a particular field
Values and bindings have a one-to-one relationship. This means that each binding has a value, and each value has a binding. A single Animation Clip can (and usually does) have many binding-value pairs.
5. Open an Example Animation Clip
Now you understand the theory of an Animation Clip, it’s time to see what they look like in Unity. You can view and edit Animation Clips in the Animation window.
To open an Animation Clip:
1. In the top menu, go to Window > Animation > Animation. Take care when selecting this; the Animation window is not the same as the Animator window.
2. Click and hold the Animation window header, then drag and drop the Animation window next to the Asset Store tab in the Scene view window header to dock it.
3. In the Project window, go to Assets > 1.2 - Core Concepts Animation Data and select the Circle Animation Clip to open it in the Animation window.
6. Explore the animation data and Animation Curves
In the next tutorial, you’ll make some changes to animation data, to identify how these changes affect the resulting animation. Before you can do that, you need to understand the data that exists in an Animation Clip. In this course, all the example animations have data held in Animation Curves.
To review the Animation Curves of the Circle animation:
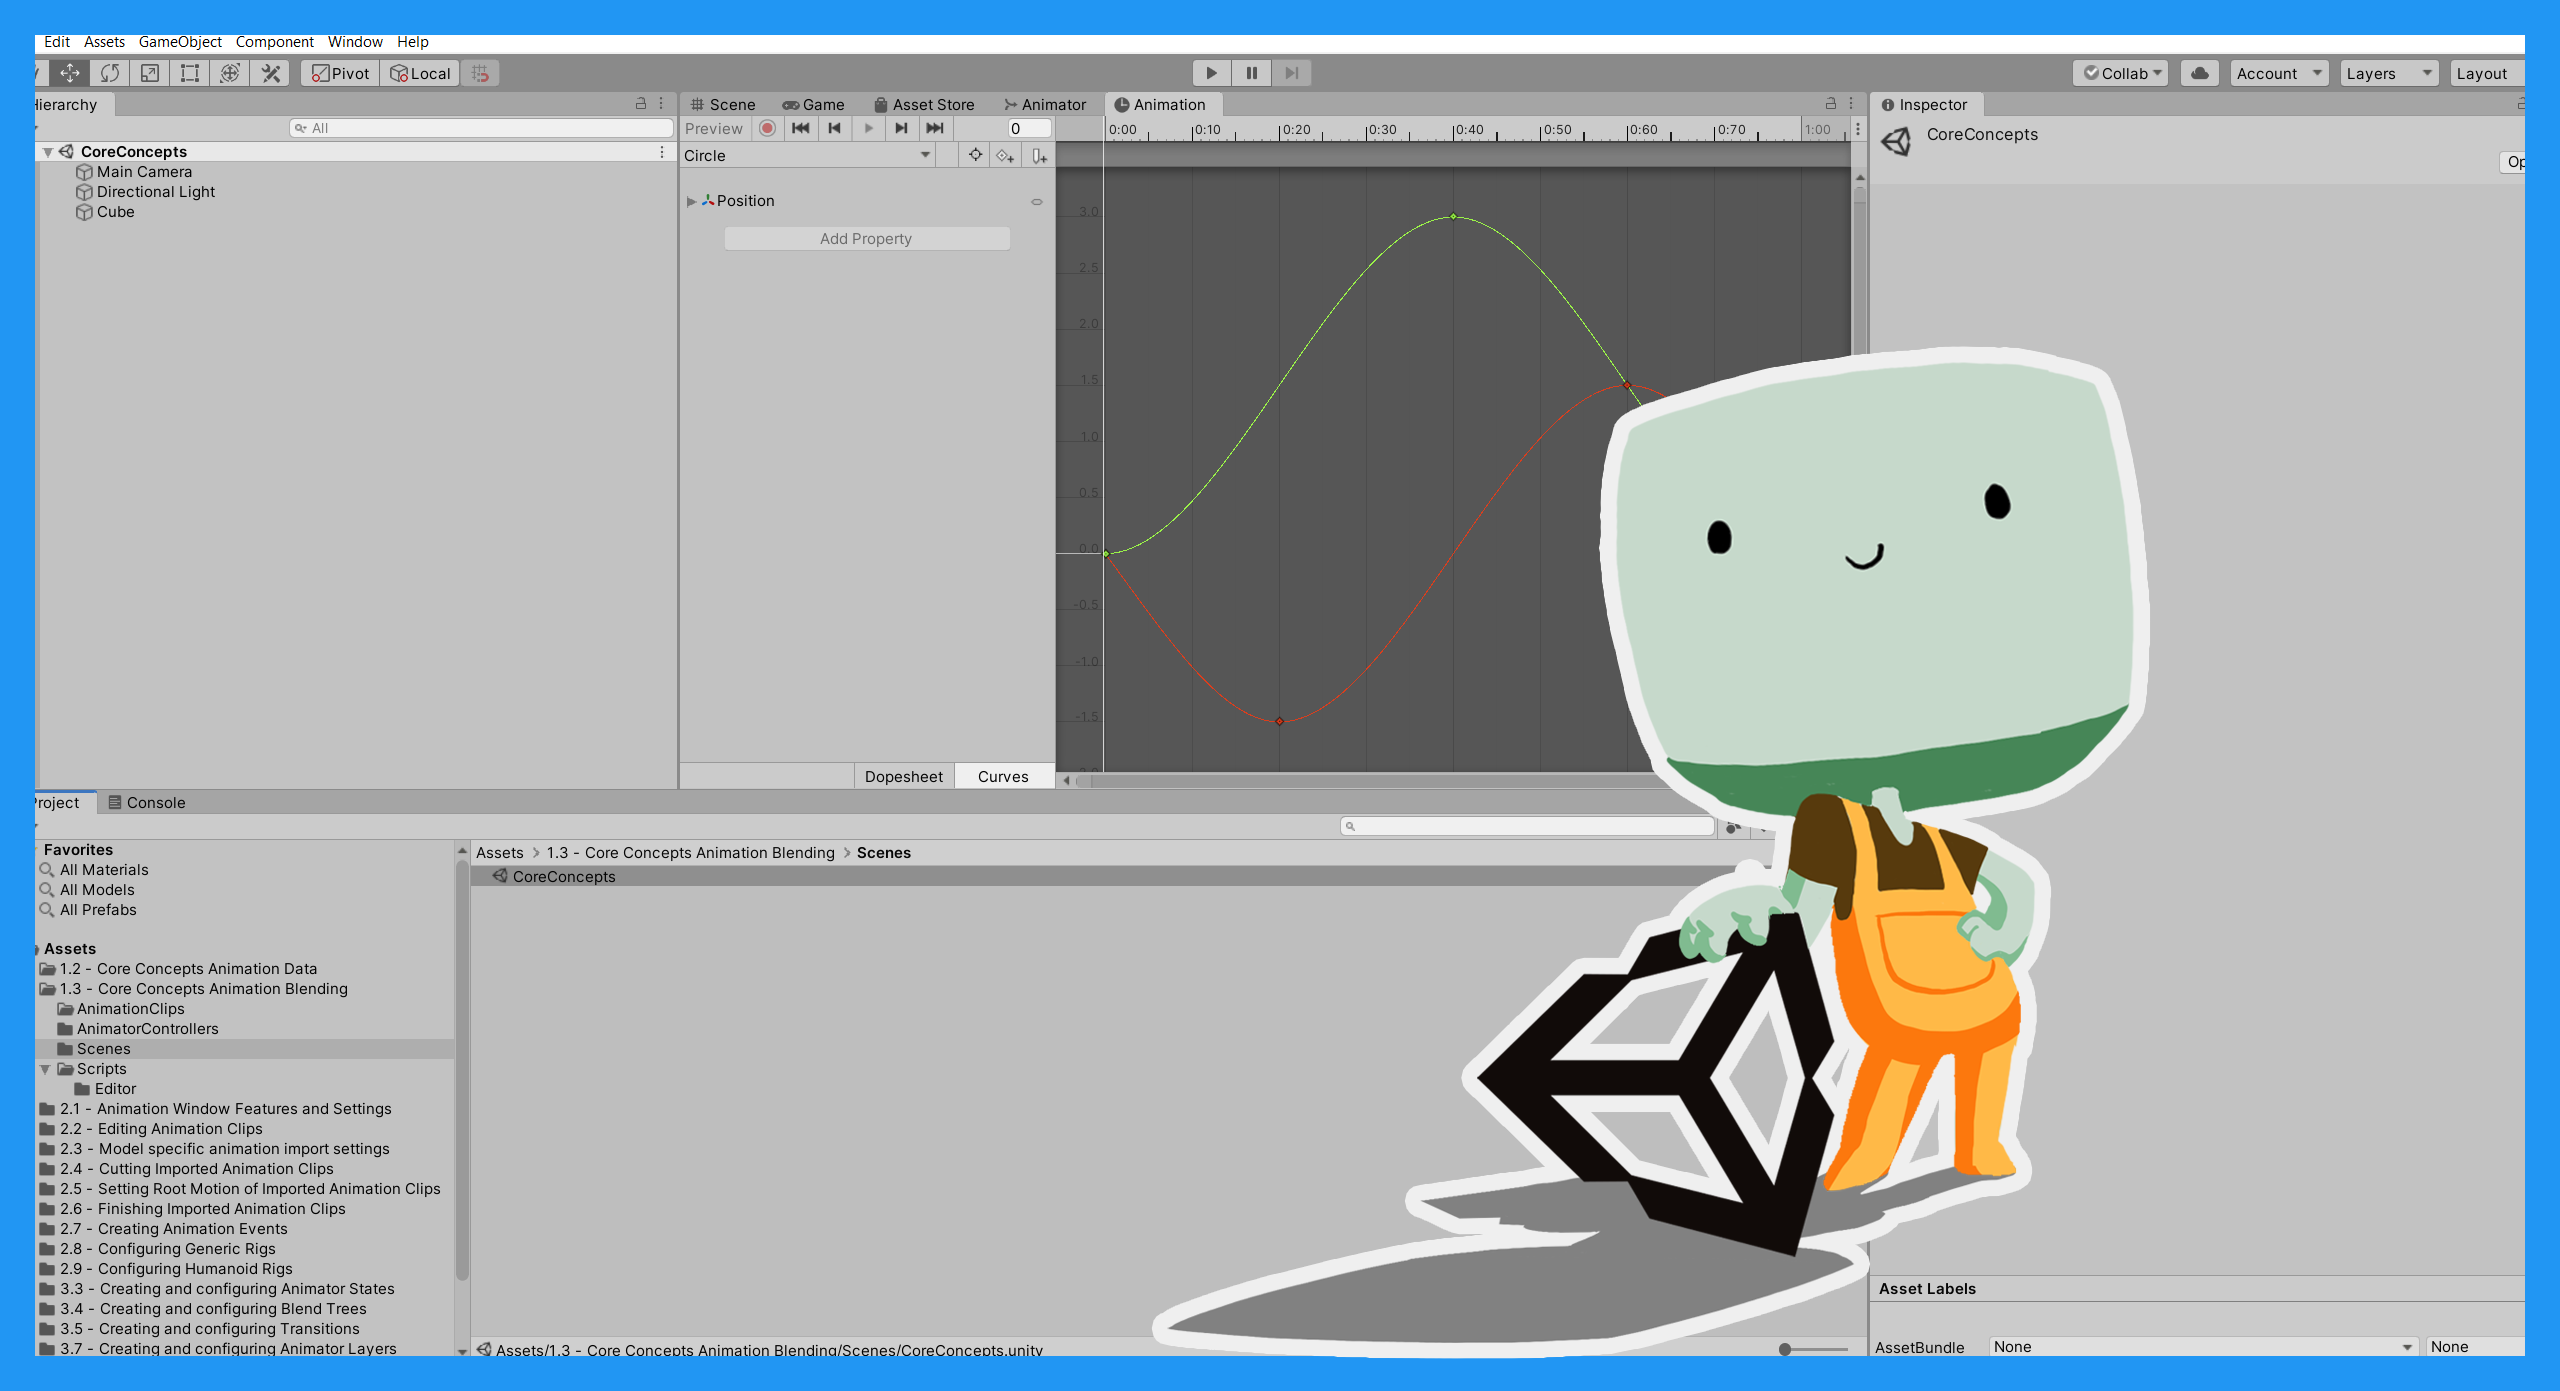
1. Select the Curves tab at the bottom of the Animation Window to enter Curves Mode.
2. Press Ctrl + A (Windows) or Cmd + A (macOS) to select all the animation keyframes.
Animation Curves are made up of a collection of keyframes. Keyframes are, among other things, a value-time pair. Keyframes can have the same value, but they cannot have the same time. The variation in the value of the keyframes over time defines the Animation Curve.
3. Press the F key to center the keyframes in the Curves section of the Animation window.
4. Select the foldout to the left of the Position property to see its Position.x and Position.y data. These are the bindings.
5. Select a binding to highlight its associated Animation Curve on the right of the Animation window.
You can explore Curves Mode in more detail in the Animation window tutorials.
7. Review how animation data changes
When an animation is playing, the current time for its Animation Clip changes. At any given time, the values for all the bindings are being checked and the fields that those bindings correspond to have their values set.
For example, consider the Circle Animation Clip:
When the time is 0:40 (40 frames into the first second), the value for Position.y is 3.
This means that when the Animation Clip has been playing for half a second, the Position.y value of the GameObject it is played through will be set to 3.
8. Summary
In this tutorial, you’ve explored the basics of animation data. You have:
- Considered the nature of animation data, and how it is stored on Animation Clips
- Reviewed the data stored on an Animation Clip.
- Identified how Animation Clip data relates to the resulting animation
In the next tutorial, you’ll build upon this as you learn about the second core concept for using Unity’s animation systems: animation blending.