
Introduction to the project
Tutorial
intermediate
+10XP
10m
(280)
Unity Technologies
In this tutorial, you’ll review the objectives and outcomes of this learning experience. You’ll also download and review the supporting Unity project in the Editor.
1. Welcome to the project
Introduction
In Unity, there are two distinct techniques available for precomputing global illumination (GI), or bounced lighting. These are Baked GI and Precomputed Realtime GI. This tutorial focuses on Precomputed Realtime GI.
When working with Precomputed Realtime GI, a lighting precompute is the process of calculating the bounce of light around the static geometry within a scene in the Unity Editor and storing this data for use at run time. This process reduces the number of lighting calculations that must be performed at run time, allowing realtime bounced lighting while maintaining interactive frame rates.
When using Baked GI, traditional lightmap textures are generated offline during the precompute process. These textures then exist as assets within the project and cannot be changed at run time. Precomputed Realtime GI does not create lightmap assets in the same way. Instead, lighting data is saved as a Lighting Data Asset which contains the information needed to generate and update a set of low resolution lightmaps interactively, at run time.
Unless a scene has been properly prepared and optimized, the time it takes to complete these calculations can become excessive.
Goal
In this learning project, you will learn how to optimize a scene for Enlighten (the backend for Unity’s Precomputed Realtime GI and Baked GI solutions) so that lighting precomputes take minutes rather than hours.
2. Learning objectives and outcomes
In this learning project, which contains four other sequential tutorials, you will:
- Determine an appropriate lighting resolution for scenes
- Explain what Charts are and how they affect precompute times
- Launch the precompute process
- Reduce the complexity of your lighting solution using probe lighting
- Improve the auto-unwrapped UVs generated by Unity’s Precomputed Realtime GI
- Explain what Clusters are and how they are used to generate globally illuminated lighting
- Fine-tune your lighting on a per-object basis using Lightmap Parameters
When you have learned and applied these techniques, you’ll be able to leverage the benefits of using Precomputed Realtime GI: fast lighting iteration times, the ability to experiment more rapidly during the lighting process and realtime bounced lighting during gameplay.
3. What results can I expect?
In the Lighting Tutorial scene used for this tutorial, precomputing the lighting with a default, non-optimized setup took around 7.5 hours on our test machine. For a scene of this complexity, clearly this is unacceptable.
Following around 30 minutes of scene preparation using the techniques covered in this tutorial, the precompute time was 2.25 minutes for a production-quality result. Considering that you can rapidly iterate on scene lighting without needing to re-calculate GI and change GI lighting during gameplay, the benefits of optimizing using this technology should become clear.
4. Before you begin
Download the assets for this tutorial
Throughout this project, we refer to the Lighting Optimisation Tutorial project available from the Unity Asset Store. You’ll need this project to follow along.
Review the Unity project
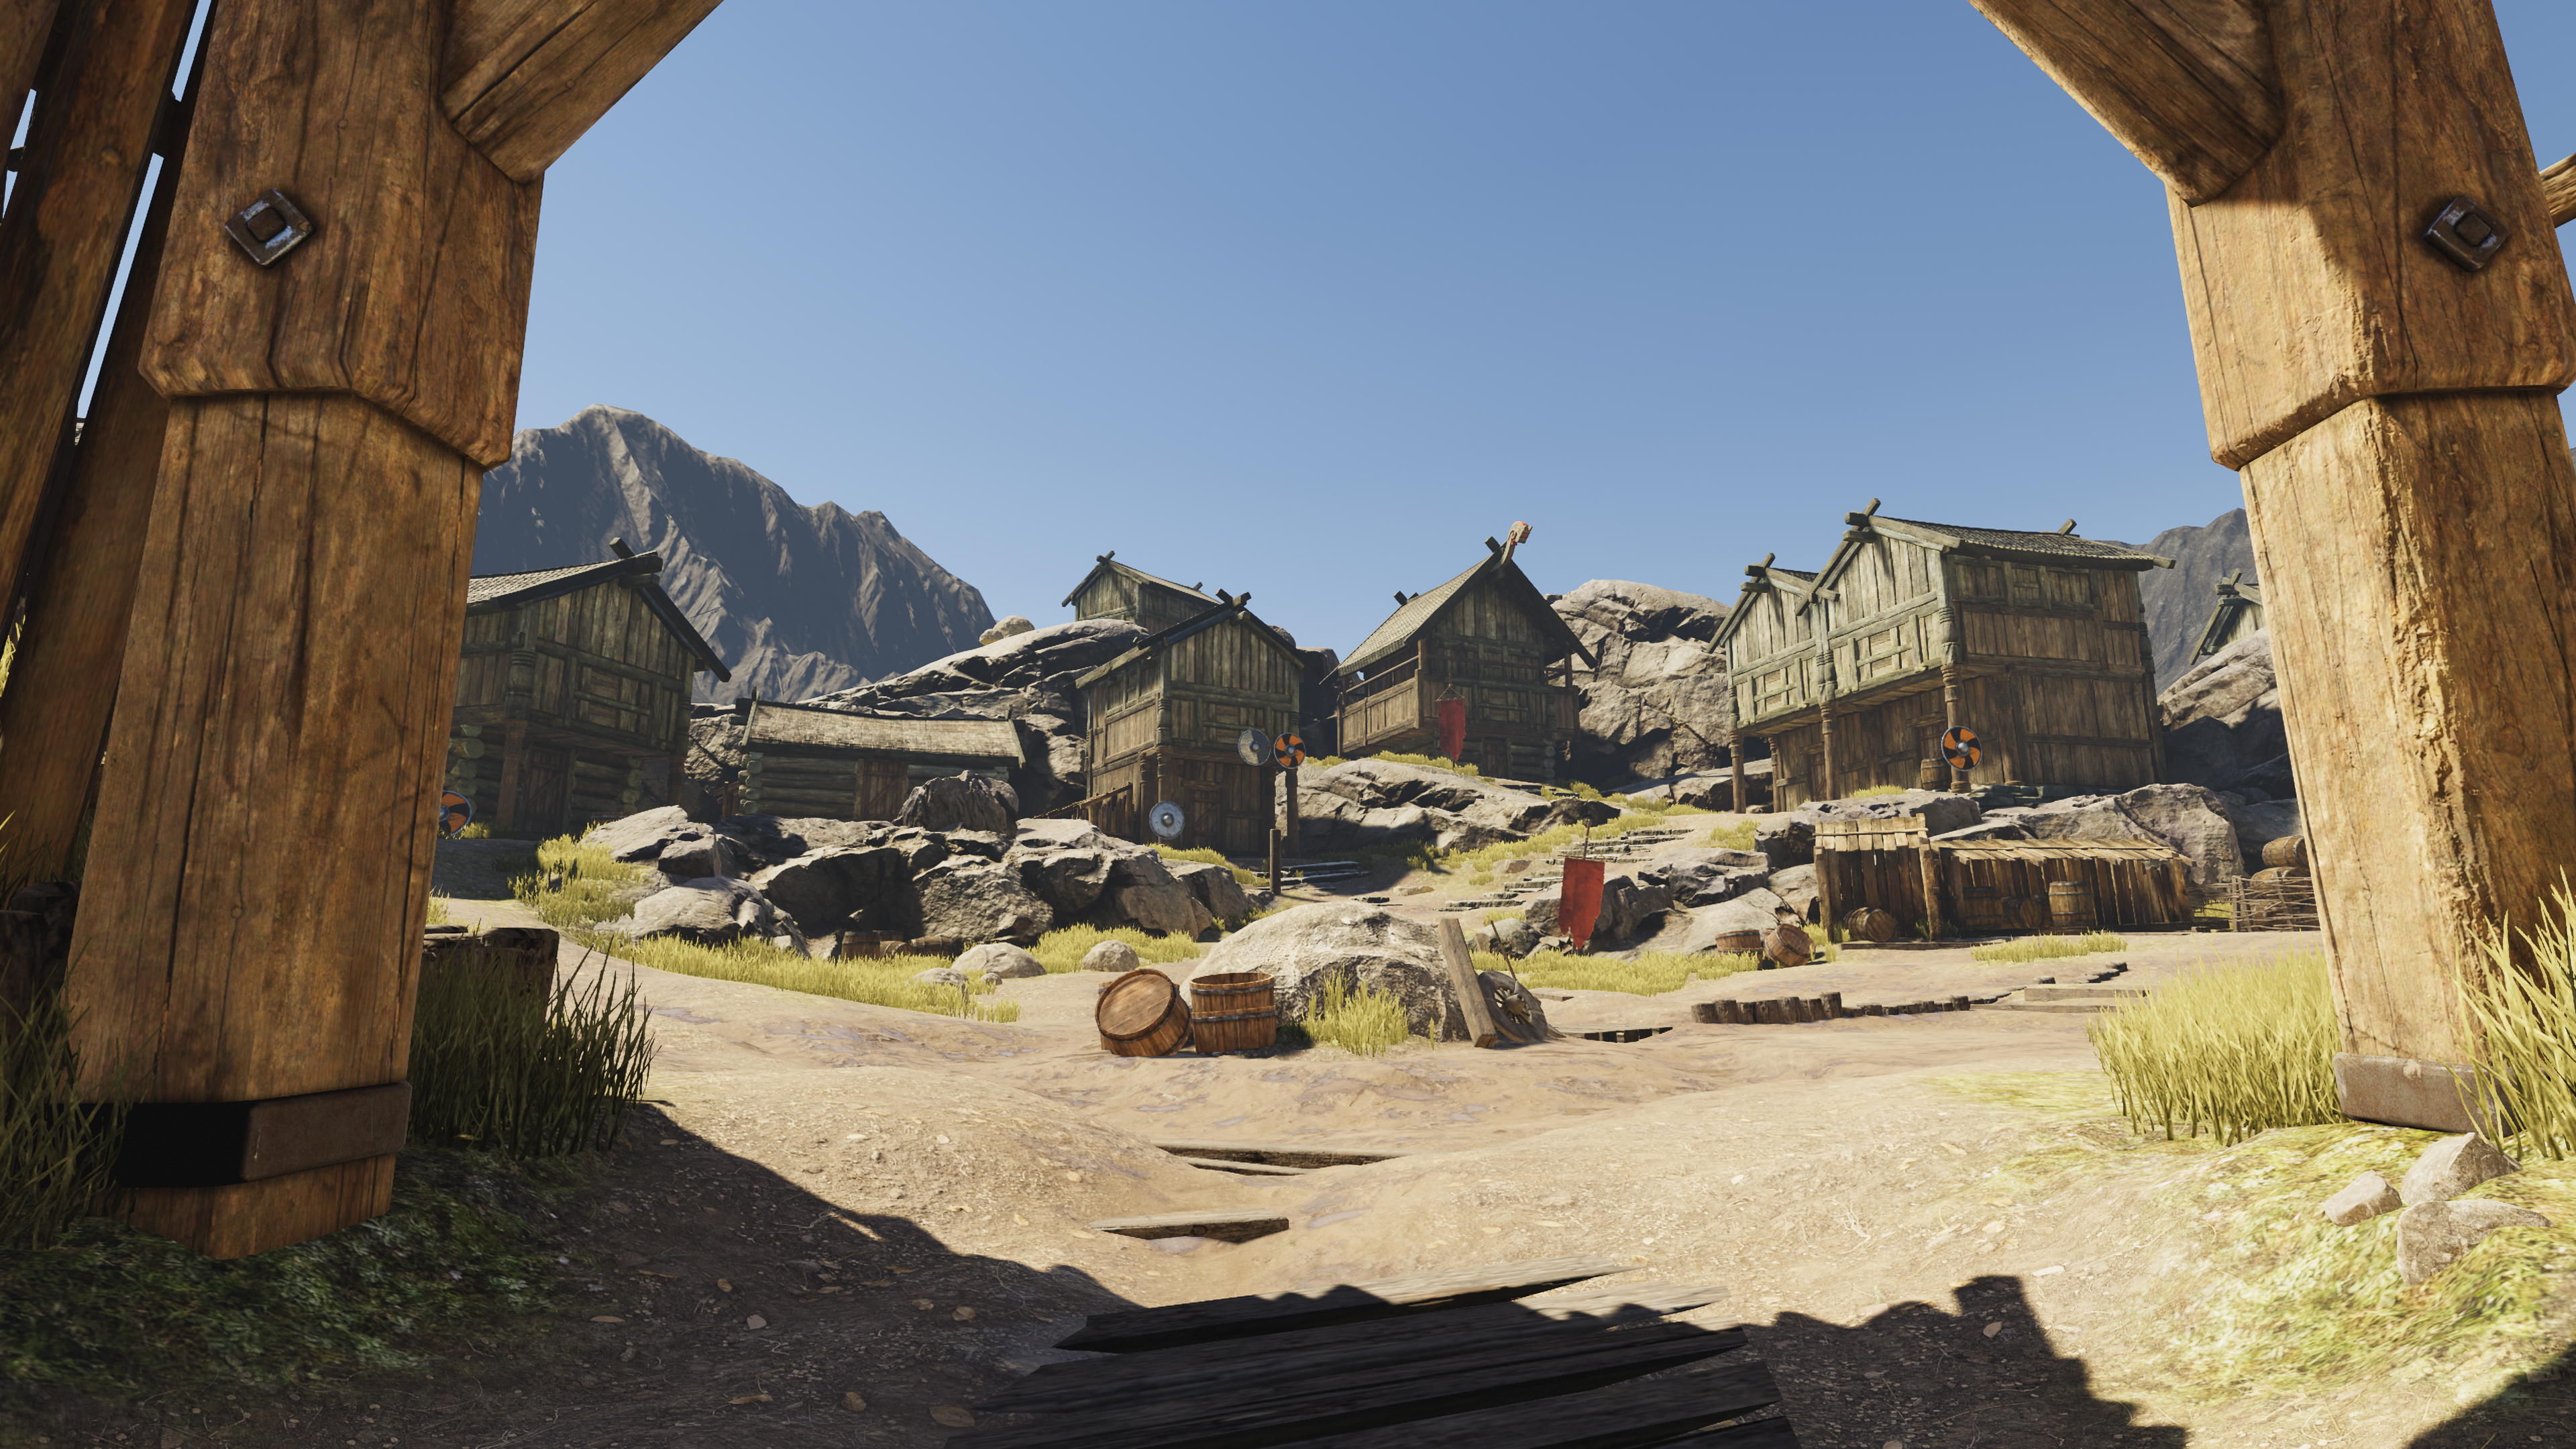
These tutorials use the example scenes contained within the Scenes/Article folder:
- LightingTutorialOptimal has been set up according to this tutorial and is intended to represent an example of how production-ready lighting results can be achieved with minimal precompute time using Unity’s Precomputed Realtime GI.
- LightingTutorialNonOptimal reflects a lot of the common problems you may find in projects that either don’t finish baking, or take an unacceptably long time. This is a good reference for how you shouldn’t configure a scene.
- LightingTutorialStart will be the scene which you are working with throughout this tutorial. As you follow the steps laid out in this tutorial, you’ll take this Scene to a completed, production-ready result.
Now you’re ready to get started with optimizing a Unity project for Enlighten. In the first tutorial, you’ll set up your scene.