Set up your scene
Tutorial
intermediate
+10XP
20 mins
159
Unity Technologies

In this tutorial, you’ll set up your scene for lighting with Precomputed Realtime Global Illumination (GI) and start the precompute process.
1. Overview
In this first tutorial, you’ll set up your scene for lighting with Precomputed Realtime Global Illumination (GI).
2. Before you begin
If you haven’t already done so, download the project assets and open them in Unity Editor.
3. Open the Lighting window
When setting up a Scene for lighting using Precomputed Realtime GI, one of the first decisions that needs to be made is to determine your Scene’s default Indirect Resolution. Indirect Resolution is the number of realtime lightmap texels (texture pixels) used per world unit.
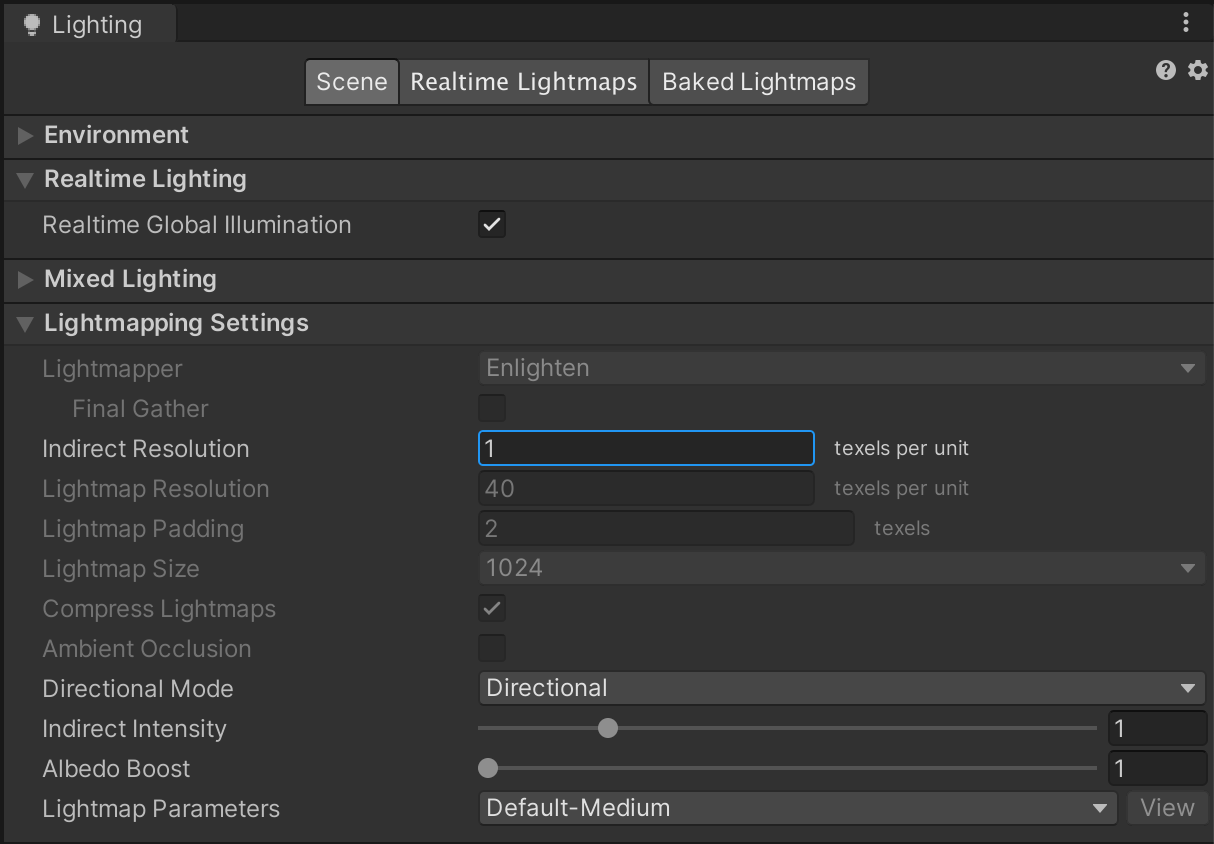
You can observe or set Indirect Resolution in the Lighting window, using the following process:
1. Open the Lighting window (Window > Rendering > Lighting Settings) and then select the Scene tab.
2. Ensure Precomputed Realtime GI is enabled by checking the Realtime Global Illumination checkbox.
3. Expand the Lightmapping Settings foldout and find the Indirect Resolution property.

4. Introduction to Indirect Resolution
When setting up a scene it is important to have some idea of the unit scale your project will need. It could be that in your project a unit is a meter, a foot or a centimeter. Unity units do not have a default equivalence in real world scale so it is down to the user to decide what a unit represents.
In our example project, we have decided that a unit is equivalent to 1 meter. Certain physics concepts assume the same. For example, gravity is represented in units per second as a default in Unity. Assuming that a unit is equivalent to 1 meter is therefore a good setup for a real world game scenario.
Choosing an appropriate Indirect Resolution
Often your scene’s Indirect Resolution can be determined from the scale of your game world. For example, is your scene a small, but richly populated indoor environment with a lot of variance in the bounced lighting? In this case, higher lightmap resolutions such as 2-3 texels per unit might be justified in order to capture this more detailed or ‘high-frequency’ lighting.
Perhaps your scene is a large outdoor environment where the world scale is considerably bigger. You might have surfaces that are hundreds or even thousands of units in area with little variation to modify the color of bounced light. In cases such as these, a resolution which is appropriate to capture the intricate lighting details present in an indoor scene would be wasteful when applied across the large and less featured expanses of an outdoor environment. We would be wasting valuable CPU time and available memory by having to store and update lightmap texels which aren’t contributing much to the overall look of the scene. More importantly, for the purposes of this tutorial, we would be increasing the number of lightmap texels that must be considered during the lighting precompute. This can have a huge impact on precompute times.
In the case of an outdoor environment, an appropriate lightmap resolution might be somewhere between 0.5 -1 texels per unit for large objects within the scene, or 0.1 - 0.5 texels for the terrain.
5. Selecting Indirect Resolution values
The Indirect Resolution values needed by Unity’s Precomputed Realtime GI are orders of magnitude less than ‘traditional’ lightmap texel texture pixel densities. This is because you are only capturing indirect lighting in these lightmaps, and this tends to be very soft or ‘low frequency’. When you use Precomputed Realtime GI, crisp shadows will usually be provided by realtime shadows rather than high resolution lightmaps.
Using values which may seem appropriate in traditional lightmapping techniques (for example, 30 texels per unit) will likely result in precomputes failing or otherwise not completing. Assuming that you are working with a human scale scene with a unit size of 1 unit = 1 meter, more suitable values are:
- Indoor scenes: 2 to 3 texels per unit
- Outdoor scenes: 0.5 to 1 texels per unit
- Terrain scenes: 0.1 to 0.5 texels per unit
Note: If the world scale was substantially different, these values would need to be adjusted accordingly.
When initially setting your scene’s Indirect Resolution, you are specifying the default resolution for Static objects within the scene. New GameObjects with a MeshRenderer marked as Contribute GI at the top of the Inspector will use this value until otherwise modified.
Per-object lightmap resolution
In addition to choosing the Indirect Resolution for the entire scene, you also have the option to change lightmap resolution on a per-object basis. In cases where you need the extra fidelity offered by higher resolutions, you can selectively increase this value.
Generally it is less work to set the most common resolution as the Scene default and then manually raise the resolution on those objects which need more lighting detail. We will discuss approaches to modifying resolution per-object later in the tutorial.
6. Set your scene’s Indirect Resolution
If you want to follow along, you’ll be working in the LightingTutorialStart scene included in the Unity project for this learning experience.
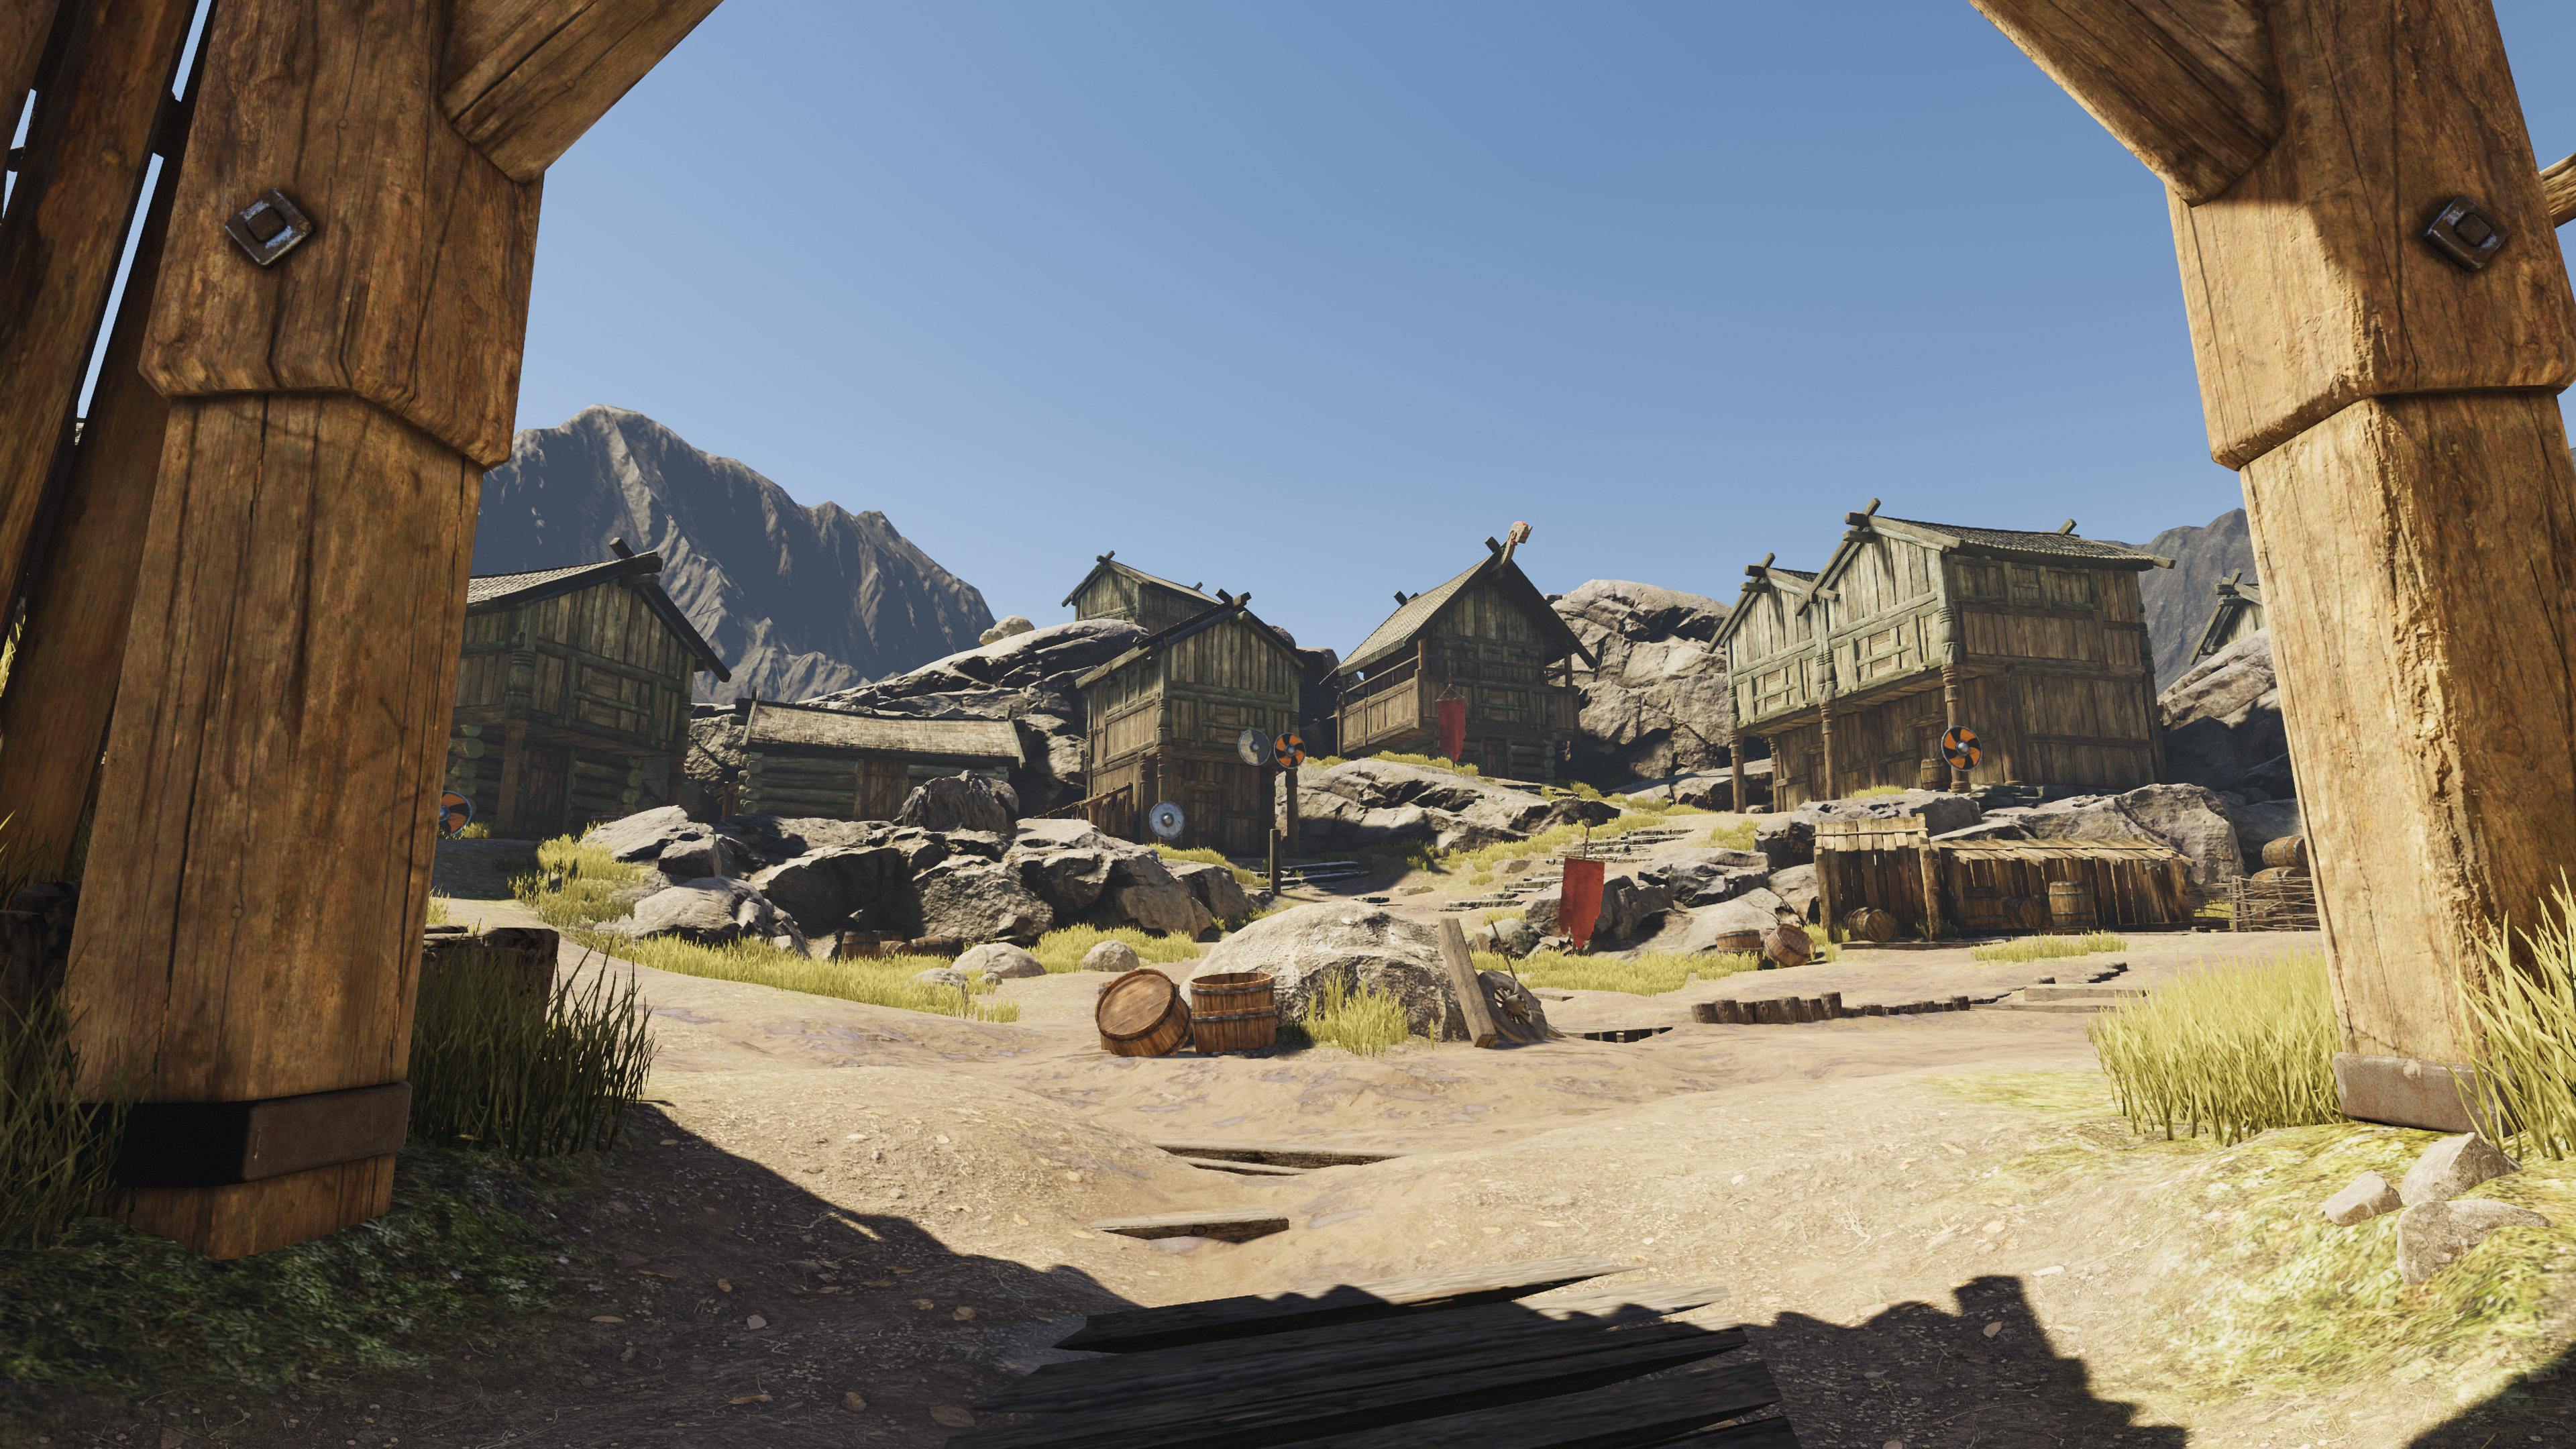
In the example scene, there is an outdoor environment with a medium size terrain of a reasonably consistent color. For this, a low Indirect Resolution of 0.5 texels per unit would be sufficient to capture the bounced lighting from other objects in the scene. However, there are also a number of wooden houses. These are much more detailed.
As there are many more houses than there are terrain objects in the scene, you should set the Indirect Resolution to be appropriate for the houses. You can then modify the resolution used by the terrain objects individually. This will reduce the amount of work needed when preparing our scene.
With this in mind, set a value of 1 texel per world unit for the default Indirect Resolution:
1. Open the Lighting window (Window > Rendering > Lighting Settings) and select the Scene tab.
2. Set the Indirect Resolution value to 1.
Given that we have decided the scene’s scale to be 1 unit = 1m, this means that a single lightmap texel created by Unity’s Precomputed Realtime GI will be equivalent to 1x1m in size. This might seem very low, but remember that you are only capturing the indirect light. Crisp shadows and specularity from direct lighting will be provided by realtime lights in the scene.
7. Introduction to Charts
In Unity’s Precomputed Realtime GI, a Chart is an area of a lightmap texture to which you map the lightmap UVs of a given Scene object. You can think of this as a small tile containing an image of the lighting affecting that object. A Chart is made up of two parts: irradiance (lighting) and directionality (encoding the dominant light direction).
When the Precomputed Realtime GI is generated, lighting is calculated for every texel that is included in a Chart. Large numbers of Charts in a scene can be one of the biggest detriments to precompute times so it is important to understand how Charts work and how you can manage them in order to optimize lighting precompute times.

How do Charts work?
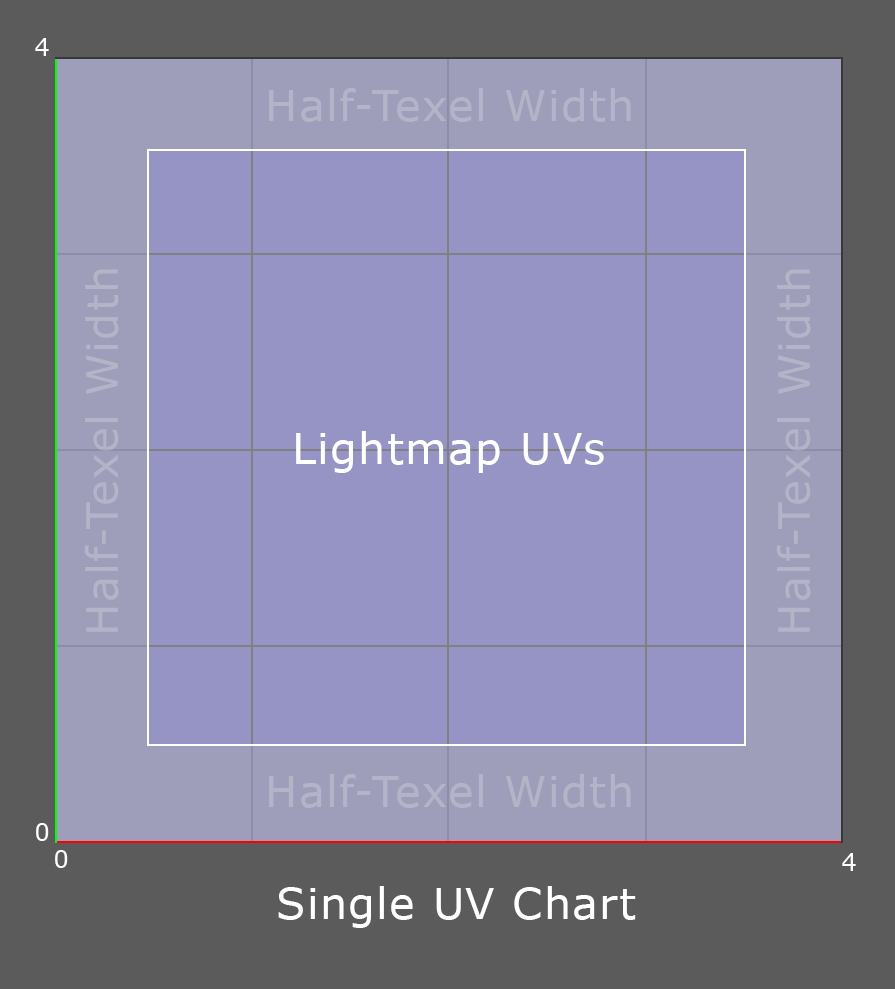
By default, each Chart is a minimum of 4x4 texels. A Chart therefore requires a minimum of 16 texels regardless of the scale of the object within the world or the size of the corresponding UV shell. For example, if an object is 1x1 meter, the object has 1 Chart and the Indirect Resolution is 1, then 16 texels are required for the object.
This minimum size enables Unity to stitch Charts together for seamless lighting across geometry edges. Unity requires at least 4 texels along a Chart edge in order to uniquely identify it before the corresponding partner can be found and stitched.
No padding is needed for realtime GI, because Unity clamps the lightmap UVs to give a half texel border inside the Chart during the packing stage of the mesh import pipeline. This means that Charts can be right next to each other and still be bilinearly interpolated without cross bleeding, saving valuable lightmap space.
Charts and optimization
Imagine the same example 1x1 meter object had 50 Charts. Unity would create 800 texels for the object, despite it being relatively small. This demonstrates how having a large number of Charts can quickly drive up the number of texels. More texels means more lighting calculations and more data to compute, compress and store. All of this adds up in complex scenes and can result in lengthy precomputes and reduced performance at run time.
Inappropriate Charting is the major culprit for lighting precomputes not completing or taking too long. With this in mind, many of the obvious strategies for reducing precompute times are to reduce the number of Charts you have in your scene.
8. Mark GameObjects as GI Contributors
To generate a lighting solution using Precomputed Realtime GI, you must initiate the precompute process. For this to begin, you must have at least one object marked as Contribute GI in our scene.
Organizing and grouping GameObjects within the Hierarchy view makes it quick and easy to select GameObjects for inclusion in the lighting precompute. There are numerous strategies for organizing the hierarchy of GameObjects. Discussing these different strategies in detail is outside the scope of this tutorial. However, what is important is to understand that having some scheme for organizing GameObjects will greatly improve your productivity when making repeated selections in the scene.
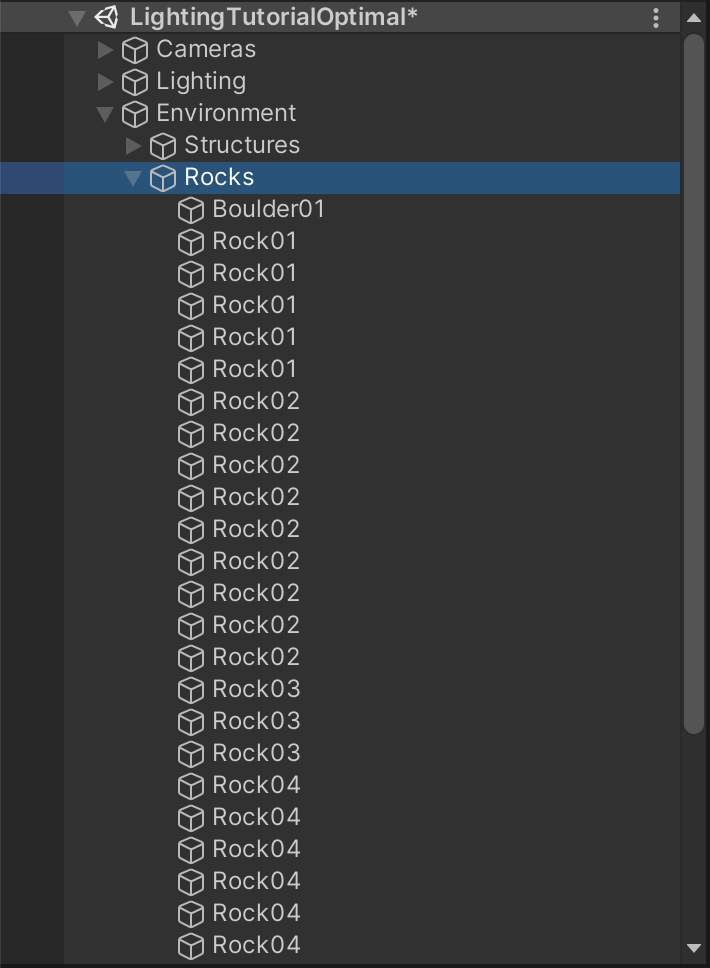
In the example scene, the GameObjects are organized into classifications underneath a parent object called Environment. This group contains all the visible, static MeshRenderers which make up the environment of our scene. Underneath this, there are sub-groups of objects which have similar characteristics in terms of size or topology.

It is most efficient to begin by applying lighting settings in broad strokes and then progressively refine the details as you move forwards. To select all the Environment child GameObjects:
1. Select the Environment GameObject.
2. In the Inspector window, enable the Static property.
3. When asked if you wish to enable the Static flags of the child objects as well, select Yes, change children. Doing this ensures the GameObject and its children will receive the Contribute GI flag. They will then be included in the lighting precompute.
9. Start the precompute process
Now that the scene has some Static GameObjects, you can begin the precompute process:
1. Open the Lighting window (Window > Rendering > Lighting Settings) and then select the Scene tab.
2. Check that Auto Generate is enabled. (The Auto Generate checkbox can be found next to the Generate Lighting button, which will be greyed out if the Auto Generate checkbox is checked.)
3. The precompute process will now begin. The progress of the precompute process is shown in the bottom right of the Unity Editor and is represented by a blue progress bar. The current task (written as x/xx) and the number of jobs remaining in that task are displayed within the progress bar.

4. If the Auto Generate checkbox is not enabled, the process can be manually initiated by selecting the Generate Lighting button.
Note: We recommend that you leave Auto Generate mode on while working on these tutorials.
10. Next steps
In this tutorial, you set up your scene and initiated the precompute process for the lighting. Next, you’ll create and place light probes in the scene.