
Source new assets
Tutorial
Beginner
+10XP
45 mins
12
Unity Technologies

In this tutorial, you'll learn the essential steps to enhance your Unity game prototype by integrating high-quality assets. Starting with the evaluation of your current asset needs, you'll explore how to source relevant assets from the Unity Asset Store and other resources, import and handle the assets effectively, especially FBX files, and finally integrate them into your game, replacing basic placeholder shapes. This guide ensures your game not only looks visually appealing but also remains functional and optimized.
1. Overview
Most good games start with an idea and a basic prototype to bring that idea to life. However, to bring your game from the stage of rough prototype to a visually appealing game that players will love, you will need to integrate high-quality assets.
Look at the before-and-after comparison of this game with and without high-quality assets.

In this tutorial, you'll learn how to identify your game's remaining asset needs, source them from various resources, and effectively incorporate them into your game. In doing so, you'll not only enhance the visual look and feel of your game, but also deepen your understanding of Unity's asset pipeline — a crucial aspect of game development.
2. Evaluate your current asset needs
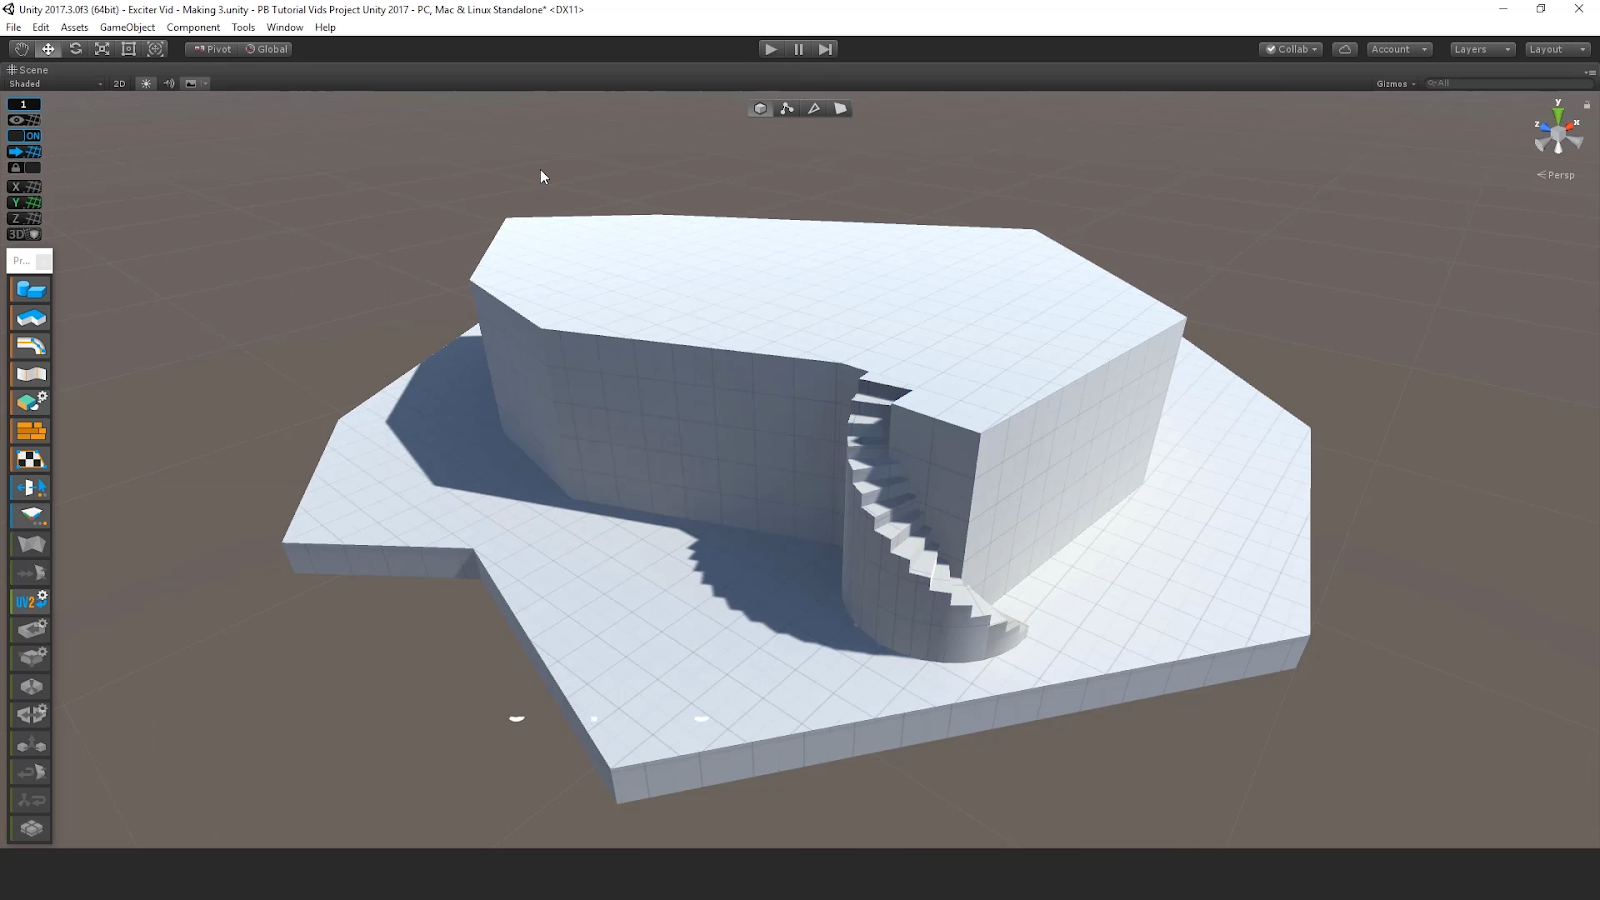
At this point, many of your game components are likely represented by primitive shapes like cubes and planes. This method, known as grayboxing, is a vital step in the early stages of game development. It allows you to rapidly prototype the mechanics and layout of your game without getting bogged down by visuals.
Below is an example of a more detailed kind of grayboxing made possible with Unity’s ProBuilder package.
To transition from a prototype to a polished game, you'll need to replace these placeholder objects with detailed assets. To begin this process, follow these instructions:
1. Make a list of required assets.
- Start by making a list of all the assets you'll need. You may want to refer back to your Game Design Document for reminders.
- Take into consideration everything from environmental elements and props to characters and visual effects.
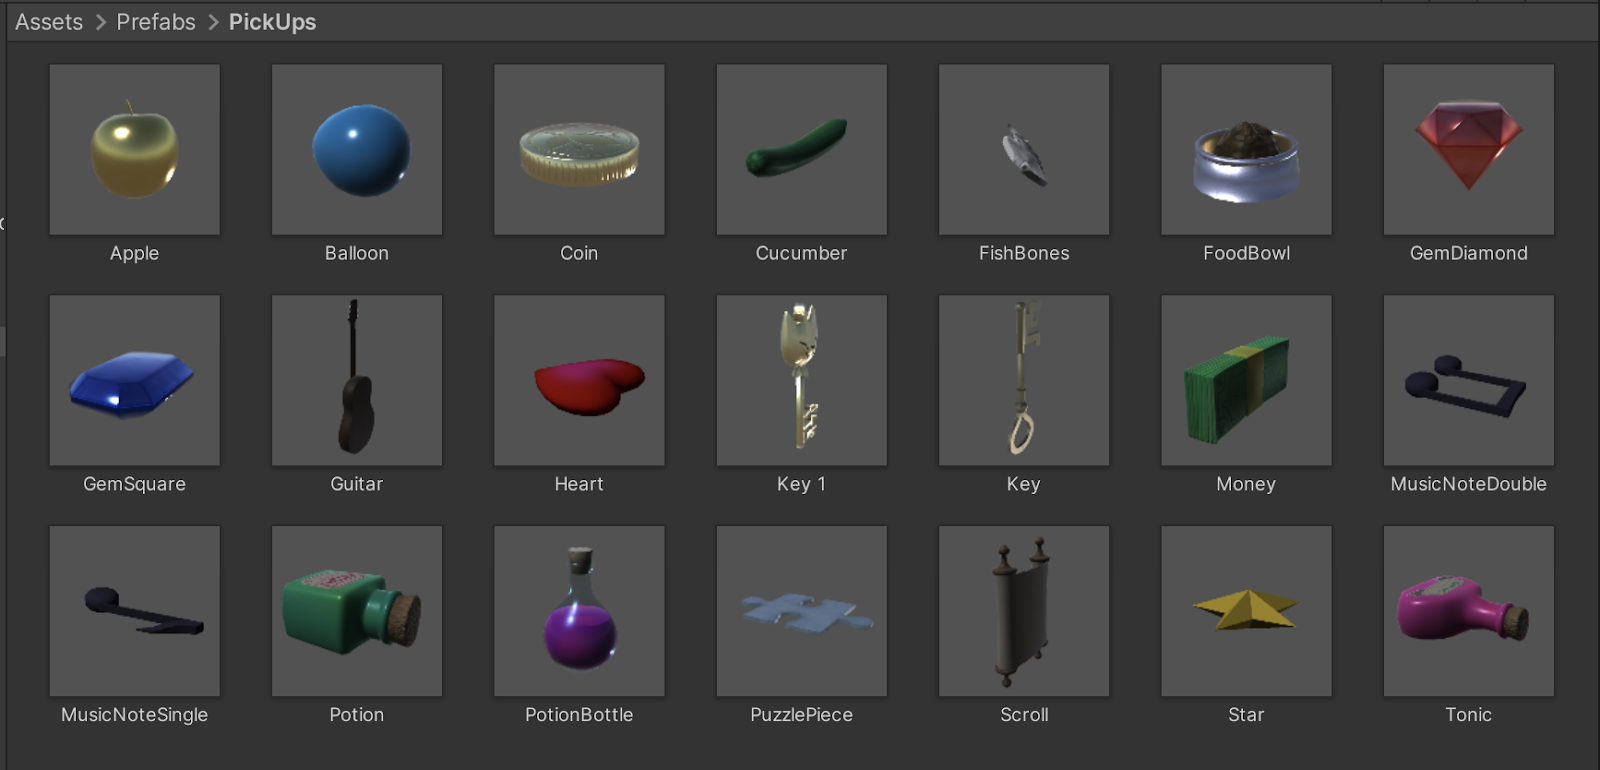
2. Check the asset library.
- Browse the Project window to see if any of the provided assets in the provided library meet the requirements of your game.
- Any assets that are not readily available will have to be sourced from the Unity Asset Store or another resource.
3. Browse the Asset Store and other resources
What is the Unity Asset Store?
The Unity Asset Store is a marketplace for creators to buy and sell game development assets. It houses a vast array of game resources, from 3D models and textures to scripts and sound effects. It's a crucial tool for developers, offering a way to access high-quality assets without the need to create everything from scratch.

What to look for on the Asset Store?
When browsing assets, you'll want to keep a few things in mind:
- Aim for consistency with your game's style or theme as outlined in your Game Design Document (GDD). You want the assets to fit seamlessly into your game world.
- Opt for assets that aren't super high poly.
Poly refers to polygons, the building blocks of 3D models. More polygons result in more detailed models, which comes at the cost of bigger file size and higher processing demands. Low Poly models, on the other hand, are less detailed, but provide smaller file sizes and better performance. This is a crucial consideration for game optimization, where the goal is achieving the best performance while maintaining visual quality.
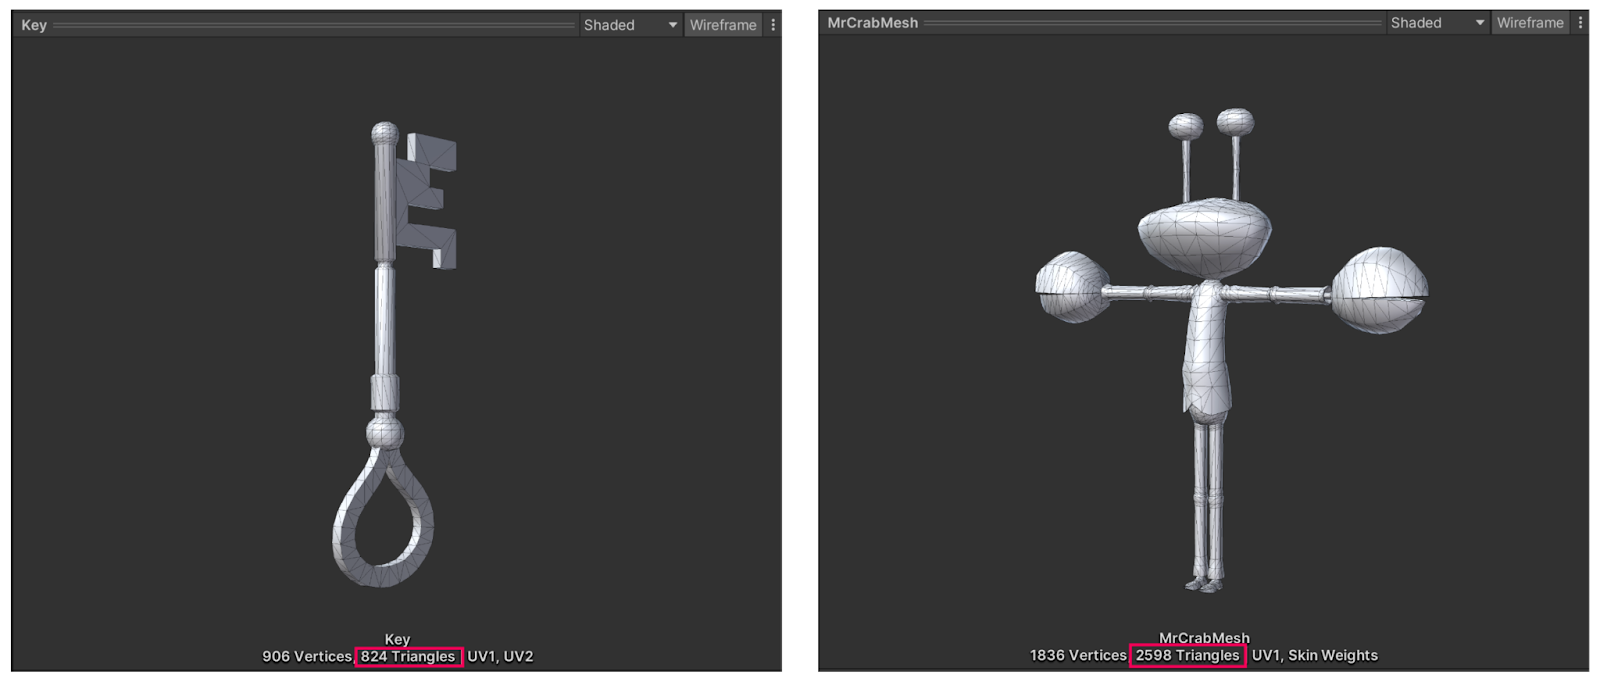
Unity actually measures its poly count in Triangles (which are a type of polygon). If you select a Mesh in the Project window, you can see a preview and a count of its triangles. Any model under 1,000 triangles is very low poly, and for a more complex or important model like a character, anything under 5,000 would also be low poly.
How to find assets that meet your criteria
When you’re searching for assets, keep in mind the following:
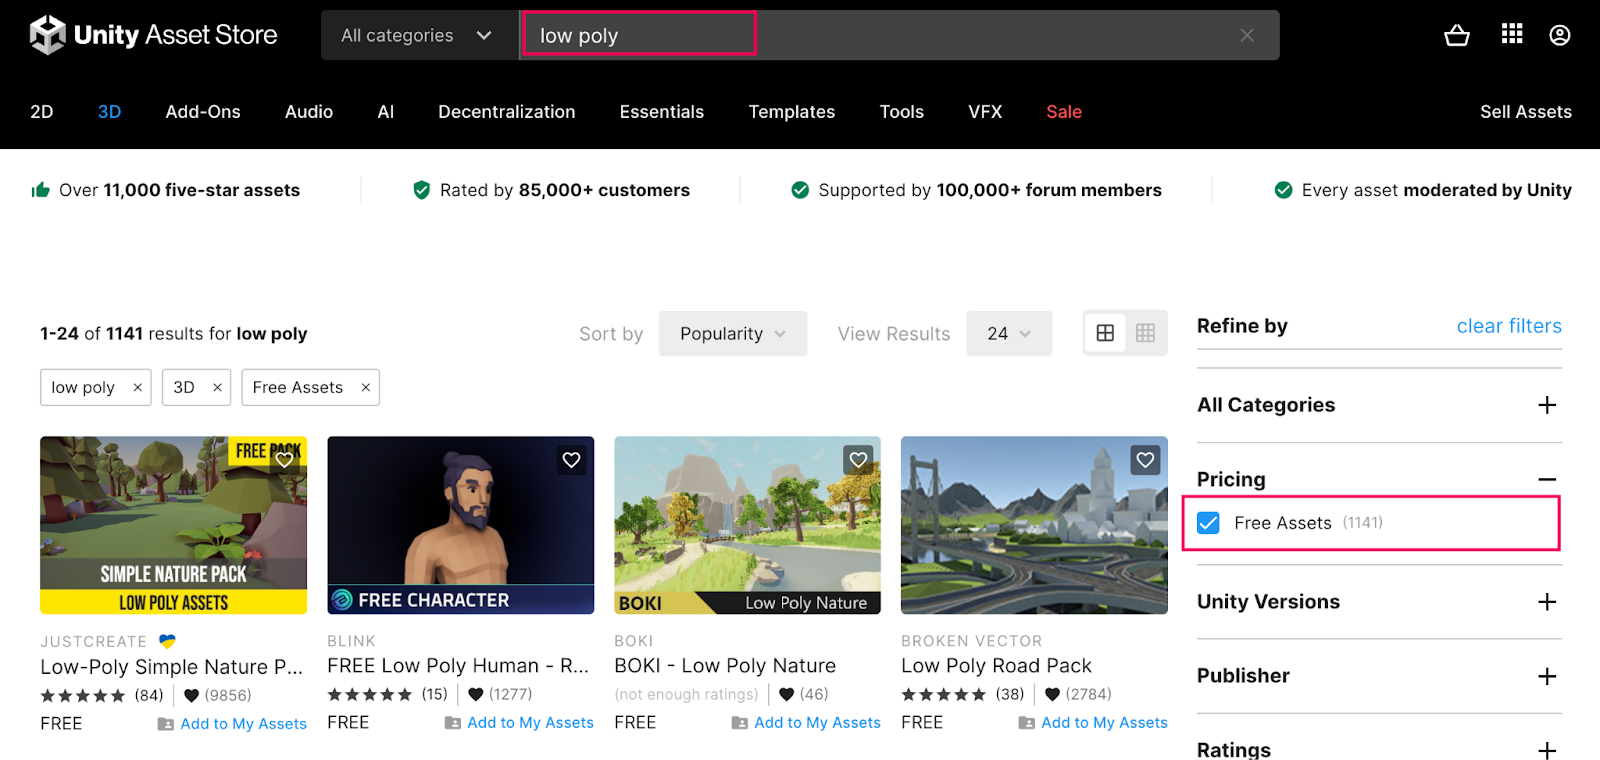
- Price: You can source assets according to your budget, from free to premium options. Use the price filter to view assets within your budget range, including only those that are free.
- High vs Low Poly: To find low poly assets, you can explicitly search for "low poly" in the search bar or simply browse for less detailed assets with smaller file sizes.
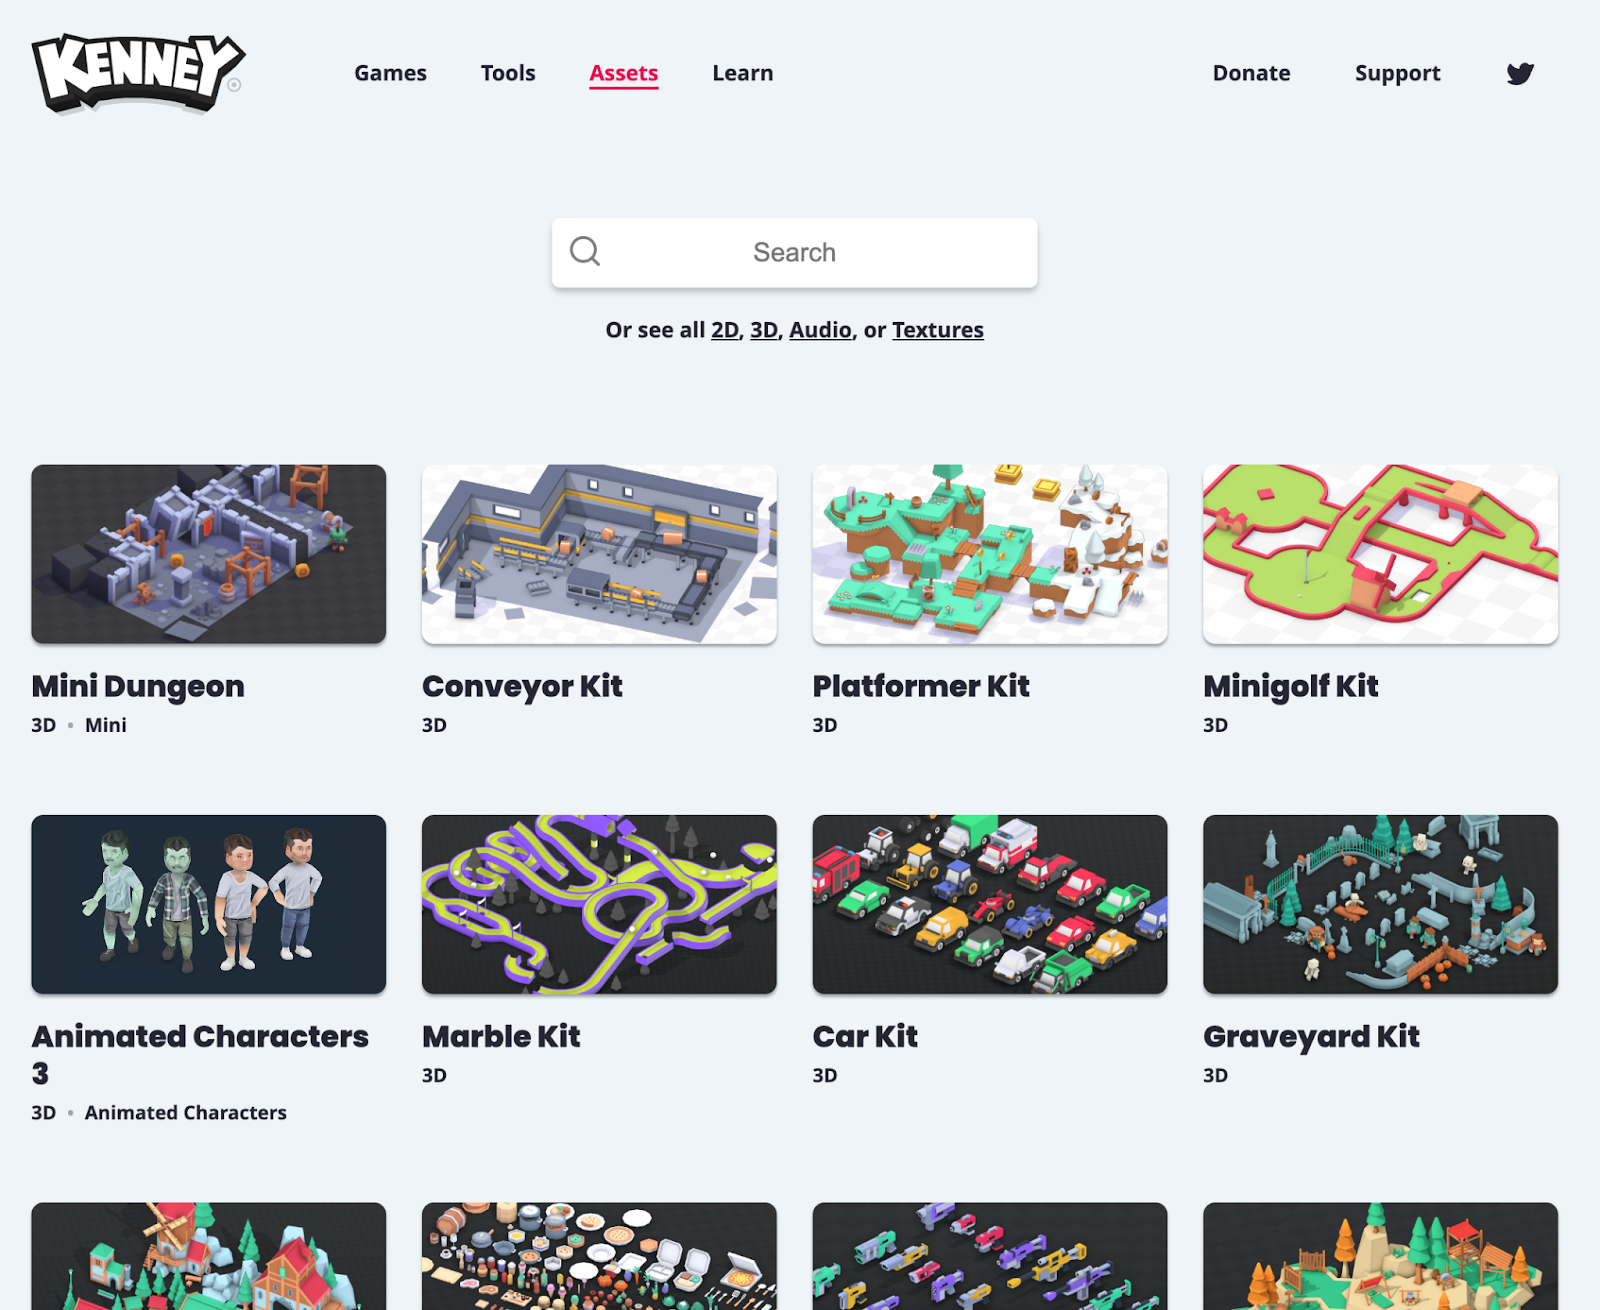
- Other resources: Apart from the Unity Asset Store, another excellent resource for game assets is Kenney.nl. This platform provides a vast collection of high-quality assets, all licensed under CC0, which means they're free to use for any purpose. It's important to always check the licenses of the assets you use. Some assets might restrict commercial use or require attribution.
4. What’s an FBX file?
An FBX file is a proprietary file format developed by Autodesk, widely used in 3D modeling, animation, and game development. It can contain a variety of digital information, including 3D models, materials, textures, animations, cameras, and lighting information, making it a comprehensive and versatile format for storing complex 3D content.
Unity recommends using the FBX file format for importing models, animations, rigs, and materials.
To import FBX files in Unity, follow these instructions:
1. Save the FBX file in a folder within your Unity project's Assets directory.
Unity will automatically import the file, creating a new asset in the Project window.
2. Select the imported asset in the Project window to view its properties in the Inspector window.
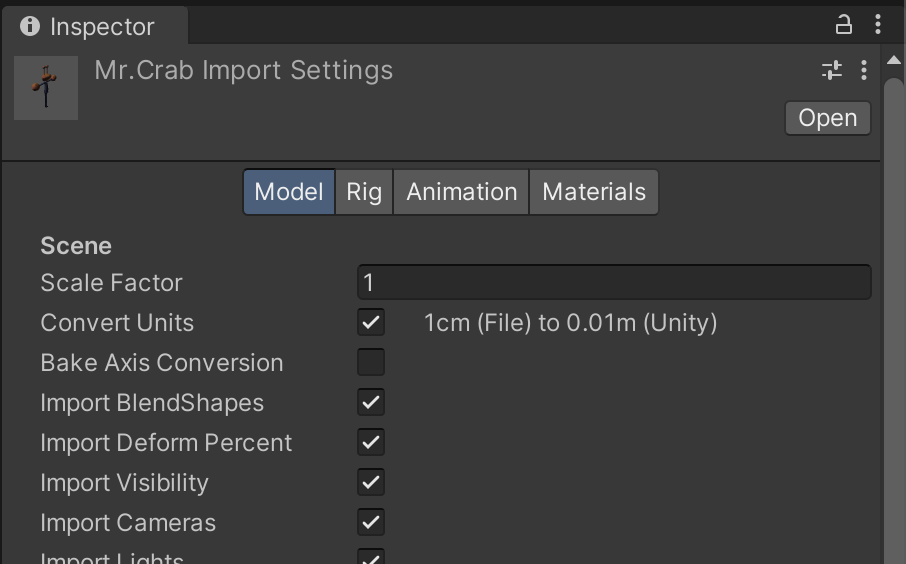
3. Expand the imported FBX asset in the Project window by clicking on the arrow next to its name.
You'll see a list of sub-assets, such as materials, animations, and meshes.
4. Select any sub-asset to view its properties in the Inspector window.

You can also assign the imported model to a GameObject in your scene by dragging the FBX asset from the Project window onto a GameObject in the Hierarchy window or directly into the Scene view. This will automatically apply the embedded materials, animations, and other components to the game object.
5. Import assets into your game
Once you've identified the assets you need, the next step is to import them into your game. This process varies slightly depending on where you're sourcing the assets from.
Importing from the Unity Asset Store
If you're downloading assets from the Unity Asset Store, find the asset you want, then select Add to My Assets. This will add the asset to your Unity account.
Note: You have to be signed into your account to import assets this way.
To import the asset into your project, simply download and import them from My Assets in the Package Manager. For guidance on how to do this, follow these instructions from the manual.
Importing from other resources
When using assets from other sources like Kenney.nl, the process is straightforward: simply drag and drop them into your Unity Project window.
Fixing pink materials
One important thing to remember is if you import assets that were made using Unity's Built-in Render Pipeline and your game uses Unity's Universal Render Pipeline, your materials might show up as pink in the Scene view.
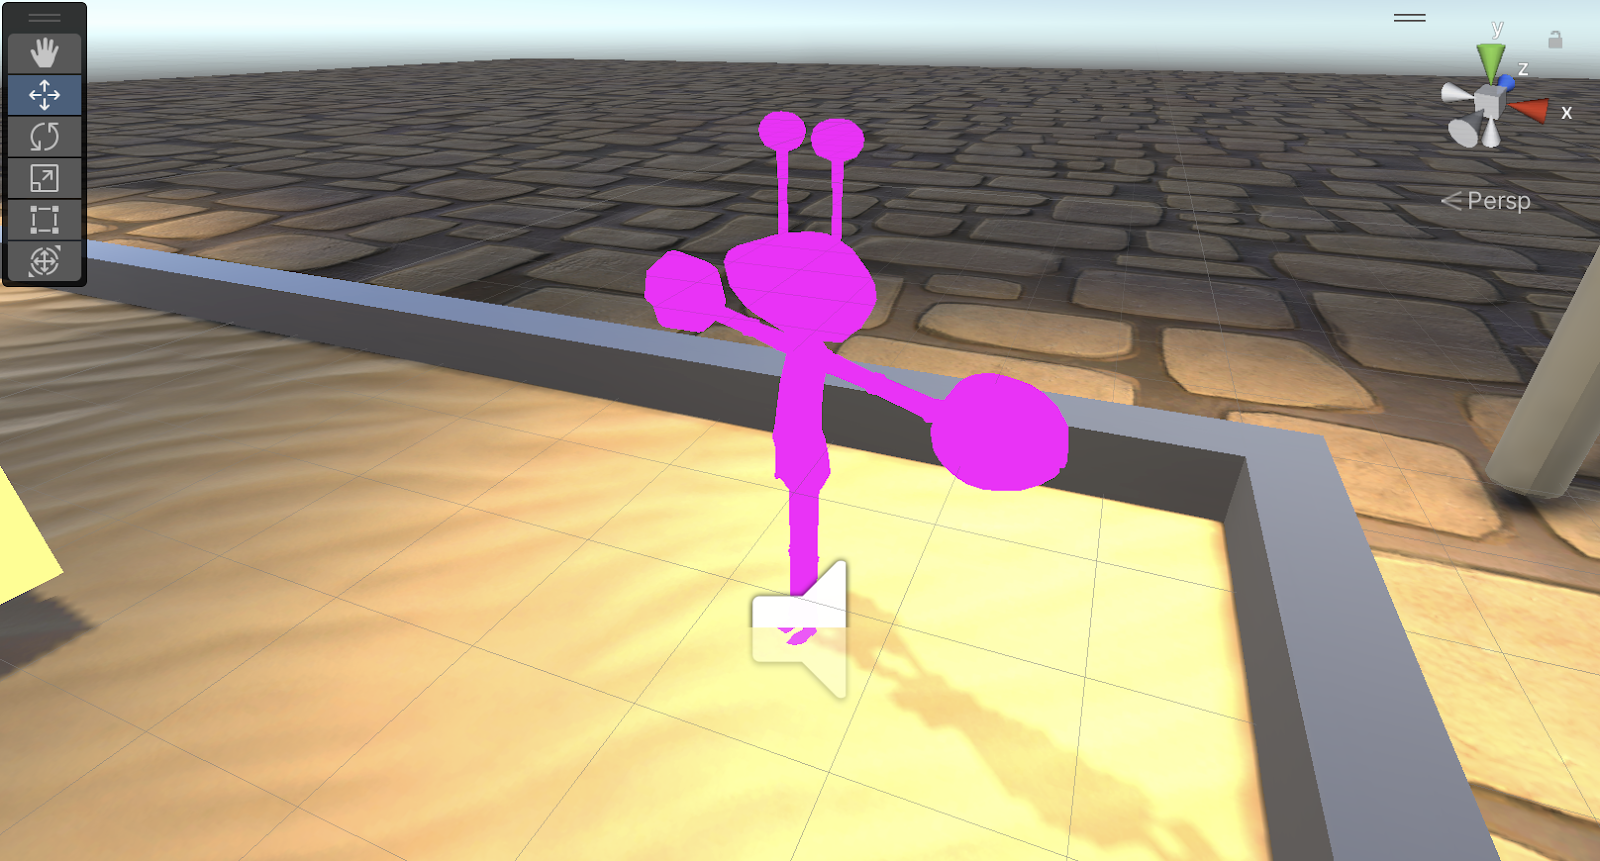
This is a result of differences in the rendering techniques used by each pipeline. Don't worry, this issue is easily fixed: Select the problematic materials, then go to Edit > Rendering > Materials > Convert selected Built-in Materials to URP. This converts the material shaders so they work correctly with the Universal Render Pipeline.
6. Integrate the assets into your game
With your assets now in your project, it's time to integrate them into your game. In most cases, the easiest way to replace existing primitive shapes with new assets is to make the new assets child GameObjects of the existing functional primitives. This ensures that all functionality associated with the parent GameObject, like scripts or physics components, continues to work as expected.
To replace primitive shapes with new assets, follow these instructions:
1. Add the asset as a child GameObject.
- Drag the new asset from the Project window onto the primitive shape in the Hierarchy window. The new asset will become a child GameObject of the primitive shape.
2. Remove the old Mesh Renderer.
- To prevent the primitive shape from rendering alongside the new asset, you'll want to disable or remove the Mesh Renderer component from the primitive parent GameObject.
- Select the primitive GameObject in the Hierarchy window, find the Mesh Renderer component in the Inspector window, and either disable it or select the More (⋮) menu and select Remove Component.

3. Fine-tune the new mesh.
- Adjust the scale of the new asset to match the dimensions of your game. This can be done using the Scale tool in the Unity Editor.
4. Edit the collider.
- If your mesh has changed shape or size, you may need to edit the size of the collider by selecting Edit Collider in the Collider component, or you may need to swap out your current collider type for another.
By integrating visually appealing assets in place of simple shapes, you will see your game transform dramatically.
7. Next steps
In this tutorial, you learned how to identify asset requirements, source them, import them into your project, and integrate them into your game. The next stage of your journey will involve learning some tips and tricks on project organization and efficient workflows as your game project becomes larger and more complex.