Introduction to HDRP
Tutorial
intermediate
+10XP
10 mins
Unity Technologies

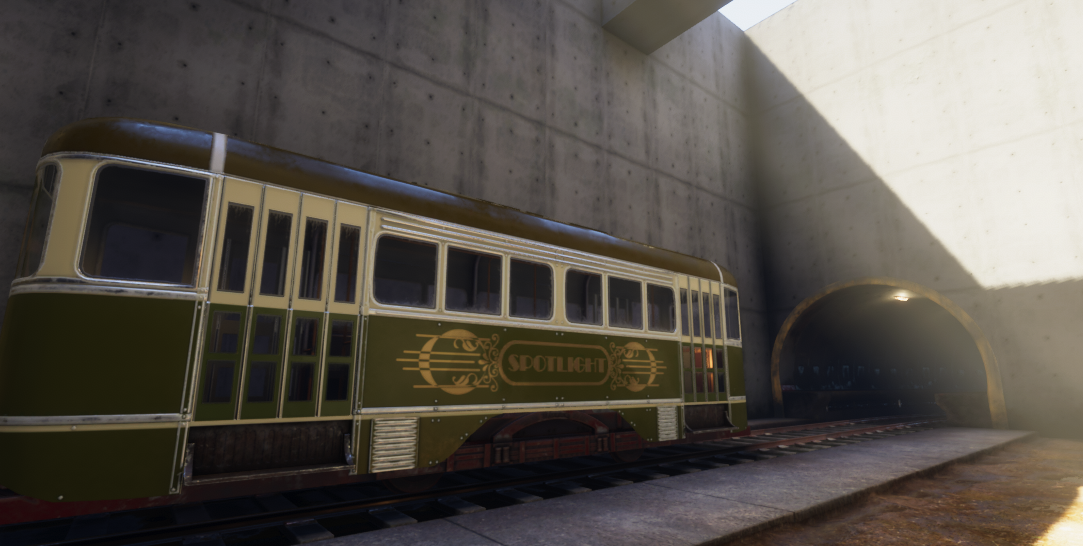
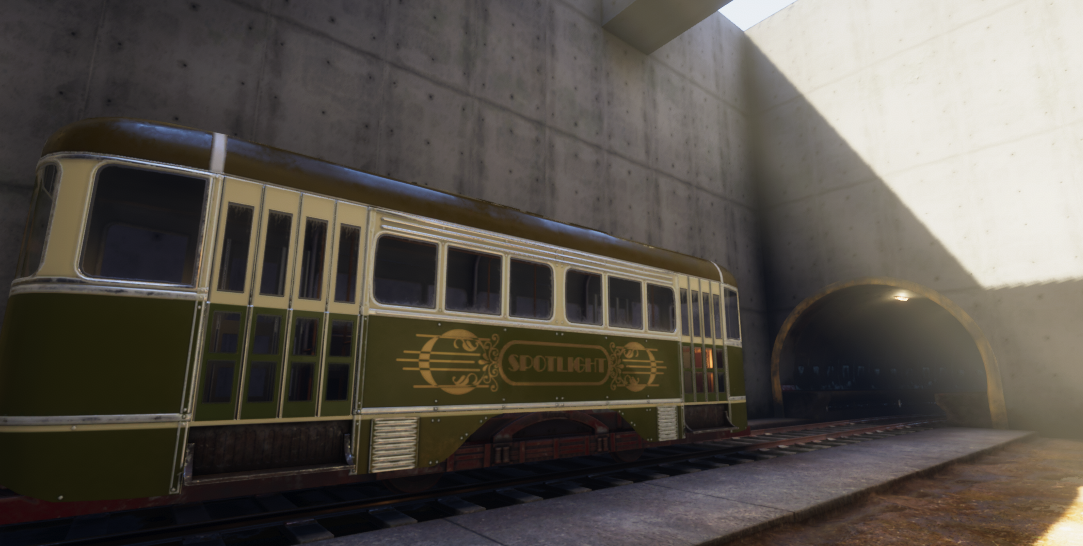
The High-Definition Rendering Pipeline (HDRP) is designed to produce high-quality visuals with ease. If you want high-end visual quality and are aiming for your project to be released on high-end PC’s and Consoles then you will benefit from using HDRP. In this tutorial, you will learn about the HDRP and its uses.
1. What is HDRP?
If you are using Unity 2019.3 or above, click here.

HDRP is a high-fidelity scriptable render pipeline built by Unity to target modern platforms that are compute Shader compatible. It aims to provide developers with tools to achieve high-definition visuals with ease.
HDRP follows three principles: Physically Based Rendering (PBR), unified and coherent lighting, and rendering-path independence. It builds upon all of these with new rendering processes, new Shaders, and vast improvements over the lighting within the Scene. It uses a hybrid of deferred and forward rendering paths along with tile and cluster renderers that allow the lighting to scale better than it would with Unity’s built-in renderer.
2. Why use HDRP?
HDRP is designed to target high-end PCs and consoles, prioritizing stunning, high-definition visuals. It’s designed to help smaller development teams achieve AAA graphic features with ease. If you want the highest-quality visual fidelity for your project, and performance isn’t your first consideration, HDRP is a perfect choice.
3. Upgrading projects to HDRP
To upgrade an existing project, you must first download HDRP using Unity’s Package Manager.
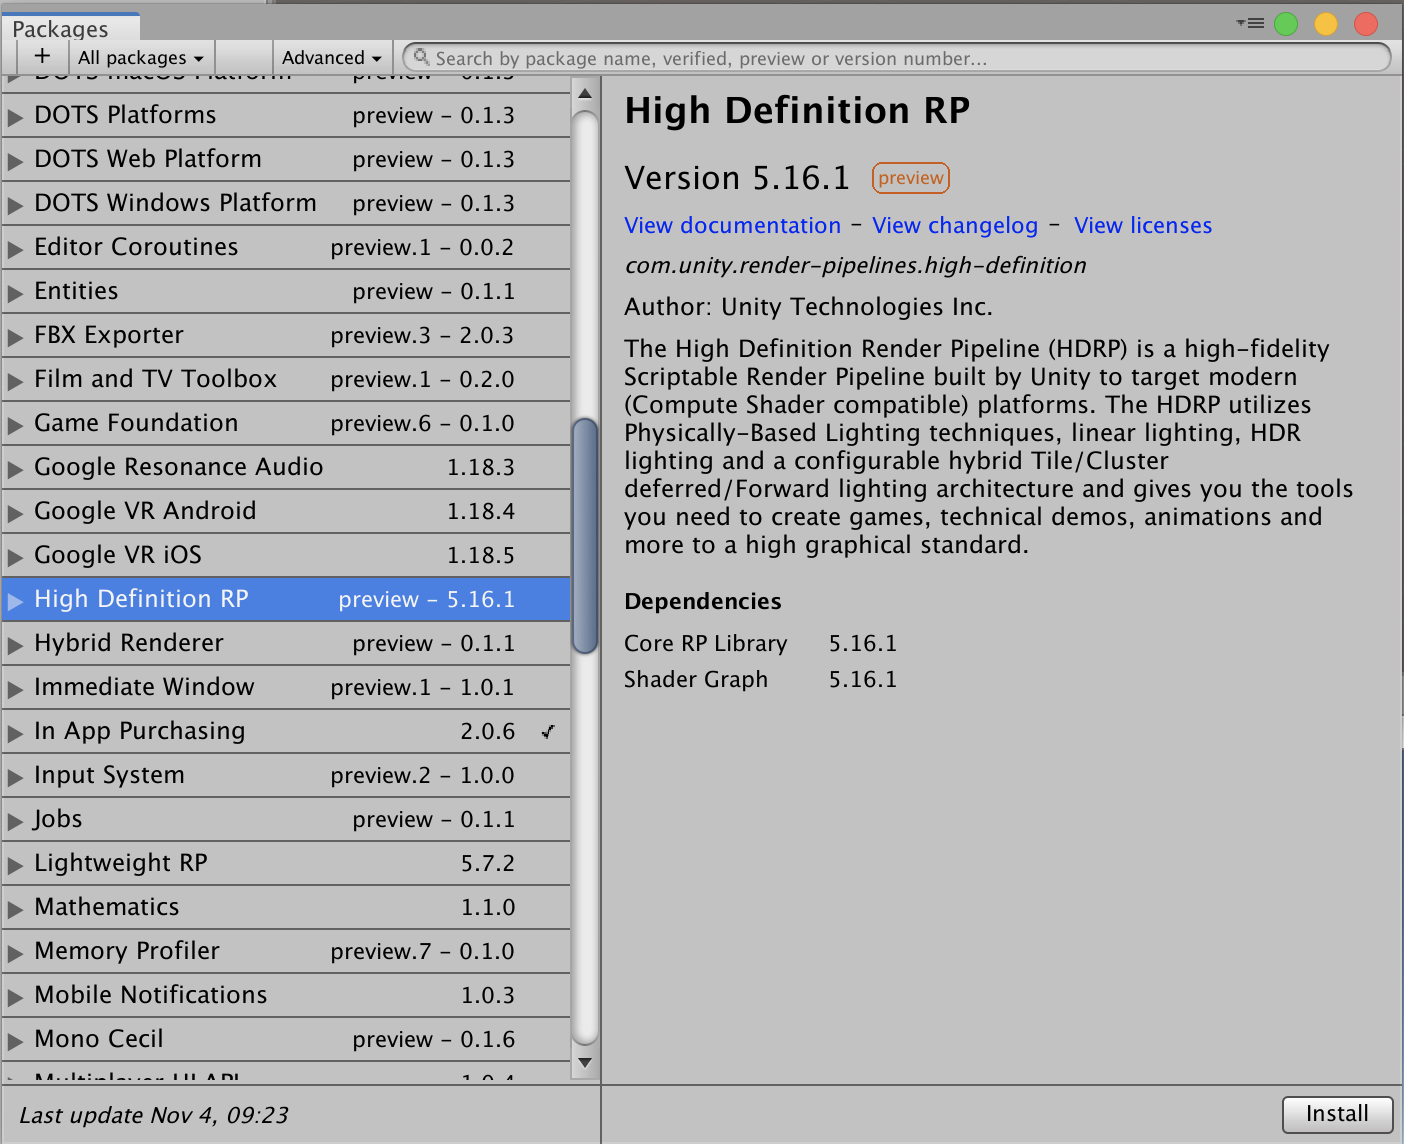
1. Go to the Window drop-down and select Package Manager to open the Packages window (Figure 02).

2. Click on Advanced in the top left and then click Show Preview Packages.
3. Find High Definition RP in the list and select it.
4. Click Install.
After the package has been installed from the Package Manager, you have to add the HDRP Asset to the Scriptable Render Pipeline Graphics settings field.
1. Right-click in the Project window and go to Create > Rendering > High Definition Render Pipeline Asset.
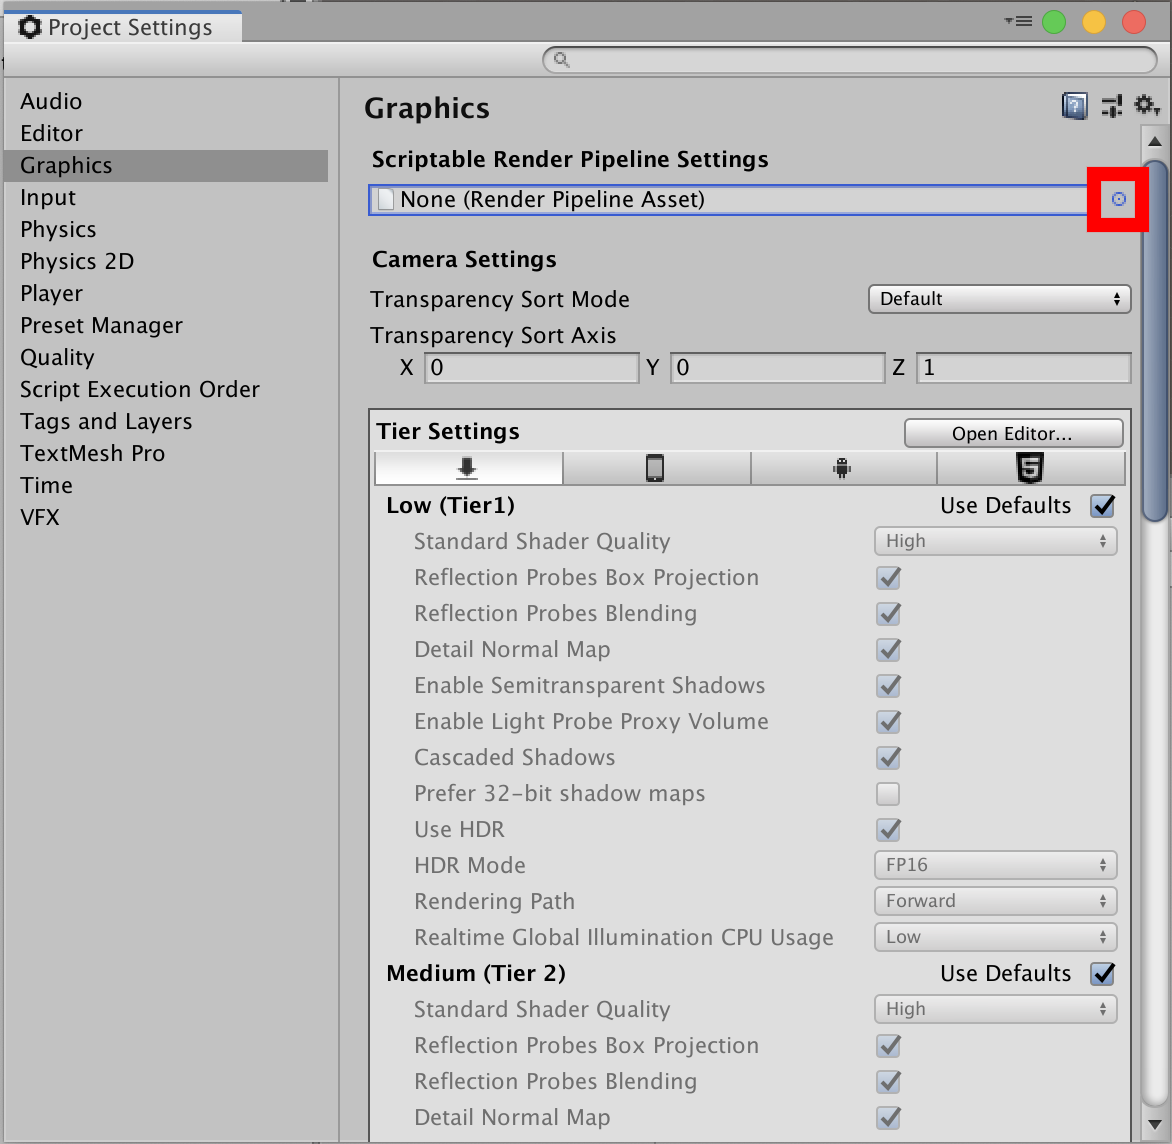
2 Go to Edit > Project Settings > Graphics.
3. In the Graphics Inspector, click the circle highlighted in red in Figure 03 and select HDRenderPipelineAsset (Figure 03).

Your existing project will now use HDRP.
4. Conclusion
Now that your project is using the High Definition Render Pipeline, you will be able to use additional features within the Unity engine. Take a look at Shader Graph and the Post Processing Stack to enhance the visuals in your project.