Apply UI to your guided project
Tutorial
Beginner
+10XP
60 mins
84
Unity Technologies

Now it’s time to apply what you have learned about user interfaces to your guided project!
1. Overview
Last time, you increased the immersion of your scene by adding audio.
User interface is an integral part of designing a great user experience, and a good interface design can do wonders for the aesthetic appeal of your project.
In this tutorial, you’ll add UI elements to your guided project.
2. Review the design document requirements
Before you resume work on your project, remind yourself of the project requirements specific to user interfaces:
1. Open the design document for the project you selected:
2. In the Project Specifications section of the design document, locate the UI requirements.
3. Apply what you learned in your project
You’re now ready to apply your new skills in order to meet the requirements outlined in your design document.
In the following steps, you’ll find some project-specific considerations and hints. Go to the section that is relevant to your selected project:
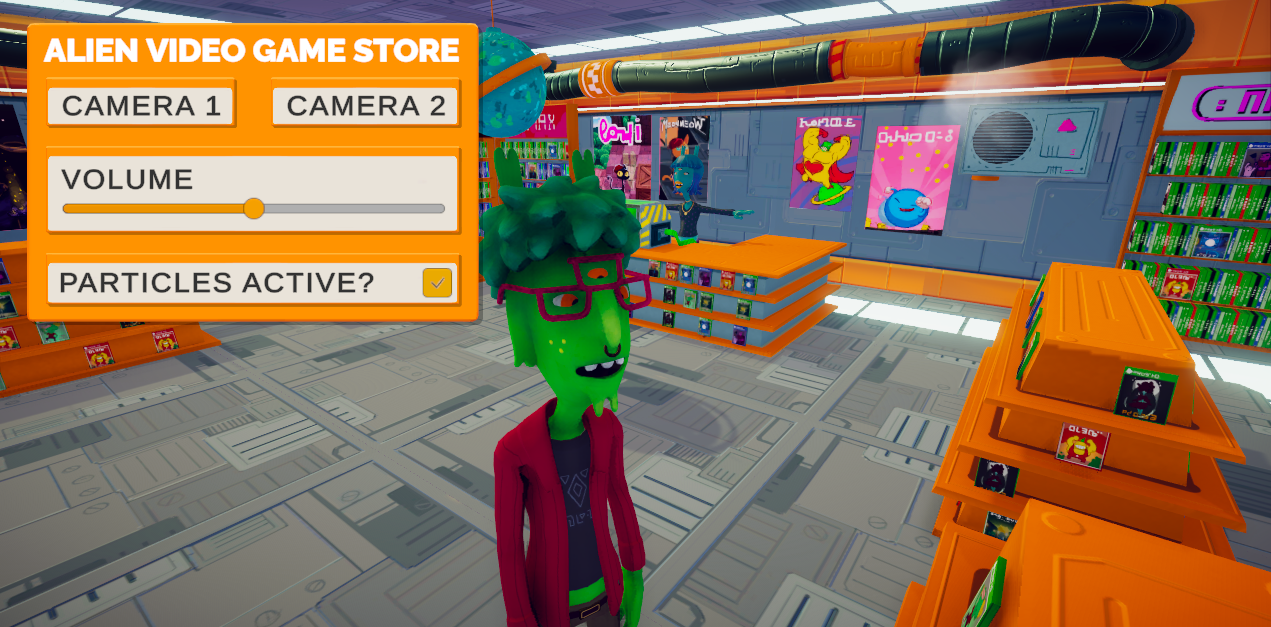
- Alien video game shop → Step 4
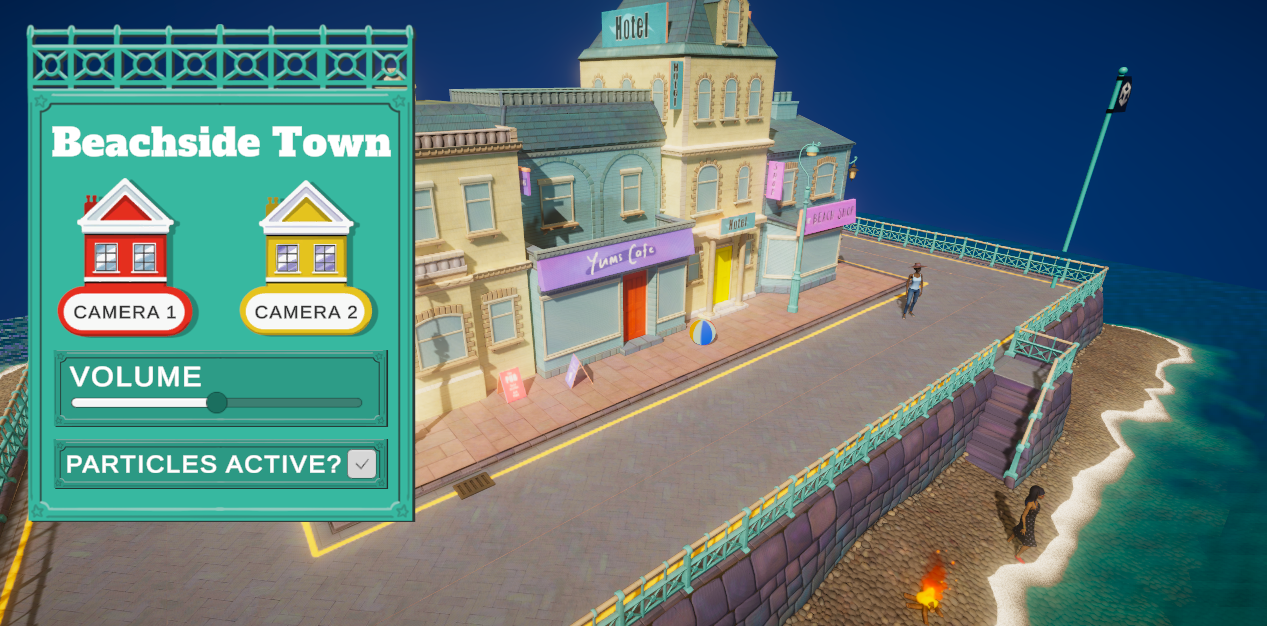
- Beachside town → Step 5
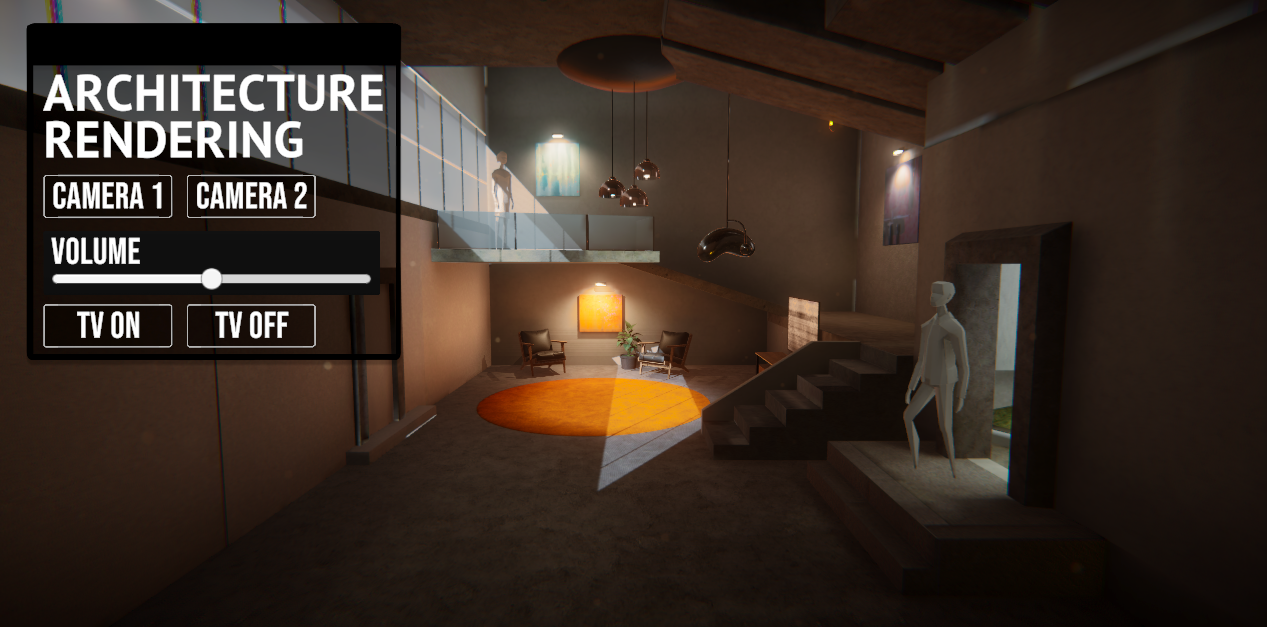
- Architectural rendering → Step 6
4. Alien video games shop requirements
Camera controls
Set up buttons that will allow the user to change between your different camera views.
Hint: Use the event system to enable and disable specific cameras when the buttons are selected. If only one camera is enabled, that will be used as the Main Camera.

Make it your own
- Add a button to trigger a dance animation using an animator parameter.
- Add a title screen.
- Add a volume slider that will control the audio levels in the scene.
5. Beachside town requirements
Camera controls
Set up buttons that will allow the user to change between your different camera views.
Hint: Use the event system to enable and disable specific cameras when the buttons are selected. If only one camera is enabled, that will be used as the Main Camera.

Make it your own
- Add a button to trigger the dolphin animation.
- Add a title screen.
- Add a volume slider that will control the audio levels in the scene.
6. Architectural rendering requirements
Camera controls
Set up buttons that will allow the user to change between your different camera views.
Hint: Use the event system to enable and disable specific cameras when the buttons are selected. If only one camera is enabled, that will be used as the Main Camera.

Make it your own
- Add a button to switch the TV on and off.
- Add a title screen.
- Add a volume slider that will control the audio levels in the scene.
7. Next steps
Congratulations! You are done with your guided project for now. Let’s review all the elements you added to this project along the way:
- Your own materials and shaders to make your objects more believable and appealing.
- Custom lighting to light your scenes and bring out the best in the environment.
- Animation to bring your scenes and characters to life.
- VFX to make your scenes more dynamic.
- Cameras to view your scenes from different angles.
- Post-processing profiles for a more cinematic experience.
- Audio for immersion and environment enhancement.
- UI elements to give the user control over the scenes.
In the final mission of this pathway, you will be given another opportunity to review, polish, and finalize this project. You will also be given the opportunity to submit this project for review at the end of the pathway to earn your pathway badge.
Until then, congratulations again for bringing your guided project this far!