
Mod the Cube
Exercise
Beginner
+60XP
30m
Unity Technologies
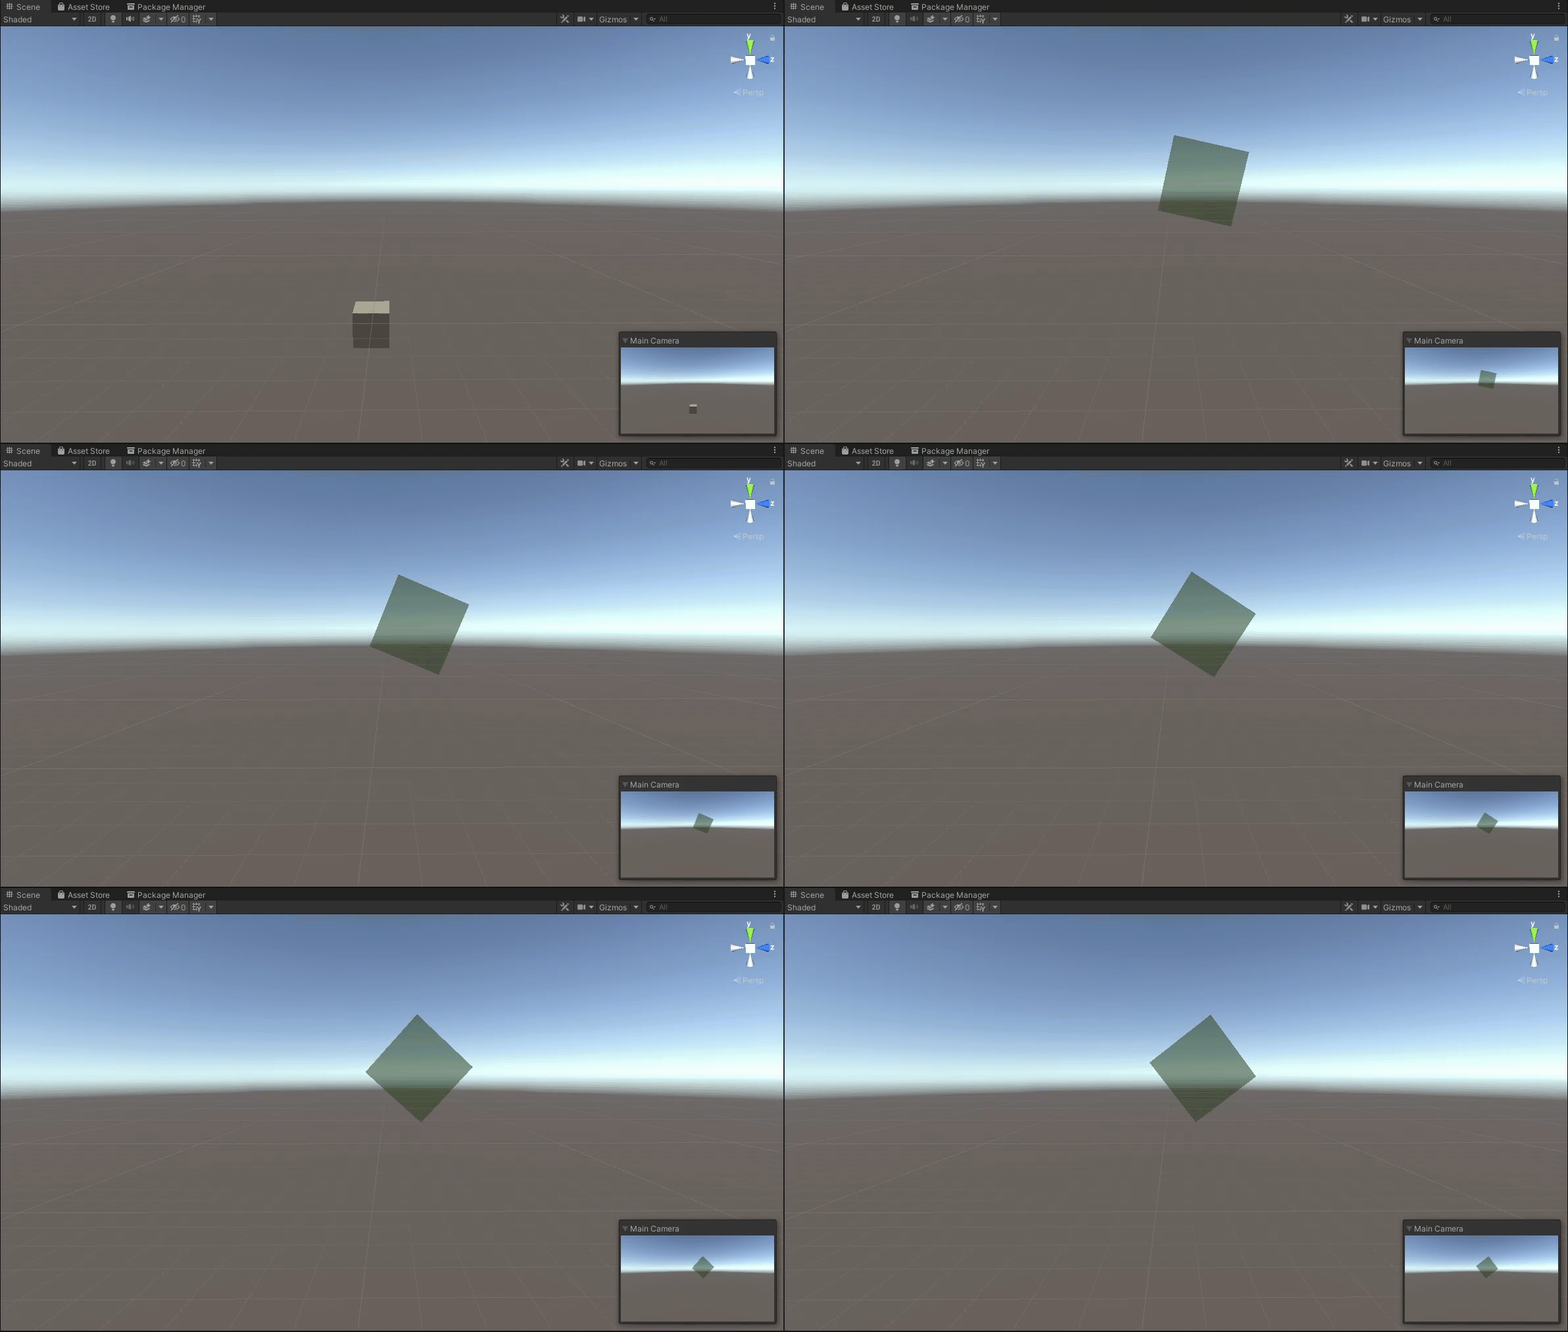
In this exercise, you'll be challenged to modify a provided script to change the behavior of an object it's applied to.
Resources
1. Overview
In this mission you learned how to open, read, and modify scripts. You practiced fundamental programming challenges, and hopefully you’re starting to feel comfortable with basic scripting. In this exercise, you’ll be tasked with modifying the behavior of an already existing script. We’re leaving this challenge open-ended, so now’s the time to get creative!
2. Download the provided assets and import them into a new Unity Project
To begin this challenge, you must first download the challenge assets and import them into a new Unity project:
1. Download ModTheCubeChallengeAssets.
2. Create a new Unity project using the 3D template — remember to use one of the supported versions of Unity, such as 2022.3 LTS, 6000.0 LTS or 6000.3 LTS.
3. Import the local package ModTheCube.unitypackage into your new 3D template project.
3. Observe the default script functionality
Before you begin editing the code, take a few minutes to understand what the script does by default. The imported .unitypackage contains three items: a C# script, a material, and a scene.
1. Open the scene located in the ModTheCube folder.
The only thing in the scene aside from the Camera and Directional Light is a cube. Attached to the cube is the script you will be modifying.
2. Enter Play mode (select the play button on the toolbar) and observe the default behavior of the script assigned to the cube.
When you enter Play mode, you will observe several of the cube’s properties change. All of these changes are hardcoded into the cube.cs script attached to the cube in the scene. This means that the cube will be modified in the same way each time the scene is run.
4. Modify the cube.cs script
Now that you understand what the cube script is doing, you can begin to customize it. As previously mentioned, all of the changes the script is making to the cube are specified in the code. It would be easier to control the cube from the Unity Editor instead of editing the script. You can make this possible by changing variables to be public. Public variables appear in the Inspector window where you can modify their values.
1. Open the cube.cs script in your code editor and observe the code.
2. Identify at least two changes that you can make to the cube’s behavior.
Here are a few examples of modifications you might consider:
- Change the cube's location (transform).
- Change the cube's scale.
- Change the angle at which the cube rotates.
- Change the cube’s rotation speed.
- Change the cube’s material color.
- Change the cube’s material opacity.
If you’re feeling confident, you can attempt the following as well:
- Modify any of the changes above so they change randomly each time the scene is played.
- Add extra functionality to the cube. For example, how might you change the color of the cube over time?
3. Implement your planned changes in the code.
4. Test the scene regularly as you work to ensure your code is performing as expected.
5. Create a WebGL project showing off your modded cube!
Now that you have edited your script and thoroughly tested your changes, your remaining task is to submit your project here and show off your work! You will create a WebGL build of your project, upload it to Unity Play, and then complete this challenge by linking your submission below.
1. If you haven’t already done so, frame your camera in the scene so it’s easy to see the cube in the Play view.
2. Save your scene.
3. Ensure that your version of Unity has the WebGL module installed.
4. Install the WebGL Publisher package. This package will allow you to easily publish your project on Unity Play. If you aren’t sure if you have the package or don’t know how to add it, refer to Install the Web Build Support module in the Unity Hub step.
5. Select File > Build Profiles from the main menu. Under the Platforms section, select Web, then select the Switch Platform button and wait until the process finishes.
6. Create a WebGL build of your project. This may take a few minutes, depending on your computer. If you need help creating the build, refer to the following instructions on how to build and publish a project.
7. Publish your Web build on Unity Play.
8. Copy your Unity Play link, and paste it below!
Please login to submit
6. Next Steps
Congratulations on completing the first mission in Junior Programmer! You now have a strong foundational understanding of the structure of basic scripts and how to make simple modifications. As you continue through the pathway, consider taking time to think about how you might modify other scripts you encounter to customize them to your liking. Sometimes the best way to reinforce what you’ve learned is to apply it in different ways on your own!
Complete this Tutorial
Submission Gallery

modded cube
made the cube spin faster on a different axis and now it changes colors

Modded Cube
Mod the cube - Junior Programmer Pathway You can watch the cube - Have fun !
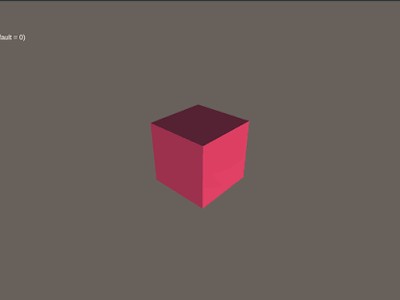
My Modified Cube – Unity Junior Programmer
I modified the Cube project as part of the Unity Junior Programmer pathway. I customized the cube by adding continuous rotation and a color-changing effect, and made the behavior adjustable through public variables in the Inspector. This submission includes my Unity Play project and screenshots of my modified cube.

Challenge Two
Cool cube that moves
the Cube
Created a customizable 3D cube in Unity using C#. The project demonstrates how to control a cube's position, scale, rotation speed, and color through public variables in the Unity Inspector.
ModTheCube
Added random speed on game start. Added random size and color every few seconds.