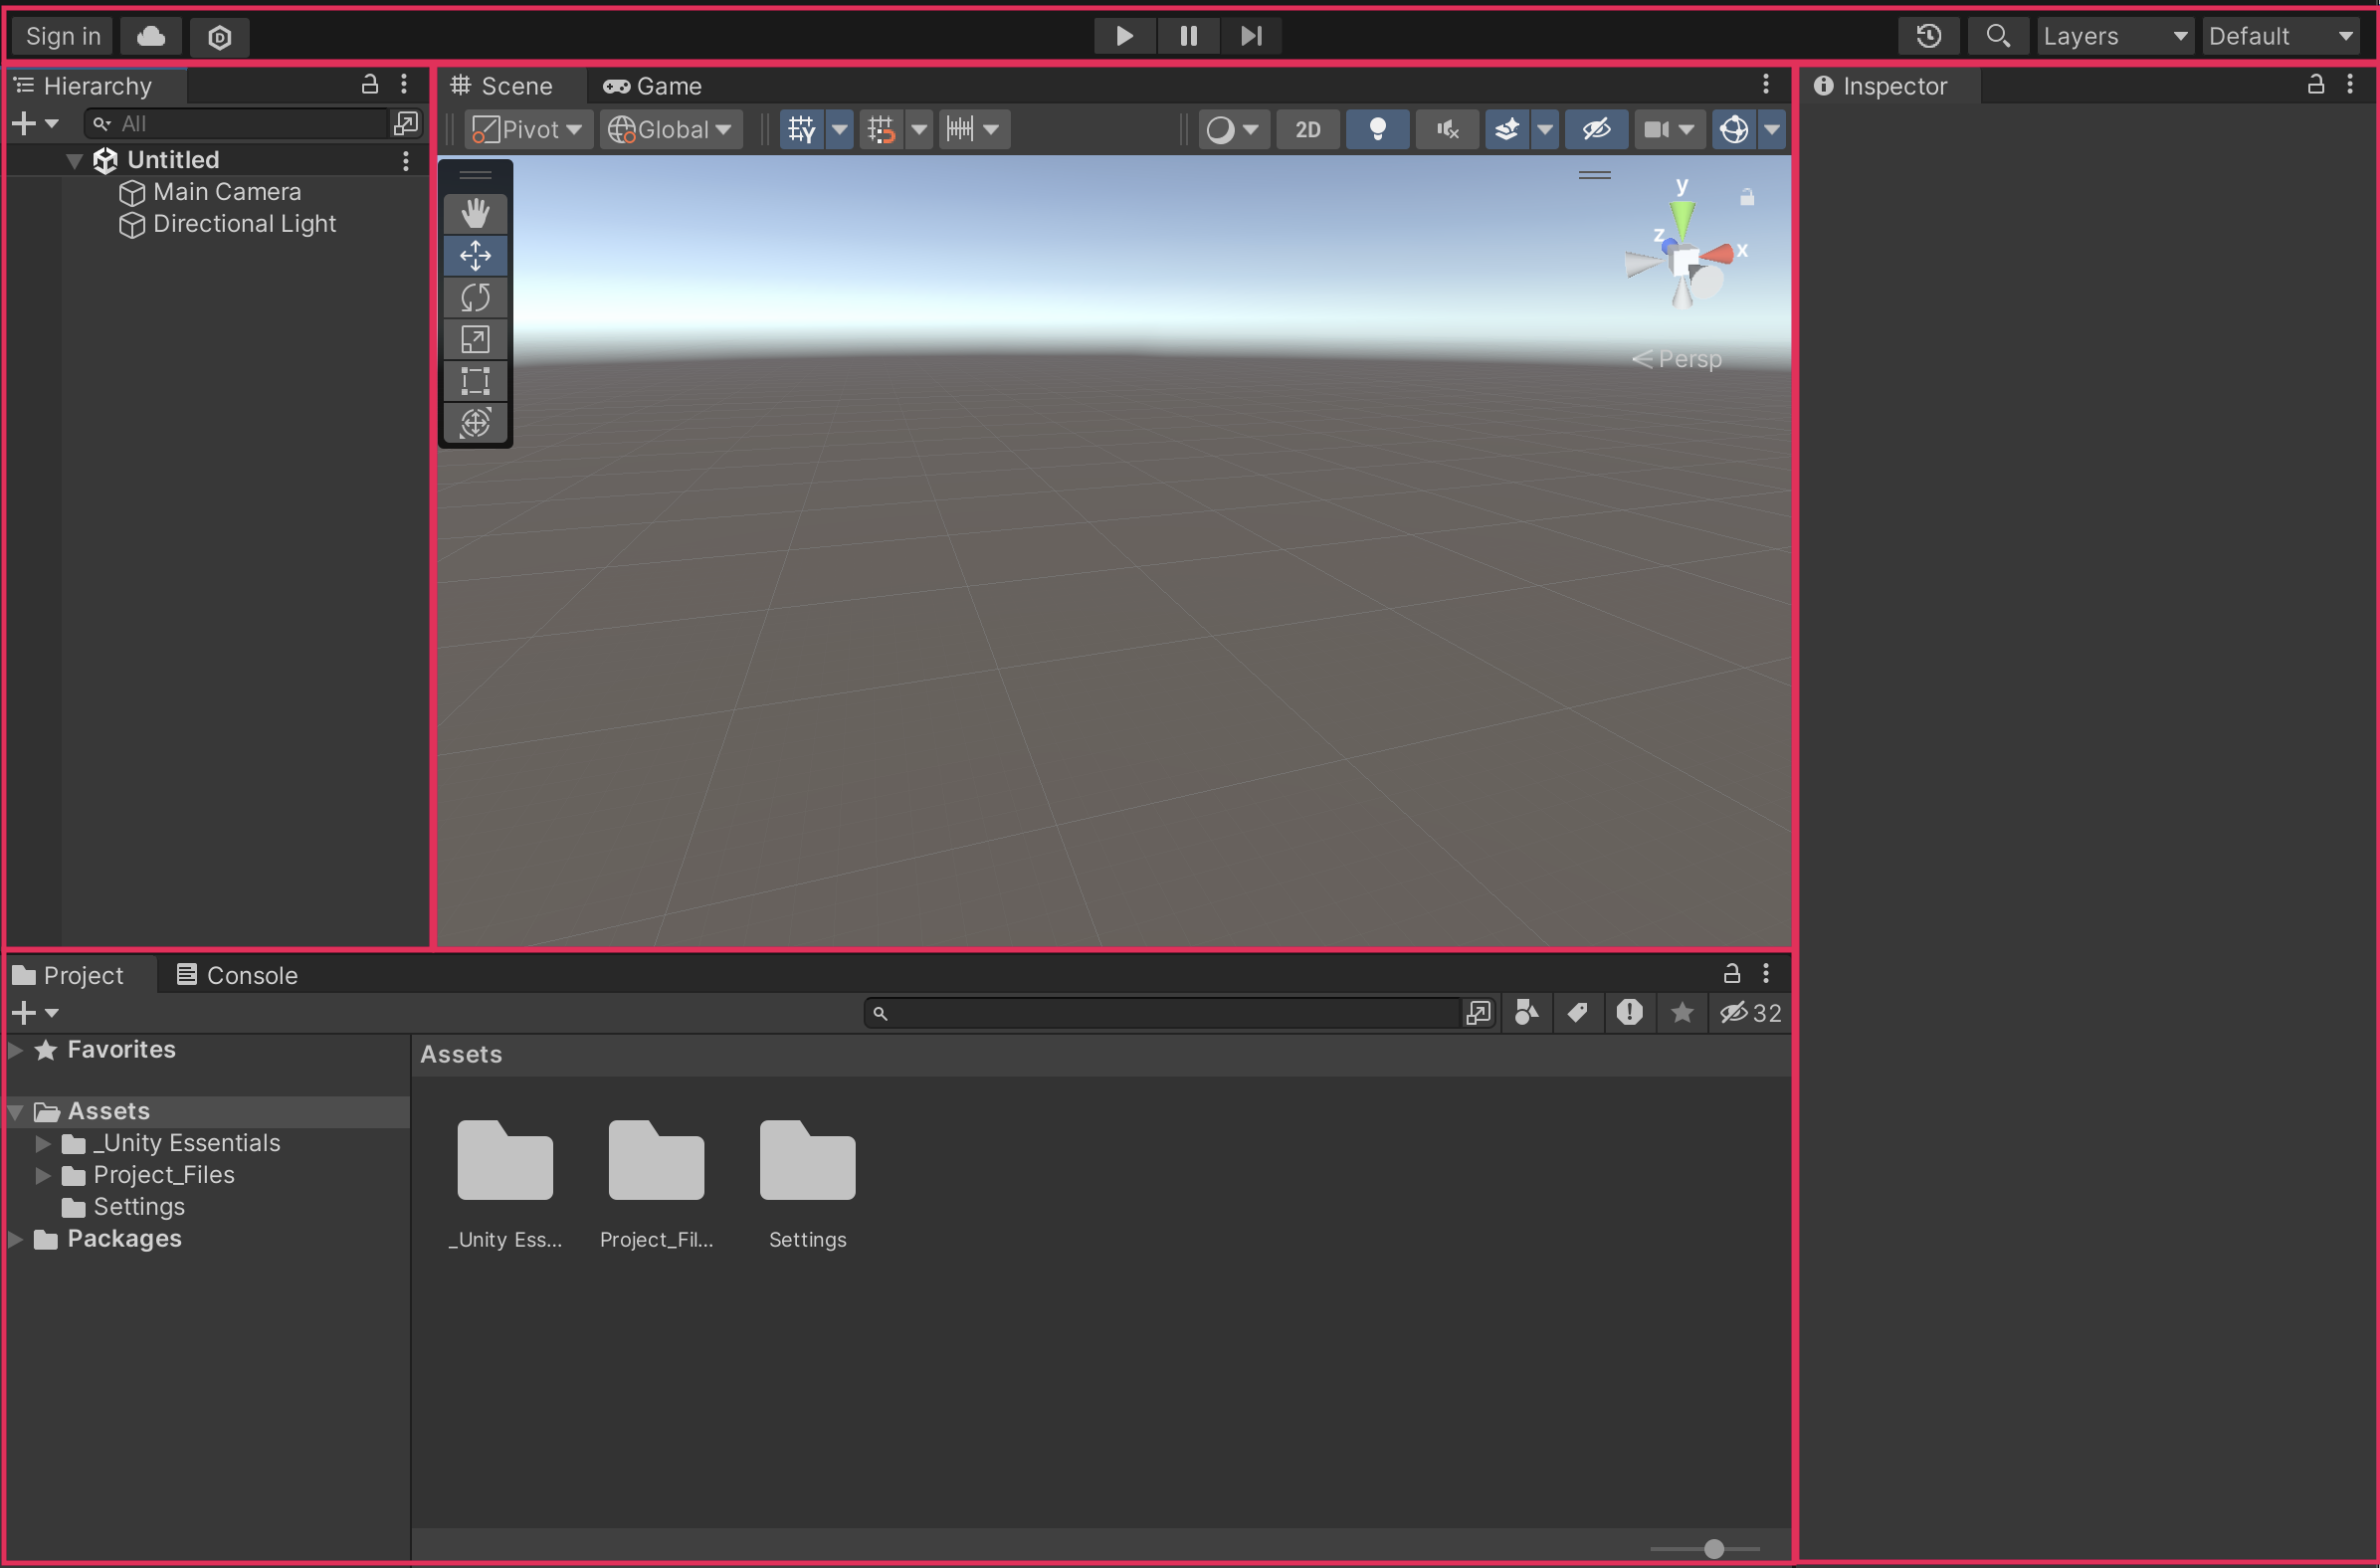
Explore the Editor Interface
Tutorial
·
foundational
·
+10XP
·
20 mins
·
(13540)
Unity Technologies
Jump into your first Unity scene and familiarize yourself with the main Editor windows.
1. Mission overview
This tutorial series introduces you to the essential skills of navigating the Unity Editor.
You'll learn to navigate 3D space in a playground scene, using Flythrough mode and tools like Move and Rotate to design a mural.
Once you master these skills, you’ll have the foundation required for confidently creating in Unity.
2. Tutorial overview
In this first exercise, you’ll explore the most commonly used windows of the Unity Editor one by one. Although you can rearrange the windows, you’ll use Unity’s Default Layout so that your screen matches the screenshots in this tutorial.
3. Open a scene from the Project window
The Project window is where you can find all the files (assets) available for use in your project, whether you use them or not.
The Project window works like a file explorer, organized in folders.
You can view the Project window's assets as large icons or in a more compact list.
Instructions
1. Locate the slider at the bottom right corner of the Project window.
Note: If you don’t see the slider, select the Project window’s More (⋮) menu and select Two-column layout.
2. Drag the slider all the way to the left to see the assets in a list.
This way, none of the assets’ names get cut off. This will be easier for now.
3. In the Assets folder, open _Unity Essentials > Scenes, then double-click -1_Starter_Scene to open it.
Above the Project window in the center of the Editor, you'll see a robot standing on the left side of a big white platform in front of a beautiful blue sky, along with a collection of other objects.
4. Explore the scene contents with the Hierarchy window
Did you notice that the Hierarchy window, which is on the left in Unity's default layout, was automatically populated with a list when you opened the scene?
The Hierarchy window is where you organize all the things in your game world. These things are called GameObjects.
There's an important difference between the Project window and the Hierarchy window:
The Hierarchy window displays all the GameObjects in the current scene.
The Project window displays all the assets available to your entire project, whether or not they are in the current scene.
Instructions
1. In the Hierarchy window, double-click some of the GameObjects and notice what happens.
The selected GameObject is framed in the Scene view at the center of the Unity interface.
2. In the Hierarchy window, locate the Boxes GameObject, then use the foldout (triangle) to expand it and explore the GameObjects within.
GameObjects are typically organized in a hierarchical tree-like structure. In the Hierarchy window, a GameObject can have parent GameObjects and child GameObjects. Parent GameObjects contain other GameObjects, which are referred to as child GameObjects.
3. To return to a view that allows you to see the entire environment, double-click the Ground GameObject, which will frame the entire ground in view.
5. Move around 3D space in the Scene view
In the center of the default Unity Editor layout is the Scene view. This is your interactive window into the world you are creating. You’ll use the Scene view to manipulate objects and view them from various angles.
Instructions
1. With your cursor over the Scene view, right-click and drag.
You'll notice the cursor turns into an eyeball icon when you do this. This is the View tool.
It's like turning your head to look around in the real world.
2. Release the right-mouse button, then use the arrow keys to freely move around in the Scene view. The Up and Down arrow keys move you forward and backward. The Left and Right arrow keys pan the view sideways.
3. As a challenge, use these navigation techniques to get a good close-up view of the robot character.
4. If you ever get lost in the Scene view, simply go back to the Hierarchy window and double-click one of the GameObjects to frame and center it in the Scene view.
6. Use the Pan tool
By default, there is a floating toolbar in the upper-left corner of the Scene view. These are the main Scene view tools.
There are also a number of toolbars above the Scene view. These toolbars include buttons and settings that allow you to change the way your scene is displayed. For now, avoid clicking on those tools. These selections can't be undone and it can be hard to know how to reset your settings.
Don't worry, you'll get to those options later!
Instructions
1. In the Hierarchy window, double-click the Stairs GameObject to frame it in the Scene view.
2. Select the top tool from the toolbar that looks like a hand — this is the Pan tool.
Note: The Pan tool is the same as the View tool.
3. With the Pan tool selected, left-click and drag in the Scene view to pan side to side.
Notice how you can see the changing reflection of the sky in the shiny material on the stairs as you pan side to side. You’ll learn how to make your own materials later!
7. Enter Play mode in Game view
If the Scene view is like a movie set, then the Game view is what you see through the camera. It's what the end user of your experience will see.
When you enter Play mode to test your application, you will automatically be taken into the Game view.
By default, the Game view will appear in the same area of the Editor as the Scene view.
When you exit Play mode, you'll automatically be taken back to the Scene view.
Instructions
1. Select the Play button at the top center of the Editor and see what happens.
You can move the robot character around with the following controls:
- Press the arrow keys (or WASD) to walk around.
- Press the Spacebar to jump.
- Move the mouse to rotate your view.
- Hold the Shift key to run.
- If your cursor disappears, press Esc to see it again.
2. Try to jump to collect the star from the platform at the top of the stairs.
It will be just out of reach, but you’ll try to fix that in the next step.
3. When you’re finished with Play mode, press the Stop button to exit Play mode and return to the Scene view.
Important: It's crucial to exit Play mode when you're done testing. If you remain in Play mode, none of the changes you make will be saved.
8. Edit the GameObjects’ properties in the Inspector
The Inspector window is where you’ll find and configure detailed information about GameObjects.
When you select a GameObject in the Scene view or in the Hierarchy window, its components are listed in the Inspector window.
Components describe the properties and behaviors of GameObjects.
In this step, you’ll use the Inspector window to position the star a bit closer to the platform so the player can reach it.
Instructions
1. Select one of the GameObjects in the Hierarchy window, then browse its components in the Inspector window.
You probably won't understand what many of the components do yet, but that's OK! You'll get very familiar with these components as you go through this Pathway.
2. Double-click the Star GameObject to frame it in view, then locate its Position, Rotation, and Scale values at the very top of the Inspector window.
3. Reduce the X Position value by 1 or 2 units to move the star closer to the platform and reduce the Y Position value by 1 or 2 units to lower the star closer to the ground.
Remember, you can always undo any unwanted changes with Ctrl+Z (macOS: Cmd+Z).
4. Enter Play mode again and try to jump and collect the star, then exit Play mode when you’re done.
9. Save your scene
Unity doesn't automatically save your scene. Make a habit of saving often so that you don't lose any progress.
If you have unsaved changes in your scene, there will be an asterisk (*) next to the name of the scene at the top of the Hierarchy window (in this case, -1_Starter_Scene *).
Instructions
To save your scene, press Ctrl+S (macOS: Cmd+S).
If there was an asterisk next to the scene name in the Hierarchy window, the asterisk would disappear.
Note: You can also select File > Save from the main menu to save your scene.
10. Review and proceed to the next tutorial
Congratulations on completing this first guided tutorial in the Unity Essentials Pathway!
Here are some of the things you learned how to do along the way:
- Open a scene from the Project window.
- Frame a GameObject in the Scene view by double-clicking it in the Hierarchy window.
- Explain the differences between the Project and Hierarchy windows.
- Explain the relationship between the Scene view and the Inspector window.
- Look around the scene with the View tool.
- Look around the scene with the Pan tool.
- Identify the windows that appear in the Unity Editor’s default view.
- Start and stop Play mode (Game view).
- Save the scene.
Instructions
Proceed to the next tutorial where you'll explore a playground scene to master 3D navigation in the Scene view.