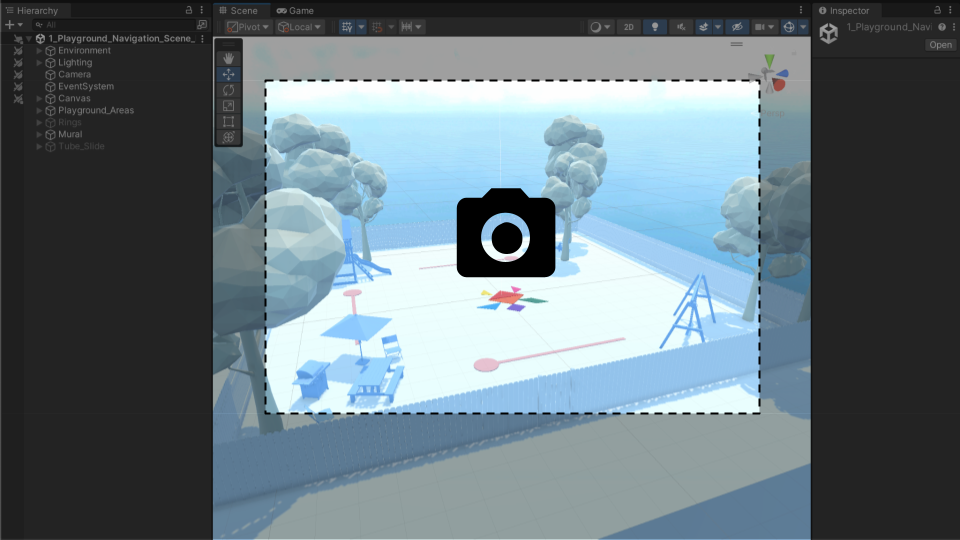
Capture a video of your project
Tutorial
foundational
+10XP
15 mins
2215
Unity Technologies
Use Unity’s Recorder package to capture and export a video of your project directly from the Editor.
1. Overview
Recording a video of your application is an excellent way to showcase your project. You can share a video anywhere: you can post it on social media, you can embed it on your website, or you can send it to your mom in a text message!
In this tutorial, you’ll use Unity’s Recorder package to capture and export videos directly from the Editor.
You’ll then have a chance to upload this video to Unity Learn to get credit for completing the entire Unity Essentials Pathway.
2. Add the Recorder package
You’ll add the Recorder package using the Package Manager, which allows you to easily manage and integrate external libraries and tools, known as packages, into your Unity projects.
Instructions
1. Access the Package Manager from the main menu: Window > Package Manager.
2. Ensure the Unity Registry is selected from the left panel and search for the “Recorder” package.
3. Select Install to enable recording capabilities in your project.
After installation is finished, you can close the Package Manager window.
4. Open the Recorder window by navigating to Window > General > Recorder > Recorder Window.
5. Dock this window next to the Inspector window for convenience.
Note: If you’re not able to install this package for any reason, don’t worry — just skip these steps about the Recorder package and go to the step where you’ll capture the action with your computer’s default screen recording software.
3. Record the action
With the Unity Recorder package installed, you can now capture dynamic moments from your scene. In this step, you’ll set up the recorder, choose your resolution, and record a segment of your project.
Instructions
1. Select Add Recorder > Movie.
2. Set the Output Resolution HD or FHD.
3. Select Start Recording and then Stop Recording to capture your project.
Note: The Recorder enters Play mode for you when you select Start Recording.
4. In the Recorder's Path section, select the open output location button (box with diagonal arrow) to locate your new movie file and watch it!
When you’re done with the Recorder window, you may want to go back to the Inspector window so you’re not confused in the future.
4. Capture a video with external software

Unity’s Recorder package is perfect for capturing what happens in Play mode. However, if you weren’t able to use it, or you’d like a more versatile option that allows you to capture the Scene view or even add your own voiceover, you may prefer to use an external tool.
Windows and Mac computers have different built-in tools for taking screen recordings. If you're not sure how to take a screen recording, here is guidance on how to do so:
Instructions
Take a screen recording showcasing your project and save it on your computer.
You'll have the option of uploading it in the next tutorial.
5. Review and proceed to the next tutorial
Congratulations on getting some high quality footage of your project, which you can easily share with others.
Here are some of the things you learned along the way:
- Explain the purpose and functionality of the Package Manager.
- Use the Package Manager to add functionality to the Unity Editor.
- Use the Recorder package to capture and save data during Play mode.
Instructions
Proceed to the next tutorial where you'll have a chance to share your work and get credit for completing this entire Pathway!