
1.4 - Sockets
Tutorial
Beginner
+10XP
1h 30m
(80)
Unity Technologies
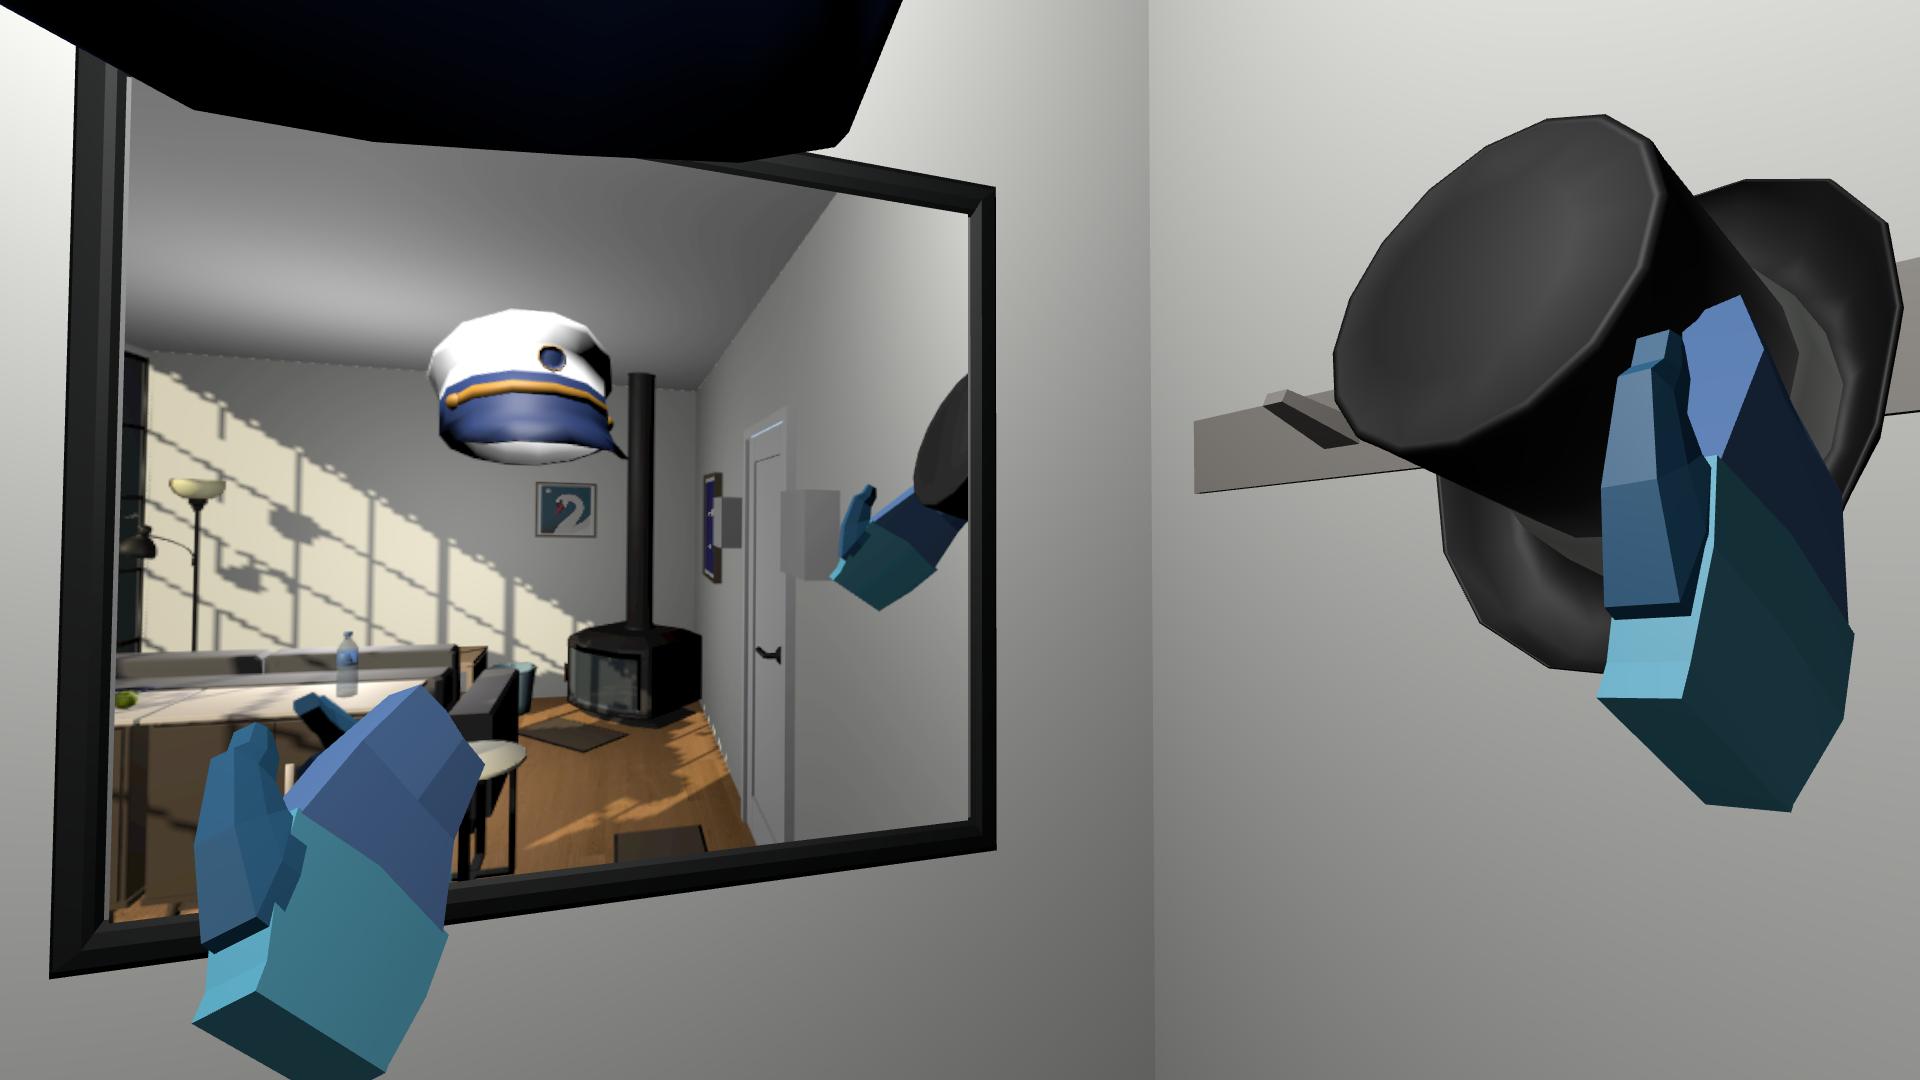
In this lesson, you will learn how to configure sockets that objects can snap into in VR. By the end of this lesson, users will be able to hang hats up on hooks - and even wear the hats too!
This lesson is part of the Create with VR course.
Languages available:
Overview Video
1. Add grabbable hats to the scene
Sometimes you want the user to be able to attach or place GameObjects in predefined positions—this is where sockets are useful. Sockets are predefined attachment points that let users grab GameObjects, place them, or snap them into specific positions within the virtual environment.
In this lesson, you’ll create hooks for hats.
Before making a functional hook for hats, you’ll first need some grabbable hats.
1. Add some hats to your scene:
- Open the _Course Library > _Prefabs > Objects > Hats folders.
- Drag two hats you might want to wear onto a surface near the mirror.
Note: If you don’t already have a set of hooks in your scene, add one from the _Course Library > _Prefabs > Hooks folder.
2. Make the hats obey physics:
- Use Ctrl (macOS: Cmd) to select both hats in the Hierarchy window.
- Add Rigidbody components to the selected Hat GameObjects.
- Set the Collision Detection property to Continuous Dynamic to prevent the Hat GameObjects from falling through the ground.
3. Make the hats grabbable:
- Add XR Grab Interactable components to each Hat GameObject.
- If you want, enable the Smooth Position and Smooth Rotation properties to reduce jitter.
4. Prepare for testing:
- Reposition and reorient the XR Origin (VR) GameObject to be in front of the Mirror GameObject and within reaching distance of the Hook and the Hat GameObjects.
You should now be able to successfully pick up the hats.
2. Turn the hook into a socket
To be able to hang the Hat GameObjects on a hook, the hook will need to behave like a socket.
1. Position the socket correctly:
- In the Hierarchy window, right-click the Hook GameObject and create an empty child GameObject.
- Rename the child GameObject “Socket 1”.
- Reposition the Socket 1 GameObject to the tip of the hook, where the Hat GameObject will rest.
2. Define the trigger detection area for the socket:
GameObjects that enter the trigger area will snap to the socket.
- Add a Sphere Collider component to the Socket GameObject.
- Select the Edit Collider button and reduce the Radius property to something around 0.1.
- Enable the Is Trigger property to prevent it from colliding with the Hat GameObject.
3. Make the Socket 1 GameObject behave like a socket:
- Add an XR Socket Interactor component to the Socket 1 GameObject.
4. Make the Hat GameObject point downward when attached to the socket:
- Create an empty child GameObject of the Socket 1 GameObject and rename it “Attach”.
- Rotate the Attach GameObject to face downward.
- Assign the Attach GameObject to the Attach Transform property of the XR Socket Interactor component.
Note: The local Z axis of the attach point should align with the desired forward direction of the hat and the local Y axis should align with its desired upward direction.
You should now be able to pick up and place any of your hats onto the socket you set up.
3. Duplicate the sockets and attach hats
Now that you have one fully functional socket, you can duplicate it for the other hanging locations on the hook and have the hats start on hooks when the scene loads.
1. Create sockets for all the hanging locations:
- In the Hierarchy window, duplicate the Socket 1 GameObject twice.
- Rename the copied GameObjects “Socket 2” and “Socket 3”.
- Reposition the copied sockets for the other two hanging hook locations.
2. Have your hats start on the hooks by default:
- In each of the Socket GameObject’s XR Socket Interactor components, assign one of your hats to the Starting Selected Interactable property.
Note: If you only have two hats, one of the sockets should have “None” for its starting interactable property.
All three of your sockets should now be fully functional, with hats starting on the hooks at the start of the scene.
4. Put hats on your head
These hats and this mirror would really be wasted unless you could actually wear the hats on your head.
1. Position the head socket GameObject correctly:
- In the Hierarchy window, right-click the XR Origin > Camera Offset > Main Camera GameObject and create an empty child GameObject.
- Rename this new child GameObject “Socket”.
- Set the Socket GameObject’s Transform component’s Position property’s Y value to 0.1 so that the Hat GameObject appears above your eyes.
2. Add a trigger detection area for the Socket GameObject:
- Add a Sphere Collider component to the Socket GameObject.
- Select the Edit Collider button and set the Radius property to something around 0.2.
- Enable the Is Trigger property.
3. Allow the hats to snap to this socket:
- Add an XR Socket Interactor component to the Socket GameObject.
You should now be able to put the hats on your head and see how they look in the mirror.
5. Prevent other GameObjects from acting like hats
You can currently put all GameObjects on your head or on the hooks as if they were hats. You can use interaction layers to control which GameObjects can and cannot interact with each other.
1. Add a new Hats layer:
- Select a Hat GameObject.
- In the upper-right corner of the Inspector window, open the Layer dropdown and select Add Layer.
- Add a new “Hats” layer in the first available empty slot.
2. Put the hats on your new Hats layer:
- In the Hierarchy window, select all of your Hat GameObjects using Ctrl+Click (macOS: Cmd+Click).
- In the XR Grab Interactable component, open the Interaction Layer Mask dropdown, select Nothing to clear the layers, then select the Hats layer to enable only that layer.
3. Make sure the hook and head sockets can only interact with GameObjects on the Hats layer:
- Set each of the Hook and Head Socket GameObjects’ Interaction Layer Masks property to the Hats layer.
4. Make sure other GameObjects cannot be used as hats:
- Select all of your other grabbable GameObjects.
- Open the Interaction Layer Mask dropdown and enable only the Default layer.
You should now only be able to put hats - and not any other grabbable GameObjects - on your head and the hooks.
6. Recap
New Features:
- Added hats
- Hang hats on hooks
- Put hats on your head
New Concepts & Skills
- Socket interactors
- Triggers to detect interaction
- Interaction layer masks
Next Lesson:
- Audio and Haptics
7. Extensions
If you want to further develop your skills, explore new concepts, and improve your project, check out some of the optional extension activities below.
Each one is tagged as [Easy], [Medium], [Difficult], or [Expert] and will also include a [Requires Programming] tag if some coding is required.
1. Add rearrangeable art [Medium]:
Allow the user to swap the position of art hanging on the wall:
- To make a simple hook, create an empty GameObject with a Socket Interactor component, then create a primitive cube child GameObject, scaled and rotated appropriately, to represent the mesh.
To make the pieces of art hang at the correct height, you might need to add an Attach Transform located at the position on the frame the art would hang from.
2. Add books to a bookshelf that can be rearranged neatly in any order the user wants:
- In order to get the books to appear at the orientation you want, try creating an empty GameObject with the correct orientation, then making the Book GameObject a child GameObject.
Check out lesson related videos here.