
2.2 - Activation events (Activation - Remote, Lightsource)
Tutorial
Beginner
+10XP
90 mins
(41)
Unity Technologies
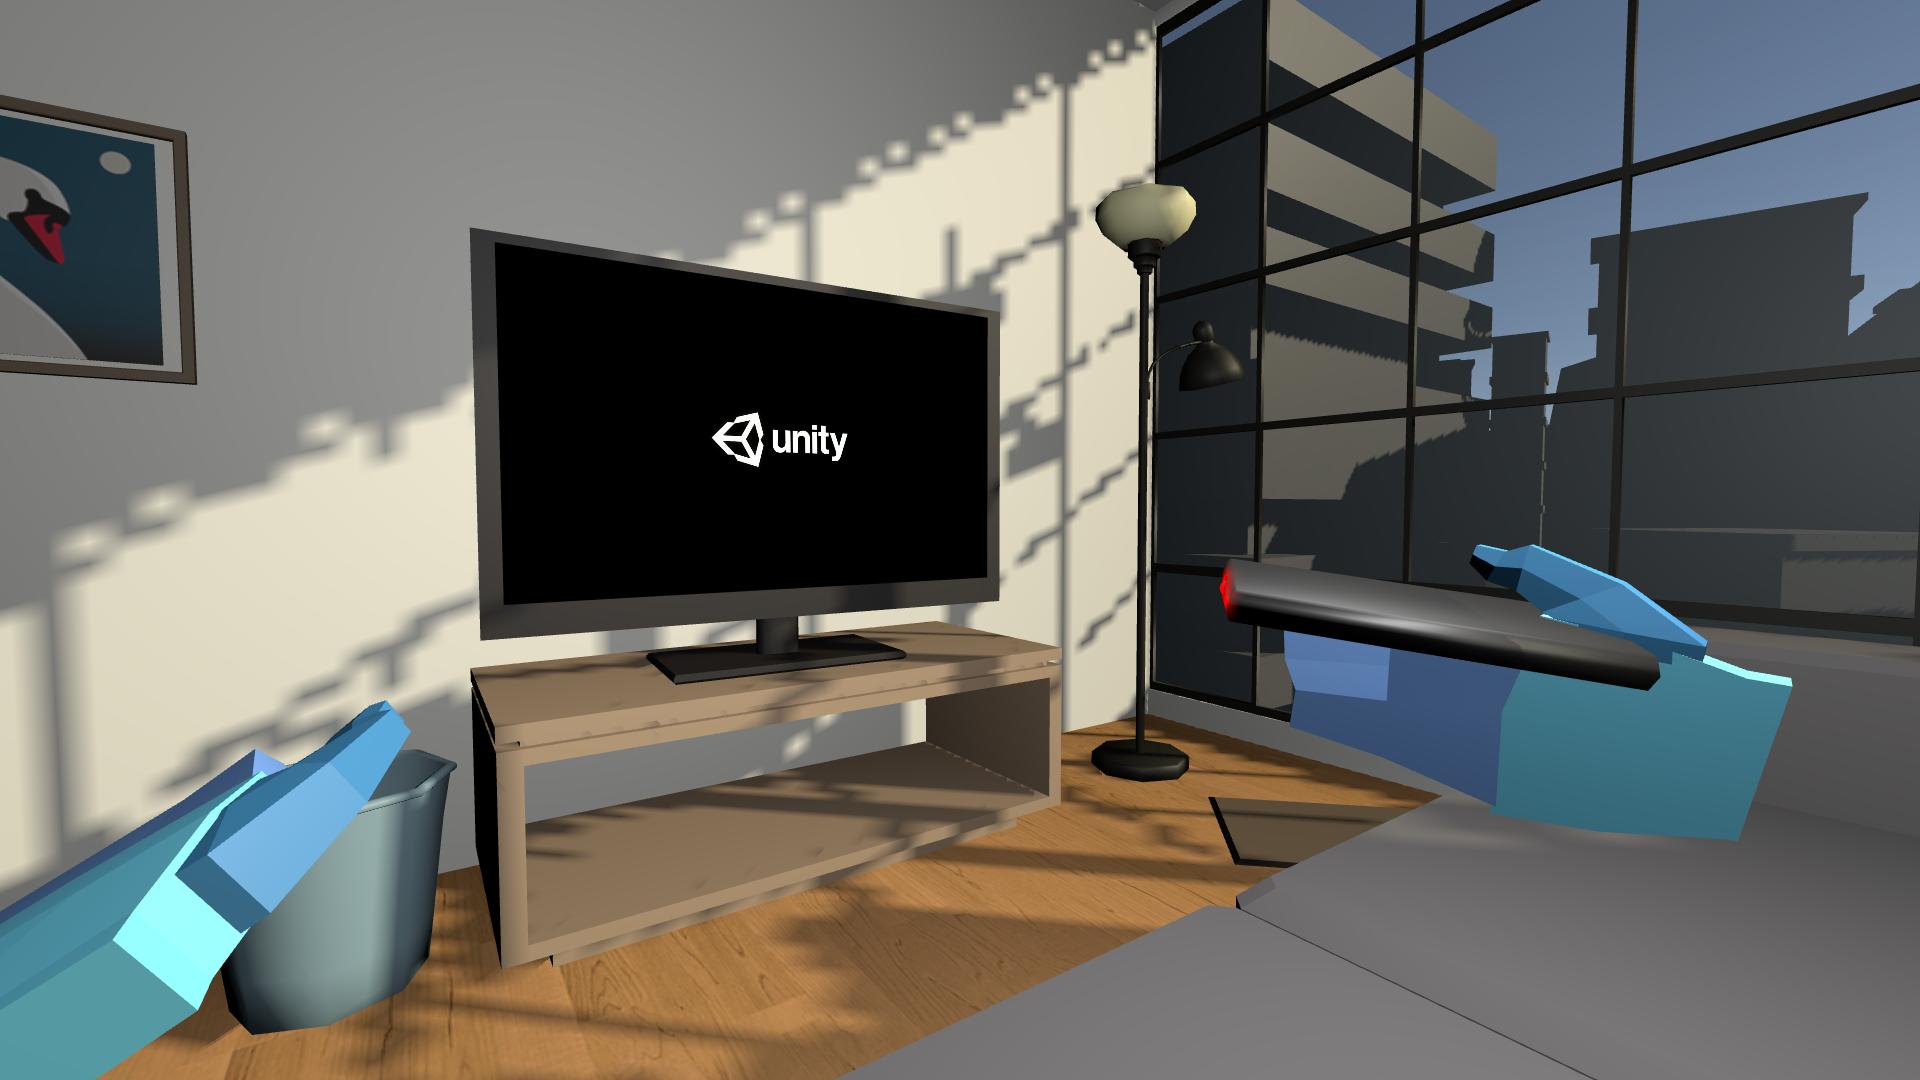
In this lesson, you will learn how to add unique functionality to an object when the user interacts with it in a certain way. By the end of this lesson, users will be able to pick up a remote and press a button on a controller to turn on a TV.
This lesson is part of the Create with VR course.
Resources
Languages available:
Overview Video
1. Add a grabbable remote control
Up to this point, you’ve only been able to pick up and put down GameObjects. Next, you’ll add a GameObject that you can do something with - or activate - once it’s in your hand.
1. Add a remote control to your scene:
- In the Project window, open the _Course Library > _Prefabs > Objects > Electronics folders.
- Drag the Remote prefab onto a surface in your scene.
2. Allow the GameObject to be picked up:
- Add a Rigidbody component with the Collision Detection property set to Continuous Dynamic so it doesn’t fall through the floor.
- Add an XR Grab Interactable component.
3. Position the remote correctly in the user’s hand when it is picked up:
- In the Remote GameObject, create a new empty child GameObject and name it ““Attach”.
- Position and orient the Attach GameObject appropriately.
- Assign the Attach GameObject to the Attach Transform property in the XR Grab Interactable component.
2. Play a sound when the remote is activated
Now you’ll make the remote make a click sound when you’re holding it and press the trigger.
1. Allow the remote to emit sound:
- On the Remote GameObject, add an AudioSource component.
- In the AudioSource component, move the Spatial Blend property slider all the way to full 3D (1) to allow for 3D audio.
2. Give the remote the ability to play a sound:
- Add a Play Quick Sound component to the Remote GameObject.
- For the Sound property, assign an audio clip you want from the _Course Library > Audio folder.
- Set the Volume property to a value around 5; you can experiment with this to find a level you like.
3. Locate the remote’s Activated event:
- At the bottom of the remote’s XR Grab Interactable component, use the foldout (triangle) to expand the Interactable Events property to see all of the event options.
- Locate the Activated event.
4. Play a sound when the remote is activated:
- In the Activated event, select the Add (+) button to add a new action.
- Drag and drop the Remote GameObject into the empty GameObject box in order to access its components.
- Open the No Function dropdown, then select Play Quick Sound > Play ().
With the remote in your hand, you should now be able to press the activate button, the controller trigger, and hear a sound.
3. Flash a red light when the remote is activated
To provide additional feedback that the remote has been pressed, you can also turn the indicator light red when the remote is activated.
1. Add the capability for the indicator light to turn red:
- In the Hierarchy window, use the foldout (triangle) to expand the Remote GameObject and select the Indicator_Light child GameObject.
- Add a Change Material component.
- Assign a red material to the Other Material property.
2. Change the material color to red when the trigger is pressed:
- On the Remote parent GameObject, at the bottom of the XR Grab Interactable component, use the foldout (triangle) to expand the Interactable Events property to see all of the event options.
- In the Activated event, select the Add (+) button to add a new function.
- Assign the Indicator Light child GameObject to the Object property.
- Open the No Function dropdown, then select Change Material > SetOtherMaterial ().
3. Make the material revert when the activate button is released:
- In the Deactivated event, select the Add (+) button to add a new action.
- Assign the Indicator_Light GameObject, then select the Change Material > SetOriginalMaterial () function.
When you activate the remote, the indicator light should turn red and then revert to its original color when the activate button is released.
4. Allow the TV to play video
Before you get the button set up to turn the TV on, you should make sure the TV in the scene can successfully play video. If you didn’t add one before, go ahead and do it now.
1. Allow the TV to emit 3D audio:
- In the Hierarchy window, select the Screen child GameObject of the Television GameObject.
- Add an Audio Source component.
- Drag the Spatial Blend property to full 3D (1) to enable spatial audio.
2. Allow the TV to play video:
- On the Screen child GameObject, add a Video Player component.
- If the Material Property property isn’t set to _BaseMap, disable the Auto-Select property and then change the Material Property to _BaseMap (instead of _MainTex) to project the video to its material rather than its texture.
3. Add additional video control functionality:
- On the Screen child GameObject, add a Play Video component. This is a custom script we’ve provided that enables a GameObject to play videos from a list or a single clip, with optional start-on-load, using a video material for display and controls for play, pause, stop, and navigation.
- Enable the Play At Start property to have the video play automatically.
4. Select the video to play on the screen:
- In the Play Video component, use the foldout (triangle) to expand the Video Clips property.
- Set the list Size property to 1 and press Enter to reveal an empty Video Clip property box.
- Assign one of the videos from the _Course Library > Video folder to the Video Clip property box.
Now when you run your application, the video should play automatically on the TV Screen with 3D audio.
5. Control the TV with the remote
Now that the TV is working, you need to be able to control it with the remote.
1. Stop the video from playing automatically:
- In the Play Video component, disable the Play At Start property.
2. Locate the Remote’s Interaction events:
- Select the Remote GameObject.
- In the XR Grab Interactable component, use the foldout (triangle) to expand the Interactable Events property to see all of the event options.
3. Trigger the TV when the remote is activated:
- In the Activated event, select the Add (+) button to add a new action.
- Assign the Screen GameObject to the empty Object property, since it has the Play Video script.
- Open the No Function dropdown and select the PlayVideo > TogglePlayPause () function, or the PlayVideo > TogglePlayStop () function, depending on whether you want it to pause or stop when pressed a second time.
When you activate the remote, the video on the TV should alternate between playing and pausing or stopping.
6. Recap
New functionality:
- Grabbable remote
- Play sound action
- Change material action
- Play video action
New concepts and skills:
- Object activation
- Events and actions
- Scripts and functions
Next lesson:
- Direct and Ray Interactors
7. Extension Activities
If you want to further develop your skills, explore new concepts, and improve your project, check out some of the optional extension activities below.
Each one is tagged as [Easy], [Medium], [Difficult], or [Expert] and will also include a [Requires Programming] tag if some coding is required.
1. Add a phone that plays video [Easy]
Make a phone that plays a video when you press the trigger:
- You can find phone prefabs from the _Course Library > _Prefabs > Objects > Electronics folder.
- Locate the Screen child GameObject, then rotate and scale as needed.
- You’ll need to make a new separate Screen child GameObject with a material similar to the way the TV screen is set up.
- Bonus: Try making the phone cycle through multiple videos using the Play Video > NextClip () function.
2. Add a functioning flashlight [Medium]
Add a working flashlight into the scene that toggles on and off when you press the trigger, including making a clicking sound to provide audio feedback:
- You’ll need to add a SpotLight child GameObject to the Flashlight prefab.
- Try using the ToggleLight > Flip () function to switch the light on and off.
3. Add a functional lighter and candle that can be lit with it [Difficult]
Add a lighter to the scene that produces a flame when you activate it. If the flame gets close to a candle, that candle can be lit.
- You can use the Particle_Flame prefab.
- On the candle, use a Collider component, the Is Trigger property, and the OnTrigger script to detect when an GameObject with a particular tag has entered the trigger.
- Bonus: Make the flame go out when the Lighter GameObject is shaken using the OnVelocity script.
4. Add a dart gun or stapler projectile [Expert]
Add a dart gun that shoots darts or a stapler that shoots staples when you press the trigger:
- Locate the prefabs for the GameObjects and projectiles in the _Course Library > _Prefabs > Objects > Launchers folder.
- Use the LaunchProjectile script provided in the _Course Library > Scripts > Actions folder.
- If you want, use the DestroyObject script provided in the _Course Library > Scripts > Actions folder to make the projectile disappear after a certain amount of time.
- Bonus: Make the stapler swing open with a hinge joint.
Bonus: Add sounds for when the GameObject is launched.
5. Add a functioning polaroid camera [Expert] [Requires Programming]
Add a functioning polaroid camera that allows you to preview on a viewfinder screen and print a photo using the trigger:
- For the viewfinder screen, look at how the mirror is set up with a render texture.
- Check out the documentation for Camera.Render.
- Don’t worry if the camera is currently rendering your rays for now - you’ll learn how to hide your rays in the next tutorial.
- If you want some help, download the example Polaroid and Photo scripts