
3.1 - Comfort and Accessibility
Tutorial
Beginner
+10XP
1h 30m
(454)
Unity Technologies
In this lesson, you will learn how to reduce the risk of simulator sickness and increase the inclusivity or your app, allowing it to be enjoyed by as many people as possible. By the end of this lesson, your app will be more comfortable and accessible.
This lesson is part of the Create with VR course.
Languages available:
Overview Video
1. Create a simple black canvas for fading
When the scene loads, it can be a little jarring to just appear in a new world. It is generally good to fade into new environments.
1. Make a new Screen Space canvas to fade in from:
- In the Hierarchy, Create > UI > Canvas and rename it “Fade_Canvas”.
2. Make the canvas render directly in front of the camera:
- In the Canvas object, in the Canvas component, set the Render Mode to Screen Space - Camera.
- Set the Render Camera property to your Main Camera.
3. Make the canvas black:
- Right-click your Fade_Canvas object and create a UI > Image.
- Set the Color property to black.
- Set the X Scale and Y Scale properties to a large number (e.g. 100) to make sure the canvas covers your whole field of view.
4. Make the canvas appear directly in front of the Main Camera and in front of all other objects:
- In the Canvas component, set the Plane Distance to 0.1.
- Then set the Order in Layer to 1.
The black canvas should now completely cover the field of view when you run the program.
2. Fade in on scene load
Now that you have the black canvas set up, you need to fade from it on scene load.
1. Allow the canvas and all of its elements to fade:
- On the Fade_Canvas object, add a Canvas Group component and a Fade Canvas component.
2. Make an event that detects when the scene has loaded:
- In the Hierarchy, add an empty object and rename it “Scene Loader”. It will hold your scene loading events.
- Add an On Scene Load component to the Scene Loader object.
3. Fade in from black on Scene Load:
- On the Scene Loader object, in the On Load event, click the + to add a new function.
- Assign the Canvas_Fade object.
- Select the FadeCanvas > StartFadeOut () function.
4. Hide the black image in scene view by default:
- Set the Canvas Group component’s Alpha value to 0.
The scene should now appear to fade in from black when the scene loads. You can test this using the reset scene UI screen you made.
Related Resources:
3. Teleporting with fade
Another opportunity to improve player comfort through fading is during teleporting. Typically, there is a short fade to reduce the illusion of movement (“vection”) when teleporting and improve comfort.
1. Add fading functionality to your Teleportation Area (rug):
- On your Rug prefab, remove the default Teleportation Area component and replace it with the custom Teleport Area With Fade component.
- At the bottom of the new component, assign the same Interaction Layer Mask, Custom Reticle and Match Orientation properties to match the original component.
2. Add fading functionality to your Teleportation Anchor (mats):
- Enter Prefab Mode on one of your mats in order to apply changes to all mats at once.
- Remove the default Teleportation Anchor component and replace it with the custom Teleport Anchor With Fade component.
- Edit the new component’s properties to match the original component.
- Note: make sure that you have applied the changes to all mat prefabs or prefab variants.
Your teleportation anchors and teleportation area should now quickly fade to black when you teleport.
4. Add a settings panel
In order to add some settings, you will add a new panel that can be accessed from the main menu panel.
1. Add a new settings button:
- In the Hierarchy, right-click Welcome Background object and select UI > Button - TextMeshPro to add a button.
- Rename it “Settings Button”.
- Set the Source Image property to the gear icon
- Delete the default Text so that it has no text on it.
- Resize and reposition the button so it fits nicely on in the bottom-right corner of the menu.
2. Create a new settings screen:
- In the Hierarchy, duplicate the Welcome Background object.
- Rename the copied object “Settings Background”
- Temporarily deactivate the welcome panel so you can only see the settings screen for easier editing.
3. Add placeholder content to the settings screen:
- Replace the contents of the panel with three placeholder text objects (“Setting 1” / Setting 2” / “Setting 3”)
- Add a Toggle object next to each setting, deleting the default text that is generated by the toggle.
- You may want to parent each text object to group them together.
- Note: Use TextMeshPro Text for the labels instead of the default Text label that comes with the toggle.
4. Replace the settings gear icon with an “X” icon:
- In the Gear icon’s Image component, change the Source Image property from Icon_Gear to Icon_Close.
5. Allow the user to go back and forth between these menus:
- In the Settings button’s On Click event, set the settings screen as active and the welcome screen as inactive.
- In the Close button’s On Click event, set the settings screen as inactive and the welcome screen as active.
6. Make the reset menu hide the settings menu when it appears:
- In the XR Rig’s On Button Press event, add a new action that disables the settings screen.
You should now be able to access the Settings menu from a gear icon in the main menu, which has 3 placeholder toggle settings. You should also be able to return to the welcome panel from the settings by pressing a Close button.
5. Add a snap turning setting
One of the easiest ways to increase accessibility is allowing for more ways to navigate the environment. You will allow the user to enable or disable snap turning.
1. Replace the placeholder setting:
- Edit the first setting text to say “Snap Turning”.
- In the Toggle component, make sure the Is On property is enabled, since Snap Turning is enabled by default.
2. Link the toggle to the Snap Turn component:
- In the Toggle component, for the On Value Changed event, click the + to add a new action.
- Assign the XR Rig to the Object slot, since it contains the Snap Turn provider component.
- Select the Action Based Snap Turn Provider > enabled (Dynamic Bool) function .
Note: Make sure to select the “enabled” property that is a dynamic bool (boolean) - this means that it will be affected dynamically by the state of the toggle.
You should now have a functional check box that enables and disables snap turning.
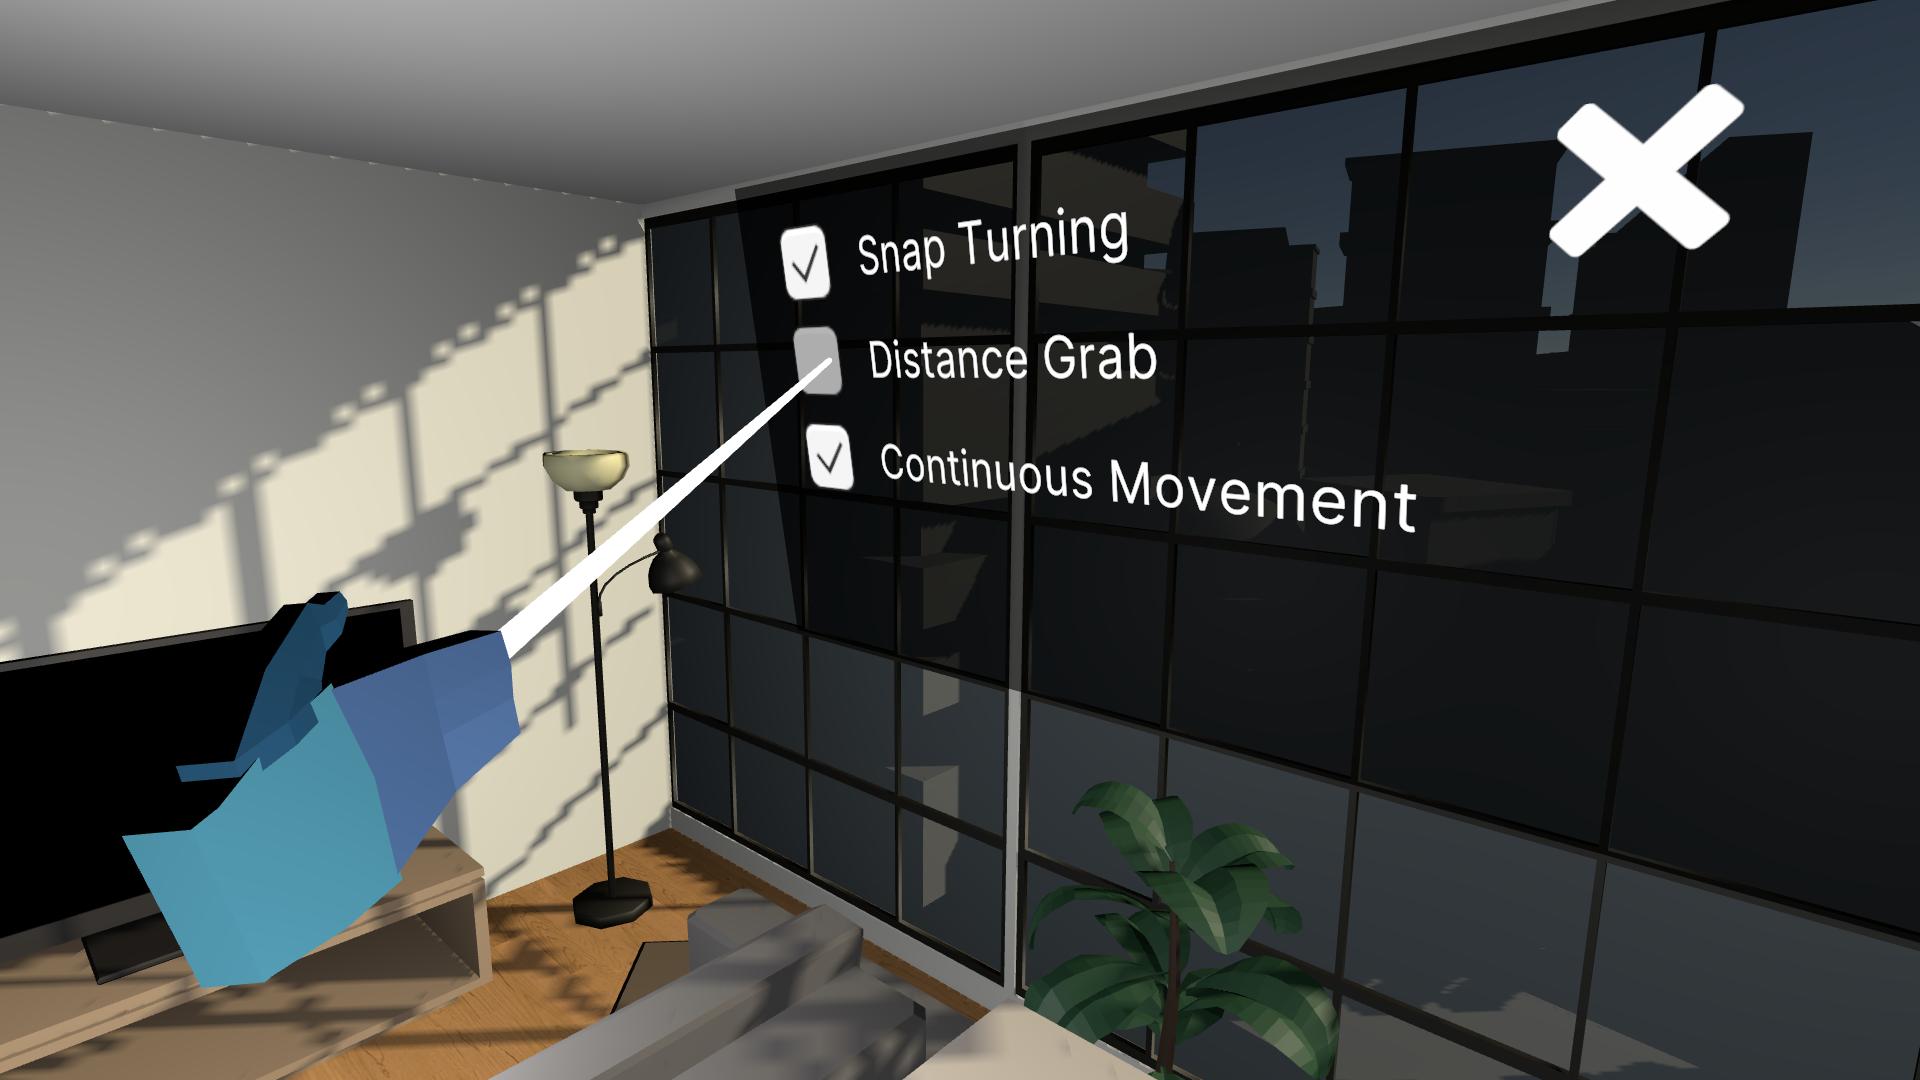
6. Add a distance grab setting
Another setting that can drastically increase accessibility is the ability to grab objects at a distance using rays.
1. Set up how your setting should appear by default:
- In the Toggle component, enable or disable the Is On property.
- Change the text of the Toggle to “Distance Grab”.
2. Make sure all of your grabbable objects can be accessed on the same layer:
- In each object’s XR Grab Interactable component, make sure the Interaction Layer Mask property includes the Default layer.
3. Give your rays the ability to change to a different set of layers:
- In the Hierarchy, select both the LeftHand Ray and RightHand Ray objects.
- Add a Set Interaction Layer component to both objects.
- Set the Target Layer property to include the Default layer and the Raycasts layer, which would allow them to grab objects.
4. Make the “Distance Grab” toggle trigger these target layers:
- In the Toggle component, in the On Value Changed event, click the + two times to add two new actions (one for each hand).
- Assign the RightHand Ray to one object slot and the Lefthand Ray to the other object slot.
- For both actions, select the SetInteractionLayer > ToggleTargetLayer (Dynamic bool) function.
- Note: You must select the Dynamic bool option in the upper section of the list in order to tie the function to the value of the toggle.
You should now have a toggle that enables and disables the ability to grab objects with rays from a distance.
Related resources:
7. Recap
New Functionality:
- Fade in from black
- Teleportation fading
- Settings menu
New Concepts and Skills:
- VR comfort
- VR accessibility
Next Lesson:
- Optimization
8. Extension Activities
If you want to further develop your skills, explore new concepts, and improve your project, check out some of the optional extension activities below.
Each one is tagged as [Easy], [Medium], [Difficult], or [Expert] and will also include a [Requires Programming] tag if some coding is required.
1. Add voiceover narration [Easy]
Add audio narration that plays at the start of your scene, reading the text on the main menu:
- Use the OnSceneLoad script to trigger this
- Bonus - the audio should only play
2. Add a closed captions setting [Medium]
Add closed captions to improve audio accessibility:
- For ambient sound like the fireplace, add closed captions to indicate what the sound is at the sound’s location.
- Bonus - have the closed caption “billboard” towards the player, so that it’s always facing towards the player and is therefore always readable (use the “LookAtPlayer script from the Course Library or write your own script).
- Bonus - for your TV, use a video with words in it and add closed captions that go along with the words of the video (the Unity-shape-the-world video provided has voiceover) [Requires programming].
3. Add a continuous movement setting [Medium]
Add a setting to toggle on and off continuous movement:
- Use the same technique you did to toggle snap turning.
- You will need to add a Continuous Move Provider component and a Continuous Turn Provider component to the XR Rig.
- Bonus - You could have a single toggle or drop-down that alternates between (a) continuous movement and turning vs (b) snap turning and teleporting.