
6.3 - Sharing your Projects & Database
Exercise
Beginner
+10XP
30m
Unity Technologies
Overview:
In this lesson, you will learn how to build your projects so that they’re playable outside of the Unity interface. First, you will install the necessary export modules to be able to publish your projects. After that, you will build your project as a standalone app to be played on Mac or PC computers. Finally, you will export your project for WebGL and even upload it to a game sharing site so that you can send it to your friends and family.
Project Outcome:
Your project will be exported and playable as a standalone app on Mac/PC or for embedding online.
Languages available:
1. Install export Modules
Before we can export our projects, we need to add the “Export Modules” that will allow us to export for particular platforms.
- Open Unity Hub and click to Add Modules to the version of Unity you have used in the course
- Select WebGL Build Support, and either Mac or Windows build support, then click Done and wait for the installation to complete
2. Build your game for Mac or Windows
Now that we have the export modules installed, we can put them to use and export one of our projects
- Open the project you would like to build (could be a prototype or your personal project)
- In Unity, click File > Build Settings, then click Add Open Scenes to add your scene
- Click Player Settings and adjust any settings you want, including making it “Windowed”, “Resizable”, and whether or not you want to enable the “Display Resolution Dialog”
- Click Build, name your project, and save it inside a new folder inside your Create with Code folder called “Builds”
- Play your game to test it out, then if you want, rebuild it with different settings
3. Acceptance Testing
Acceptance tests are formal tests executed to verify if a system satisfies its business requirements. They require the entire application to be up and running and focus on replicating user behaviors. But they can also go further and measure the performance of the system and reject changes if certain goals are not met.
Now that you are finishing your project, create your final test script and do the following:
- Find a fellow learner on the QA Pathway to acceptance test your game using the final test script and use your database to track, report, and prioritize bugs.
- If you can't find a fellow learner - ask a family member or friend to play your game. Watch them play it and as they play take exploratory testing notes of them playing it. Use those notes to go back and test yourself and track, report and prioritize bugs.
- Fix any and all bugs and save your project.
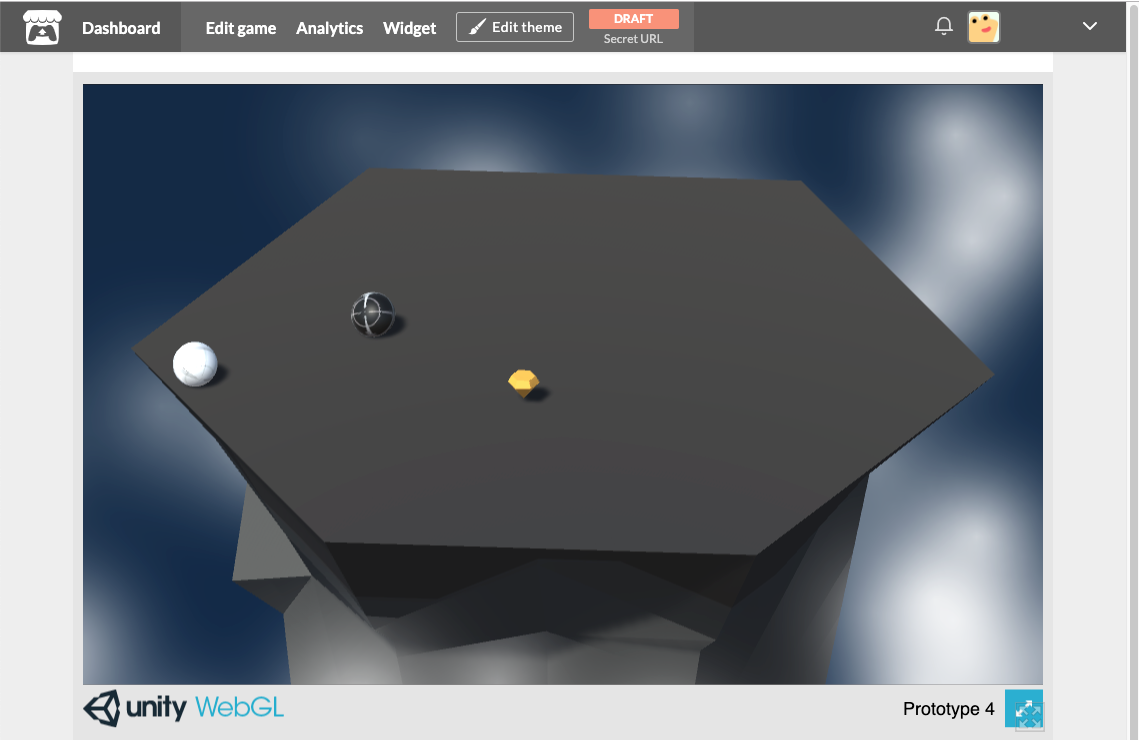
4. Build your game for WebGL
Since it is pretty hard to distribute your games on Mac or Windows, it’s a good idea to make your projects available online by building for WebGL.
- Reopen the Build Settings menu, select WebGL, then click Switch Platform
- Click Build, then save in your “Builds” folder with “ - WebGL” in the name
- Try clicking on index.html to run your project (you may have to try opening with different browsers)
- Right-click on your WebGL build folder and Compress/Zip it into a .zip file
- If you want, upload it to a game sharing site like itch.io
5. Performance Testing
As you learned when you started on the QA pathway, Performance Testing checks the behaviors of the system when it is under significant load. These tests are non-functional and can have the various form to understand the reliability, stability, and availability of the platform. For instance, it can be observing response times when executing a high number of requests, or seeing how the system behaves with a significant of data. Once you have optimized your project do the following:
- Create a test script to test various performance features of your project now that it is published as WebGL.
- In the database you created performance test your game to make sure it's running efficiently and effectively as possible. Track, log and prioritize any final bugs you find.
- Fix your bugs.
- Go back to Step 3 and prepare your final build.
6. Lesson Recap
New Concepts and Skills
- Installing export modules
- Acceptance and Performance Testing
- Building for Mac/PC
- Building for WebGL/HTML
7. Share Your Project and your QA Database
We would love to see what you've come up with in your project and your QA database. Please take a screenshot of the views of your project and database or do a screen-recording walking us through it, then post it here to share your creation.
Please login to submit
Complete this Tutorial
Submission Gallery

Just one part of QA
I am showing my playtesting summary here, but this but no means all the QA for the project. QA started way earlier - when planning the classes I would program. In my experience almost no amount of testing can fix a badly planned piece of software with a lot of "mysterious" dependencies. In my project weren't such issues, so bugfixing was a fast and straight-forward affair. Another problem is of course performance on webGL - since according to the profiler the program logic wastaking negligble time compared to the rendering I switched to URP and tuned down the quality settings, but still it is a bit weak on the framerate side.

Working with Unity Basics
This project includes character animation workflow in unity.

Awesome Learning Path.
Great learning Path I enjoined every prototype and challenge. Full recommended for start creating in Unity.

How I do QandA
this is a glimpse of how i take notes and solve my problems. it may seem a little long but I have developed a trick to guaranteed the best results.

Imagenes
Cositas con Unity del tutorial