Add a movement script
Tutorial
·
foundational
·
+10XP
·
25 mins
·
(5239)
Unity Technologies
Select the player character and create your first script that allows you to control it in the scene.
Languages available:
1. Mission overview
In this Mission, you’ll program a simple interactive experience where you control a character in a living room scene and move around to collect objects.
You'll be able to choose from a variety of characters and collectible objects. In our example, we'll use a robot vacuum that maneuvers to pick up dirt around the room.
2. Tutorial overview
In this first tutorial, you’ll add your first lines of C# code to your Unity project to steer your chosen character around the room.
3. Open the programming scene
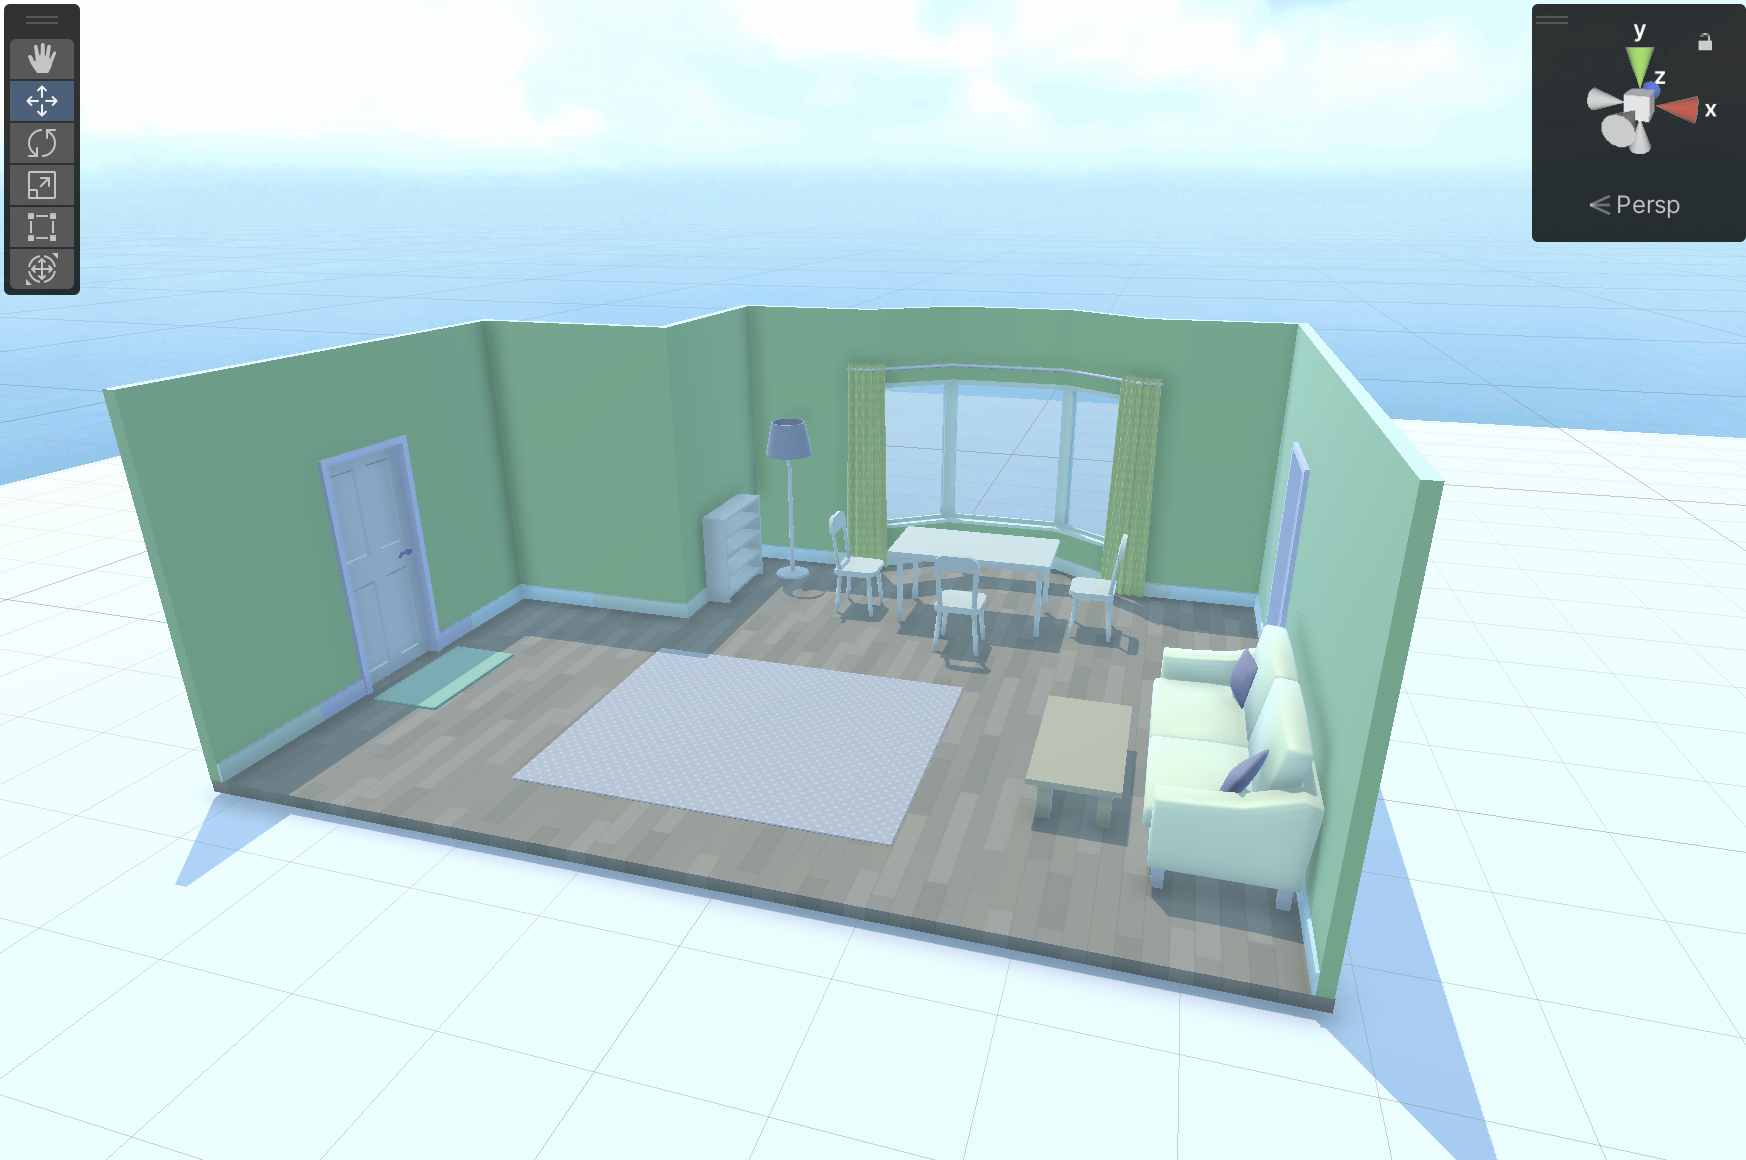
The first thing you need to do is open the new scene for this Mission, which is a simple living room environment.
Instructions
1. In the Project window, navigate to _Unity_Essentials > Scenes.
2. Find 4_LivingRoom_Programming_Scene and double-click to open it.
3. Adjust your view of the 3D scene to see the living room interior layout from a good angle.
4. Add a player to the scene
The next step is to add a player to the scene. This player is the character that the user of your game will control.
In this living room scene, your player can be one of the following:
- A robot vacuum sucking up dirt
- A toy car getting stars
- A wind-up mouse finding cheese
- An alien in a UFO collecting gemstones
It’s up to you which one sounds the most fun!
Instructions
1. In the Project window, navigate to _Unity Essentials > Prefabs > Characters and browse through the options.
2. Click and drag your chosen character into the scene, near the main door on the left.
Warning: Avoid double-clicking the prefab in the Project window because this will open prefab editing mode. Instead, simply drag and drop it into the scene.
3. If necessary, rotate the player by 90 degrees on the Y-axis so that it’s facing the center of the room.
4. In the Hierarchy window, rename your chosen character “Player” for clarity.
5. Create a new PlayerController script
It is time to create your first C# script!
C# (pronounced “see-sharp”) is a versatile programming language that is widely used for developing a broad range of applications, from web to mobile to game development, and particularly with Unity for game scripting.
Your first script, which is just a document with code in it, will be named "PlayerController". In this script, you'll define how your player interacts within the game world.
Instructions
1. In the Project window, navigate to _Unity Essentials > Scripts. There should already be a folder inside the Scripts folder named Provided Scripts — ignore this folder for now.
2. Right-click in an empty part of the Scripts folder and select Create > MonoBehaviour Script.
3. With the script’s name automatically highlighted, immediately rename this new script "PlayerController" (with a capital 'P' and 'C').
It's important to get the name correct right now — renaming it later can cause problems.
4. Press Enter to save the script name.
You'll see the code of the new blank script in the Inspector window. Notice that the name of the file is included in the code. That's why it's important to spell the file name correctly.
Note: If you make a typo in your script name or have to rename it for any reason, it will be easier to just delete it and create a new one with the correct name.
6. Apply the script to the Player GameObject
Next, you'll apply your script to the player object.
Here's a fun fact: in Unity, the scripts you write in C# are components, similar to the Rigidbody, Audio Source, and other components you've worked with. The difference between the components you create and Unity's built-in components is that your custom components are editable.
Instructions
1. In the Project window, find the PlayerController script you created in the Scripts folder.
2. Click and drag this script onto your player character in the Scene view.
Nothing will appear to happen after you do this.
3. In the Hierarchy window, select your player GameObject, then verify that your PlayerController script has successfully been added at the bottom of the Inspector window.
Note: Remember to save your scene with Ctrl+S (macOS: Cmd+S).
7. Open the PlayerController script in a script editor
Unity doesn’t allow you to edit code directly in the Unity Editor, so the next step is to open your PlayerController script in a separate script editor application.
You may not have realized it at the time, but when you installed Unity, you likely also installed a separate application called Visual Studio, which is a code editing application (also known as an Integrated Development Environment, or IDE).
This IDE is where you'll start coding the behavior of your player character. A script editor, such as Visual Studio, provides you with tools and features to write and manage your code efficiently.
Instructions
1. Locate the PlayerController script in the Unity Editor's Project window.
2. Double-click the script file to open it in your default script editor, such as Visual Studio.
It may take a while to open the application the first time.
When the IDE opens, you'll see the default starter code that generates any time you create a new script.
Note: Don’t worry if your IDE doesn’t look identical to the one shown in the demo videos.
If the script doesn’t open in an IDE, follow these instructions to install Visual Studio, relaunch Unity, and try opening the script again.
8. Copy and paste code and save
In this step, you will infuse life into your player character by adding some pre-written code to the PlayerController script. This code contains the logic for player movement.
To start, you’ll copy and paste all the code from a completed script, overwriting the code already in your script in its entirety. Later on, you’ll take more time to understand the code and write it line by line.
Copying and pasting code, then adjusting it, is actually a big part of every professional developer’s workflow!
Instructions
1. In your IDE, in the PlayerController.cs file, select all the code either by clicking and dragging with your cursor, or by pressing Ctrl+A (macOS: Cmd+A), then delete it all.
2. Select all of the code below, then copy it with Ctrl+C (macOS: Cmd+C).
3. In the script editor, paste this code into your now empty PlayerController script with Ctrl+V (macOS: Cmd+V).
4. Save your changes by pressing Ctrl+S (macOS: Cmd+S).
There should be no errors (red underlines) in your code. If there are, make sure that the PlayerController script is spelled correctly in the Project window.
5. In the Unity Editor, enter Play mode.
6. Move the player with the arrow keys or the WASD keys.
If your player does not move as expected, exit Play mode and check the script for any errors and make sure to save it. If there are errors, try deleting all the code again and re-pasting it in, then saving it again.
If you’re interested, read through the code and the comments (lines that start with two forward slashes (//) to see if you can understand some of it.
Code
9. Set the camera as a child of the player
Right now, the camera is stationary, making the experience feel a bit distant and potentially confusing for the actual control of the player character.
Now, you’ll position the camera to follow the player in a third-person view, which will be more immersive and intuitive.
If you make the camera a child GameObject of the player GameObject in the Hierarchy window, it will inherit the player GameObject's position and rotation, and also maintain a steady view of the player as it moves.
Instructions
1. In the Hierarchy window, locate the Main Camera GameObject.
2. Click and drag the Main Camera GameObject onto your player character in the Hierarchy window, making it a child GameObject.
You'll see the Main Camera GameObject indented under the player character in the Hierarchy window.
3. In the Transform component of Main Camera GameObject, reset all of the position and rotation values to 0.
Now that the Main Camera GameObject is a child GameObject, its position and rotation are relative to its parent GameObject.
Tip: To reset these value quickly, select the More (⋮) context menu in the upper-right corner of the Transform component and select Reset.
The camera should now be positioned at the exact same position and rotation as the player.
4. In the Scene view, adjust the camera's position to be slightly above and behind the player.
Use the Preview panel to make sure that the player appears in the camera's view. If the camera ends up going back behind the left wall, you may need to move the player forward a bit into the room.
5. Enter Play mode and use the arrow or WASD keys to rotate the player.
You'll now have a more satisfying gameplay experience!
10. Edit player properties in Play mode
Editing player properties while in Play mode is a dynamic way to fine-tune the behavior and characteristics of your player character while observing the immediate effects of those changes.
Important: Remember, anything you change while in Play mode is only temporary and will not be saved! To save your changes, you'll need to exit Play mode, make those edits again, and save your scene.
Instructions
1. Enter Play mode, then select your player character in the Hierarchy window.
2. In the Inspector window, locate the new Speed and Rotation Speed properties that have appeared in the PlayerController script component.
These were added when you saved your script.
3. Modify these Speed and Rotation Speed values in the Inspector window as you move your player with the arrow or WASD keys.
For example, make the player move and rotate more slowly.
Warning: After editing values in the Inspector, the player may appear to freeze. If this happens, just click somewhere in the Game view window to regain control of the player.
4. Take note of the values you prefer for Speed and Rotation Speed, and then exit Play mode.
The values will revert back when you return to the Scene view!
5. Set the Speed and Rotation Speed properties to the values you prefer, then save your scene with these values.
11. Review and proceed to next tutorial
Congratulations on adding your first script to control the player as it navigates throughout the room!
Here are some of the things you learned how to do along the way:
- Explain how code is edited in a Unity project.
- Make a new script component.
- Add a script component to a GameObject.
- Open the IDE from the Unity Editor.
- Assign a camera as a child GameObject that follows the player.
- Adjust component properties temporarily in Play mode (Game view).