Explore shaders
Tutorial
Beginner
+10XP
15 mins
412
Unity Technologies

Shaders do the work of computing how meshes will be rendered. In this tutorial, you’ll learn about the types of shaders and see how they fit into the rendering process.
By the end of this tutorial, you'll be able to:
- Determine the shader type for an object based on the design requirements
- Explain the difference between physically-based and non-physically-based rendering, and reasons for using each
- Explain the difference between a lit and unlit shader, and the reasons for using each
- Explain vertex and fragment (pixel) shaders
- Describe use cases for the Universal Render Pipeline shaders provided with Unity
Languages available:
1. Overview
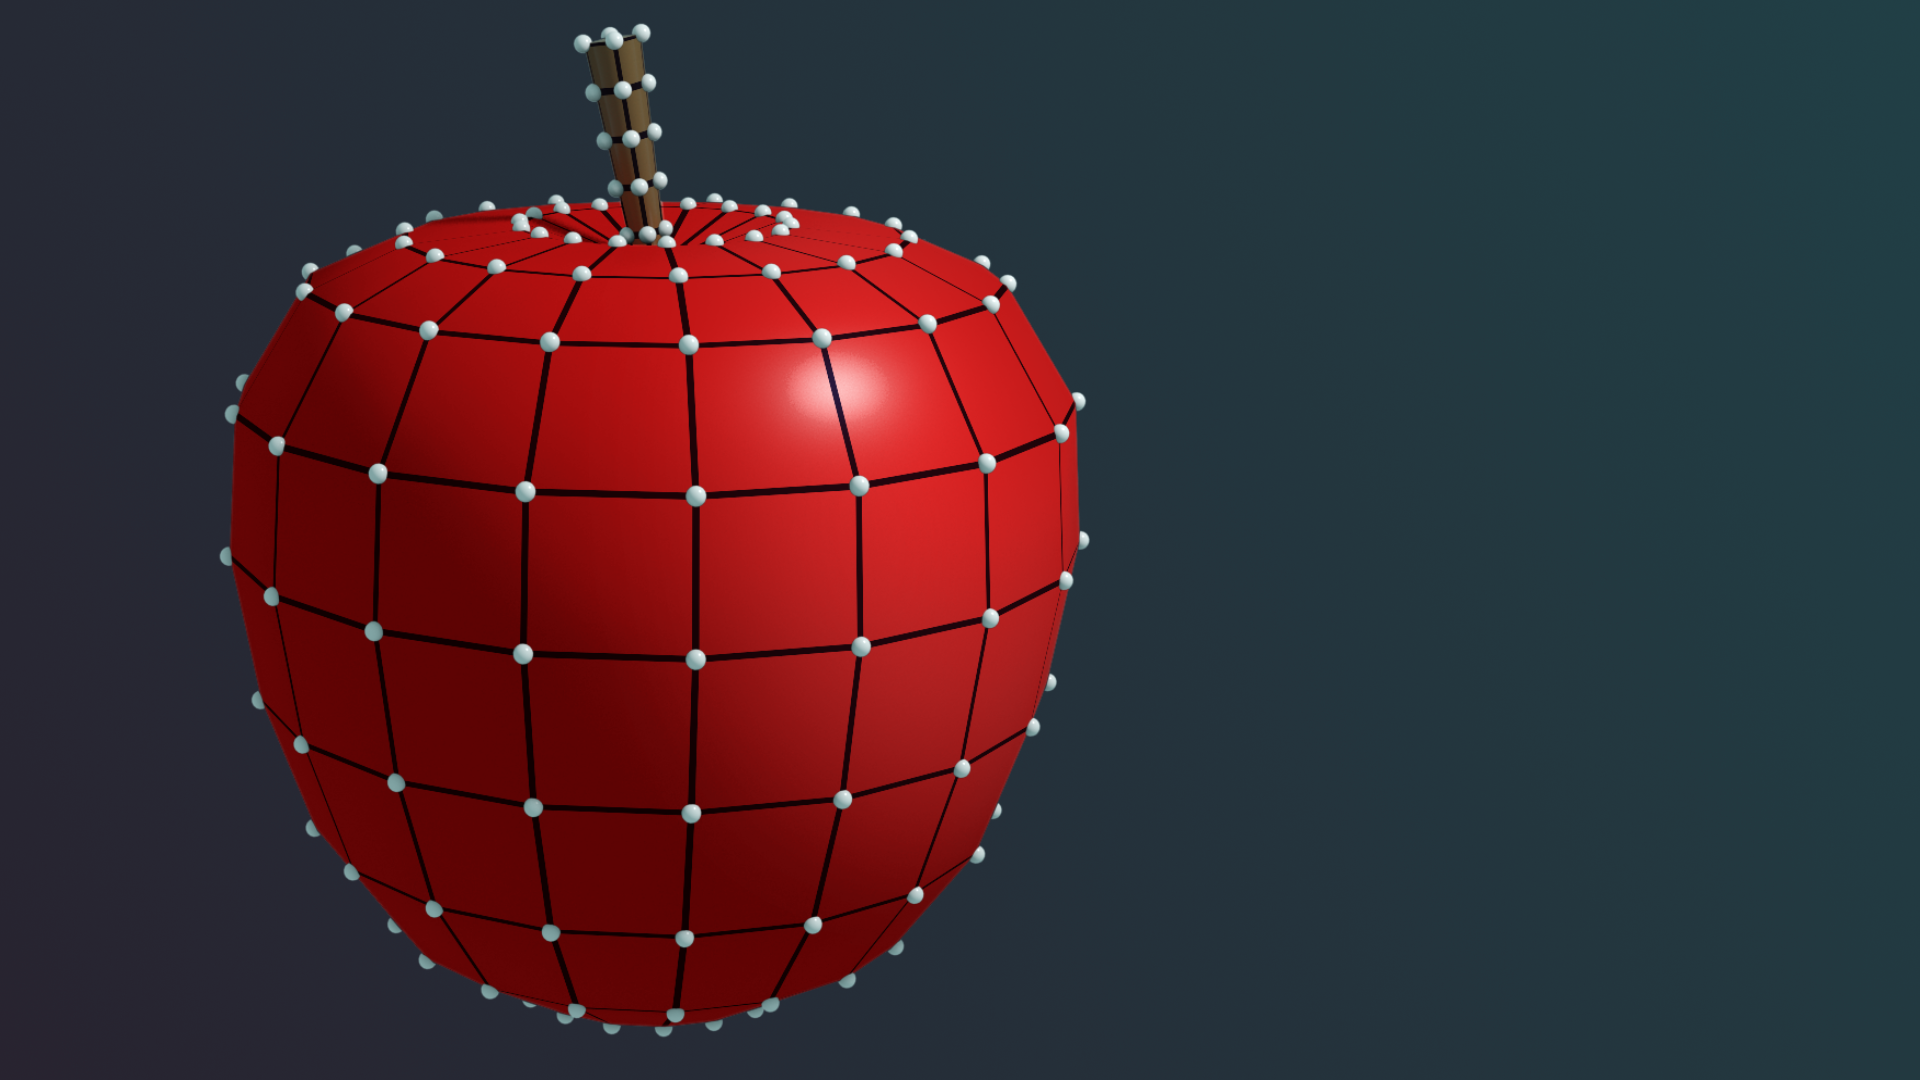
A shader is a script that applies the properties contained in a material to render the meshes of your 3D objects to the 2D image on your screen. Each shader is written for a specific render pipeline.

The shaders you use depend on your render pipeline. In Unity, each template comes with shaders designed specifically for the render pipeline used in the template.
Shaders can vary quite a bit, offering a wide range of visual styles that you can apply to your projects. Later in this learning experience, you will even learn how to create your own shader!
2. Types of shaders
Overall, there are two types of operations that occur in a shader: fragment shading and vertex shading.
Fragment shading, also known as pixel shading, is the shading that represents mesh surfaces to produce the color of each pixel in the 2D image. In this project, we’ll be working with fragment shaders and discussing in detail how they render with the light in the scene.
Vertex shading operates on the vertices of the mesh, typically changing their locations to make the surface move or transform. We won’t cover vertex shading in this learning experience, but we will provide more resources in a future tutorial.
You’ll often see shaders referred to as fragment shaders or vertex shaders, depending on their main purpose, but all shaders can perform both operations.
3. Physically based shaders and rendering
As computers have become more powerful and rendering technology has evolved, Physically Based Rendering (PBR) has become more widely available. PBR simulates the real-world principles of physics and light to generate realistic shadows, reflections, ambient light, and other effects of light on 3D surfaces. You can learn more about these principles in the Unity Manual.
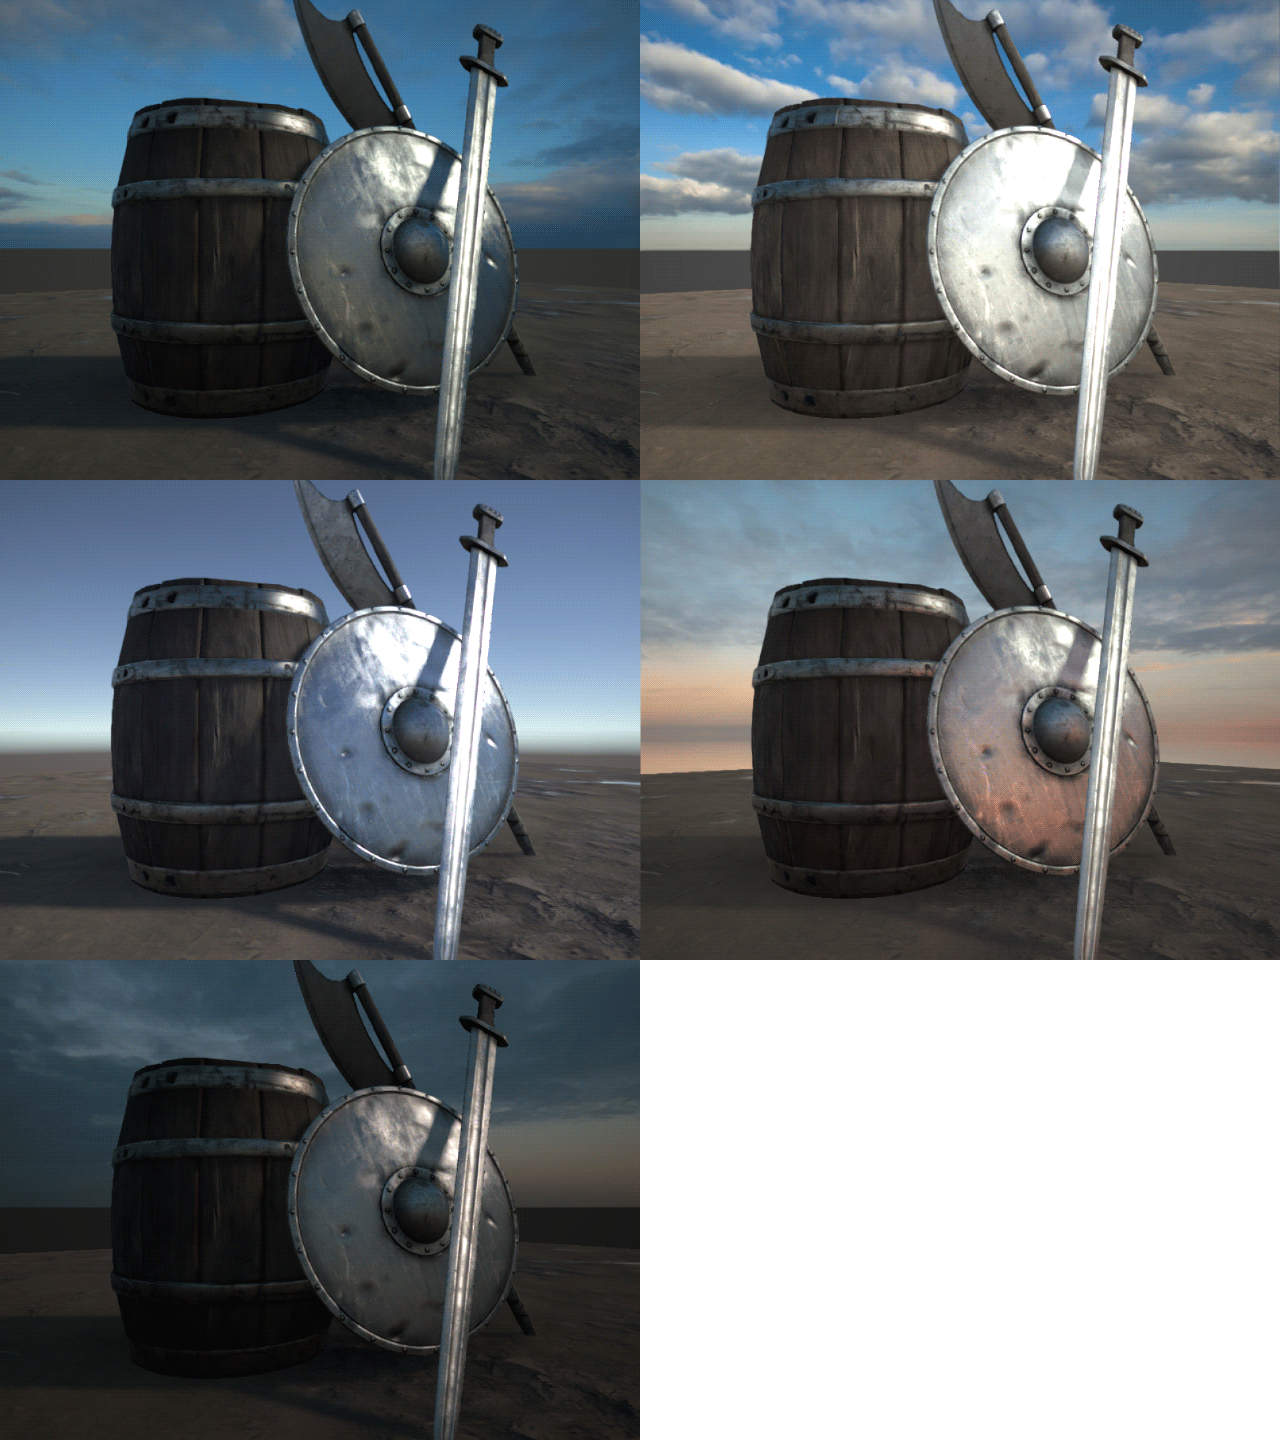
With PBR, the properties of lights and surfaces stay separate. Lights are defined in terms of their brightness, color, and range. Surfaces are defined, using materials, in terms of color, reflectivity, and other real-world properties that affect how light behaves on them. (You’ll learn about these real-world properties in this learning experience.) Then, the shader calculates the quality of light that bounces off surfaces based on the lights, surfaces, and 3D geometry of the scene, among other factors.
In the image below, the appearance of each surface changes as the light changes in the scene. The properties of the surfaces are the same in each image — it is only the color and direction of the light that is changing.

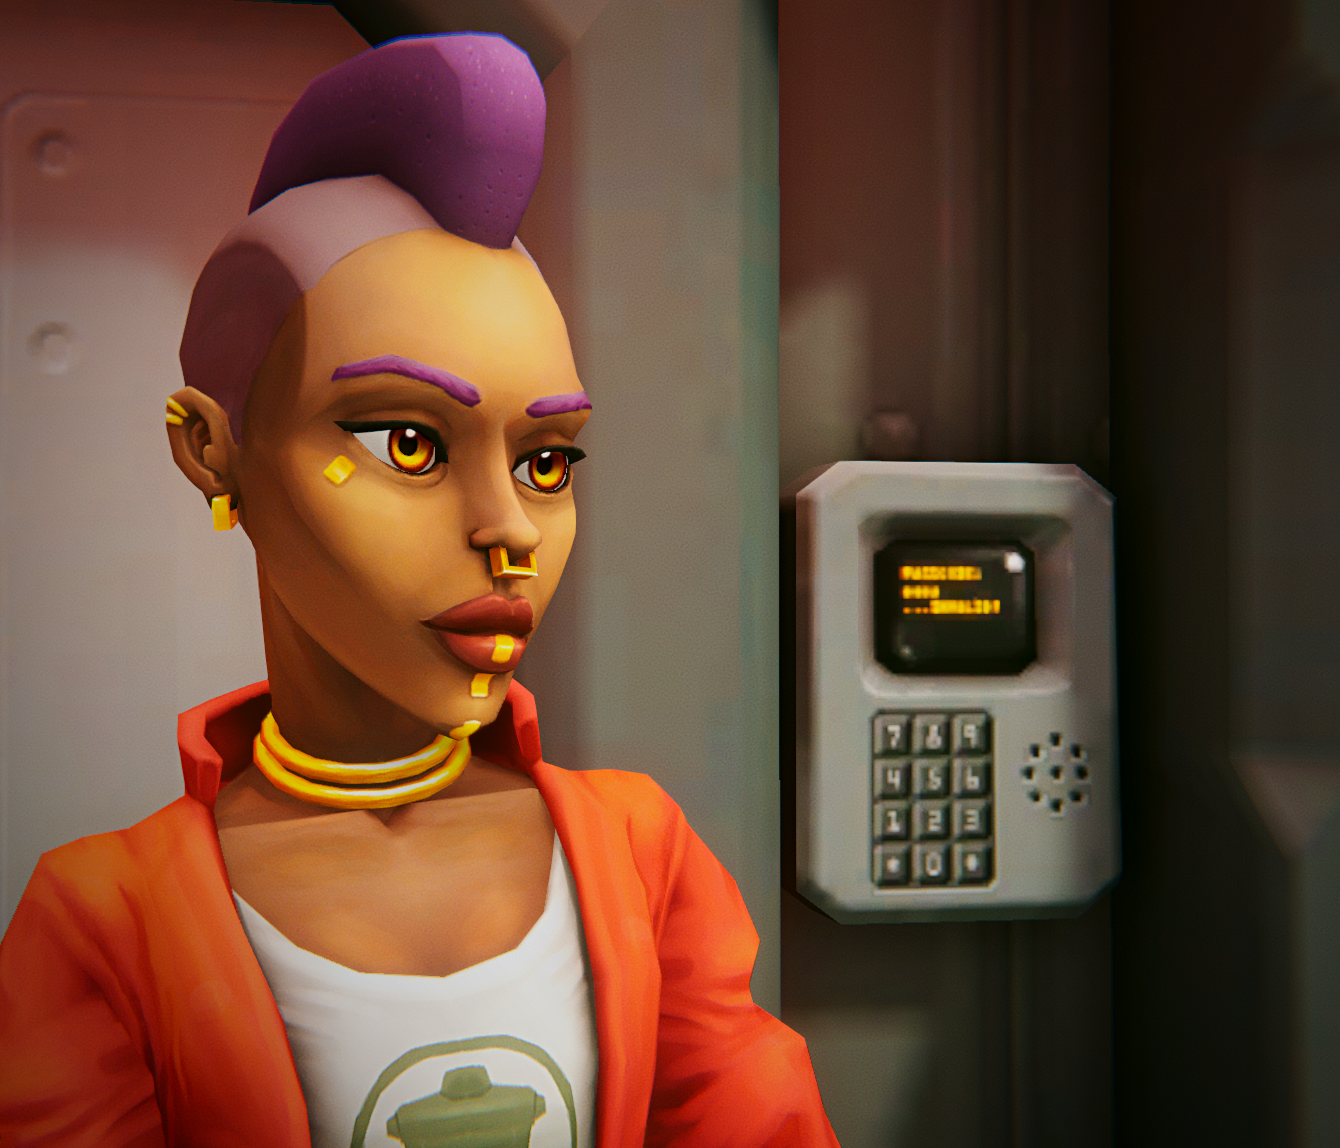
On the other hand, with non-Physically Based Rendering, the rendered colors, shadows, and reflections are either approximated without the science of PBR or just not rendered. With a non-PBR shader, a red material might render as a flat red color or with simple reflections and shadows. Non-PBR usually doesn’t look as realistic as PBR, but it can be more desirable for stylized effects. Toon shaders, which make surfaces in a 3D scene look like 2D cartoons, is one type of non-PBR shader.

4. Shaders in the Universal Render Pipeline
Shaders must be compatible with the render pipeline of a project. In this learning experience, we’ll work in a Universal Render Pipeline (URP) project, so we’ll use only URP shaders. Let’s take a quick tour of some of the URP shaders.
Note: We will look at most of the shaders available in a URP project. The ones not covered here are designed for specific applications and advanced processes.
You’ll see that many of these shaders have Lit or Unlit in their names. Lit shaders respond to the light in the scene, and unlit shaders don’t. Unlit shaders are useful for certain artistic effects or for optimised projects that run more efficiently by not using lighting.
Note: It is not common practice to change the shader of a material that is already created, as you’re about to do in this demonstration, because materials are based on the properties of a particular shader. Typically, you’ll select a shader first and then configure materials for that shader.
To tour the shaders:
1. Select a yellow lemon on your workbench (not one of the white ones).
2. In the Inspector, locate the Material Inspector at the bottom of the Inspector window, and expand that section if necessary.
3. At the top of the Material Inspector, near the thumbnail of the material, locate the Shader property.
4. Use the dropdown to view the list of shader categories. Select Universal Render Pipeline to see the URP shaders.
5. With the yellow lemon GameObject selected, select each of these URP shaders and notice the results. Be sure to select the shaders from the Universal Render Pipeline submenu.
- 2D > Sprite-Lit-Default, Sprite-Mask, Sprite-Unlit-Default: Designed for 2D projects, these shaders are for flat objects only and will render any 3D object as 2D.
- Particles > Lit, Simple Lit, and Unlit: These shaders are for visual effects (VFX). In the Creative Core pathway, you will use these shaders in the VFX mission.
- Terrain > Lit: This shader is optimized for use with the Terrain tools in Unity. In the Creative Core pathway, you will use this shader in the Prototyping mission. As a lit shader, it will render based on the light in the scene that reaches the object.
- Baked Lit: This shader is automatically applied to lightmaps, which you will encounter in the Creative Core pathway’s Lighting mission.
- Complex Lit, Lit, and Simple Lit: These are all variations on a general-purpose, physically based lit shader.
- Unlit: As described above, a shader that does not use light.
In this learning experience, we will use the Universal Render Pipeline/Lit Shader, a physically based shader. Because it is physically based, the materials we define will be based on properties of real-world surfaces, such as albedo color, specular value, and reflectivity — concepts you will learn in future tutorials.
5. Explore: Shaders
Now that you know about shaders, take a look at some of your favorite games or other 3D experiences. What kinds of shaders did the creators use? Do they appear to be physically based or not? Lit or not? Why do you think the artists chose one approach over another?
You should now have a better appreciation of the role of shaders in a 3D project!
6. Next steps
You have learned about rendering, meshes, and shaders by observing some pieces from the Shaders and Materials Gallery and exploring the shaders of the Universal Render Pipeline. Next, you’ll learn about materials, and how to work with them as assets so that you can make some creations of your own.