Explore camera views
Tutorial
·
Beginner
·
+10XP
·
15 mins
·
(130)
Unity Technologies

In this tutorial, you’ll explore some of the most popular camera views and learn about when they’re best used.
By the end of this tutorial, you'll be able to:
- Identify use cases for a perspective camera view in a 2D or 3D scene.
- Identify use cases for an orthographic camera view in a 2D or 3D scene.
- Explore the effects of camera setup on the user’s experience.
- Distinguish between various camera viewpoints in order to give end users the appropriate orientation to the scene.
Languages available:
1. Overview
If you were making a film, you would have complete control over what the viewer would see. But in games and other interactive experiences, users can explore freely, which creates the risk of them seeing something they shouldn’t, or conversely, not seeing something they should. For this reason, you should carefully consider what camera view will work best for your project.
Over the years, several different views have become standardized within interactive media. In this tutorial, you’ll explore some of the most popular camera views and learn how they’re best used. You’ll explore these camera views in a single special scene, where there are dedicated zones that will switch to different cameras automatically.
2. Third-person camera views
Let’s begin the observation of these different views by exploring the third-person camera view.
1. Locate and open Camera_Views_Scene from the Scenes folder.
2. Enter Play mode and use the WASD keys to navigate to the section labeled 3rd Person Camera.
3. Use the cursor to rotate the camera around the player character as you navigate in this area.
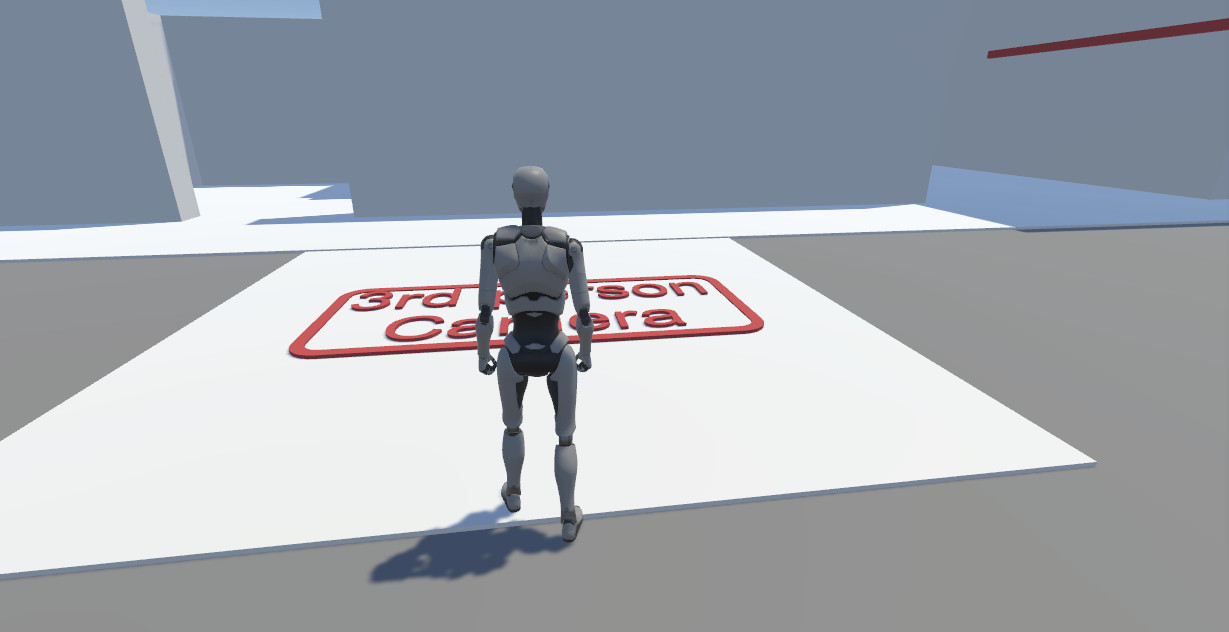
Third-person camera views are popular for interactive experiences where both the character and environment share equal levels of importance. Commonly, the user has some level of control over the camera, allowing them to see both the environment and character from different angles. This is beneficial for experiences where the user has the ability to customize their character, or when the character has unique abilities or features worth seeing, such as complex animations.
Functionally, the third-person camera view can make it easier for a user to navigate through an environment. Being able to see the character as a point of reference gives them the ability to estimate scale and distance, which is helpful for experiences with environmental challenges such as climbing and jumping between platforms.
From a narrative perspective, this view creates a layer of separation between the user and the main character they control. Because they can see the character, users become attached to and empathize with them, but they aren’t as likely to place themselves directly in the role of the character in the same way they might when using the first-person perspective.
3. First-person camera views
The next camera view is first-person. This camera view can be found by entering the diner on the left side of the scene.
1. Enter Play mode and navigate the player character into the diner to activate the first-person camera.
Tip: You can hold Shift to make your character speed up.
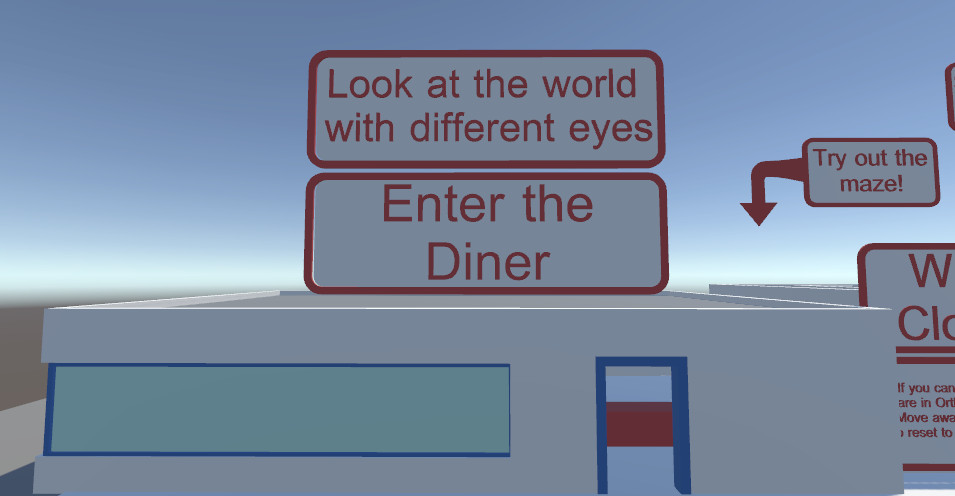
The first-person camera view is one of the more common views for interactive experiences. It puts the user directly into the world of the experience, and it’s ideal when the emphasis is on exploration within the environment.
This camera view gives the user complete control over what the camera sees, meaning that environments need to be more detailed than they might be with many other camera views. When users get closer to objects, they are more likely to notice low quality models and textures.
Because the camera represents the user’s eyes in this view, first-person cameras also benefit from a wider field of view to prevent motion sickness, as described in the tutorial covering camera projection types. Interestingly, despite the fact that this camera view places the user in the experience, it often makes it difficult to estimate depth, meaning that actions such as jumping to precise locations are more difficult in this view than in others.
From a narrative perspective, a first-person perspective puts the user at the center of the story. All of the things that occur in the experience will appear to happen to them, making scenarios more impactful. This perspective is also useful for training simulations, as it more closely recreates how users will see and interact with real-world scenarios.
4. Top-down camera views
The next view to explore is the top-down camera view. This camera view can be found by entering the maze in the center of the scene.
1. Navigate the player character into the maze to activate the top-down camera view.
2. Move around in the area using the WASD keys.
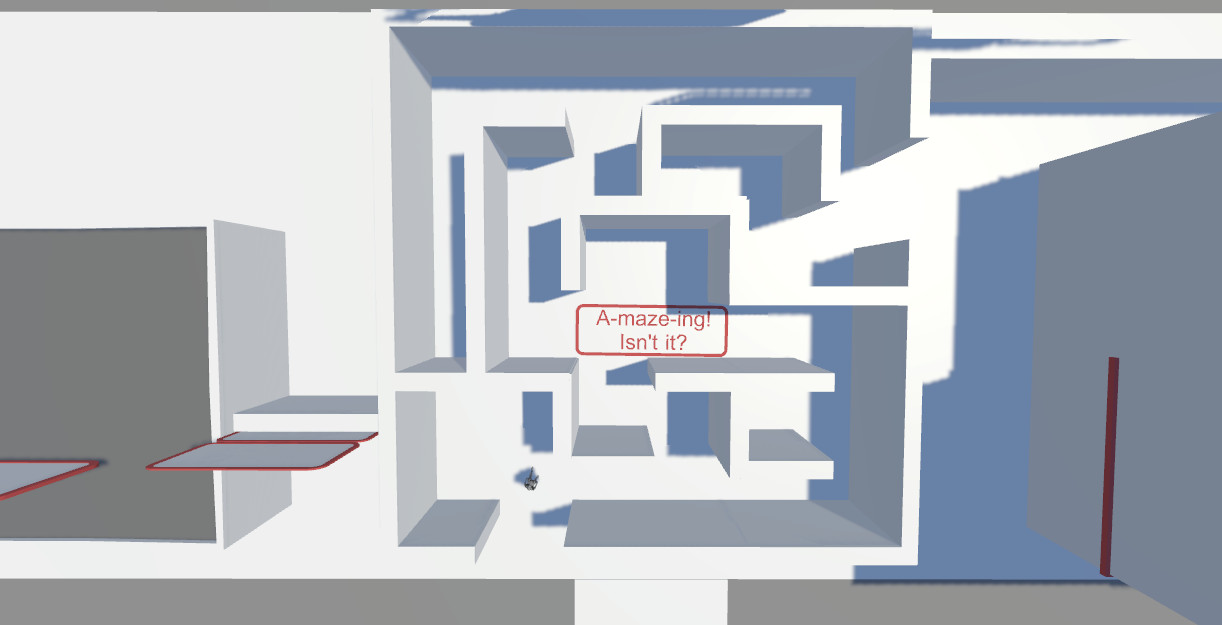
The top-down camera view is generally placed high above the user and the environment. It is best used for experiences where the focus is on the task that the user is meant to perform. The top-down view can be either orthographic or perspective, and it generally gives the user a large field of view. This view can either be static and only ever show a single scene, tied to the user so that more of the environment is revealed as the user moves, or independently controlled by the user.
Because this camera type limits the user’s view to a single angle, it can be challenging to get a sense of perspective. It’s most commonly used in experiences where the user needs to make decisions about large-scale situations, rather than those where they are exploring the environment. For this reason, top-down view is common for tactical games.
5. Isometric camera views
The next camera view is isometric. This is the only camera view that makes use of an orthographic camera, which as you previously learned, is a camera that does not render depth. It’s found next to the diner where you explored the first-person view.
1. Navigate to the section labeled Ortho View.
2. Move around in the area using the WASD keys.
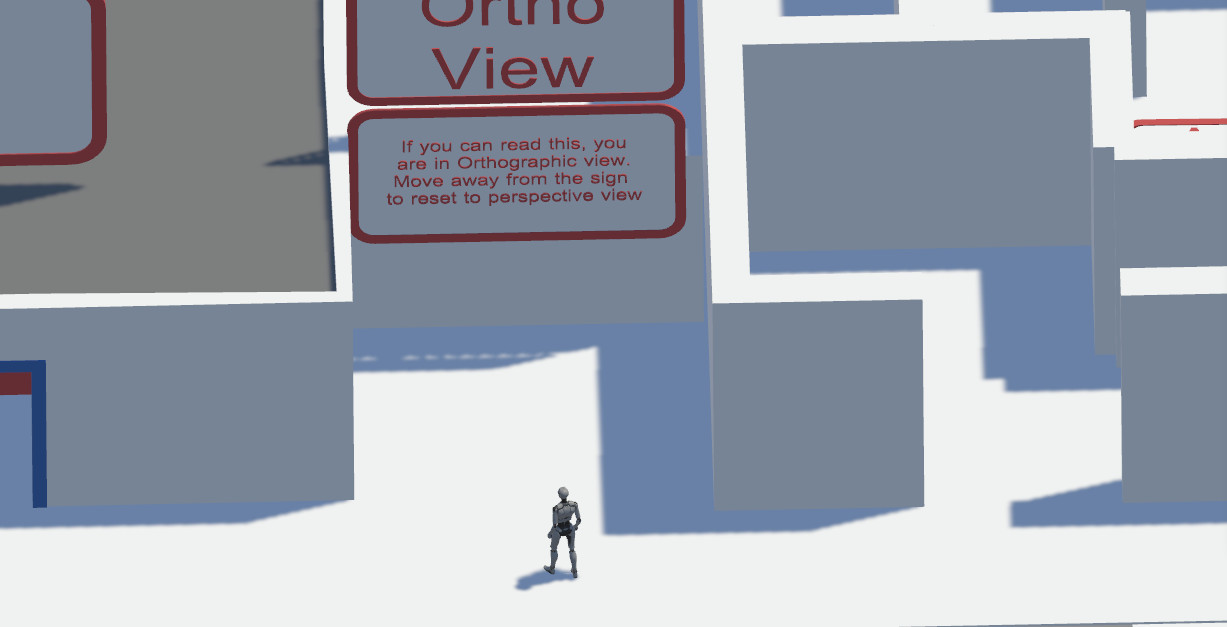
Isometric camera views were originally created for 2D games and are used to simulate depth for Orthographic cameras . They are most often arranged to face environmental elements at a 45-degree angle and raised 35 degrees above the area of focus. This creates the appearance of a three-quarter view. Today they are most often used stylistically, and they can be found in both 3D and 2D games with orthographic or perspective cameras.
Like the top-down view, an isometric camera can be static, move with the user, or be completely user-controlled. They are best used in scenarios where the user isn’t tasked with navigation-based challenges because the perspective can still be difficult to understand with a single glance.
6. Fixed camera views
Next, you will explore two fixed camera views. These views are found in the alleyway directly to the right of the maze.
1. Navigate to the alley behind the building. Once you enter this area, the static camera views will activate and change depending on where the player character is walking.
2. Move around in the area using the WASD keys.
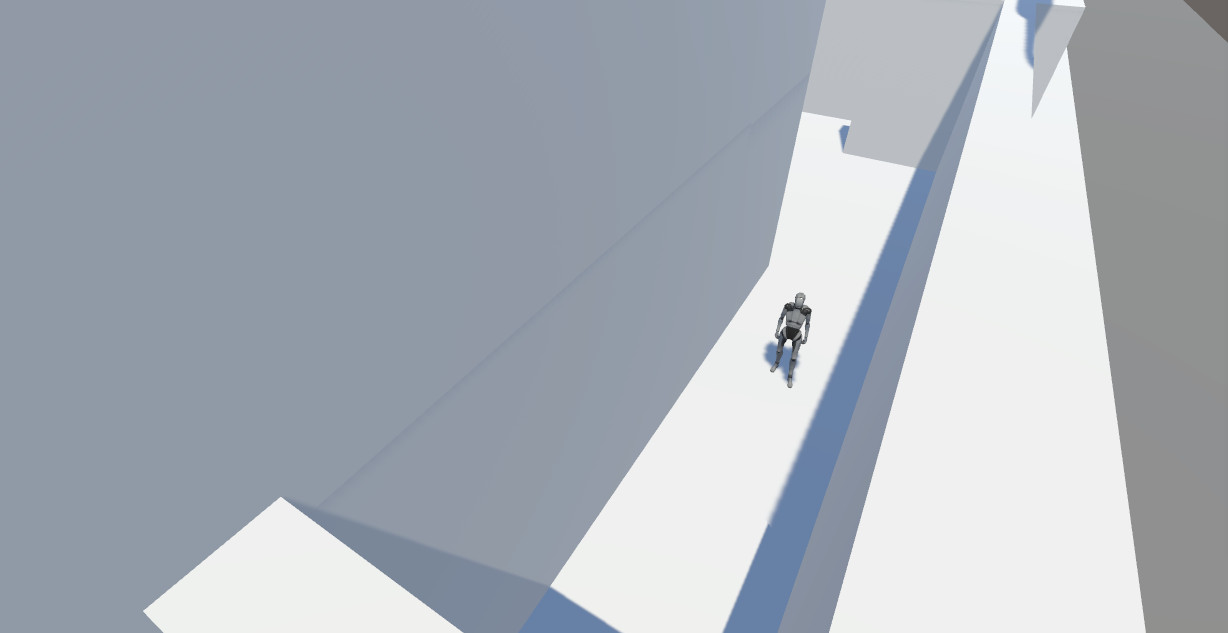
Fixed camera views allow you as the creator to have complete control over what the user sees in your interactive experience. Originally, this camera view was created as a way to make the most out of limited resources in early video games. By fixing a camera to a specific part of a scene, designers could design their environments to look the best they possibly could for the camera, while ignoring anything that wasn’t seen. It’s a similar concept to designing a set for a play: from the the viewer’s perspective, a stage may be set as a lush garden with carefully trimmed topiary animals, but from the back of the set, you can see that those topiaries are really just flat wood panels that are carefully painted to look real.
Fixed camera views can also be used to control when a user discovers important information in the experience. Carefully selected camera views can hide aspects of an environment: a user might think they’re traversing an empty hallway, only to have the camera view shift to reveal that something is right around the corner!
7. Combining camera views
While it’s generally advisable to limit the number of camera views in your experience to minimize disruption to the user, it’s perfectly fine to use more than one camera type if needed. A good example of this are games where the default camera is set to third-person, but there’s a user-controlled option to switch to a first-person camera if they need to see something in better detail or perform a specific task. The most important thing about determining what camera views to use is to clearly identify the user’s needs in your experience and select the views that make the most sense for them.
8. Next steps
In this tutorial you learned about a few popular camera views in interactive experiences. Take some time to evaluate the views that you enjoyed the most and consider how they might be useful in your own projects. Consider some games or other experiences that you have tried in the past. Do they share the same types of camera angles that resonated with you in this tutorial? In the next tutorial, you’ll continue to explore popular camera setups by learning about different shot types.