Generate textures with Muse
Tutorial
foundational
+10XP
0 mins
80
Unity Technologies
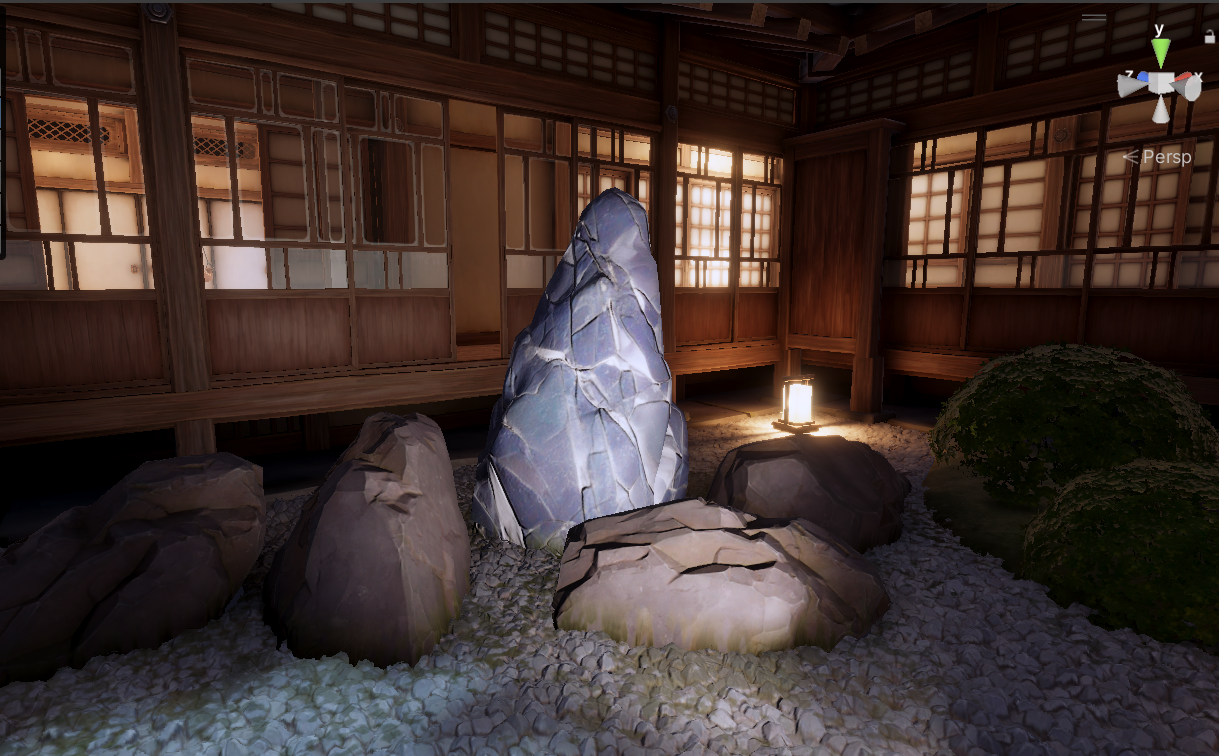
Muse’s texture capability is an asset generator for Unity that helps you create textures and materials for 2D and 3D GameObjects without coding or searching for texture map files. It creates textures and materials based on your natural-language prompts and reference images.
In this tutorial, you will learn to do the following:
- Generate a texture image using prompts in Muse.
- View a texture using physically-based rendering (PBR) in Muse.
- Add a material from Muse to your Unity project.
Languages available:
1. Overview
Muse’s texture capability is an asset generator for Unity that helps you create textures and materials for 2D and 3D GameObjects without coding or searching for texture map files. It creates textures and materials based on your natural-language prompts and reference images.
In this tutorial, you will learn to do the following:
- Generate a texture image using prompts in Muse.
- View a texture using physically-based rendering (PBR) in Muse.
- Add a material from Muse to your Unity project.
2. Before you begin
Complete the previous tutorial, Set up your Muse game project, and have that project open in the Unity Editor.
In the Unity Editor, go to the main menu and open Muse > New Texture Generator. If you don't see that option, then you need to install the Muse Texture package, following one of these methods:
- Go to the Muse Explore page in a web browser, and select Texture. For detailed steps, refer to Add Muse packages to your project.
- Follow the instructions to Install a Unity package by name, using the name com.unity.muse.texture.
3. What are textures and materials?
Textures are 2D images (sometimes referred to as sprites) that wrap around 3D objects to create variations in color, reflectivity, physical texture, and other properties. For example, you can use textures to turn a plain cube into a block of bricks, a corroded piece of iron, or a Rubik's cube.
Materials are assets that allow you to change the way an object appears. They let you specify various options that tell Unity how to render 3D objects. Several of the options you can control in materials are textures that can make an object colored, bumpy, shiny, or even transparent.
Muse Texture generates textures for your 3D objects and then lets you add those textures as materials in your Unity projects.
To learn more about textures and materials, try the Shaders and materials mission of the Creative Core pathway on Unity Learn.
What textures will you generate?
Unlike a sprite, which can be an image of anything, a texture is an image that creates an effect on the surface of a 3D object. Think of surface effects such as grass, marble, gold, tree bark, or fur.
In your prototype, you're going to make the rock you've selected in the garden scene into a magic rock. Start thinking of a texture you can apply to this rock that will make it stand out when your players are searching for treasure.
4. Generate some rock textures
To start generating some textures, follow these instructions:
1. To open a new Generator window, go to the main menu and select Muse > New Texture Generator.
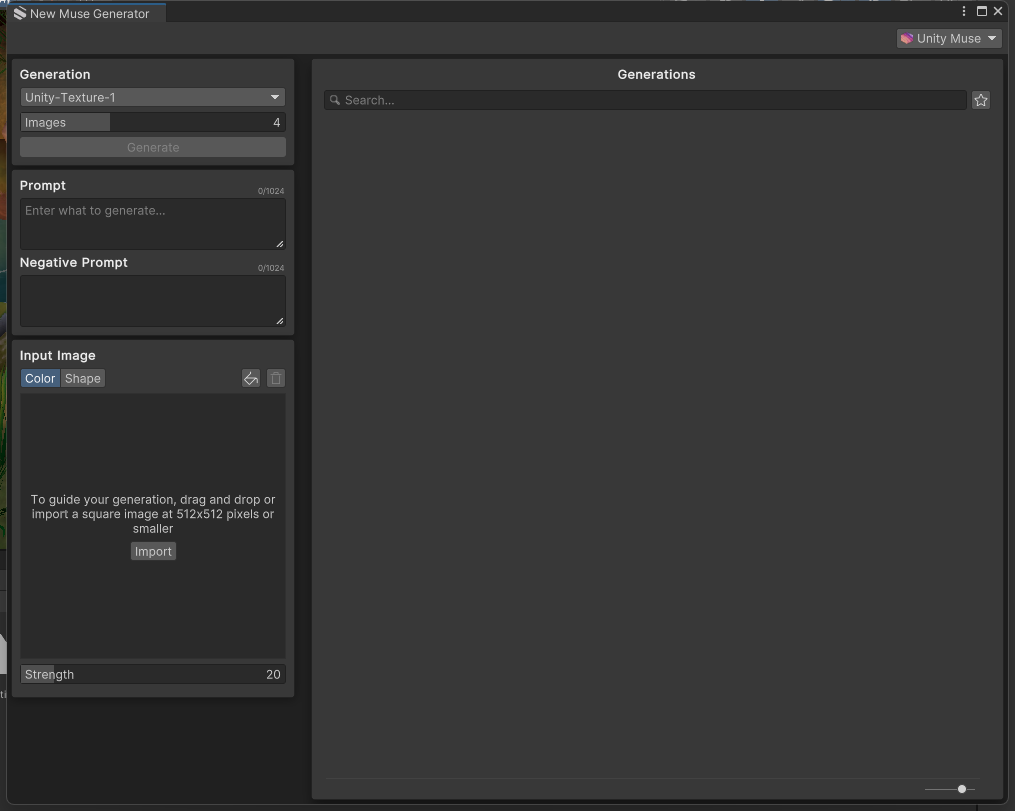
2. Set the number of images you wish to generate. By default, Muse will generate four (4) textures. If you want a different number of images, change the value.
3. Next, you will enter a prompt in the Prompt box. Your prompt should be descriptive but concise. In this example, we are going to generate an obsidian stone texture.

Note: The negative prompt box allows you to enter specific features you do not wish to see in the image.
4. Select Generate to create new textures.
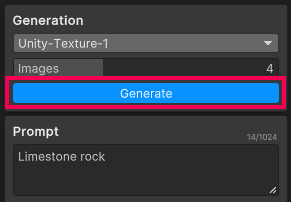
5. Experiment with different prompts until you find a result you are happy with. Here are some examples of the textures generated for the obsidian stone prompt.
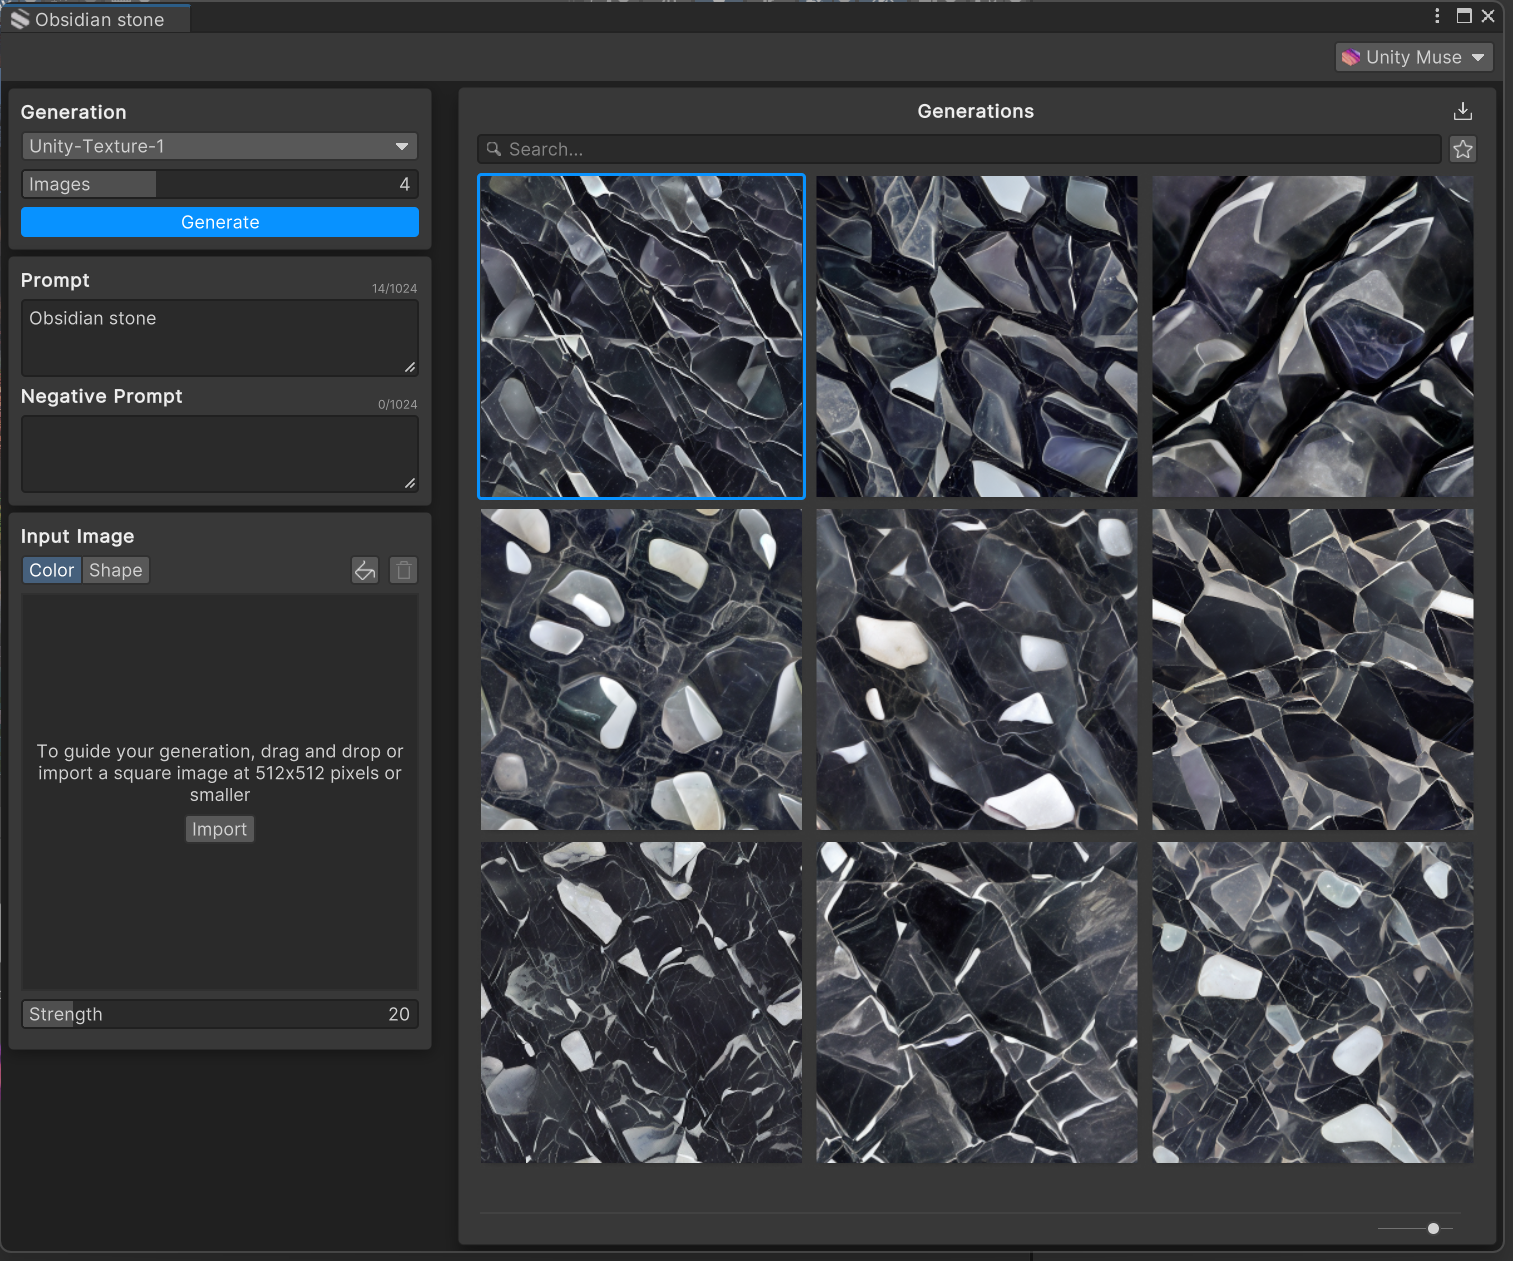
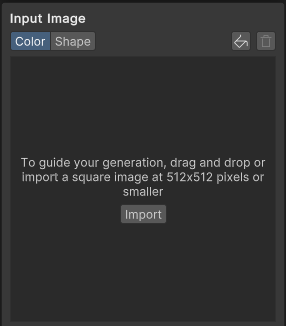
Note: If you have existing textures from which you want to base your new textures, you can drag them into the Input Image area to serve as a guide for your generated textures.
5. Preview and adjust the material parameters
Once you are happy with the result, Muse can generate materials made of several maps that are typical of game assets. Each map is an image that represents one aspect of a 3D surface. In a 3D scene, these maps will reflect or absorb light according to the lighting in your scene.
To view the maps that go into a material for one of your generated textures, follow these instructions:
1. Hover over the image and select the Refine Image (pencil icon) option, which will bring up the Refinements view.
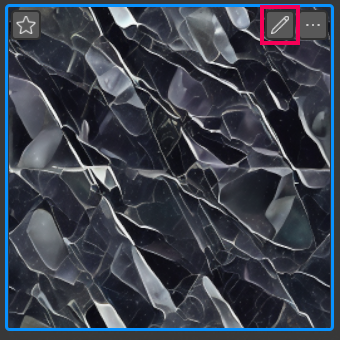
The Refinements view will bring up the Artifact Preview of the texture.
2. Select the Material Preview button to view this image as a material, and generate the maps that make up the material.

You'll see the sphere preview of the material, with lighting applied. Click and drag your cursor to rotate the material and see how all the maps, together, create a 3D effect.
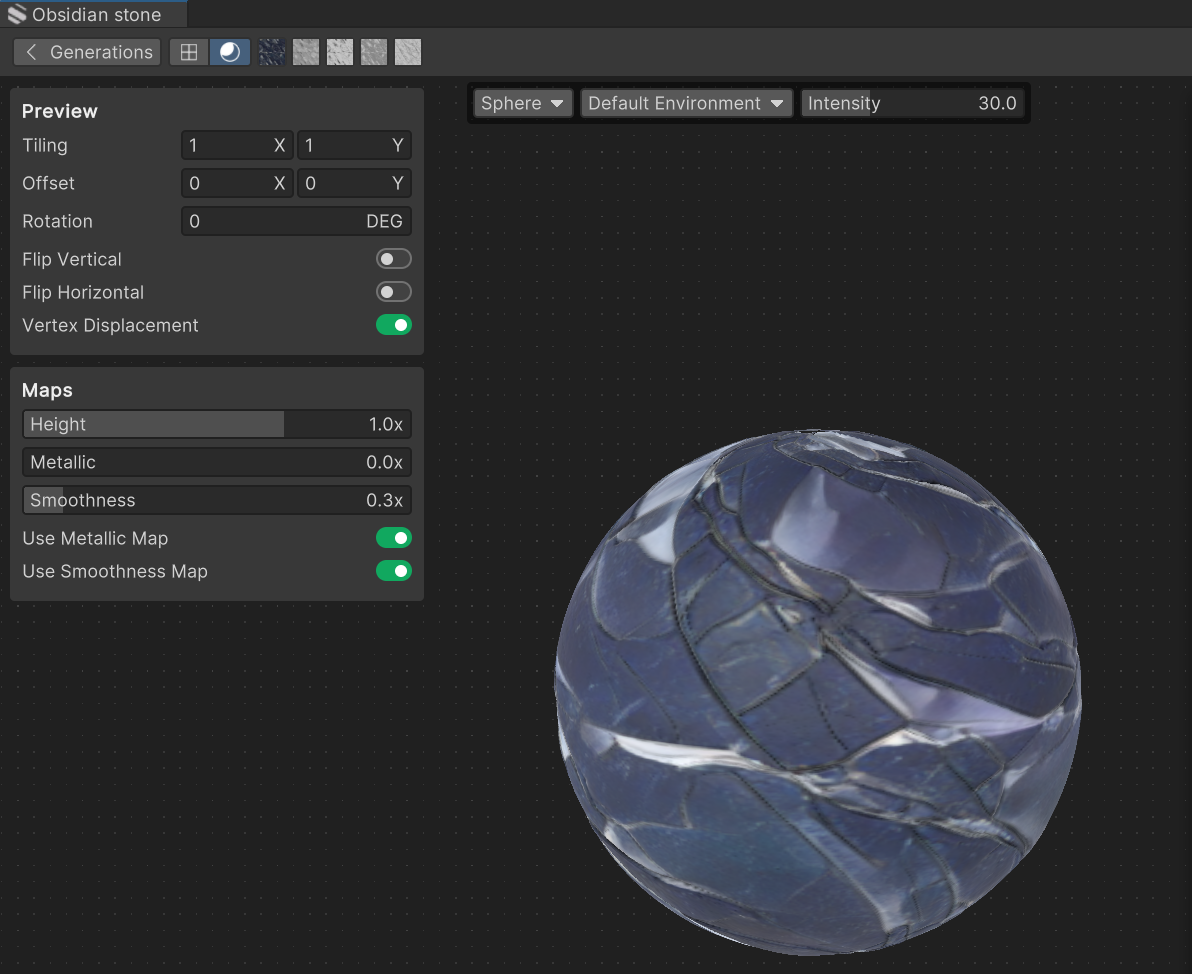
3. In the Material Preview, you can also see previews of the maps that make up the texture.

- Diffuse map: RGB (red, green, blue) colors.
- Height map: bumps that protrude from the surface.
- Metallic map: metallic shininess.
- Smoothness: scattering (roughness) or focusing (smoothness) of reflected light.
- Ambient occlusion: blocking ambient light to create additional shadows.
If you're familiar with materials and their properties, you can adjust some of those properties before you generate the final material.
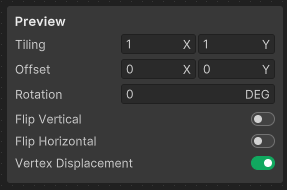
- Tiling: Increase or decrease the tiling to adjust the scale of the material.
- Offset: Adjust this value to move the position of the material.
- Rotation: Adjust this value to rotate the material.
- Flip Vertical: Mirror the material on the vertical plane.
- Flip Horizontal: Mirror the material on the horizontal plane.
- Vertex Displacement: Switch displacement on or off. Displacement shows the effect of the Height map by displacing the geometry.
6. Add the generated material to a GameObject
1. To bring the material into your project, drag the material preview from the Refinements panel into the Project window.
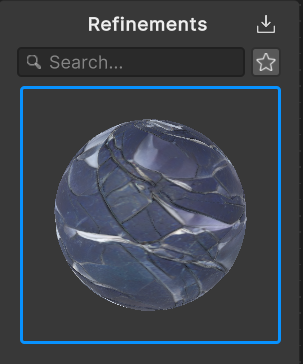
In the Project window, the material will be automatically named based on your prompt.
Note: Another method is to right-click the material preview and select Export, and then save the .mat file to your Unity project Assets folder.
2. In the Hierarchy, search for and select the LandscapeStone_01_Prefab (2) GameObject.
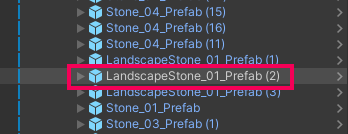
3. Select F on the keyboard to center the view on the selected GameObject.
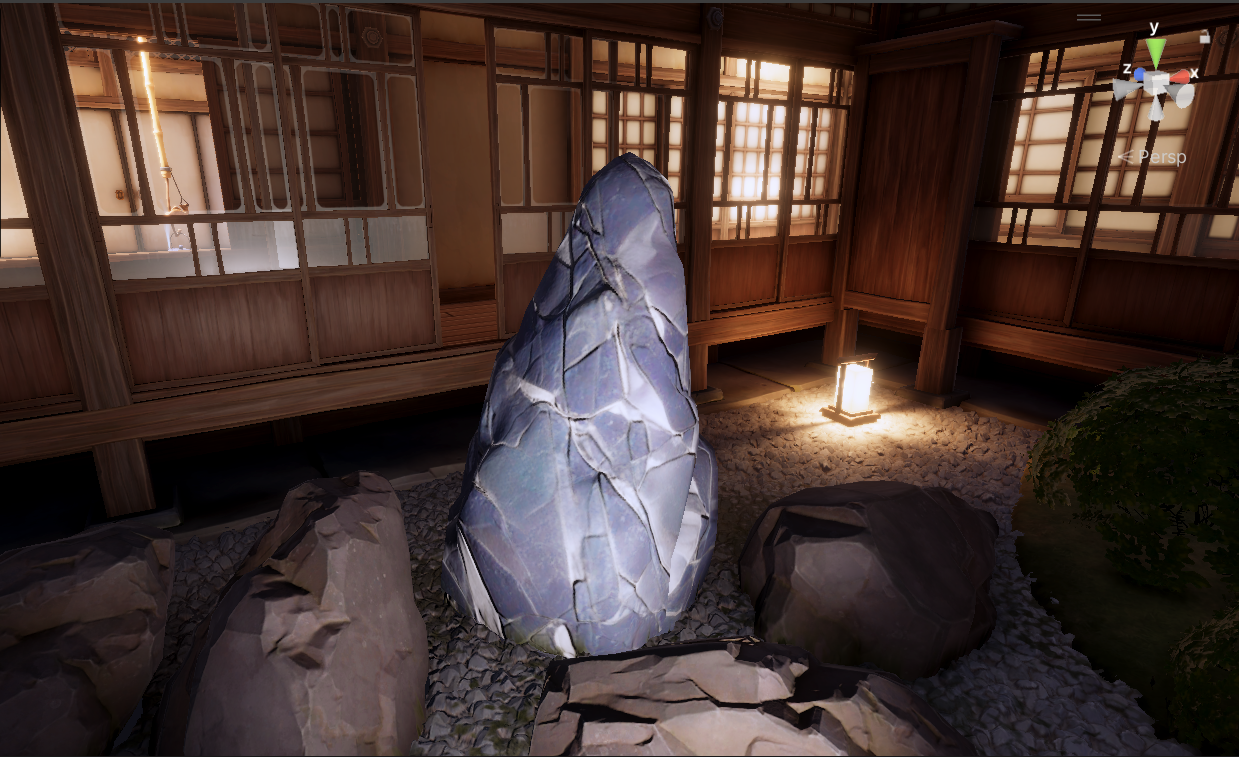
4. To apply your material, drag it from the Project window onto the rock in the Scene view, and the GameObject will immediately take on your new surface attributes!
7. Generate textures with Canny images or Patterns
Muse Texture Generator also gives you the option to use Canny images or patterns to generate your textures.
When you select a pattern, Muse will use it as a template to create the texture. This approach provides you with more precise control over the materials you produce.
A Canny image is a black-and-white image that has been processed to highlight the edges of objects. If you use a Canny image or one of the patterns provided by Muse, the resulting texture will use the lines as a guide for the image. If you use your own Canny image, make sure that it is tileable with crisp lines.
Below you can see a brick texture generated from a sample brick pattern.
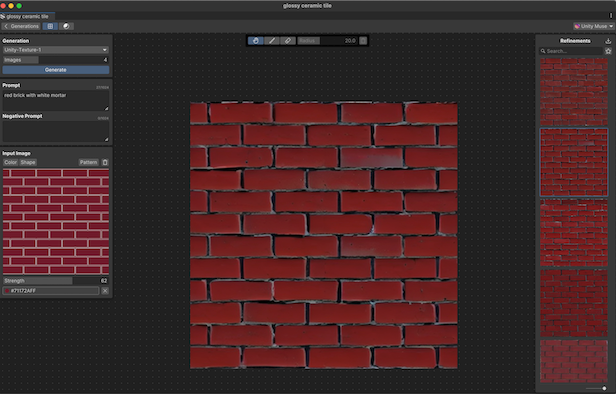
Canny images and patterns give you fine-grained control over the generation process. In the following steps, you'll generate a stone block texture to replace the current texture on the stone steps in the garden scene.
1. By default, the Input Image section is set to use a color reference. In the Muse Texture Generator window, in the Input Image section, select Shape to activate the Pattern option.

2. Select Pattern.

3. Select one of the provided patterns.
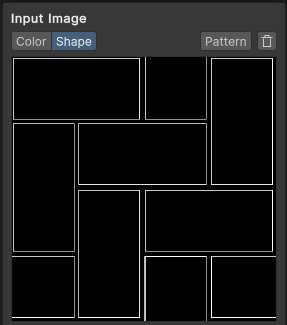
4. Enter a Prompt. In this example, we used "Stone blocks."
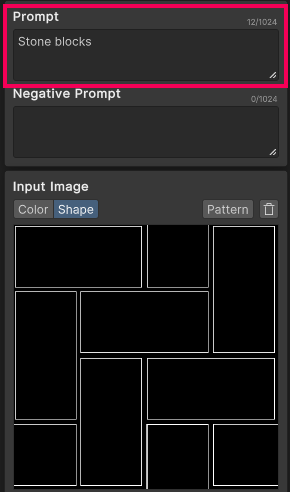
5. Select Generate to generate textures. The number of textures you specified will dictate how many will be generated.
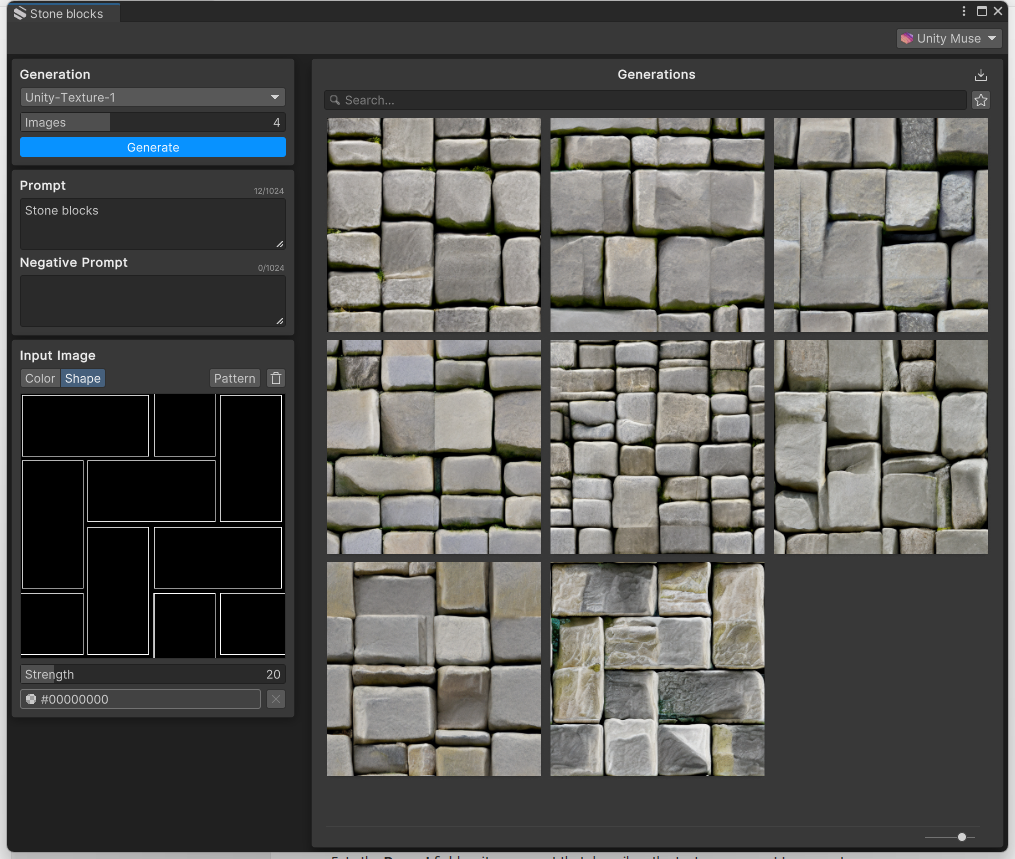
6. Select a texture you like, then follow the same steps as in the previous step to add the texture to your project as a material.
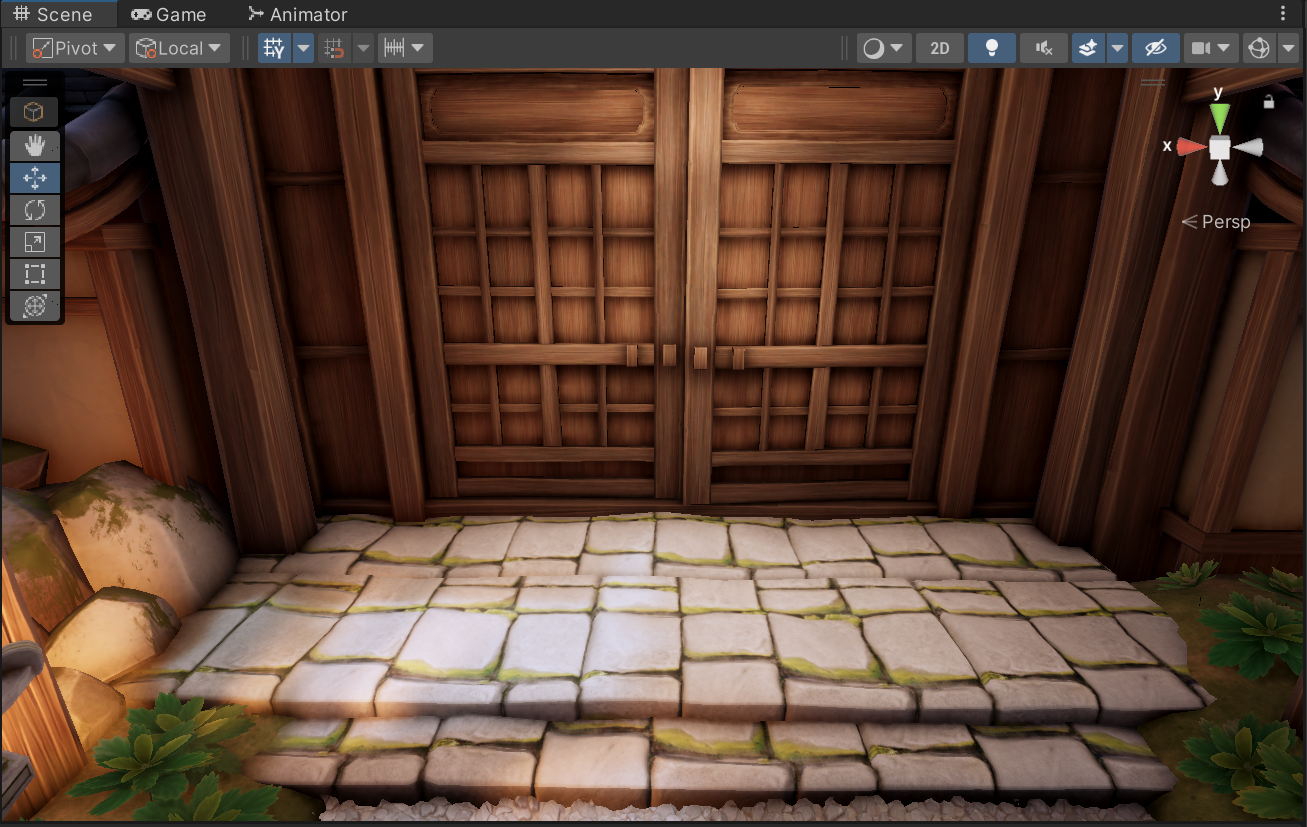
7. Navigate to the stone steps in front of the main doors into the courtyard. Alternatively, you can select the StoneStep_02_Prefab GameObject in the Hierarchy and press F to focus your view on it.
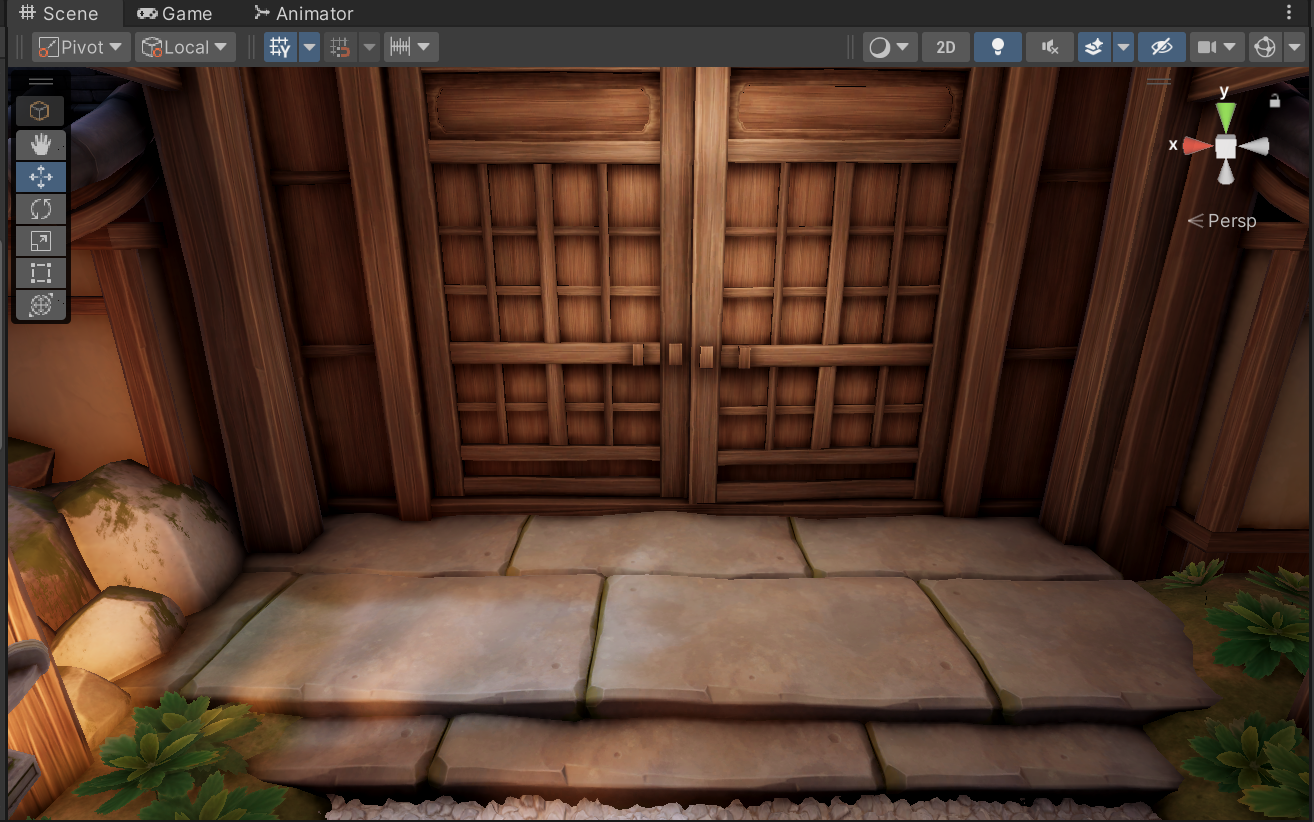
8. Drag the new material onto the steps.
8. Next steps
Now you know the basic features of Muse's texture generator and you can easily create many materials for 3D GameObjects! In the next tutorial, you'll generate sprites with Muse to change visual features in the scene.