Get started with shaders and materials
Tutorial
Beginner
+0XP
15 mins
58
Unity Technologies

Shaders and materials are to a 3D scene as paint is to a painting — they are the media for expressing the artistic look and feel of your real-time 3D projects. In this tutorial, you will get acquainted with the art gallery project that we’ll use in this learning experience.
Materials
Languages available:
1. Overview
Shaders and materials let you define how your 3D objects look: their colors, reflectivity, and physical texture. With shaders and materials, you can bring realism into your projects or express your own artistic style.
In this tutorial and the ones that follow, you’ll explore shaders and materials in our Shaders and Materials Gallery — an art exhibit that demonstrates all the key concepts. However, you won’t just be a visitor in this gallery, you’ll be an artist. You’ll create new original works to go on display.

In this tutorial, you will enter the gallery and see first-hand what shaders actually do. a
2. Before you begin
New to Unity?
If you’re new to Unity, welcome! The Unity Essentials learning pathway has been designed to help you get set up and ready to create in the Unity Editor. We recommend you complete this pathway before continuing with this Creative Core mission.
Update the Unity Hub
Before you begin to set up your Unity project, consider updating your Unity Hub to the latest release. If you are using an older version of the Hub, there may be differences between the guidance provided and your experience.
Review the Unity Editor basics
If you need to refresh your memory of the Unity Editor basics, you can take a moment to review Explore the Unity Editor at any time.
3. Welcome to Creative Core: Shaders and materials
What is the goal of Creative Core: Shaders and materials?
The goal of this learning experience is to introduce you to the core concepts you’ll need to use shaders and materials in Unity. With knowledge of these concepts, you’ll be able to use many of the shaders provided with Unity’s templates and express your artistic vision through the 3D objects, characters, and environments you create. The knowledge and skills you develop here will be useful whether you’re a hobbyist or aspiring professional 3D artist.
What will I do in this learning experience?
In these tutorials, you will be guided through the properties of commonly used shaders and materials and the concepts behind them. You’ll learn how to express color, reflectivity, smoothness, transparency, surface variations, and other properties of a 3D surface using shaders and materials. Along the way, you’ll create pieces for a final art project to demonstrate your new skills. You will also create your own shader using Shader Graph, which allows you to generate the code for a shader script with a graphical interface.
What will my learning outcomes be?
When you’re done, you’ll have the skills to create and configure many shaders and materials in Unity. You’ll also have the resources to explore these topics and broaden your skills further.
You’ll be ready to apply these skills in your chosen guided project and your independent project (if you are completing the Creative Core pathway), or any other prototype real-time experience created with Unity.
4. Welcome to the gallery
Let’s get started right away by entering the Shaders and Materials Gallery. To set up your Unity project:
1. Install Unity 6, if you haven’t already done so.
2. Download and unzip the project for this learning experience.
3. Move the project folder to a suitable location on your computer.
4. Add the Unity project to the Unity Hub.
5. Open the project from the Unity Hub.
6. In the Unity Editor’s Project window, open the Scenes folder, and open the scene TutorialScene_Shaders.
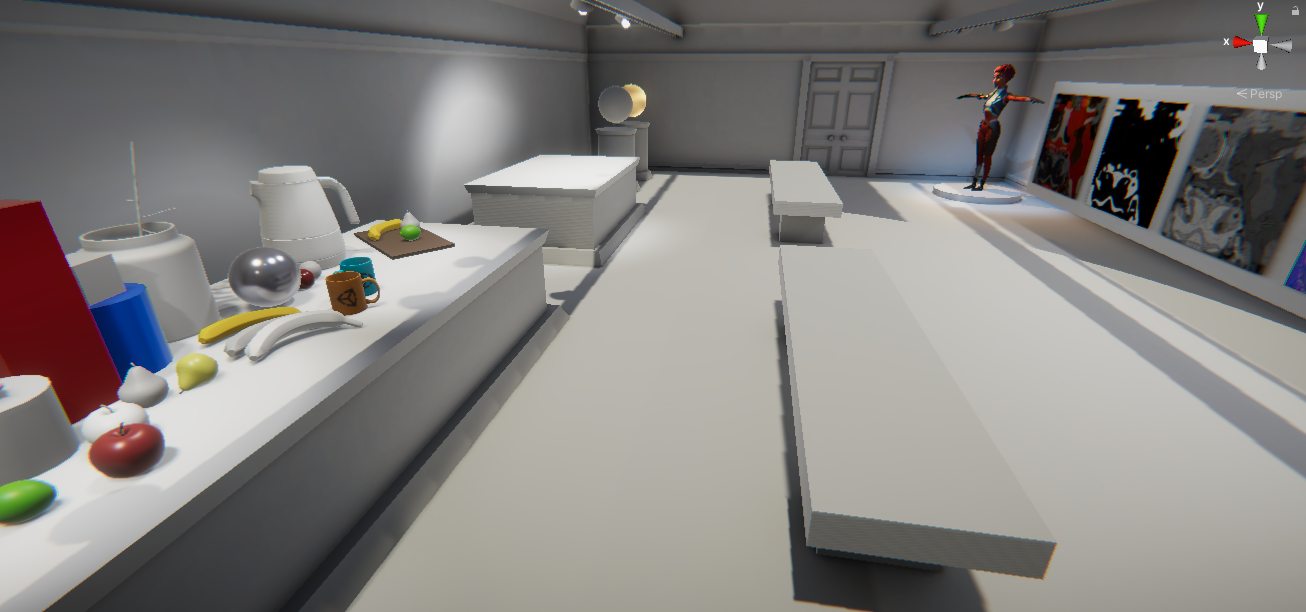
7. In the Hierarchy, select the Banana GameObject. Double-click it in the Hierarchy, or select the Scene view and press the F key to orient your view inside the gallery.
Take a look around! Stay in Scene view — there are no controls for moving around in Game view. Observe each work of art. You’ll be examining some of these items as examples and manipulating others as you develop the skills of an artist. You’ll be creating a new composition of several individual pieces, working in the medium of shaders and materials.
5. Your work of art
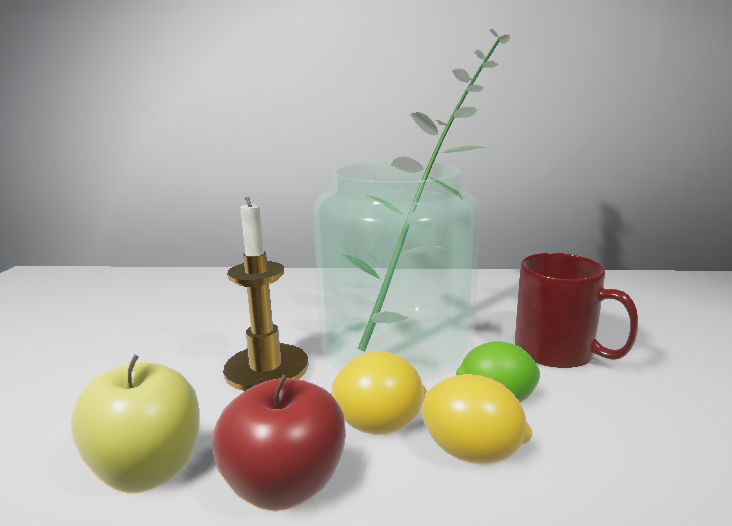
Your contribution to the Shaders and Materials Gallery will be a still life composition like the example below, “Still Life with Candlestick”:

Yours can be entirely different, using different objects from this project, other projects or the Unity Asset Store.
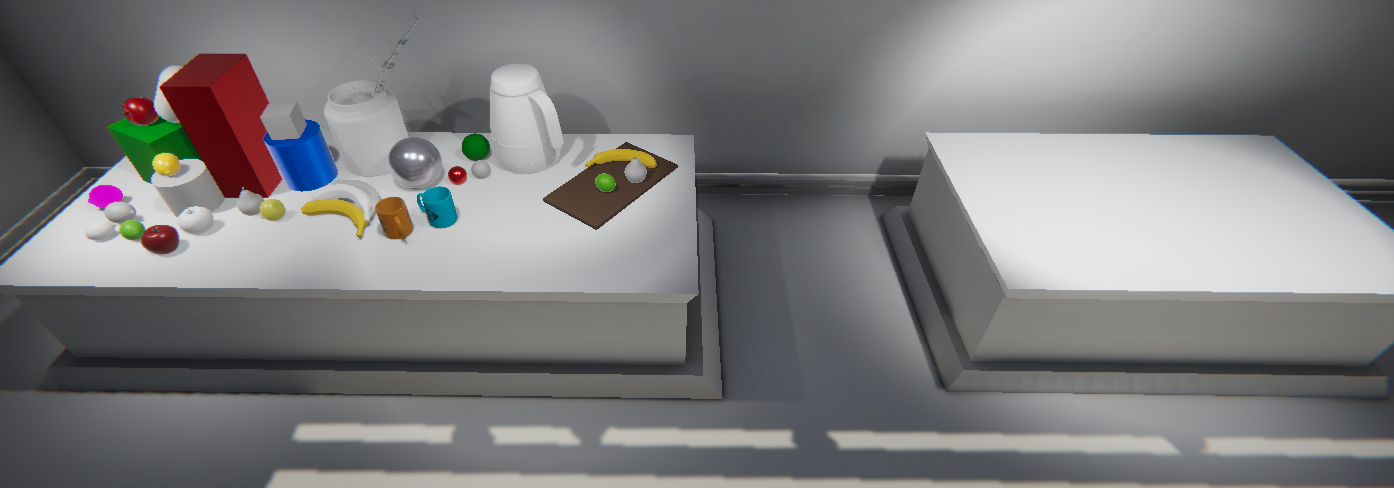
In these tutorials, you will use shaders and materials to make objects like these look realistic and compelling. Once you’ve gained these skills, you will have artistic freedom to assemble your own collection of subjects in your final composition. To create your work, we have provided you with a workbench full of objects and an empty plinth on which to display your final composition.

Before you get started, here are some ways you can set up your project, if you prefer:
1. You’ll see some icons to indicate lighting features that you will learn about in other Creative Core learning experiences. To hide these, open the Gizmos dropdown at the upper right of the Scene view window, and adjust 3D Icons all the way to the lowest value. Keep 3D Icons enabled.
2. To hide or view the grid, use the grid view toggle on the top of the Scene view control bar. The icon has a grid and Y for the Y plane.
Next, let’s discuss some basic concepts and tasks to get you oriented.
6. Next steps
You’ve set up your shaders and materials project. Next, we’ll discuss some basic concepts that will provide some necessary background for using shaders and materials.