Get started with the Cinematic Studio Template
Tutorial
·
Beginner
·
+10XP
·
10 mins
·
(1033)
Unity Technologies

In this tutorial, you’ll learn about the Cinematic Studio Template, and download and import it into a new Unity project.
Languages available:
1. Overview
The Cinematic Studio Template groups together a set of features that makes moviemaking a first-class experience within the Unity Editor, along with sample content to demonstrate their use.

In this tutorial, you’ll:
- Learn more about the Cinematic Studio Template and the features it uses
- Create new Unity project from the template
2. Before you begin
New to Unity?
If you’re new to Unity, welcome! You’ll need to download and install Unity 2021.2.2 (minimum) before you can get started with the Cinematic Studio Template.
Render pipeline compatibility
The Cinematic Studio Template’s sample content is only compatible with the High Definition Render Pipeline (HDRP), and only in Unity 2020.2.2 and higher.
However, most of the features it uses are compatible with any render pipeline in any Unity Editor version from 2021.2.2. Only AOV recording requires HDRP.
Support and feedback
Don’t hesitate to ask for support or provide your feedback about the Cinematic Studio Template at any time. This will help the team improve it in future releases.
3. What does the Cinematic Studio Template include?
The Cinematic Studio Template includes:
- Timeline, the backbone of any cinematic.
- Sequences, a workflow tool to keep your movie's editorial content organized, collaborative, and flexible.
- Recorder, to output videos, stills, AOVs, and more.
- Alembic support, to import and export complex animations.
- FBX Exporter, to roundtrip content to 3D modeling software.
- Cinemachine, Unity’s camera system for framing and following cinematic action.
- The High Definition Render Pipeline (HDRP).
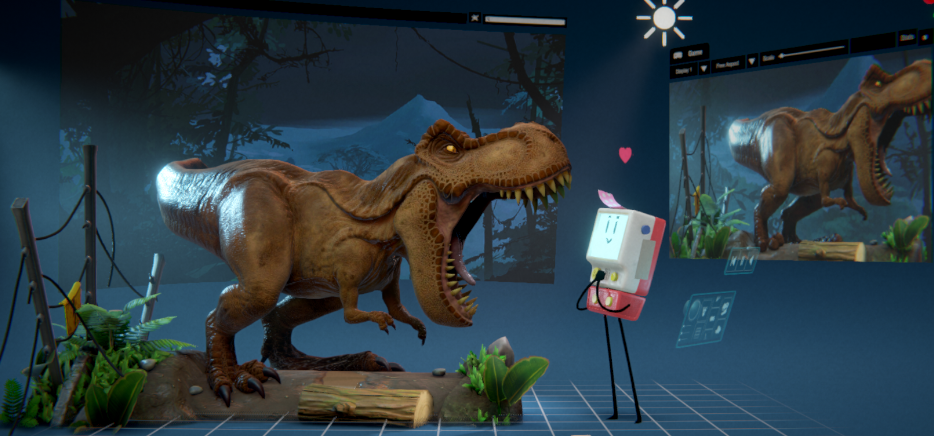
- The MICH-L sample movie, a #MadeWithUnity cartoon which uses all the above features.
4. What will I learn in this project?
In this short learning experience, you’ll explore the concepts and features of the Sequences workflow tool and the Recorder, through the provided sample movie. By the end of the project, you’ll be able to:
- Confidently navigate through the structure of a cinematic made of Sequences
- Create a self-contained animated asset using the Sequences tool
- Create and manage nondestructive variations of your cinematic content
- Export a video of your cinematic, as well as other data usable for editorial tasks
5. Get the Cinematic Studio Template
Before you continue on to the rest of the tutorials in this project, you’ll need to create a new Unity project from the Cinematic Studio Template:
1. Install Unity 2021.2.2 (minimum), if you haven’t already done so.
2. Create a new Unity project using the Cinematic Studio Template.
Note: You might first need to download the template to be able to create the project.
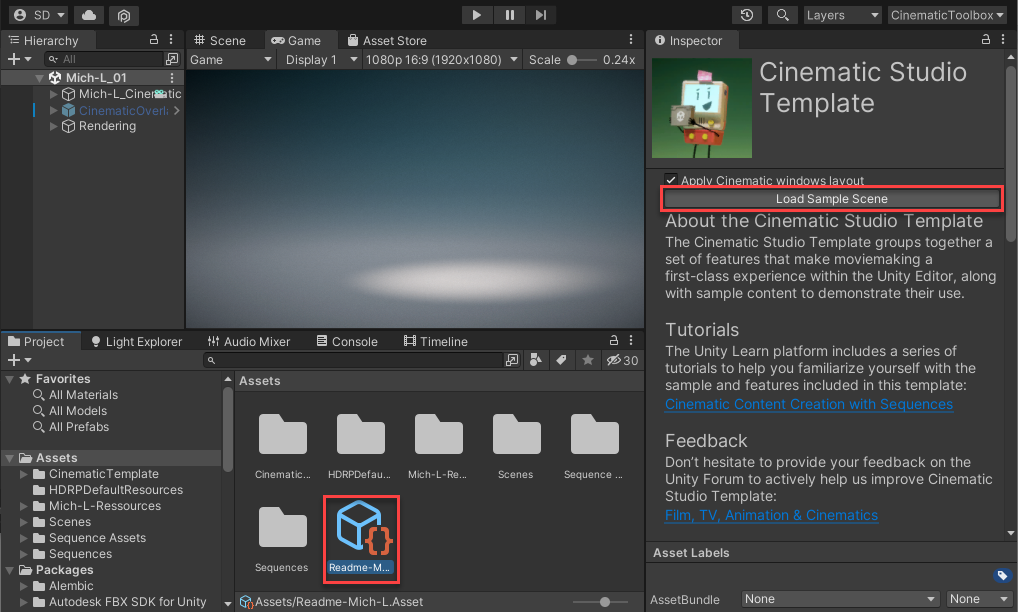
4. Once your project is open, you should find overview information about the Cinematic Studio Sample in the Inspector window. If this is not present, go to the Project window and select the “Readme” asset.
5. In the Inspector, select Load Sample Scene.

6. Next steps
Now you’re ready to go! In the next tutorial, you’ll explore the Sequences workflow tool.