
Getting Started with Visual Scripting
Tutorial
Beginner
+10XP
15m
(4940)
Unity Technologies
In this tutorial, you’ll begin setting up Visual Scripting for your first scripts. By the end of this tutorial, you’ll be able to:
- Define Graph and Script Machine
- Add a Script Machine component to a GameObject
- Save a Visual Scripting Graph as a project asset
- Open the Visual Scripting windows in the Unity Editor
- Explain and arrange the panels of the Script Graph window
- Pan, zoom, and return to center in the Script Graph window
Languages available:
1. Overview
This tutorial is for experienced and new Unity users alike to become familiar with the Visual Scripting user interface. You’ll begin by creating a new Unity project and creating your first visual script asset.
2. Before you begin
Reminder: Check your Unity version
For these tutorials, we recommend that you use Unity version 2021.1 or higher, using the Visual Scripting package that is installed by default with Unity.
If you use Bolt, the user interface and the names of items will be slightly different than what is presented here, but you will be able to follow along.
Update the Unity Hub
Before you begin to set up your Unity project, consider updating your Unity Hub to the latest release. If you are using an older version of the Hub, there may be differences between the guidance provided and your experience.
Review the Unity Editor basics
If you need to refresh your memory of the Unity Editor basics, you can take a moment to review Explore the Unity Editor at any time.
Set up your Unity project
To set up your Unity project:
1. Install the latest TECH stream release (or another version from Unity 2021.1 onward).
2. Create a new Unity project using one of the Core Templates (2D or 3D). It doesn’t matter which Core Template you select; the package that you import will override the default Template settings.
3. Prepare the Scene
Let’s begin in a new empty Scene:
1. In a new empty Scene, create a cube primitive.
2. Position the cube and the Main Camera to get a good view of the cube in Play mode. You’ll need to be able to see the cube rotate.
4. Create the Script Machine
A Machine is a component that runs a visual script. As a component, the Machine will carry out the instructions in the visual script upon the component’s GameObject. There are two types, Script Machines (like this one) and State Machines (which we will cover in the next project).
Let’s add a new Script Machine to the cube, which will contain your visual script, also known as a Graph.
With the cube selected, go to the Inspector and select Add Component > Visual Scripting > Script Machine. The component will be added in the Inspector window, and you’ll see a scripting symbol (<>) on your GameObject in Scene view (when the GameObject is not selected).
Notice that the Machine and the Graph are not the same thing: the Machine is the component attached to the GameObject, and the Graph is an asset, stored in a separate file of your project, that can be used in multiple Machines. This distinction will be important later.
5. Create the Graph
At this point, the Machine is created, but it doesn’t yet have a Graph assigned to it. Let’s create a Graph.
1. In the Script Machine component, select the New button to create a new Graph. A Save window will appear, displaying the Assets folder of your Unity project.
2. To keep your project organized, create a folder called VisualScripts to save your assets from Visual Scripting. This name will help differentiate your Visual Scripting assets from other scripts (such as C# scripts) and graphs (such as those from Shader Graph and VFX Graph) in Unity.
3. Save your Graph using the name “Rotation” to create a new file named Rotation.asset.
Tip: Another way to add a new Graph to a Script Machine component is to create and name it in the Project window, and then drag it from the Project window to the Graph field in the Script Machine in the Inspector. We’ll use this technique later.
4. The Script Machine component in the Inspector will update to include fields for Title and Summary. These are for your own use. For demonstration purposes, let’s give this Graph the title “Rotate the Cube” and the summary “Make the cube rotate.”
5. Select the Edit Graph button that appears in the component. The Script Graph window will appear.
6. Set up your Script Graph window
When you create your first Graph in a Scene, the Script Graph window appears. Depending on your current window configuration, it might be undocked. If so, drag the Script Graph tab to the Dock Zone next to your Project and Console window tabs, so that you can see this window and your Scene view at the same time.
The Script Graph window includes three panels:
- Graph window: the gridded area where you will build your Graph
- Graph Inspector: a panel providing additional information about the units in your Graph as you edit it
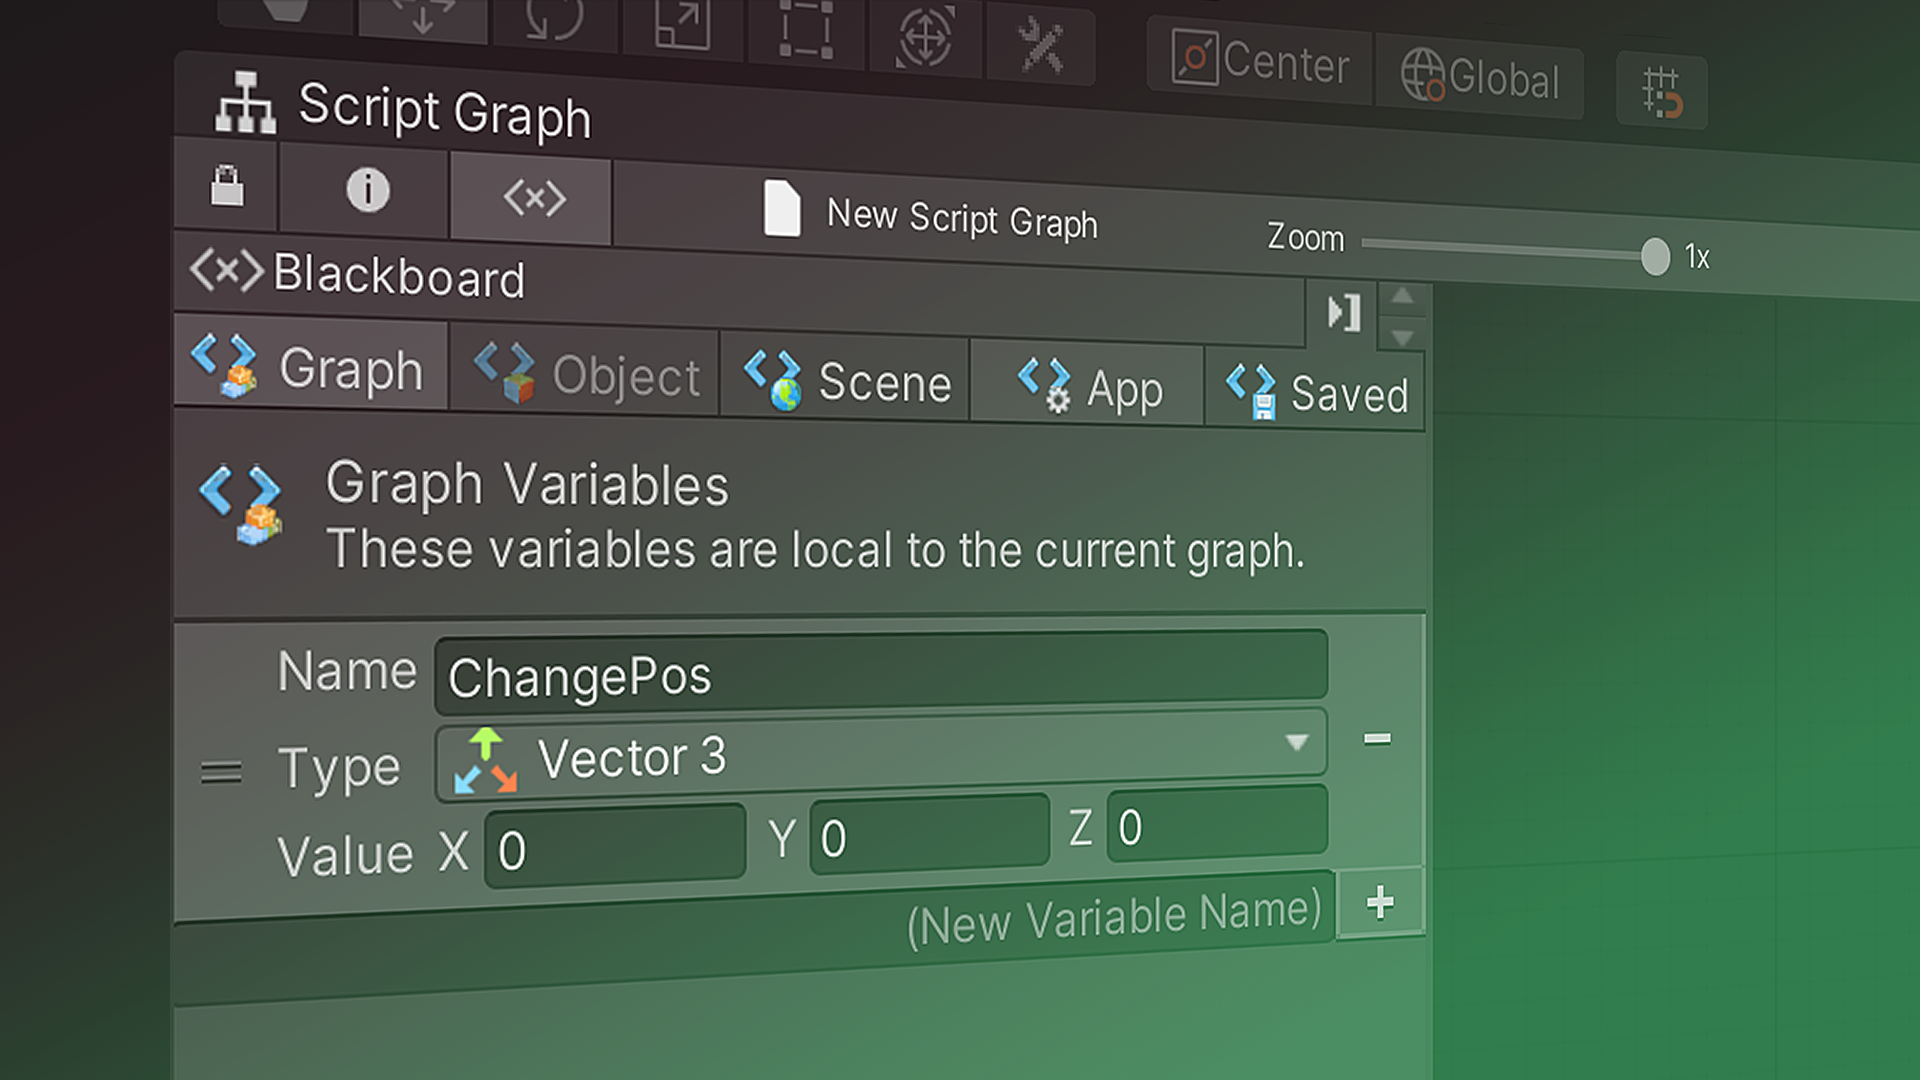
- Blackboard: a panel for creating and managing variables
Panel arrangement and controls
The Graph Inspector and Blackboard panels are stacked vertically the first time you open them. You can use the right and left arrow buttons to move them to either side of the Graph. For this tutorial, we recommend moving the Graph Inspector to the right and the Blackboard to the left, so that you can find each one easily.
For additional controls and keyboard shortcuts, consult the Unity Manual for details.
7. What’s next?
Now that you have had a tour of the Visual Scripting interface, you’re ready to create a working visual script in the next tutorial.