Make assets addressable
Tutorial
·
intermediate
·
+10XP
·
10 mins
·
(580)
Unity Technologies

In this tutorial, you will install the Addressables package and learn how to access its user interface.
By the end of this tutorial, you'll be able to:
- Locate the Addressables system's user interface in the Unity Editor
- Identify assets that can be made addressable.
- Explain different methods of marking assets as addressable
- Edit an asset's address
Languages available:
1. Overview
Loady Dungeons is a mobile game where users control a dinosaur character. The objective of each level of the game is for the user to get a key from a chest and make their way to unlock a door. Unlocking the door will take them to the next level.
The Loady Dungeons project that you've installed uses direct references and the Resources folder (as described above) throughout the project. Your task is to apply the Addressables system so that you can reduce the size of the downloadable package, easily update assets throughout the game's lifecycle, and allow users to add or update assets during gameplay.
In this tutorial, you'll begin applying the Addressables system to the project.
2. Before you begin
Prerequisites
To complete this course, you'll need experience programming in Unity. In addition to all the concepts covered in the Junior Programmer pathway, it will be useful to know about event handlers and building asynchronous methods. We'll provide resources to help you learn these additional concepts in case you need them.
We also recommend that you complete the Creative Core pathway, or gain similar experience, to become familiar with all of the types of assets within Unity for which you can apply the Addressables system.
Update the Unity Hub
Before you begin to set up your Unity project, consider updating your Unity Hub to the latest release. If you are using an older version of the Hub, there may be differences between the guidance provided and your experience.
Review the Unity Editor basics
If you need to refresh your memory of the Unity Editor basics, you can take a moment to review Explore the Unity Editor at any time.
Set up your Unity project
To set up your Unity installation and Unity project for this learning experience, follow these instructions:
1. Install Unity 2022.2.9 or higher, if you haven’t already done so.
2. Download the Loady Dungeons project for this learning experience from the tutorial materials.
3. Identify a suitable location on your computer and unzip the project folder there. Be sure to remove the Unity project folder from its empty parent folder.
4. Add the Unity project to the Unity Hub. If you see prompts and warnings that your Unity Editor version doesn't match the project, you may upgrade the project to any release of Unity 2022.2.9 or above, including 2022 LTS.
5. Open the project in the Unity Editor.
6. Install the Addressables package, version 1.21.8 or higher, to your project.
3. What is an addressable?
When you enable an asset as addressable, Unity generates an address, which is a string identifier that the Addressables system associates with the asset’s location, regardless of whether the asset resides locally with your built game or on a content delivery network.
In your scripts, you can use the asset's address instead of keeping track of its location, so that you don't have to write code that specifies where — only what. This way, if an asset location changes, you won't have to rewrite your code.
Although it's generally best to make each address unique, you're not restricted to do so. You'll learn about many ways to refer to addressable assets that don't require unique addresses, but it's usually easier to keep your project organized if they are unique.
4. Make assets addressable in the Inspector
Select the Play button and get acquainted with the Loady Dungeons game.
Currently, the Loady Dungeons game is set up to allow the player to select the hat of their choice for the dinosaur character, but it uses the old Resources system. To make the game leaner and faster, you'll update the game to use the Addressables system instead.
Let's start by making the hats addressable using the Inspector window:
1. In the Project window, navigate to Assets > Resources.
Remember, the Resources folder has a unique purpose in Unity, which is part of the old Resources system for dynamic asset management. When you build this project as it is, any assets here will be placed in a separate indexed file. You're about to reconfigure these assets for the Addressables system.
2. Select the Hat00 prefab and view it in the Inspector window.
3. In the Inspector window, enable the Addressable property.

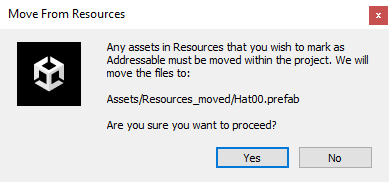
4. In the Move From Resources dialog, select Yes.

To prevent this asset from being processed and duplicated by the legacy Resources system, the Addressables system has moved this prefab out of the Resources folder for you!
5. To make all of the other hats addressable, select them all in the Resources folder, and enable the Addressable property in the Inspector.
5. Open the Addressables Groups window
You can also enable assets as addressable by dragging the prefabs onto the Addressables Groups window.
To access this window, navigate from the main menu of the Unity Editor to Window > Asset Management > Addressables > Groups. Since you've already made some assets addressable, the window will look like this:

The prefabs are automatically assigned to the Default Local Group. You'll learn more about Addressables Groups later in this course.
6. Make assets addressable in the Addressable Groups window
Next, let's make the Loady Dungeons logo addressable.
To preview this asset, you can load the MainMenu scene (in Assets > Scenes) and enter Play mode. You'll see the Loady Dungeons logo immediately.
Since this image is currently in the Resources folder, it is loaded by the Resources system.
To make the logo image addressable using the Addressables Groups window instead of the Inspector, follow these instructions:
1. In the Project window, navigate to Assets > Resources.
2. Drag the LoadyDungeonsLogo into the Default Local Group of the Addressable Groups window.
3. In the Move From Resources dialog, select Yes.
The LoadyDungeonsLogo is now part of the Default Local Group, and in the Inspector window, you will note that the LoadyDungeonsLogo is now enabled as addressable.
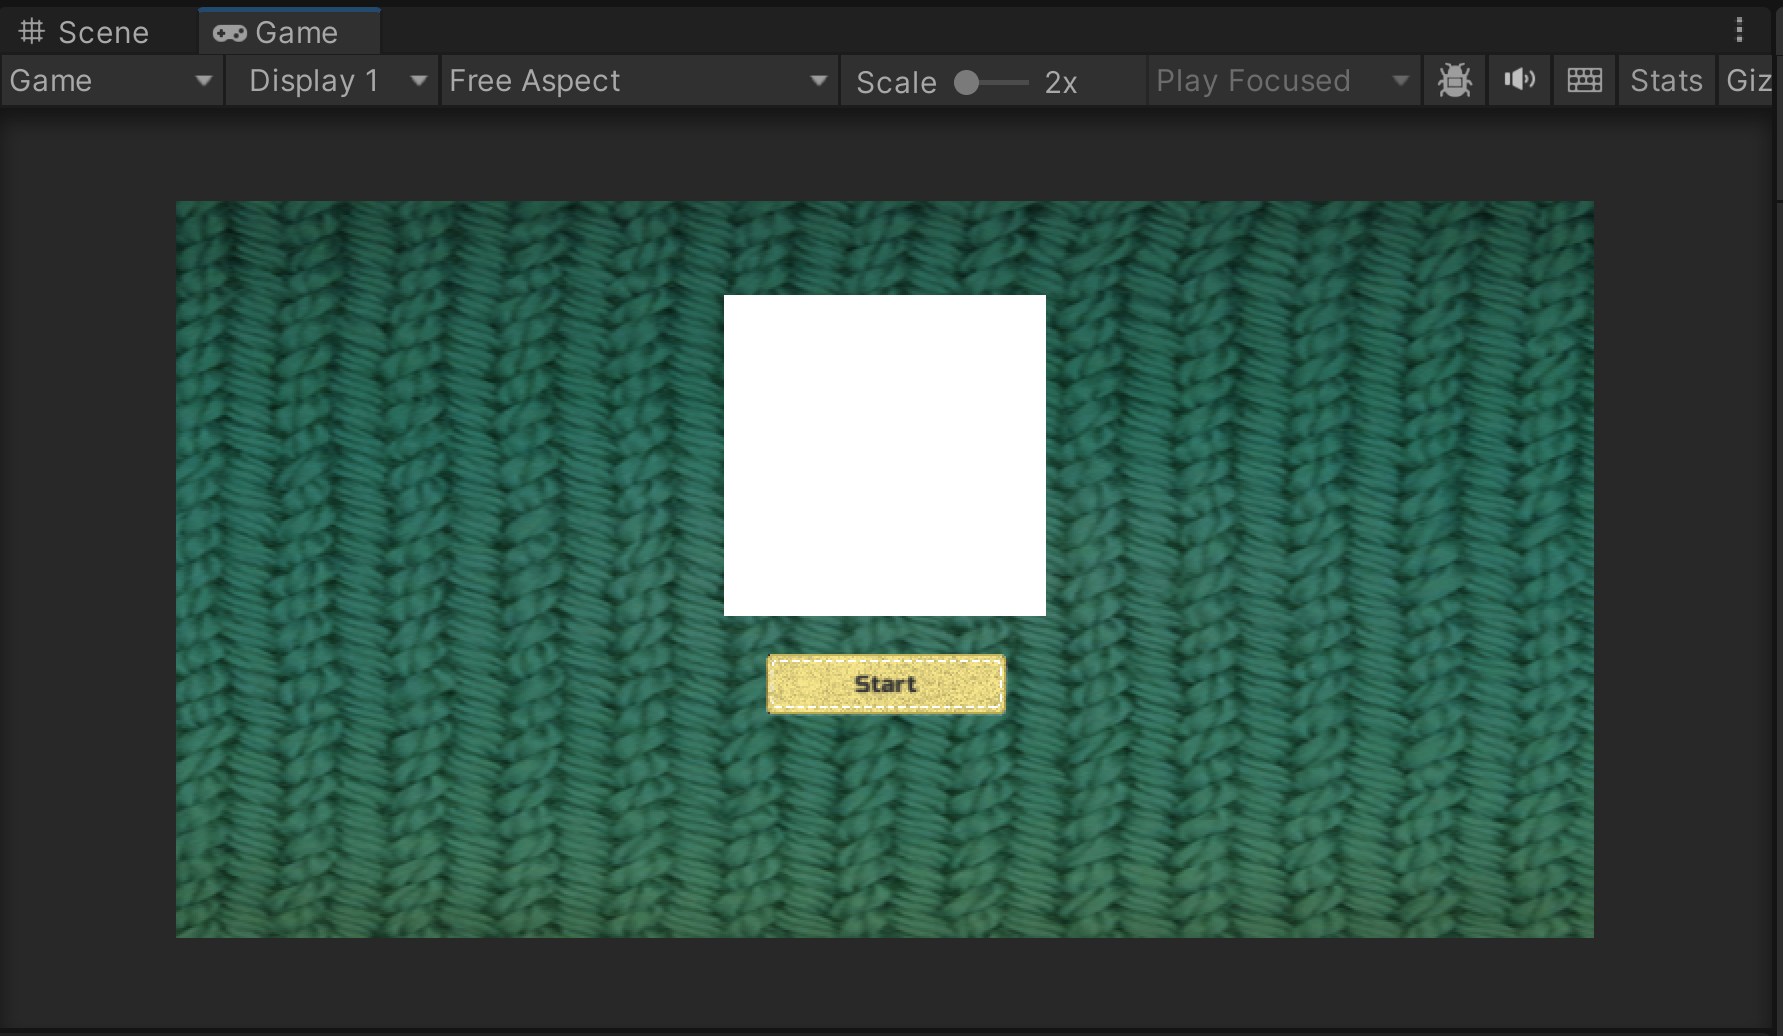
To test this change, open the MainMenu scene again and view it in Play mode. The Loady Dungeons logo is no longer present, since it is no longer found and loaded from the Resources folder.

7. Edit an asset’s address
An asset’s address is a string ID that identifies an addressable asset. You can use an address as a key to load an asset via script.
Edit the address through the Inspector
You can edit an address through the Inspector window after an asset has been enabled as addressable.
1. In the Project window, navigate to Assets > Resources_moved and select the Hat00 prefab.
2. In the Inspector window, change the address of Hat00 to “Hat_BunnyEars”.
3. In the Project window, navigate to Assets > Scenes and select the LoadingScene scene, but don't open it.
4. In the Inspector, enable the Addressable property for LoadingScene.
5. Change the address Assets/Scenes/LoadingScene.unity to LoadingScene.
You will see these changes in both the Inspector window and the Addressables Groups window.
Edit the address through the Addressables Groups window
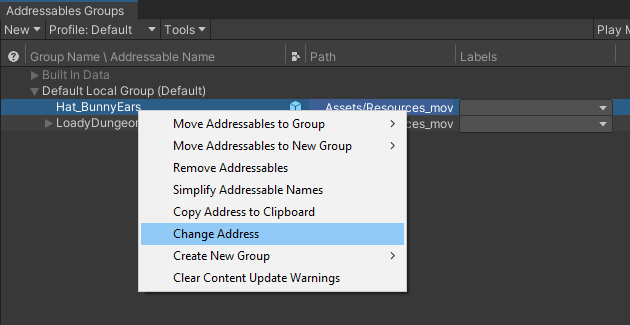
Another way you can edit an asset’s address is through the Addressables Groups window. To do this, right-click the prefab you want to change the address of and select Change Address.

Once Loady Dungeons is deployed to an app marketplace, you should avoid changing the address of your assets. The assets may change often throughout the lifespan of the project, but any address that represents an asset should avoid changing. This allows you to avoid changing the game scripts if only asset content changes, which would cause us to redeploy the app onto the marketplace.
8. Clean up
While not necessary, it’s important to clean up empty folders and other information to give you a fresh start in the tutorials to follow. To clean up your project, follow these instructions:
1. Rename the Resources_moved folder to the name of your choice. Resources_moved is only meant to be a temporary holding place.
2. In the Project window, navigate to Assets.
3. Select the Resources folder and delete it.
9. Next steps
Now that you've converted content to use the Addressables system, in the next tutorial you'll learn how to load that content through the runtime Addressables API.