
Open the Unity Essentials project
Tutorial
foundational
+10XP
10 mins
(19144)
Unity Technologies
Ready to get started with Editor Essentials? In this tutorial, you'll open the Unity Essentials Pathway project from the Unity Hub. Then, you’ll decide whether you’d like to complete the Pathway on Unity Learn, or directly in the Editor.
Languages available:
1. Overview
In this tutorial, you will open the Unity Essentials project directly from the Unity Hub. After opening the project, you’ll be ready to begin working in your first 3D environment.
2. Before you begin
Before you begin, make sure you have Unity Hub and Unity version 6.0 or newer installed, which you were guided through in the previous tutorial.
Tip: If you’re not sure how to install or update Unity, follow these steps to download a new version of the Editor with Unity Hub.
Once you’re ready, continue to the next step to launch your project.
3. Open Unity Hub and launch the project
To get started, you’ll launch the Unity Essentials project using Unity Hub.
1. Launch Unity Hub
- Open the Unity Hub application.
2. Select New Project
- In the Hub, select New project.
3. Choose Unity version 6.0 or later
- At the top of the new project window, ensure Unity 6.0 (or later) is selected.
4. Choose the Essentials Pathway project
- Find and select Essentials Pathway. This template includes all the assets you need to get started learning.
- Enter a name for the project and choose a suitable location on your computer to save it.
- Select Create project and wait for the project to open. This will take a few minutes.
The Unity Editor will open with a pop-up window, welcoming you to the pathway.
Note: If you are using Linux and you see red or pink squares in the Scene view, this may be caused by the Graphics API configuration. Try changing it from OpenGL to Vulkan by going to Edit > Project Settings > Player > Other Settings, and disabling Auto Graphics API for Linux. After restarting Unity, the issue should be resolved. See the documentation for detailed steps.
4. Continue on Unity Learn or in the Editor?
You have two options for completing the Unity Essentials Pathway:
- Complete the pathway on Unity Learn
- Complete the pathway in the Editor
Below are descriptions of each of these learning experiences, and instructions on how to continue, depending on your selection.
Pathway on Unity Learn
You’re currently following instructions on the Unity Learn website (the site you’re on now). If you choose to continue on Unity Learn, you’ll follow instructions on the Unity Learn website, then switch over to the Unity Editor to complete those steps.
If you have multiple monitors or prefer to have your learning materials in a full window, this could be an ideal learning experience for you.
Pathway in the Editor
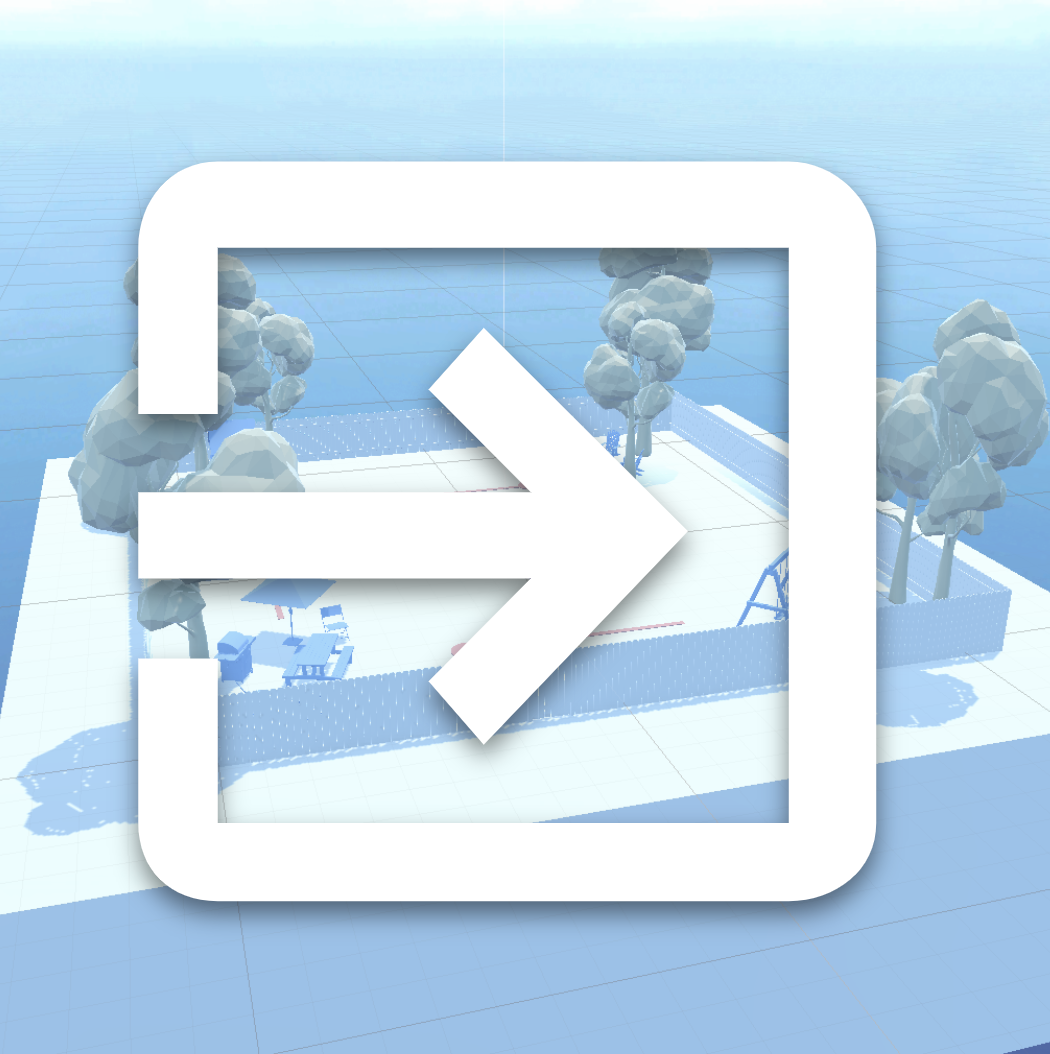
However, you can also complete the pathway without ever leaving the Unity Editor, with the in-Editor version of the pathway. In the in-Editor version, instead of following instructions on Unity Learn, you’ll follow instructions within the Unity Editor, as shown in the image below.
The in-Editor tutorial window (on the right side of the Editor) will guide you through the interface using highlighted callouts and embedded instructions. No need to leave the Editor or open a web browser — all the learning happens in one place.
If you have one larger screen or prefer to have the instructions right alongside where you’ll be working, this could be a great option for you.
Choose your Pathway format
1. To continue on Unity Learn:
- Use the Layout dropdown in the top-right corner of the Unity Editor to switch from the Tutorials layout to the Default Layout. This will make the Tutorials window disappear and you can continue to the next step on Unity Learn.
- Note: You can always get the Tutorials window back by selecting Tutorials > Show Tutorials from the main menu.
2. To continue in the Editor:
- Simply select Start Mission 1 from the welcome dialogue window in the Editor and follow the instructions in the Tutorials window.
5. Tips for using the Unity Editor
Before you embark on using the Unity Editor alongside Unity Learn, here are a few tips that might help you use it more easily while you learn.
Learn and the Editor side-by-side
If you have only one monitor, you can use browser extensions to set up this Unity Learn window (the one you're reading now) and the Unity Editor side-by-side, so that it's almost like your Unity Learn tutorials are in a window in the Editor!
Try learning Unity with a single screen.
Virtual desktops on your computer
Did you know that you can set up multiple desktops on most computers, and easily switch between them? With multiple desktops, you can set up the Unity Editor on one virtual desktop, and then change desktops to view your browser and other windows.
Try the virtual desktop method for your computer:
Shortcut Keys
Learn and use shortcut keys to quickly switch between applications and windows, making it more convenient to navigate different tasks. For example, switch between open windows by pressing Alt+Tab on Windows, or Cmd+Tab on a Mac.
Secondary Device
If possible, use an external monitor or secondary device like a tablet or smartphone to access Learn tutorials, documentation, videos, or chat while working in Unity on your main screen.
6. Next steps
Now that you've opened the project and chosen to continue on Unity Learn, your next step is to explore some 3D environments.