
Shelve and Switch
Tutorial
advanced
+10XP
30m
(18)
Unity Technologies
When you’re working on multiple things at the same time, it can be useful to set some work to the side, to be picked up again later.
In this tutorial, you’ll discover how to use the Shelve and the Shelve and Switch operations to help you switch easily between different branches without losing your work in progress files (which have not been committed to the Cloud repository yet). The Shelve operation also has other benefits, such as allowing you to easily share uncommitted changes with your team members, save changes you recurrently apply in your workspace but don’t want to check in, and manually select which files to keep or bring with you.
Note: This tutorial is part of the Get started with Unity DevOps course. Explore the rest of the course to learn more about how DevOps can support your work as a creator.
Languages available:
1. Overview
Sometimes, you’ll be working in the Unity Editor making changes to a project, but you’ll need to switch to another task. Switching branches with the UVCS plugin requires you to check in your files in the Pending Changes tab first.
Instead of having to decide between checking in changes that aren’t finished yet or discarding them entirely, Unity Version Control allows you to save those changes for later.
The Shelve button allows you to store your unfinished changes on a shelf (with these stored changes referred to as a shelveset) and switch to a different branch or changeset. This is very useful because by shelving changes, you don’t lose your current work. You can come back to your shelveset later and re-apply the changes, or even keep them with you while switching to the other branch. This reduces your mental load and offers flexibility in your development journey.
In this tutorial, we’ll explore two different scenarios where you can make use of shelves:
- Keeping your changed files with you
- Leaving the changes on a temporary shelveset
These two scenarios are the most likely use cases for keeping your changed files with you that you’ll encounter when you’re faced with a sudden branch change. Each scenario has certain benefits. It’s up to you to decide which one makes the most sense for each situation.
Note: For this tutorial, we recommend using Unity 6.0 or a later version. The screenshots used in this course are based on version 6000.0.38f1 and the UVCS package version 2.7.1. This version contains the UVCS plugin with the Shelve capability. If you don’t have Unity 6 or a later version installed, you’ll need to update your project during the setup phase, otherwise you won’t be able to follow the instructions described below.
By the end of this tutorial, you’ll be able to do the following:
- Explain the concept of shelves.
- Understand the Shelve and Shelve and Switch operations.
- Learn how to set up shelve settings for your projects in the Unity Editor.
- Understand two different scenarios when doing a Shelve and Switch operation:
- Shelving your content and coming back to it later.
- Keeping the changes with you.
2. Before you begin
Confirm access to the Unity Dashboard
To review the Unity DevOps tools and workflows on the Unity Dashboard as you work through this tutorial, you’ll need to activate a subscription for Unity DevOps and access your account on the Unity Dashboard.
Important: Unity DevOps is free to use and doesn't require a credit card. The paid version will only be required if you add more than three users to or use more than 5 GB data on the DevOps account.
Sign in to Unity DevOps
Follow these instructions to sign in to your Unity Version Control Dashboard and make sure that you have an active DevOps subscription:
1. In your browser, navigate to the Unity Cloud website.
2. If you’re not already signed in to your Unity account, select Sign in.
Once you’re signed in, your Unity Dashboard will be visible.
3. Once you’re signed in, make sure that you have an active DevOps account. If you don’t, select Try now and set up your account.
Once you’re logged in to cloud.unity.com with your Unity credentials, you’re ready to start the tutorial.
3. Project setup
Before you start learning about the Shelve and Switch functionalities, you’ll need to set up your project.
1. Open the Unity Hub and create a new project using the Universal 3D template and enable Unity Version Control.
Note: We’re using the Universal 3D template for instructional purposes. It doesn’t matter what type of project template you use, just make sure to enable Use Unity Version Control.
2. Add a Plane GameObject (right-click in the Hierarchy window and select 3D Object > Plane) and a Cube GameObject (right-click in the Hierarchy window and select 3D Object > Cube) to the scene.
3. In the Inspector window, set the Cube GameObject’s Transform component’s Position property to Y = 0.5.
4. In the Project window, right-click in the Assets folder, select Create > Material, rename the material “CubeMaterial”, and apply it to the Cube GameObject.
5. In the Inspector window, use the foldout (triangle) to expand the Surface Inputs component of the Cube Material. Under the Surface Inputs section, select the Base Map property dropper or swatch and change the color of the Cube Material so that it stands out against the Plane GameObject.
7. Save the scene (File > Save or Ctrl+S (macOS: Cmd+S)).
8. At the bottom of the Editor, locate the Unity Version Control window.
9. In the Unity Version Control window, enable the Item property, enter “Initial project setup” in the Comment box, and select Check in.
This adds all of the program files to your repository.
10. In the Unity Version Control window, select the Branches tab.
11. Right-click the /main branch, select Create child branch from the context menu, name the new branch “Main-Scene-Level-Design”, ensure that Switch workspace to this branch is enabled, and select Create.
Your project is now set up and you’re ready to learn about Shelve and Switch!
4. Shelve and Switch
Shelving your changed files in your project and switching to another branch is a great way to iterate and try quick prototype branches in order to try out ideas or help your team review code, fix bugs, and other tasks that frequently happen in a solo or group project.
Leave changes
Let’s simulate a scenario where you’re working on a scene in one branch, but you need to switch to another branch to iterate on your scene and you want to leave your uncommitted changes behind.
Normally, you’d have to decide whether you want to commit your unfinished changes to the /main/Main-Scene-Level-Design branch or discard them, losing all the work that you’ve done. This is where Shelve and Switch comes in!
1. In the Scene view, select the Cube GameObject and move it to another part of the Plane GameObject.
2. Save the scene (File > Save or Ctrl+S (macOS: Cmd+S)).
3. In the Unity Version Control window, select the Pending Changes tab.
You’ll see your changes have been saved, but haven’t been committed to the /main/Main-Scene-Level-Design branch.
4. In the Unity Version Control window, select the Branches tab.
5. Right-click the /main branch and select Switch workspace to this branch from the context menu.
The first time you go through this process, a dialog will appear asking you if you want to enable the new Shelve and Switch experience. Select Yes, enable it! to proceed.
Unity Version Control will try to switch your workspace to this new branch, but will detect that you have local files that have been changed but not committed to the /main/Main-Scene-Level-Design branch.
A dialog will appear asking you what you want to do with these files before switching to the new branch: Leave changes on Main-Scene-Level-Design or Bring changes to main.
6. Enable Leave changes on Main-Scene-Level-Design and select Switch.
A dialog will appear notifying you that the open scene(s) have been modified externally.
7. Select Reload.
Once you’ve switched to the /main branch and reloaded the scene, you’ll notice that the cube is in its original position.
This is because you didn’t commit your changed files (the scene where you moved the cube) to the /Main-Scene-Level-Design branch before switching to the /main branch.
This is clearly indicated in the Pending Changes tab of the /main branch: there are no changes to check in.
You can now make changes on this branch without interfering with the /main/Main-Scene-Level-Design branch.
Now let’s say that you want to go back to the /main/Main-Scene-Level-Design branch to keep working on your uncommitted changes (the cube you moved).
8. In the Unity Version Control window, select the Branches tab, right-click the /main/Main-Scene-Level-Design branch, and select Switch workspace to this branch from the context menu.
You’ll see that the cube is still in its original spot, not where you moved it to! But where did the scene with the moved cube go?
Don’t worry, you didn’t lose all your hard work. Unity Version Control has saved your uncommitted changes in a shelveset for you to recover whenever you want.
A shelveset allows you to temporarily store pending changes in your workspace without committing them to a branch.
Let’s retrieve your previous Unity scene, where the cube was moved.
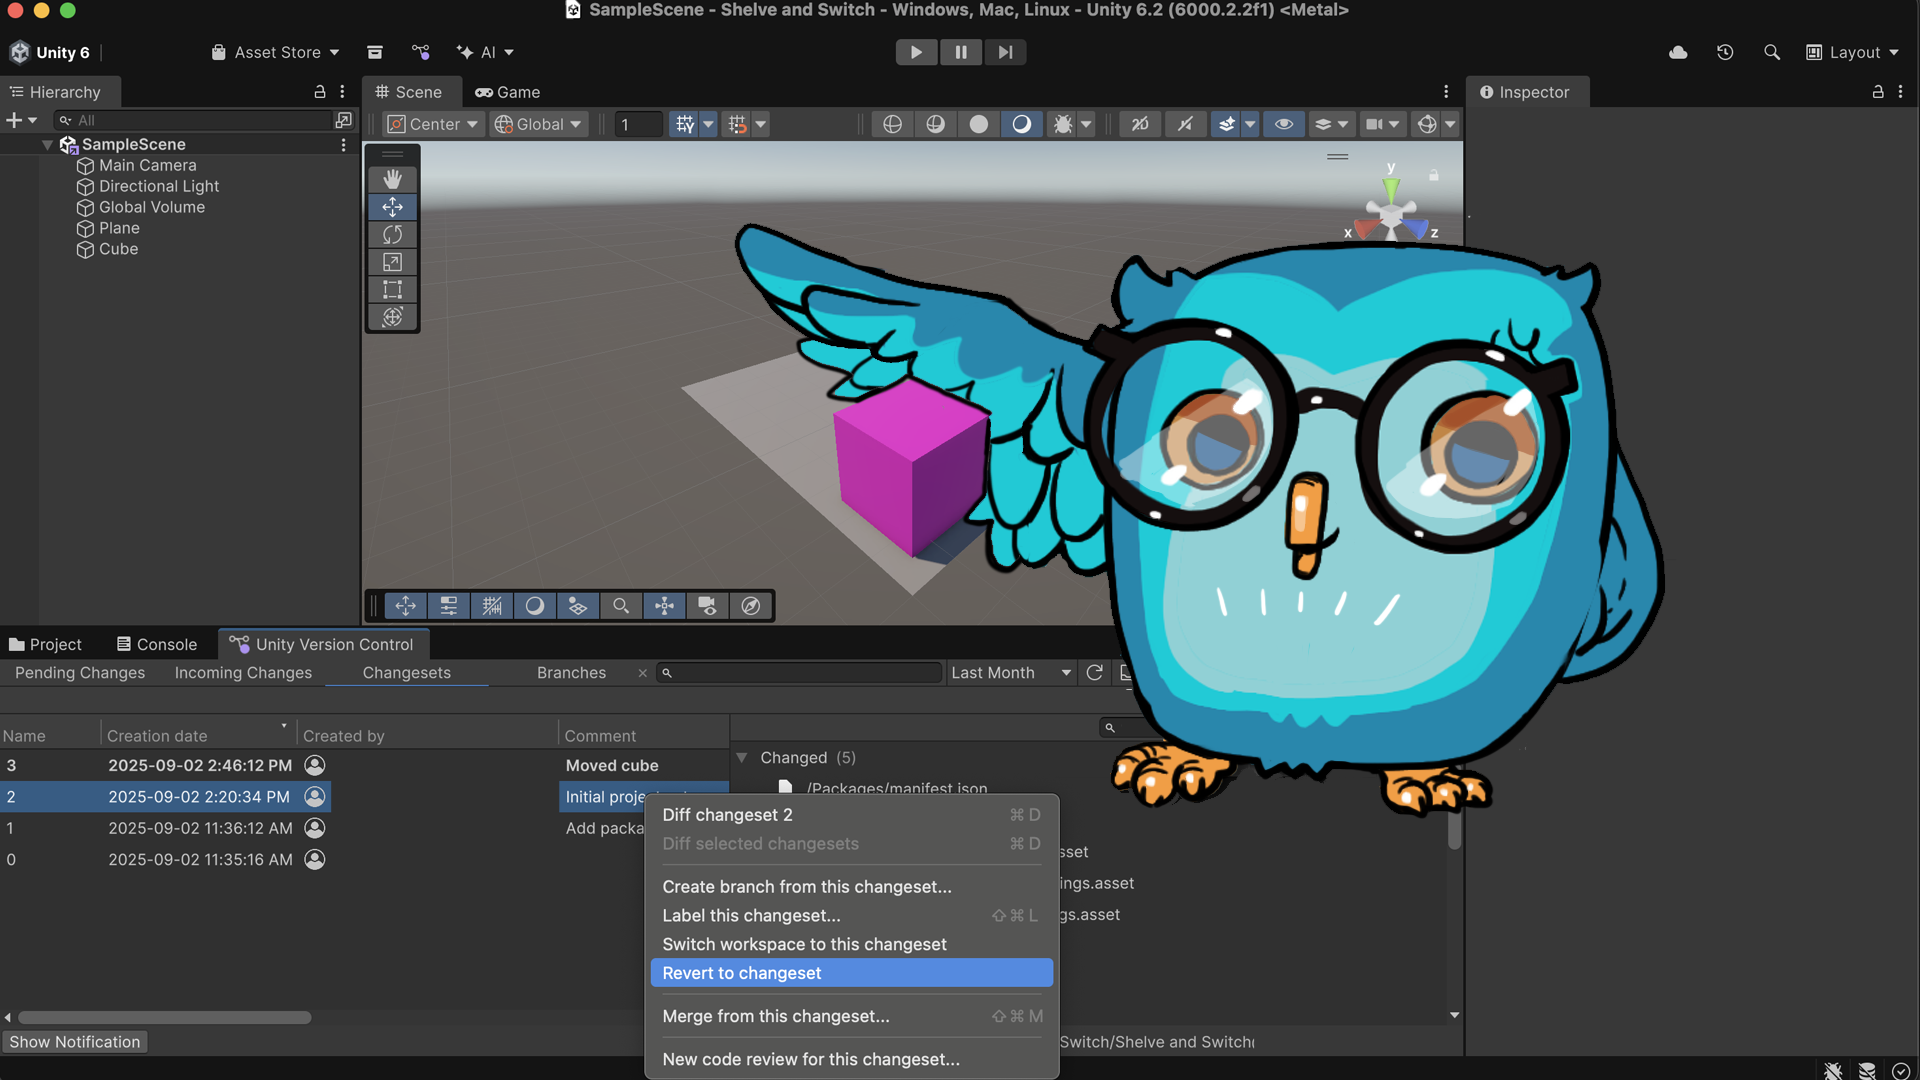
9. In the lower-left corner of the Unity Version Control window, locate the Shelved changes notification and select the View button.
This opens the Merge tab and displays the details of your shelveset: the name of the shelved file, its size, its author, and when it was modified. There is also a comment section. This helps you get additional context, when the Shelve and Switch operation is done.
From here you can decide whether you want to apply the uncommitted changes to the scene or discard them.
10. Select Apply changes to recover your scene and add the shelveset in your current branch, and when prompted, select Reload.
The cube is now back where you left it, ready for you to begin working again without having to restart entirely!
Bring changes
Now let’s go through the other scenario: bringing changes when you switch branches.
This option can be helpful if you accidentally make changes on a branch you didn't mean to and want to bring the changes to the correct branch.
1. In the Branches tab, right-click the /main branch and select Switch workspace to this branch from the context menu.
2. Enable Bring changes to main and select Switch.
Now in the /main branch, the cube is in the position you moved it to on the /main/Main-Scene-Level-Design branch!
3. In the Unity Version Control window, enable the Item property, enter “Moved cube” in the Comment box, and select Check in.
Congratulations, you’ve successfully completed your first Shelve and Switch operation.
This automatic solution helps you switch branches and keep your work in progress somewhere safe.
You learned how to use it in two scenarios:
- Leaving your changes on a shelveset
- Bringing your changes to a different branch
Now you can start using Shelve and Switch for your own project inside the Unity Editor.
In the next section, you’ll learn how to manually shelve your files.
This is an optional section, so feel free to stop here. But note that a manual shelve operation is useful for more advanced scenarios. So if you want to dig into this topic a bit more, continue reading to learn about the Shelve operation.
5. Shelve
Now let’s explore another scenario. Let’s say that you’ve made a change to your scene in the /main branch, but you want to set it aside to work on it later while you continue to work in the /main branch.
1. In the /main branch, set the Cube GameObject’s Transform component’s Position property to Y = 1 and the Scale property to X = 2, Y = 2, and Z = 2, then save the scene by pressing Ctrl+S (macOS: Cmd+S).
2. Select the Pending Changes tab of the Unity Version Control window.
Here you can see the change that you’ve made (making the cube larger) that hasn’t been committed to the /main branch.
For this example, let’s imagine that once you’ve made and saved this change, you realise that you’re not working on the right branch; not only that, you’ve forgotten to create the branch that you should be working on. Instead of having to undo your changes while you create the new branch, you can shelve them and store them for use later.
3. Enter “Larger cube” in the Comment box and select the Shelve button.
The Undo changes after shelve dialog will then appear.
At this point, you have the choice between undoing your current changes or keeping them in your workspace, after the shelveset gets created. Alternatively you can close the dialog to cancel the operation altogether and the shelveset will not be created.
4. Select the Keep changes button, and when prompted, select Reload.
Undoing the changes means that the changes that you made in the /main branch, where you shouldn’t be working, will be removed from that branch.
The shelveset is now created, and you can see the confirmation message “The changes are shelved under Shelve X”.
Note: “X” being the number of shelves you have in your project. It could be different than the number in the screenshot).
Now you need to create your new branch to continue working on this new feature.
5. Open the Branches tab, right-click the /main branch, select Create child branch, name the new branch “My-New-Feature”, ensure Switch workspace to this branch is enabled, and select Create.
The cube will now be in its moved position, but back at its original size.
Now let’s say that you want to start working on your enlarged cube shelveset again.
6. Select the Show shelves icon.
This opens the Shelves tab.
In the Shelves tab, you can see all the shelvesets that exist in your project’s repository.
Note: By default, you only see your own shelves, but if you’re working with others in the same project, you can see their shelves by opening the My Shelves dropdown and selecting All Shelves.
In order to apply the stored shelveset in your current workspace, you need to merge it.
7. In the Shelves tab, right-click the shelveset with the “Larger cube” comment, then select Apply shelve in my workspace from the context menu.
Doing this opens the Merge tab, which lists the changes that are going to be applied. In order to apply the stored shelveset in your workspace, you’ll need to merge it.
8. In the Merge tab, select Apply changes to apply the shelveset to your workspace, and when prompted, select Reload.
The enlarged cube is back, and you can pick up where you left off!
If you select the Pending changes tab, you’ll see the changes waiting to be checked in.
This section has shown you how to manually apply a shelveset, contrary to section 8.4, which offers a more automated flow, and also how to browse Shelves made by the rest of your team, if you’re working with multiple people in the same project.
This flow is useful when you’re working as part of a team on a feature that you’re not quite ready to commit and still need feedback on. You can create a shelveset with your change, then have your colleagues apply that shelveset to branches of their own so they can see it for themselves and provide you with feedback.
Feel free to start using it in your own Unity projects and more easily switch between branches, without fear of losing any precious work done so far!
6. Next steps
Now that you’ve learned how to Shelve and Switch branches without losing any work, you can check out the other tutorials in the Get started with Unity DevOps course.