Submission: Data persistence in a new repo
Exercise
foundational
+0XP
30 mins
Unity Technologies
Now that you know how to save data between scenes and between sessions in an application, you’re ready to put those skills to use in a brand new project. This is also a good opportunity to set up a new repo and use version control.
Materials
Languages available:
1. This mission has been updated!
Just in case we refreshed this mission while you weren't looking, please be sure you have completed this content before attempting this submission:
2. Overview
In the previous tutorials, you implemented data persistence both between scenes and between sessions in an example project.
In this submission challenge, you will apply both of those techniques in a new game project. You will save the user’s name between scenes and save their high score between sessions.
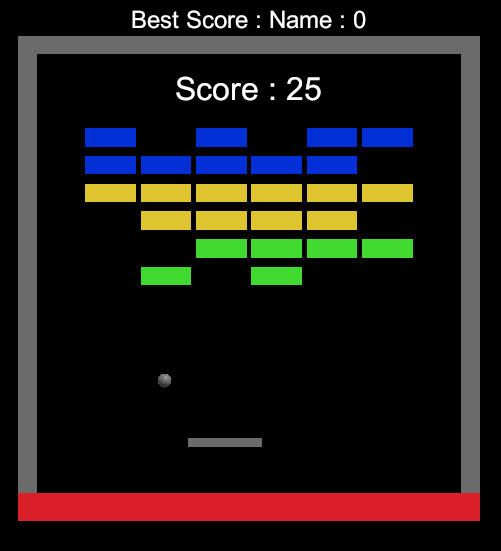
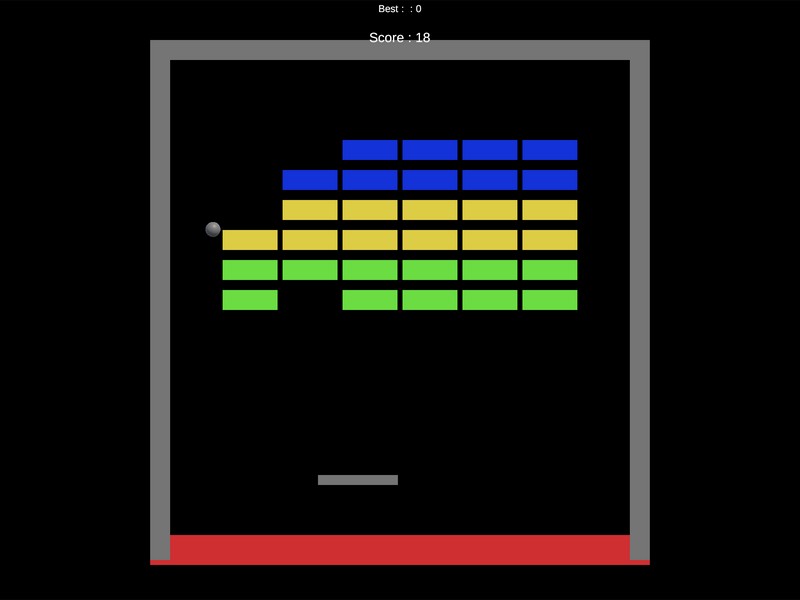
To help you focus on your data persistence skills, we have provided you with a simple breakout-style game that is functional but has no data persistence implemented. Even so, you are welcomed and encouraged to create your own simple game from scratch instead — it just needs to be able to track and display the user’s score.
In this submission, you will:
- Create a new repo
- Do an initial commit
- Import a project to version control and commit it
- Implement data persistence between scenes and sessions
3. Create a new repo
To make sure your project is backed up and ready for version control, create a new repo (repository) for it. This will also allow you to share code more easily with your fellow learners later on!
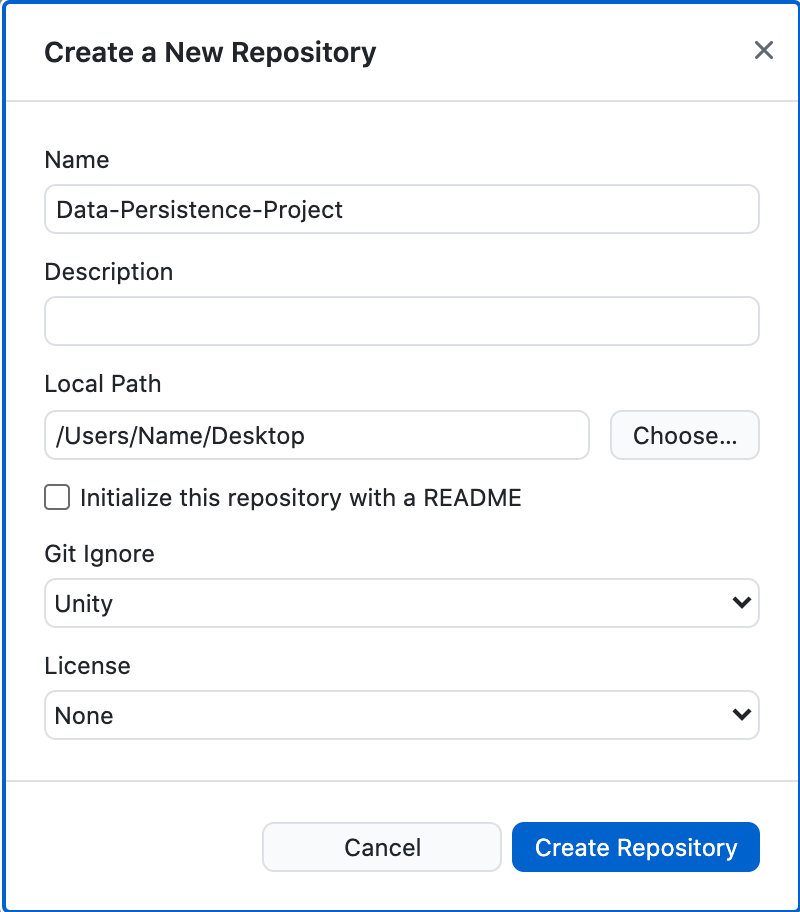
1. Create a new repo for your project through GitHub Desktop, making sure to select Unity for the Git Ignore drop-down. This is a premade config file that will automatically exclude unnecessary Unity-specific files from your repo. You might name your repo something like “Data-Persistence-Project”.
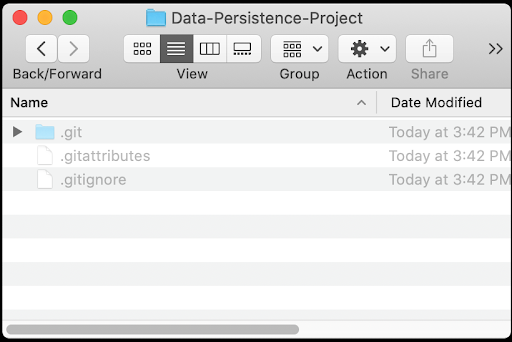
2. On your computer, locate the folder that was just created. It should contain a .git folder, which is how GitHub recognizes it as a repo, and a .gitignore file, which includes a list of files and file types to ignore. The placement of the .git folder tells GitHub that all the files in that directory should be tracked. The .git files may be invisible, depending on your computer’s settings.
Note: You can also create the repo directly from GitHub.com and then clone that repo, but it takes a few extra steps. If you don’t remember what GitHub or version control is, refer back to the Version control tutorial.
4. Open the project and do an initial commit
The first set of files you commit to your repo will be included in the initial commit. You would usually do an initial commit after you first set up your project, so let’s do that now.
1. Download the project zip folder, extract it, and open the Data-Persistence-Starter-Files folder. In it, you’ll find the following folders:
- Assets
- Packages
- ProjectSettings
2. Use Ctrl+A (Windows) or Cmd+A (Mac) to select all three folders, then copy and paste them into your repo folder, right next to your hidden .git files. This folder is now ready to be opened as a Unity project.
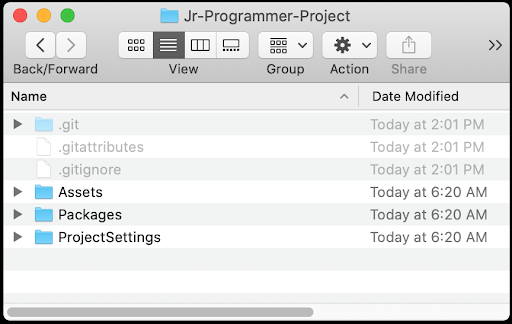
3. To launch the project from Unity Hub, go to the Projects tab and Add your repo folder, then open the project in the Unity Editor.
Note that this project requires Unity 6000.0 LTS. If it’s not installed, a warning notification will be displayed below its listing in the Unity Hub with a prompt to install the correct version.
4. From the Project window, open Scenes > Main and then press Play to test the game. Press the spacebar to launch the ball and use your left and right arrow keys to control the paddle. Notice that your score is tracked at the top of the screen, but the Best Score is not functional.
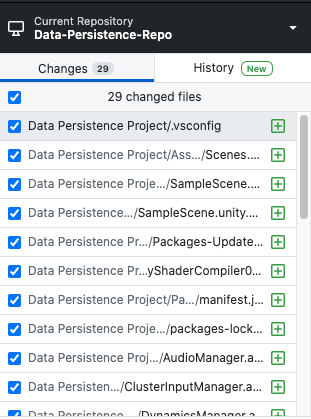
In your Github Desktop window, a long list of new files now appears in the Changes panel with a little green plus (+) icon next to each file, indicating that it’s new.
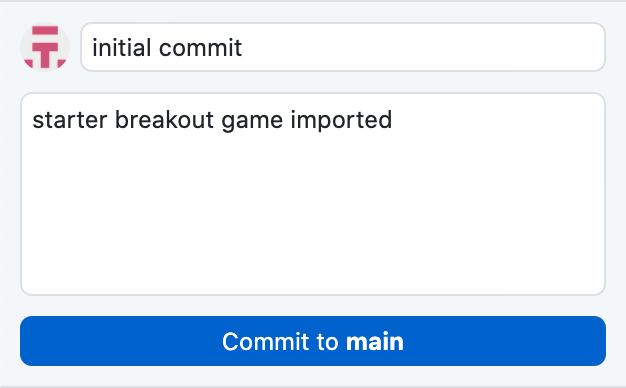
5. In the Summary field below the changes listed to your repo, type “initial commit” and fill in the Description (e.g. “starter breakout game imported”). Then select Commit to main to save your changes to the “main” branch of the project.
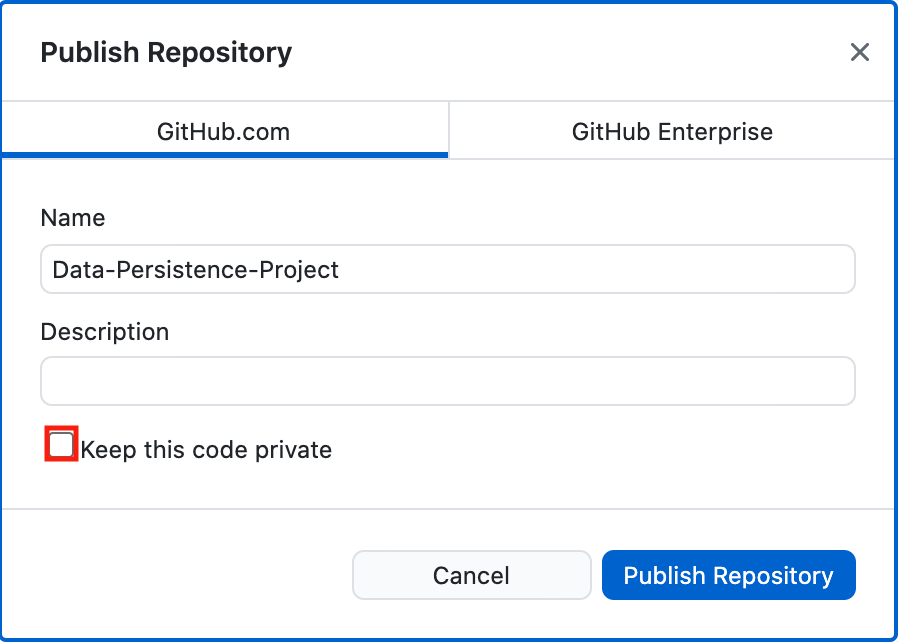
6. Select Publish repository, then deselect the Keep this code private checkbox. This will allow you to share your code in this submission.
5. Implement data persistence
You are now ready to begin the challenge of implementing data persistence in this application. The key features you need to achieve are:
- Saving data between scenes: a piece of data set in one scene will be stored and used in another scene.
- Saving data between sessions: a piece of data set during runtime will be saved and used the next time the application is run.
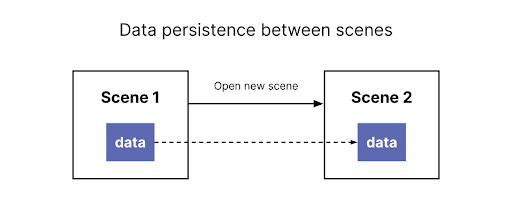
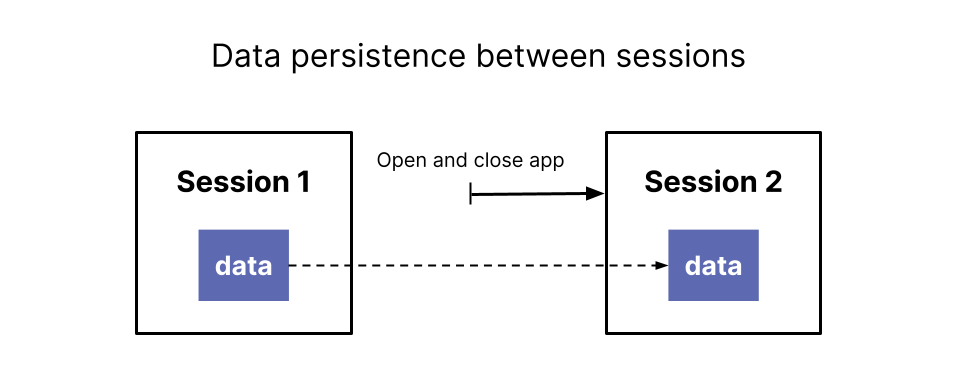
Although there are many ways you could implement these features in an application, here is how we suggest you implement them in this particular challenge:
Player name (saving data between scenes)
- Create a new Start Menu scene for the game with a text entry field prompting the user to enter their name, and a Start button.
- When the user clicks the Start button, the Main game scene will be loaded and their name will be displayed next to the score.
High score (saving data between sessions):
- As the user plays, the current high score will be displayed on the screen alongside the player name who created the score.
- If the high score is beaten, the new score and player name will be displayed instead.
- The highest score will be saved between sessions, so that if the player closes and reopens the application, the high score and player name will be retained.
If you’re feeling ambitious, you could add additional data persistence features as well. For example:
- Create a separate High Score scene that displays the high score.
- Display multiple high scores instead of just one.
- Create a Settings scene that allows users to configure gameplay, and use that information between sessions.
6. Submit your project
After you’ve implemented data persistence, please submit and share your project! Before you do, though, make sure you have thoroughly playtested it — or even better, have a friend or family member playtest it.
A successful submission will include:
- A link to your project’s GitHub repo, showing multiple commits with commit messages
- Some kind of data persistence between scenes
- Some kind of data persistence between sessions
Please take a screenshot of your project, or do a screen recording walking us through it, then post it here to share what you’ve made.
We highly recommend that you comment on at least one other creator's submission. Did they successfully complete the challenge? What do you like about the project? What would be a cool new feature they might consider adding?
Please login to submit
Complete this Tutorial
Submission Gallery

sd
sd
Übungs Projekt zum Tutorial Data persistence in a new repo.
Alle Anforderungen wurden Komplett erfüllt. Das Projekt funktioniert genau wie es sein soll.

Persistent Data Project
Successfully implemented Persistent Data across scenes and sessions that stores both the player name and best score.

Data Persistence completed
Applied data persistence between scenes and sessions and added minor things. https://play.unity.com/en/games/054b00a2-ec94-498a-b76f-7d6e73624dc4/breakout
Data-Persistence-Project
cool
Data-Persistence-Project
basic.no fun.