
Test the frame rate of the portal world
Tutorial
Beginner
+0XP
1h
(48)
Unity Technologies
When the user touches a plane detected in the environment, a portal appears on that plane. In this tutorial, you’ll design the entire digital world that appears inside the portal. The portal window won’t be functional yet — you'll be able to see the entire scene, even outside the portal. However, this is an exciting first opportunity to see the environment of your portal world appear on planes. In this tutorial, you will also learn about mobile performance requirements and optimization techniques.
Languages available:
1. Overview
You’ve developed most of the functionality for this app: when the user touches a plane detected in the environment, a portal appears on that plane. In this tutorial, you’ll design the entire digital world that appears inside the portal. The portal window won’t be functional yet — you will be able to see the entire scene, even outside the portal. However, this is an exciting first opportunity to see the environment of your portal world appear on planes.
Here’s an example of what a horizontal portal could look like:
The scene that you create can include 3D models, textures, lighting, and animated characters. However, you need to be thoughtful — you can make the assets look amazing, but you also need the app to perform well on mobile devices. So in this tutorial, you will also learn about mobile performance requirements and optimization techniques.
2. Position your portal world (horizontal portals)
The process for positioning the world in a horizontal portal is a bit different than for a vertical portal. If you are using a horizontal portal, follow this step. If you are using a vertical portal, skip to the next step.
Adding the world inside the portal is very simple: you just need to place it behind the portal window prefab. Then, when you instantiate the prefab, you will also instantiate the world along with the portal.
To save you time, we have provided you with pre-built levels for each theme. However, feel free to tweak the provided levels or even create your own from scratch later on.
Follow these instructions to add the level for the portal prefab:
1. In the Project window, open _ARPortal > Prefabs > Portals, then double-click the portal you’re using to open the prefab in the Scene view.
2. In the Project window, navigate to _ARPortal > Prefabs > Levels, then click and drag the [Theme]_Level prefab into the Hierarchy window as a child GameObject of your portal prefab.
3. Use the Move, Rotate, and Scale tools in the Scene view to reposition the level beneath the portal window.
Important: Do not reposition or rotate the portal itself — move the level child GameObject relative to the parent portal GameObject.
4. Build and run the app to preview the new functionality. When a portal is spawned, the entire level should also spawn behind it. If you need to, you can adjust the position of the level relative to the portal until it looks perfect.
Note: You will still be able to see the level outside of the portal window — don’t worry, you’ll fix that in the next tutorial.
3. Position your portal world (vertical portals)
This step will show you how to position the portal world relative to a vertical portal. If you are using a horizontal portal, you can skip this step. If you are using a vertical portal, you must complete this step.
Adding the world inside the portal is very simple: you just need to place it behind the portal window prefab. Then, when you instantiate the prefab, you will also instantiate the world along with the portal.
To save you time, we have provided you with pre-built levels for each theme. However, feel free to tweak the provided levels or even create your own from scratch later on.
Follow these instructions to add the level for the portal prefab:
1. In the Project window, open _ARPortal > Prefabs > Portals, then double-click the portal you’re using to open the prefab in the Scene view.
2. In the Project window, navigate to _ARPortal > Prefabs > Levels, then click and drag the [Theme]_Level prefab into the Hierarchy window as a child GameObject of your portal prefab.
You will notice that the window is not correctly oriented relative to the world. Remember, you previously rotated your vertical portal window to lie flat on the ground so that it would spawn properly on a vertical plane.
Rotating and positioning the level relative to this artificially rotated window would be very difficult and disorienting. Instead, you will temporarily rotate your window vertically, then rotate it back after you position the level and attach it to the window.
3. In the Hierarchy window, select the Window GameObject.
4. In the Inspector window, reset the GameObject’s rotation so that its top aligns with the green y-axis arm of the Scene gizmo and the back aligns with the blue z-axis arm.
5. In the Hierarchy window, select the [Theme]_Level GameObject. Use the Move, Rotate, and Scale tools in the Scene view to reposition the level relative to the portal window.
6. In the Hierarchy, click and drag the [Theme]_Level GameObject on top of the Window GameObject to make it a child GameObject of the Window GameObject.
7. Select the Window GameObject, then reset its rotation so that it’s lying flat on its back again.
Now that the level prefab is a child GameObject of the Window GameObject, it will rotate along with the window.
The outside face of the window should point in the direction of the green y-axis arm of the Scene gizmo and the top of the window should point in the direction of the blue z-axis arm.
Note: Now that the entire scene is rotated by 90 degrees, navigating the Scene view may be a bit disorienting. If you want, you can reset the rotation of the window to make edits, and position the window flat again when you are ready to test.
8. Build and run the app to preview the new functionality. When a portal is spawned, the entire level should also spawn behind it. If you need to, you can adjust the position of the level relative to the portal until it looks perfect.
Note: You will still be able to see the level outside of the portal window — don’t worry, you’ll fix that in the next tutorial.
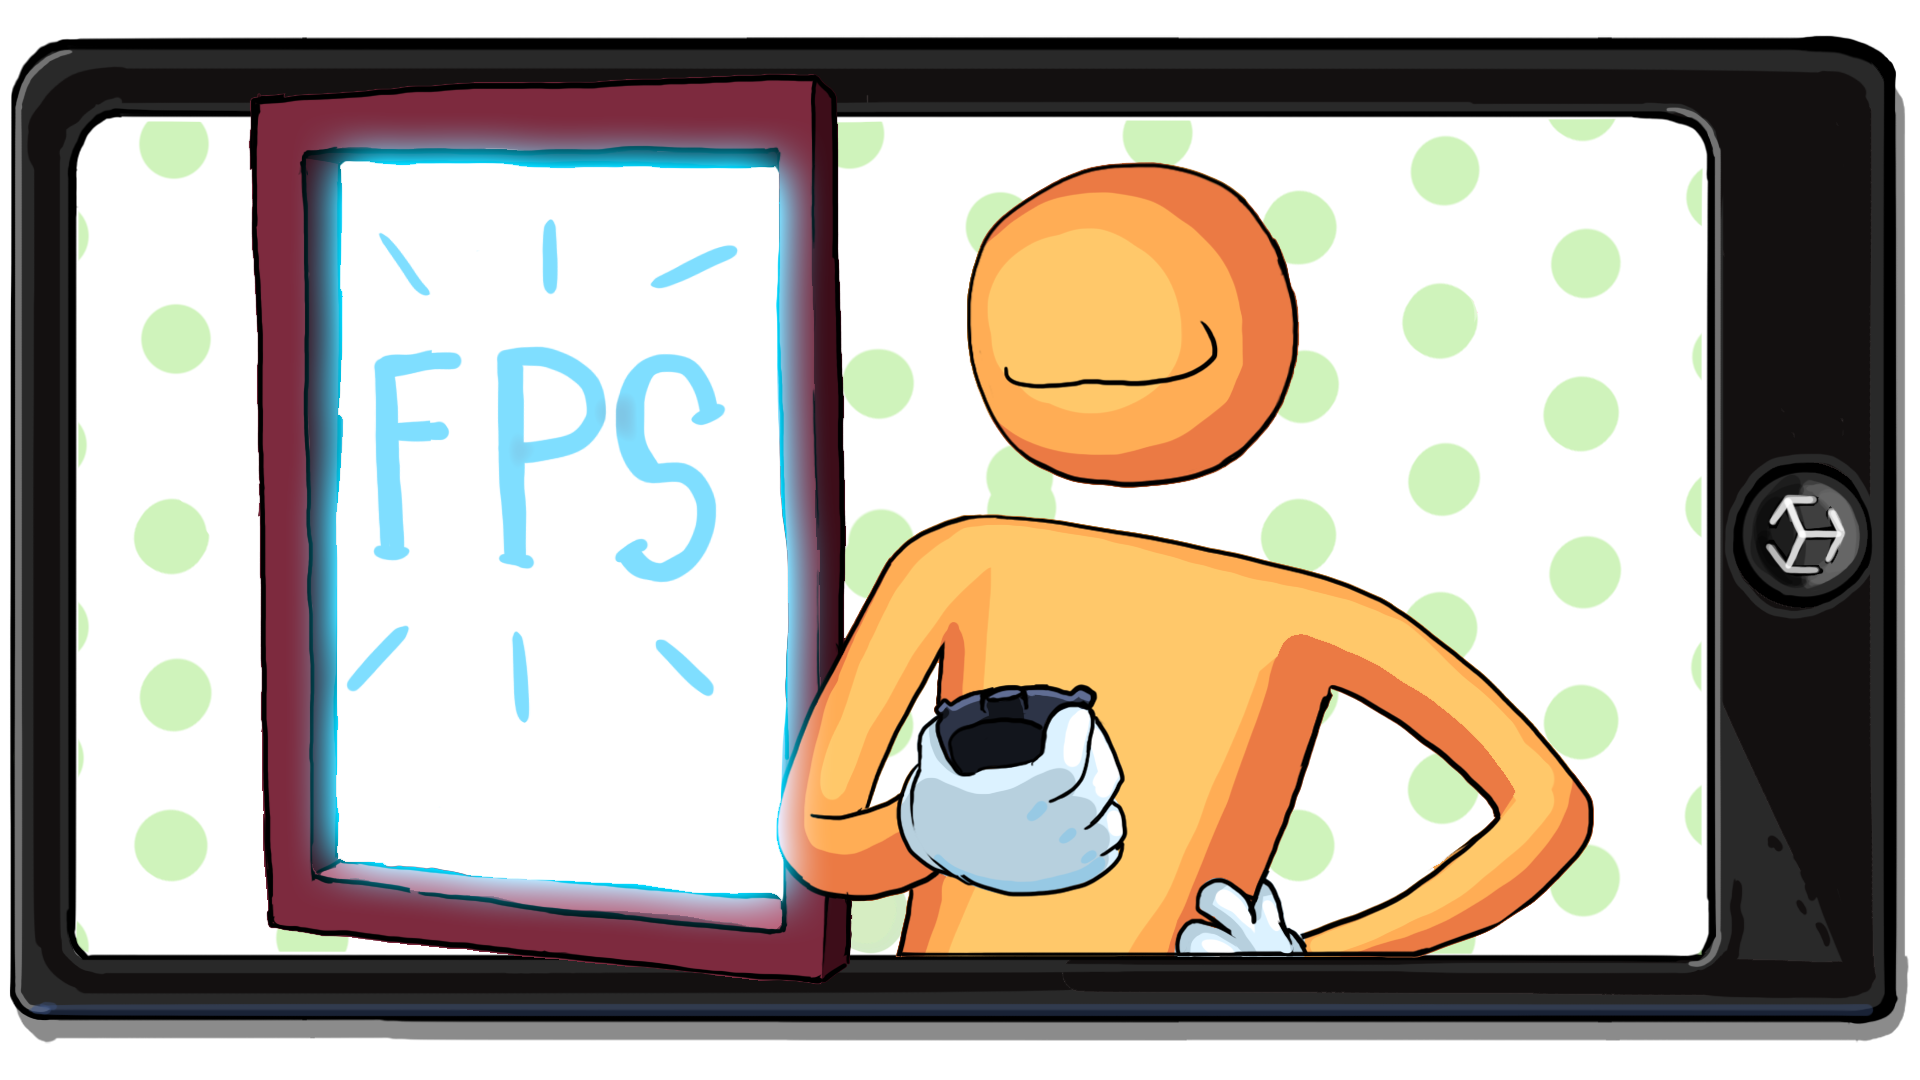
4. Test your frame rate
From a user’s perspective, the most important measure of an app’s performance is the frame rate, which is measured in frames per second (fps). An app with a high frame rate like 60 fps runs very smoothly. An app with a low frame rate like 15 fps appears very laggy and jittery, which results in a very poor user experience.
60 fps is recommended for most apps, especially if there are interactive elements, like the ones you have implemented in this portal app. A minimum rate of 30 fps is recommended for apps that prioritize image quality over interactivity, such as videography or virtual production apps.
We have created a simple UI for you that will display the current frame rate of your application.
Follow these instructions to add the FPS Overlay UI GameObject to your scene and test your app’s frame rate:
1. If the debug UI is still active in the Hierarchy, delete it or deactivate it. You won’t need this UI anymore.
2. In the Project window, go to _ARPortal > Prefabs > Testing, then click and drag the FPS Overlay UI prefab into the Hierarchy window.
Note: If the TMP Importer dialog window opens, select Import TMP Essentials and then close the window. You do not need to import the TMP Essentials and Extras.
3. In the Hierarchy window, double-click the FPS Overlay UI GameObject to preview how it will appear on your device’s display.
4. With the FPS Overlay UI GameObject selected, go to the Inspector and locate the Display FPS (Script) component.
5. Review the Good Fps Threshold and Bad Fps Threshold property values.
These threshold values control the color of the text displayed in the FPS Overlay UI:
- Fps values over the Good Fps Threshold will appear in green text.
- Fps values below the Bad Fps Threshold will appear in red text.
- Fps values between the two threshold values will appear in yellow text.
5. Build and run the app to preview the new functionality.
The current frame rate should be displayed in the user interface at the bottom of the screen.
Hopefully, your frame rate will be close to 60 fps throughout the experience and appear in green text.
5. How do you optimize mobile apps?
Superimposing an entire digital scene on top of a live camera feed is a lot of work for a processor. Rendering complex models, detailed textures, realtime lights, or semi-transparent materials can quickly overwhelm your user’s device, which can cause the application’s frame rate to drop and drain the battery.
Optimization is critical when you’re developing for mobile platforms, as mobile devices don’t have the kind of processing power of console or desktop platforms. Optimization is the process of ensuring that everything in the application runs as efficiently as possible, including the scripts, 3D models, textures, materials, and more. There are people in the real-time 3D industry whose entire jobs are dedicated to optimization.
Optimization is a deep, complex topic that you’re not going to explore in depth in this tutorial, but below are a few things to keep in mind as you import new assets and design scenes for your mobile AR projects:
- Use low poly assets. Low Poly is short for low polygon, which means that the 3D models are simpler and therefore easier on the processor.
- Reduce the number of real-time lights. Real-time lights update constantly and interact with each other as objects move in the scene.
- Reduce the use of semi-transparent materials. Rendering objects through multiple semi-transparent surfaces can quickly overwhelm a processor.
- Reduce the total number of materials used in the scene. You can achieve this by creating a Texture Atlas (sometimes called a Sprite Atlas), which allows many different objects to share a single texture and material.
If you are interested in reading more about mobile optimization techniques, check out our Optimize your mobile game performance blogpost or download the free, Optimize Your Mobile Game Performance e-book.
6. Experience low frame rate in your app
The assets we provided you for this project were already optimized for mobile performance, which is why your frame rate was likely high. However, it will be helpful to experience low frame rate in your project so you can appreciate how much it negatively impacts the user experience.
In the project assets, we have provided a sample particle system deliberately designed to negatively impact performance. The system is made up of large, overlapping, semi-transparent particles, which combine to create a fog effect.
These overlapping, semi-transparent images cause overdraw, which is what happens when a single pixel has to be drawn (calculated) multiple times. Every time Unity’s renderer encounters a semi-transparent surface, it needs to redraw every pixel affected. When there are multiple semi-transparent surfaces in a row, overdraw increases exponentially, and this dramatically slows the processing speed.
Follow these instructions to add the unoptimized particle system to your scene and experience its impact:
1. In the Project window, double-click your portal prefab to open it in the Scene view.
2. In the Project window, go to _ARPortal > Prefabs > Testing, then click and drag the Unoptimized Particle System prefab into the Hierarchy window and add it as a child GameObject of the [Theme]_Level GameObject.
3. Position the particle system somewhere in the scene that will be visible through the portal window.
4. Build and run the app to preview the new functionality.
Pay attention to the fps value as you point the camera towards and away from the unoptimized particles.
5. When you are finished testing, delete the Unoptimized Particle System GameObject.
7. More things to try
If you want to further develop your skills, explore new concepts, or improve your project, check out some of the optional activities below. Each one is tagged as either Easy, Medium, or Difficult, so you can choose the level of challenge.
These activities are entirely optional, so if you’re not interested, no problem – just skip this step.
We do recommend attempting at least one of them in order to get the most out of this learning experience. Good luck!
Medium: Add spatial audio to the portal world
If you completed the AR Marker project, you are already familiar with spatial audio and how much it can enhance AR. As you get closer to the object emitting sound, it gets louder. As you move farther away, the audio gets quieter. This dynamic effect makes for a more immersive, grounded AR experience. Use the following guidance for help completing this challenge:
- Download audio from the Unity Asset Store or other online sources. Looping audio that can play continuously in the scene will probably work best.
- Add one or more Audio Source GameObjects to your portal world and assign sounds to the Audio Clip property.
- Remember to set the Spatial Blend property to 3D and adjust the volume and volume roll-off as desired.
- If you have looping audio, enable the Loop property in the Audio Source component.
For a reminder on how to implement spatial audio in an AR app, review the spatial audio tutorial from the AR Marker project.
Difficult: Add animation to the portal world
Adding movement and life to your portal world will make it feel much more intriguing and tempting for the user to peer around. Try incorporating a moving object or character in your own portal world – ideally in a looping movement so that the user has more than once chance to see the action.
Use the following guidance for help completing this challenge:
- Create a new animation clip.
- Add the new animation to the Animator Controller.
- To set the new animation to play by default, right click the new animation node and select set as layer default state.
If you would like to play two animations at once, use the following guidance:
- In the Animator Controller, create a new layer and add an animation to it.
- Set the new animation layer blending settings to override and set the weight to 1.
If you need more guidance, you can learn more about VFX in Creative Core: Animation.
8. Next steps
In this tutorial, you added a dynamic scene behind the portal window and made sure the app maintained a high frame rate. In the next tutorial, you will complete the portal window functionality and make sure that the user can only view the portal contents through the window itself.