
The Basics of the Audio Random Container
Tutorial
intermediate
+0XP
30 mins
(27)
Unity Technologies
This tutorial will guide you through creating and configuring an Audio Random Container in the Unity Editor, a key tool for dynamic audio experiences. You'll discover how to add multiple audio clips to the container and set them up for randomized playback. Additionally, you’ll delve into the various Trigger modes and learn how to manage these audio clips effectively using C# scripting.
Resources
Languages available:
1. Overview
In this tutorial, you’ll explore how to enhance your Unity project's audio experience by creating an Audio Random Container. You'll learn to add and manage multiple audio clips, configure them for random playback, understand different Trigger modes, and control them using C# scripting.
Prerequisites
- Familiarity with Unity's basic interface.
- Knowledge of Unity's Audio Source component.
- Foundational knowledge of C# scripting
Learning objectives
By the end of this module, you will be able to do the following:
- Set up and randomly play an array of sounds using the Audio Random Container.
- Use the provided options of the Audio Random Container to configure and manage the playback of sounds at runtime.
- Use a C# script to trigger and manage the audio clips from the Audio Random Container.
2. Introduction to the Audio Random Container
Diverse sound effects in games enhance immersion by creating believable environments and evoking emotions, providing essential cues and feedback for gameplay, and contributing to accessibility, narrative context, and player retention.
Audio designers often encounter difficulties in creating dynamic soundscapes due to limited flexibility in audio clip management before the availability of the Audio Random Container. Manual scripting of audio randomization can be complex and can limit creativity, particularly in detailed sound environments. The Audio Random Container transforms this process by providing streamlined, efficient audio handling and greater design flexibility, thereby improving the overall gaming experience.
Set up your project
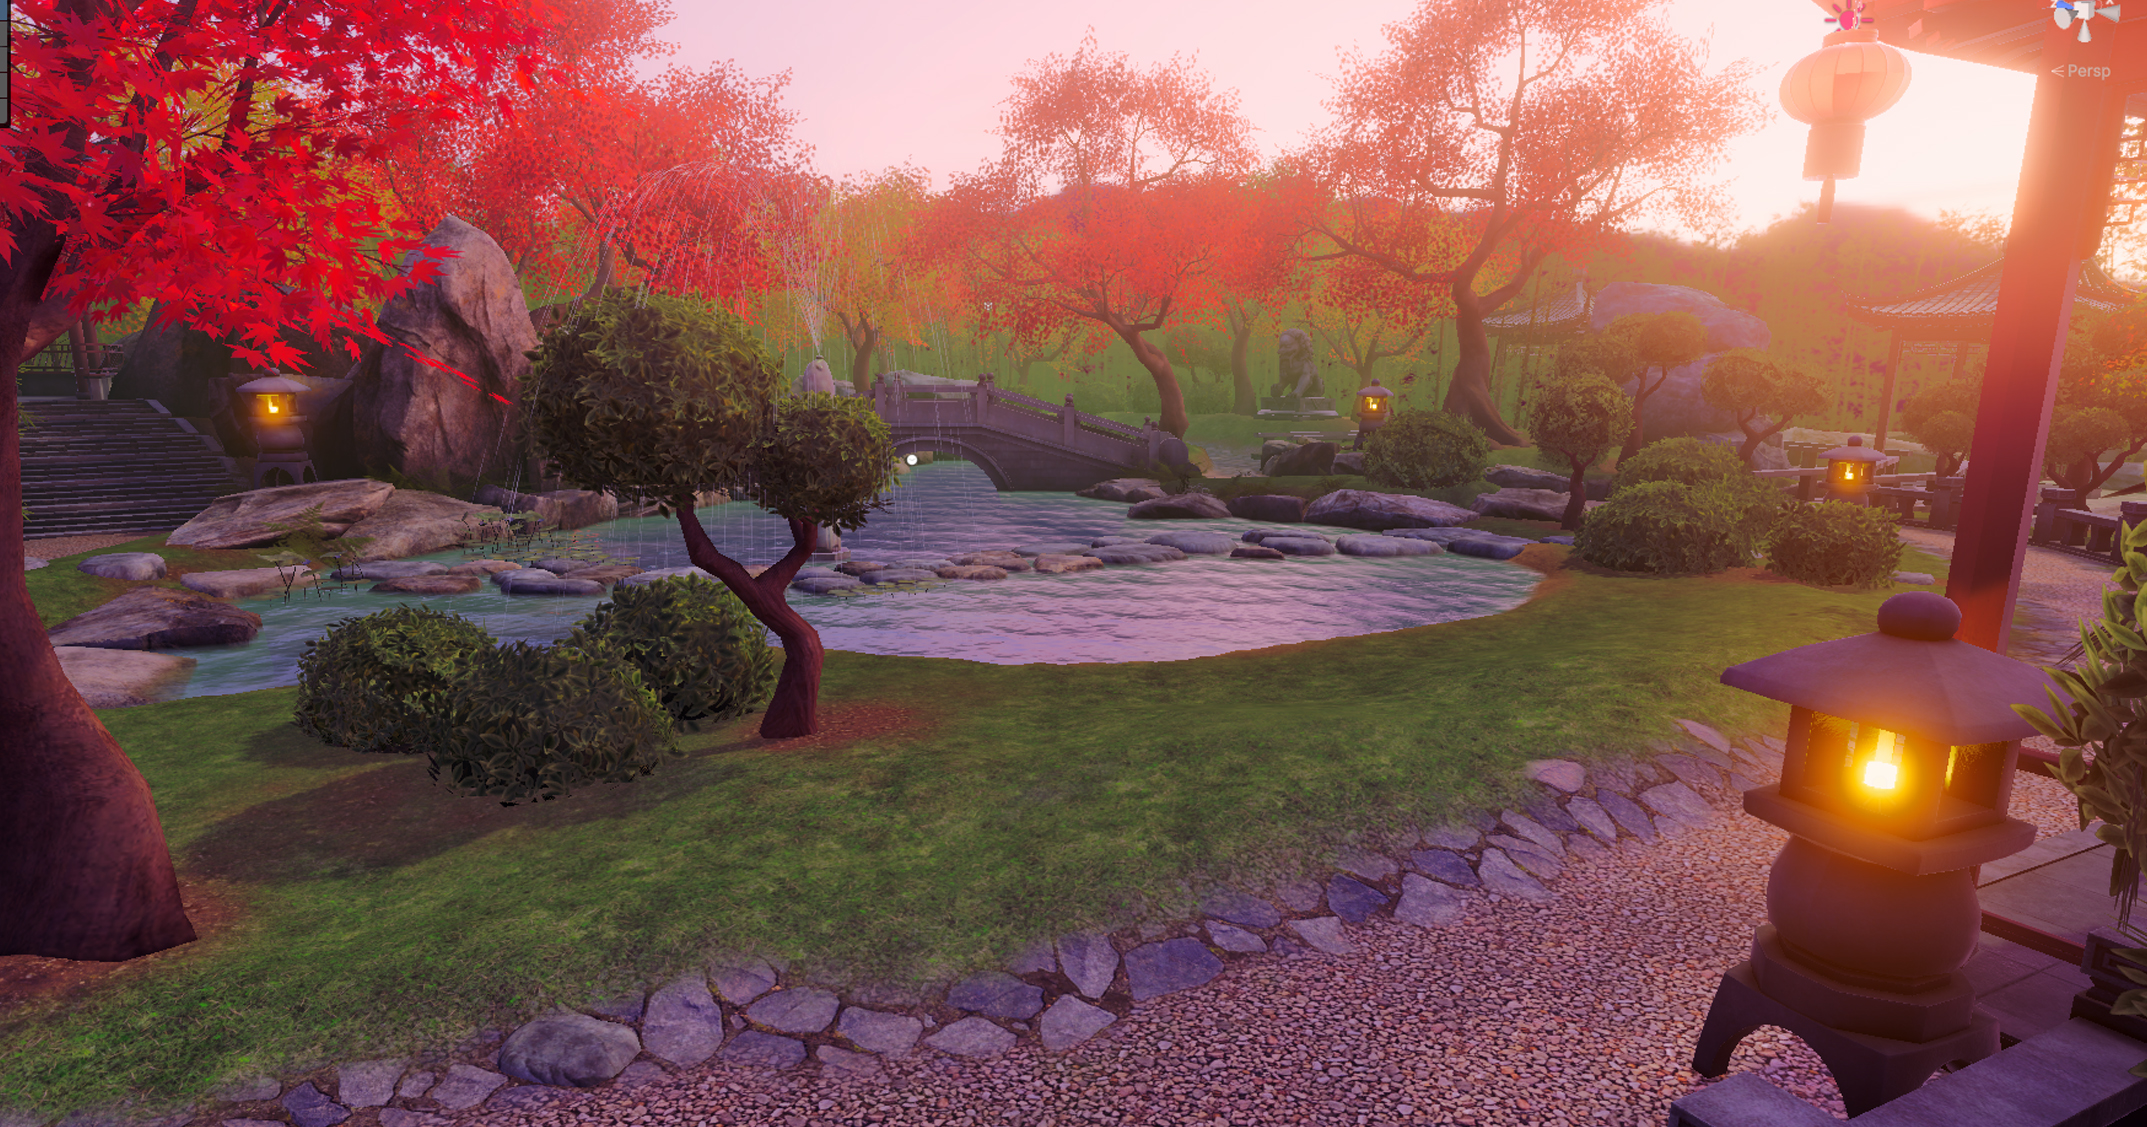
We have provided a starter scene for you to work on in this tutorial. This project offers a sample scene that mirrors the visual setup of the final scene but without any sound elements added.
You’ll start by downloading the starter project and setting up your project in the Unity Editor:
1. Download the Starter project (1 GB).
2. Extract the files to a location where you wish to save the project.
3. Open the Unity Hub.
4. Make sure you have the latest 2023.2+ version installed. If you are not sure how to do this, you can check out the Project setup processes tutorial.
5. Select Add.
6. Navigate to where you downloaded the project.
7. Select Open to open the starter project
8. In the Project window, go to Assets > Scenes and double-click Garden_Start to open the provided sample scene.
Explore the scene
Once the scene is open, familiarize yourself with its layout and components. Run the game and walk around the scene to experience the audio setup.
This scene is visually complete and has some audio elements, but it can be improved. You are going to add additional audio elements using the Audio Random Container.
Import Audio Clips into Unity for Audio Random Container
Before you can apply audio to a scene, you need to import the audio assets. We have provided a selection of audio for you to work with, but you can use your own audio clips as well.
Note: Ensure your audio clips are in a format supported by Unity, such as WAV, MP3, or OGG.
1. Create a new folder for your audio files in the Assets folder and name it “Audio”.
2. Navigate to the assets you downloaded for this project and locate the Sound Samples folder.
3. Drag and drop the files from the Sound Samples folder directly into the Audio folder you created. Alternatively, you can use the Assets menu in the Unity Editor. Go to Assets > Import New Asset, and then navigate to the location of your audio files to import them.
Once imported, Unity will process these files as audio assets. You can select each audio clip in the Project window to view and adjust its properties in the Inspector window. You can also modify properties such as Load Type, Compression Format, and Sample Rate to optimize the audio for your game’s needs.
Next steps
Now that you have the project set up, you can create your first Audio Random Container.
3. Set up a Random Audio Container for random ambient sounds
The simplest way to use the Audio Random Container (ARC) is to make it play an array of sounds to create an audio ambience for your environment. In this section, you will use the ARC to create ambient sounds for the garden.
1. In the Project window, open the Assets > Audio folder where you imported your Audio files.
2. Right-click in the folder and select Create > Audio > Audio Random Container to create a new Audio Random Container asset in your project.
3. Name the new Audio Random Container asset “Birds_ARC”.
4. With Birds_ARC selected, in the Inspector window, select the Edit Audio Random Container button to open the AR options window.
5. Under the Audio Clips section, select the Add (+) button to add a new Audio slot.
6. Drag the Bird01 sound clip from the provided Birds folder to the slot in Birds_ARC. The volume of the sound clips can be set individually if needed. For now, leave it set to 0.
7. Create additional slots for the rest of the sound clips.
Note: Instead of manually creating a new slot for each sound clip, you can just drag all of the remaining sound clips to the Audio Clips area in the ARC window. This will create a slot for each one and automatically assign it.
8. Set the Trigger to Automatic. This will make the playlist play through automatically based on your selected settings.
9. Set the Playback Mode to Random. This will randomize the order of play.
10. In the Avoid Repeating slot, set the count to 2. This will ensure that at least two clips are played before the current one is selected again.
11. Set the Automatic Trigger mode to Pulse and the time to 5 seconds. This will start the next clip after five seconds.
12. Finally, set the Loop option to Infinite to make the bird sounds loop infinitely.
Add the Audio Random Container as an Audio source in the scene
Manual scripting of audio randomization can be complex and can limit creativity, particularly in detailed sound environments. The Audio Random Container acts as a single audio source in the scene and is accessible in the same way as a standard audio clip, providing a simple way to manage multiple audio clips in one place. To add the Random Audio Container to the scene, follow these instructions:
1. In the Hierarchy window, create a new empty GameObject
2. Name the new GameObject “BirdSounds”.
3. With the BirdSounds GameObject selected, go to the Inspector window, and add an AudioSource component.
4. Drag the Birds_ARC asset from the Project window to the Audio Resource property in the AudioSource component on your GameObject.
5. Enable Play on Awake.
6. Set up any other typical AudioSource properties you wish to use, such as spatial blend (for 2D or 3D sound) and volume.
7. Enter Play mode to run the scene and test the ambient bird sounds.
Explore the settings of the Audio Random Container
The Audio Random Container provides options that control the playback and sequence of the audio clips in the container.
To access these options, select the Birds_ARC Audio Random Container asset you created and then select the Edit Audio Random Container button in the Inspector window.
The following options are available to you:
Volume and Pitch settings
You can adjust the Volume and Pitch settings using the sliders (dB for volume, cents for pitch) for precise adjustments, or you can manually specify the values. These are set for the entire Audio Random Container and will apply to all audio clips within it.
Trigger modes
- Manual: Requires an external trigger to play the next clip, typically done through a script.
- Automatic: Plays audio clips automatically based on set conditions.
Playback modes
- Sequential: Plays audio clips in the order they are listed.
- Shuffle: Plays audio clips in a random order without repeating until all have been played.
- Random: Plays audio clips randomly with the option to avoid immediate repetition.
When Automatic is selected, the following options become available:
- Pulse: Plays clips at regular intervals. The time between pulses is set with the Time slider.
- Offset: Waits for a clip to finish before starting a timer for the next clip. The time before the next sound is played is set with the Time slider.
Loop and Count settings
- Set the Loop option (Infinite, Clips, Cycles) to determine how the Audio Random Container repeats its playlist.
- Infinite: This plays the sounds in an infinite loop.
- Clips: The list will loop for the number of times specified in the Count. If the number is lower than the number of clips, the remaining clips will not be played.
- Cycles: A cycle is one round of all the clips in the sequence. The number specified in the Count property will determine how many cycles are played.
- Adjust the Count to specify the number of Clips or Cycles for the loop condition.
Randomizer options
The Volume, Pith, and Time settings all have a Randomization button next to them.
Selecting this button will make the randomization settings for the relevant property available and will allow the user to set a high and low range. At runtime, the Unity engine randomly picks a value for each clip from these constraints.
Next steps
You’ve successfully created a simple audio setup using the Audio Random Container assets in Unity that randomly play sounds from a specific array of options, but you can do more with the Audio Random Container through scripts.
In the next section, you’ll learn how to play specific sounds in the Audio Random Container based on a given parameter or event.
4. Play a random sound when the player is moving
In the previous section, you learned how to use the Audio Random Container to play a loop of random sound clips from the array.
To start playing the audio from the Audio Random Container, you can use the Play method on the AudioSource:
AudioSource audioSource;

void Start() {
    audioSource = GetComponent<AudioSource>();
}

void PlayAudio() {
    audioSource.Play();
}
This method will play the Audio Random Container according to its current configuration and playback mode.
To stop the Audio Random Container, you can use the Stop method on the AudioSource:
void StopAudio() {
    audioSource.Stop();
}
You can call PlayAudio() and StopAudio() from various events in your game, such as button presses, collisions, or other game logic.
Just like you would with standard audio sources in your game, you can use other AudioSource methods and properties to control the Audio Random Container, like adjusting volume or checking if the audio is currently playing.
By implementing these steps in your Unity script, you can effectively control the Audio Random Container's playback, which allows for dynamic audio experiences tailored to specific game events or interactions.
Set up the Audio Resource
In the next steps, you will set up a script that will play a random footstep sound when the player moves:
1. In the Assets > Audio folder, create a new Audio Random Container asset like before and name it “Footsteps_ARC”.
2. In the Inspector window, select Edit Audio Random Container.
3. Assign the five sound clips from the Assets > Sound Library > Footsteps folder.
4. Set the Volume for each of the clips to -10 dB.
5. Select the Randomization button for the Volume and Pitch settings.
6. Set the Volume to -10 and the Randomization values between -2 and 2.
7. Set the Pitch to -200 and the Randomization values between -500 and 500.
8. Set the Trigger to Manual and Playback Mode to Random.
9. Close the Audio Random Container window.
10. In the Hierarchy window, create a new empty GameObject as a child GameObject of the PlayerCapsule and name it “FootstepsSimple”.
Note: Making the FootstepsSimple GameObject a child GameObject of the PlayerCapsule GameObject is useful because the sound is a 3D audio source and you need it to follow the player.
11. With the FootstepsSimple GameObject selected, in the Inspector window, add a new Audio Source component.
12. Drag the Footsteps_ARC assets you created into the Audio Resource property of the new Audio Source component.
Create the script
Next, you’ll need a script that will play the audio only when the player is moving:
1. Select the PlayerCapsule GameObject in the Hierarchy window.
2. In the Inspector window, select Add Component, add a new Script component, and name it “Footsteps”.
3. Open the Footsteps script in your editor of choice.
4. You will need a reference to the Footsteps audio source in the scene, as well as a variable to hold the player's position. Declare these two variables at the top of your script.
    public AudioSource audioSource;
    private Vector3 lastPosition;
5. Use the void Update function to check if the user is moving and the audioSource.Play(); and audioSource.Stop(); functions to control the sound based on the movement condition. Add the following lines of code to the void Update function:
// Update is called once per frame
    void Update()
{
        // Check if the player has moved since the last frame
        if (transform.position != lastPosition)
        {
            // If the player is moving and the sound is not already playing, play the sound
            if (!audioSource.isPlaying)
            {
                audioSource.Play();
            }
        }
        else
        {
            // If the player is not moving, stop the sound
            if (audioSource.isPlaying)
            {
                audioSource.Stop();
            }
        }

        // Update last position for the next frame
        lastPosition = transform.position;
    }
6. Save the script and go back to the Editor.
7. Make sure the PlayerCapsule is still selected in the Hierarchy window, then, in the Inspector window, drag the FootstepsSimple GameObject into the Audio Source property of the Footsteps script.
8. Enter Play mode.
Your game should now play a random selection of one of the audio clips from the Audio Random Container when the player is moving!
Next steps
This was just a simple example. To see a more advanced version, open the Garden_Final scene. In this version, the FootstepsSelector script determines the type of ground cover the player is walking on and updates the sounds accordingly.
5. Explore the sample script
In the previous step, you learned how to access the different audio clips in the Audio Random Container with a C# script.
In this step, you’ll see how that knowledge can be used to build advanced and dynamic audio in your game.
We have provided you with a script named FootstepSelector that dynamically changes the audio clips played for footsteps based on the terrain or material the player character is walking on, using different sound clips for different surfaces
Explore the dynamic footsteps script
Open the Garden_Final scene in Assets > Scenes to open the completed sample scene.
Explaining the entire script step-by-step is not covered in this tutorial. However, the script has comments that will clarify its functionality. We encourage you to examine the code and see how it accesses the audio clips in the Audio Random Container.
Congratulations, you have successfully implemented the Audio Random Container in a project and used scripts to activate and deactivate the sounds based on an event!