Week 6 | Session 4 - Title Screen - April 30, 2020
Exercise
Beginner
+0XP
60 mins
Unity Technologies

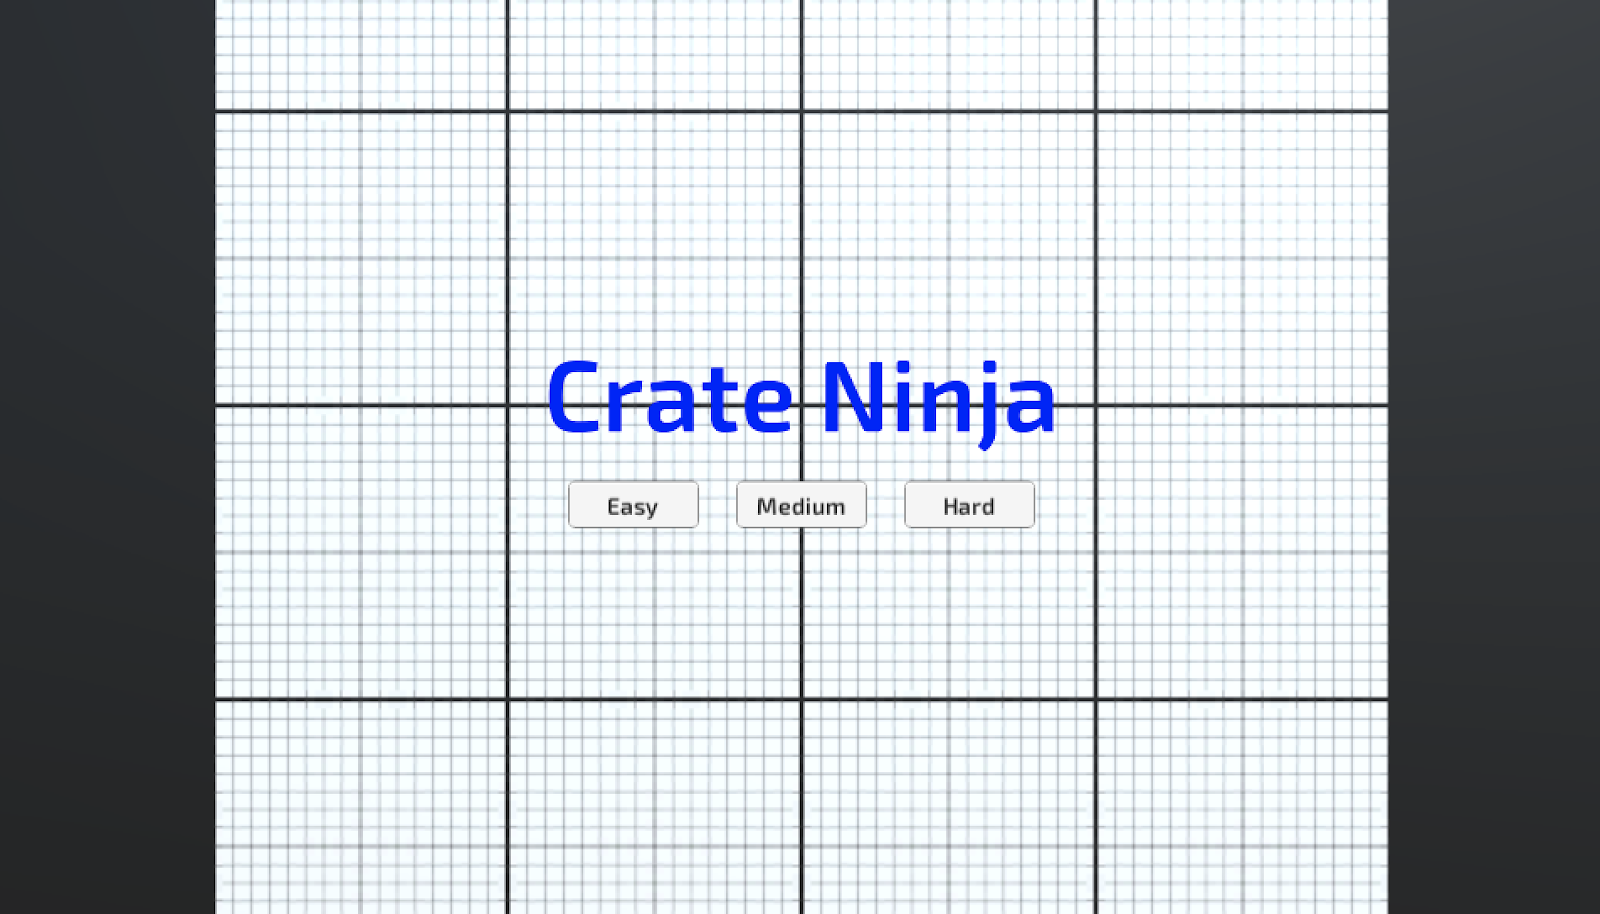
It’s time for the final lesson! To finish our game, we will add a Menu and Title Screen of sorts. You will create your own title, and style the text to make it look nice. You will create three new buttons that set the difficulty of the game. The higher the difficulty, the faster the targets spawn!
Materials
Languages available:
1. Overview
This is the same content covered in Lesson 5.4 in the independent Create with Code Course.
What you will make:
- Starting the game will open to a beautiful menu, with the title displayed prominently and three difficulty buttons resting at the bottom of the screen. Each difficulty will affect the spawn rate of the targets, increasing the skill required to stop “good” targets from falling.
What you will learn:
- Store UI elements in a parent object to create Menus, UI, or HUD
- Add listeners to detect when a UI Button has been clicked
- Set difficulty by passing parameters into game functions like SpawnRate
2. Before you Begin
To participate in this session and follow along, you need:
- Unity 2018.4 installed
- An up-to-date project open in Unity:
- If you have followed along with us this week and have your own project ready, you are good to go!
- You can also download the instructor's up-to-date project and import it (If you don't know how to import a project, you can read how here)
If this is your first Create with Code live learning session, you can catch up by:
- Following along with the recordings of our previous live learning sessions
- Completing the same lessons in the independent Create with Code Course
*Note - it is not necessary for you to catch up, but it is recommended for an ideal learning experience.
3. Recorded Live Session - 30th April - 9am PST
If you missed this session, you can catch up with the video below.
4. Recorded Live Session - 30th April - 9am PST
If you missed this session, you can catch up with the video below.
5. Next Steps
Get caught up:
If you were not able to finish the session along with the instructors, you can catch up by:
- Re-watching this recorded session when it is posted in Step 3 above at 3am PT (10am UCT) the morning after this session's date
- Picking up where you left off in Lesson 5.4 of the independent Create with Code Course
Bonus Challenges:
- Course challenge
- Complete the "Whack-a-Food" challenge from the full Create with Code course and share it on Learn
- Experiment with new features (after making a backup)
- Add background music and add a UI slider element to adjust the volume
- During gameplay, allow the user to press a key to toggle between pausing and resuming the game, where some kind of pause screen comes up while the game is paused
- Share your prototype
- Continue tinkering with the prototype and share it on Learn
- Look ahead to the next lesson
- If you want to go ahead and preview what we'll be covering in the next session, you can give it a try in Lab 5 of the independent Create with Code Course.
6. Share your Modified Challenge or Prototype
If you went above and beyond and modified the challenge or prototype from this week, take a screenshot or screen-recording and post it here to share what you made! Please also share with us some of the "behind-the-scenes" info regarding how you did it.
Please login to submit
Complete this Tutorial
Submission Gallery

Nruit Finja
A fully functioning fruit ninja ripoff with pause screens, volume overlay and 3, 2, 1, Go! at the beginning :))

Prototype 5
prototype 5

Prototype 5 - Slice It
With: Click and Swipe Trails Health Bar Mystery Box (Slow Motion, x2 Points, Add Health) Cool Down Pause Menu High Score Difficulty Levels Play It here! :) https://connect.unity.com/mg/other/untitled-30551

My fruit ninja ripoff
Game has the basic gameplay and the UI basically done. The problem with the collision beneath the actual scene persists.

Healthy Ninja
Almost all bonus challenge done: - Click and Drag swiping with trail; - Life remaining; - Highs score; - Pause mode and music Volume Adjusting;

SUGAR POP!!
I made my game with apples and an energy drink.

Food Ninja
Difficulty levels before pressing start button. And Game Overs when you accidentally press the bomb!

Lunch mania!
JustAdded alittle ccouncountdown tarmertimer to start ththe game . :)