
Welcome to 2D Beginner: Adventure Game
Tutorial
Beginner
+0XP
15 mins
(12134)
Unity Technologies
In this introductory tutorial, you’ll learn the following things:
- What this course is about.
- Who this course is for.
- How this course is structured.
You’ll also have the opportunity to explore the example 2D adventure that we have created!
By the end of the tutorial, you should know whether the 2D Beginner: Adventure Game course is right for you and be ready to get started.
Languages available:
1. Overview
The world of 2D games is wide and full of opportunities, whether you want to make a pixel platformer, minimalist matching game, or retro RPG. We’ve designed this beginner course to be the start of your 2D journey: we’ll guide you step by step through creating your own 2D adventure game, with a choice of assets and options for customization along the way.
By the end of this introductory tutorial, you’ll be able to explain the key distinguishing features of a 2D game and be ready to start the 2D Beginner: Adventure Game course to create your own game.
2. Before you begin
Prerequisites
If you’re new to Unity, welcome! The Unity Essentials learning pathway has been designed to help you get set up and ready to create in the Unity Editor. This pathway is a prerequisite for Beginner 2D: Adventure Game.
Update the Unity Hub
Before you begin to set up your Unity project, consider updating your Unity Hub to the latest release. If you are using an older version of the Hub, there may be differences between the guidance provided and your experience.
Review the Unity Editor basics
If you need to refresh your memory of the Unity Editor basics, you can take a moment to review Explore the Unity Editor at any time.
3. The world of 2D games
2D games — games that only use the horizontal and vertical dimensions — offer creators a lot of flexibility, and they’re also a great starting point for beginners. There are two distinctive aspects of creating a 2D game in Unity:
- 2D graphics: You’ll use sprite assets to create the two-dimensional world of your game, as you were introduced to in Unity Essentials.
- 2D physics: Unity has a separate physics system for 2D projects, which you’ll use to create an optimized game.
You can also create 2.5D games in Unity, which have gameplay in two dimensions but use 3D character and environment assets for a distinct visual effect. This course doesn’t cover creating a 2.5D game, but if you want to do this in the future, then creating a 2D game will be a strong foundation for your ongoing learning journey.
What do you enjoy in a 2D game?
There are 2D games in every genre — take some time to think about the ones that you like best. Don’t just evaluate the art and physics implementation in the games; the whole experience is important to the impact on you as a player.
As you think about the games, ask yourself the following questions:
- What was it about the game that made you want to play it?
- What feature(s) of the game did you enjoy the most and why?
- Can you think of any adjustments that could make you enjoy the game even more?
There are no right or wrong answers to these questions. It’s helpful to consider these questions before you begin working on your own first 2D game to help inform your decision-making and focus your understanding of the type of games that you might like to make.
4. What will I achieve by the end of this course?
In this course, you’ll create your own 2D adventure game. We’ve provided three different asset packs that you can use to customize the game visuals, and there are plenty of opportunities to customize or extend the basic game functionality in small ways too. You’ll also learn about C# scripting as you go — this will be very useful in the future, whether you continue to focus on 2D games or expand into 3D too.
Course structure
This course is organized into six units:
- Player character and movement: You’ll set up a player character and configure it to move on a placeholder environment in response to player input.
- Game environment and physics: You’ll develop the environment for your game and implement basic physics so the player character can interact with it.
- Health system: You’ll create a health system and objects that will increase or decrease the player character’s health on collision.
- Heads-up health display: You’ll create a user interface using UI Toolkit, and configure it to reflect the character’s health level.
- Characters and interaction mechanics: You’ll create enemies, give a way for the player to neutralize them, and also add a friendly NPC to share a message with the player.
- Enhance and polish: You’ll improve the overall experience of the game with dynamic camera, audio, and visual effects. You’ll also have the opportunity to configure your own hand-drawn animations in the game, if you have an art background.
We recommend completing these projects in order, especially if you are a beginner, but if you’re a more confident creator who needs a refresher in one area, then we’ve also created pre-configured scenes that you can use to get started with any of these units independently.
Course assets
We’ve created three different asset sets that you can use to create your own custom game:
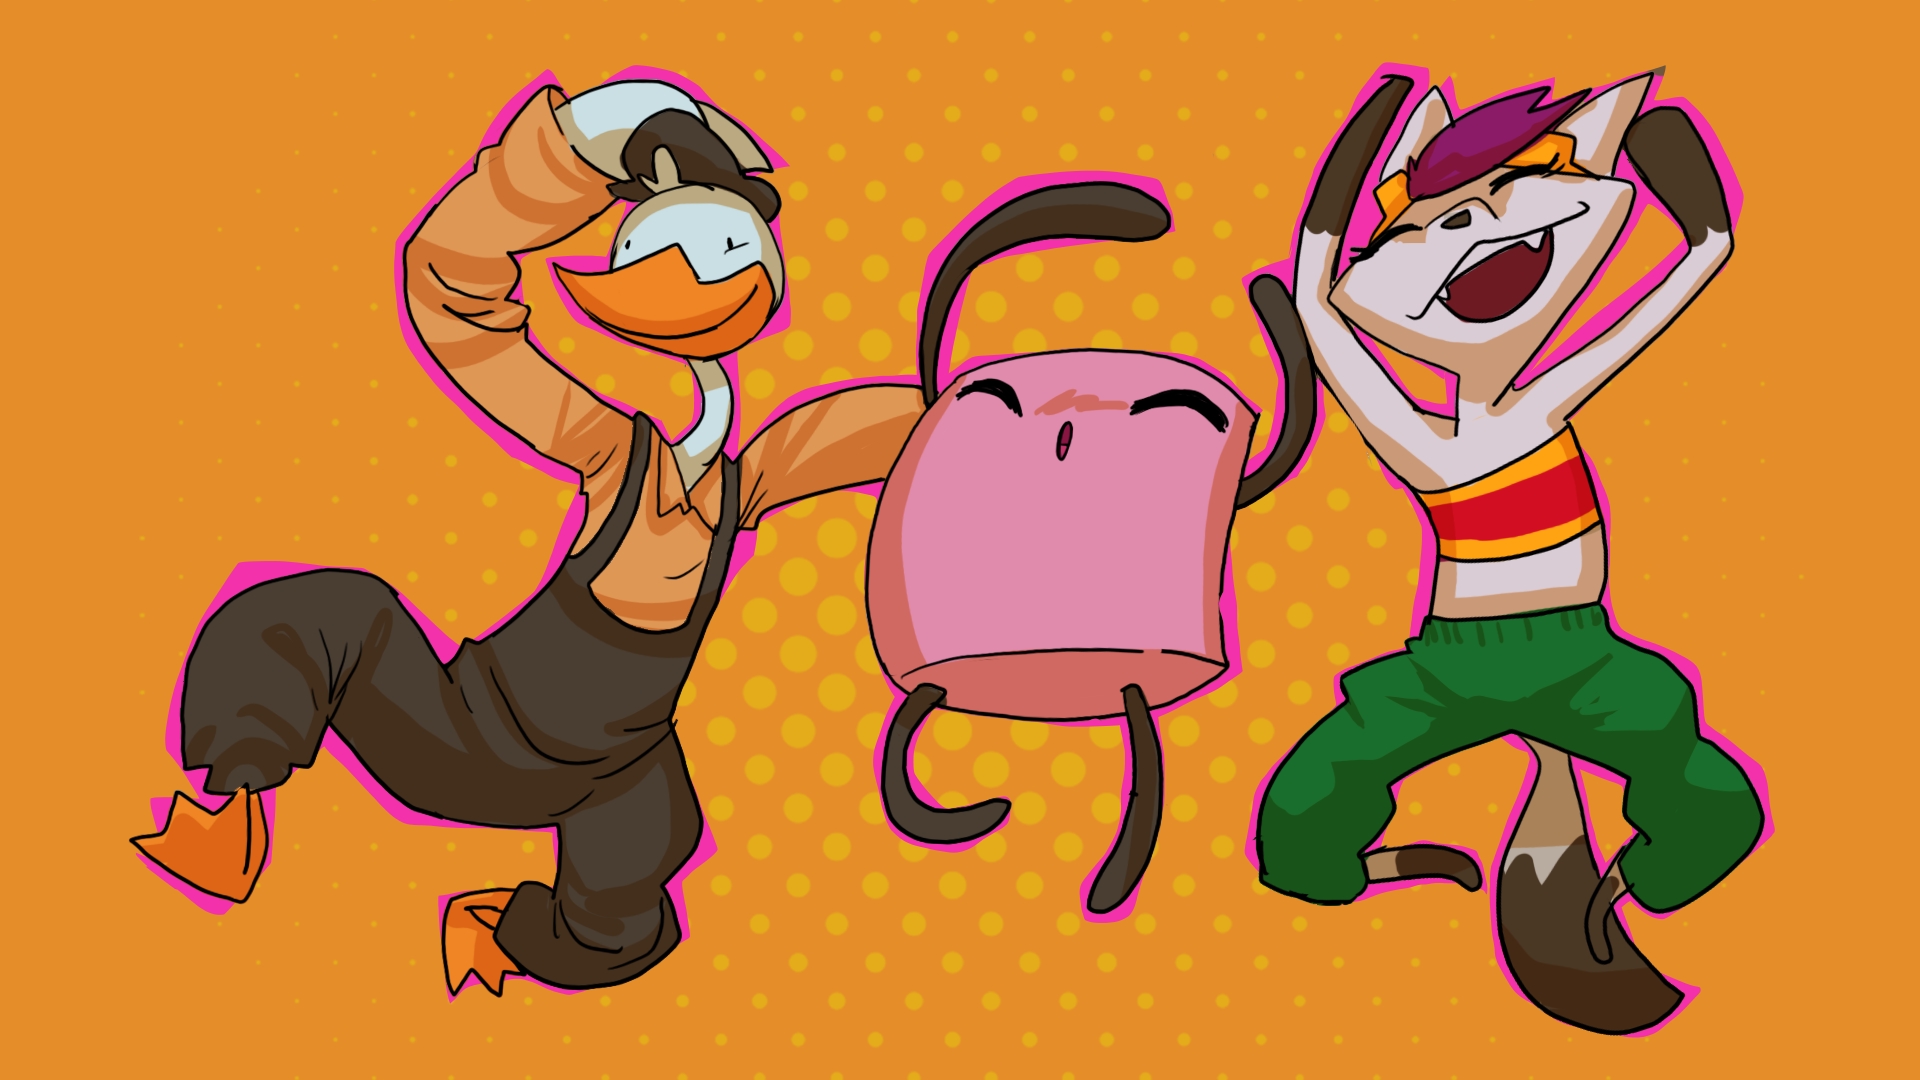
- Ruby’s Adventure: The assets for the original version of this course, with some small updates. A bright and exciting world with a curious fox protagonist.
- Sugar Land: A new sweet treat wonderland with a friendly marshmallow protagonist.
- Ducko: A new art deco dieselpunk world with an adventurous duck protagonist.
These asset sets are provided in the course assets on the Unity Asset Store and also in the learning project that includes the example full game and starter scenes attached to this course.
Build skills to take to game jams and beyond
When you’ve finished this course, you’ll have created your own 2D game from scratch. At that point, you’ll have a great foundation to participate in game jams and collaborate with others. Game jams are a great way to build your creative community and develop your practice as a creator!
5. Play the example game
The example 2D adventure game is included in the learning project attached to this course.
To play the example game, follow these instructions:
1. Install Unity 2022.3 LTS, if you haven’t already done so.
2. Create a New Project from the Unity Hub, selecting Universal 2D Core as your template.
3. Import the complete project on the Asset Store to your new Unity project.
Note: For a more detailed explanation on how to import Assets from the Asset Store refer to this tutorial.
At this point, multiple dialog warning boxes may appear one after another, proceed with each prompt until the assets are imported successfully.
4. In the Project window, navigate to the 2DBeginnerAdventureGame > Scenes > Final folder within UnityTechnologies.
5. Open the Ruby_Example_Scene.
6. Select Play to enter Play mode and test the game. Use the following controls:
- Up, Down, Left, Right arrows to move.
- C to fire a projectile.
- X to talk to the friendly NPC when you are close.
6. Next steps
Now you’re ready to begin the 2D Beginner: Adventure Game course! In the first unit, you’ll begin your work in 2D by creating a player character and configuring it to move based on user input.