Create a health collectible using triggers
Tutorial
·
Beginner
·
+10XP
·
25 mins
·
(1128)
Unity Technologies
In this tutorial you’ll create a collectible object that will increase the player character’s health.
By the end of this tutorial, you’ll be able to do the following:
- Configure a GameObject using triggers in order to create a health collectible.
- Increase player character health when they activate the collectible’s trigger.
1. Overview
You’ve set up a basic health system, but at the moment there’s nothing to impact the player character’s health in a positive or negative way. Let’s start by creating a collectible, like a power-up pack, that the player can use to increase their character’s health.
By the end of this tutorial, you’ll be able to do the following:
- Configure a GameObject using triggers in order to create a health collectible.
- Increase player character health when they activate the collectible’s trigger.
Working on your own project?
This tutorial is part of Beginner 2D: Adventure Game and refers to the game project for that course, but this information will be helpful for any beginner creator who wants to set up a basic health system in their game.
Note: For the purposes of this tutorial, we chose to use the Ruby’s Adventure asset set, and the file paths used in instructions will reflect this. If you chose another asset set, the file names will be the same, but in your corresponding theme folder.
2. Create a collectible GameObject
When you collect an object in a game, something always happens. The object might be added to your inventory, provide a positive effect, or be equipped for you to use immediately — it depends on the game. You can make something happen when one GameObject interacts with another GameObject by using a trigger.
Triggers initiate a particular event on collision. In this situation, when the player character collides with a CollectibleHealth GameObject, this should trigger an increase to their currentHealth value.
To set up a GameObject for the collectible, follow these instructions:
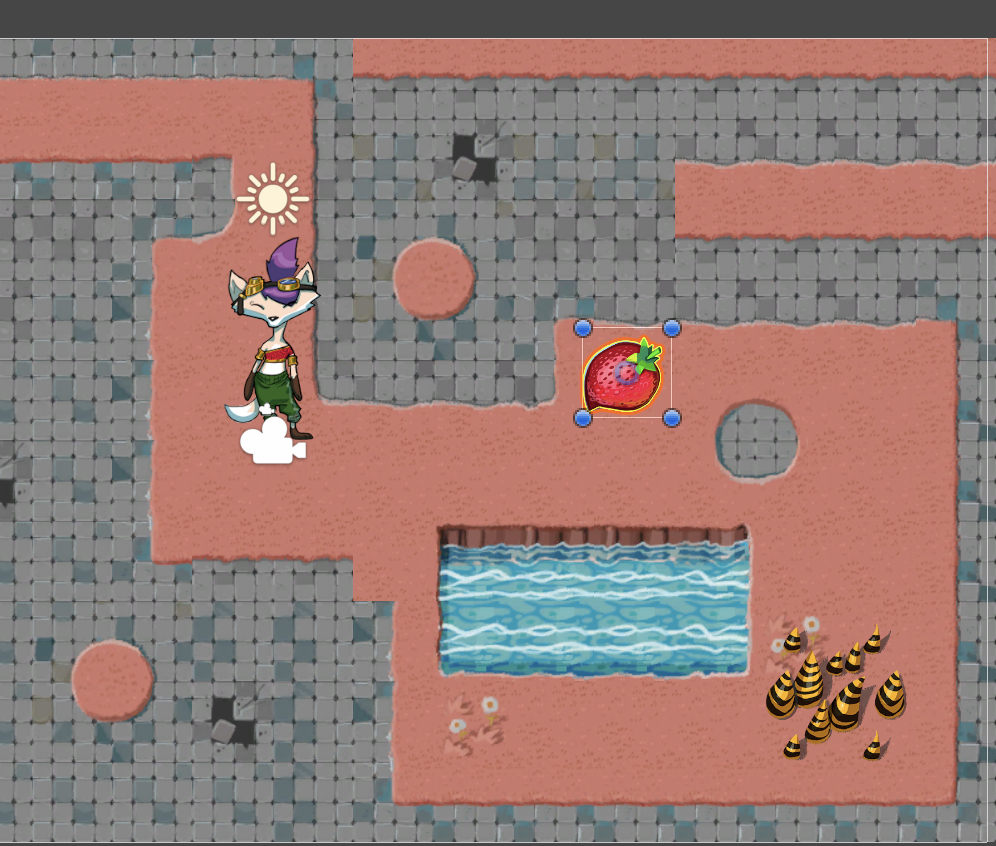
1. In the Project window, navigate to Art > [Your Chosen Project] > VFX, and select the CollectibleHealth sprite.
2. In the Inspector window, under Sprite Mode, set the Pixels Per Unit property to 64, and select Apply.
3. Drag the CollectibleHealth sprite from the Project window and release it over the Hierarchy window to create a new GameObject.
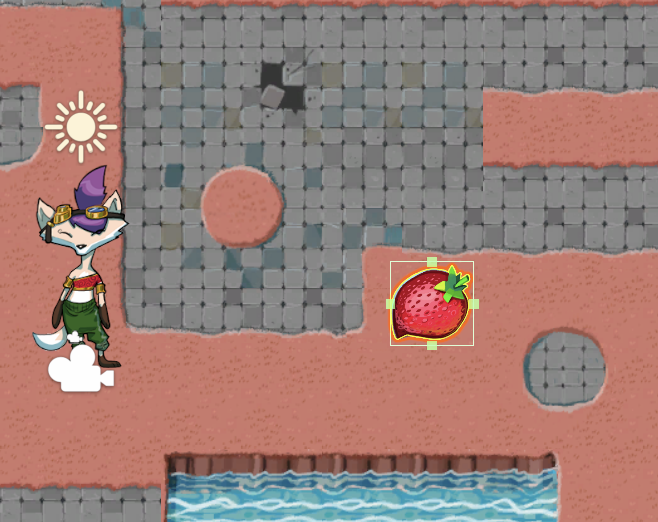
4. In the Scene view, resize the CollectibleHealth GameObject using the Rect Transform tool until you are happy with the collectible’s size. The Rect Transform tool will be active by default when the CollectibleHealth GameObject is selected.
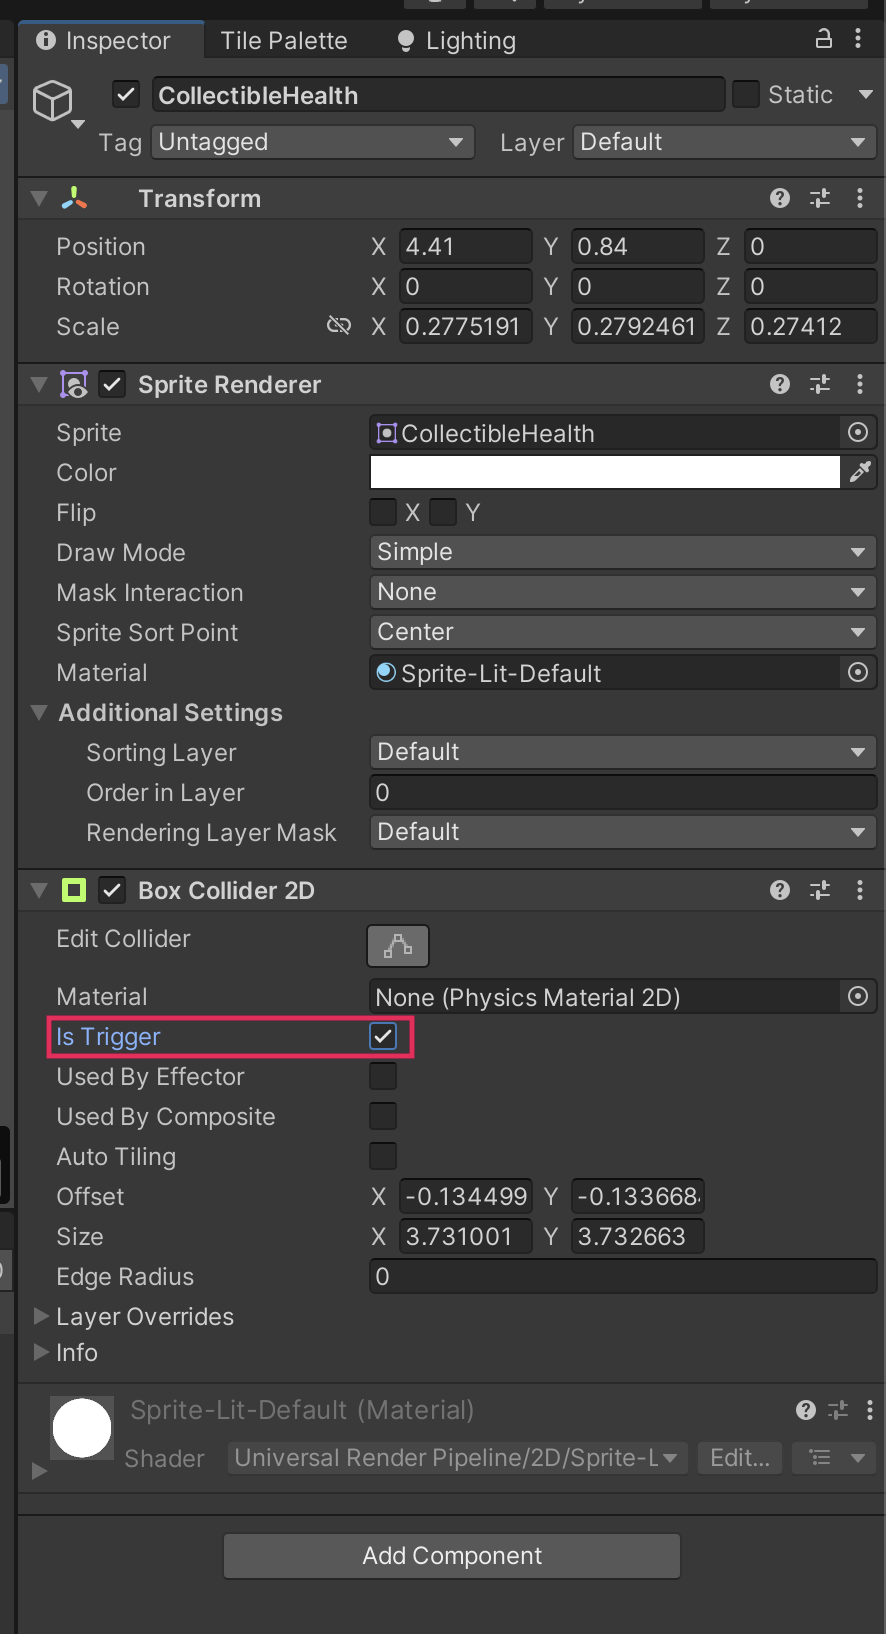
5. In the Inspector window, add a Box Collider 2D component to the CollectibleHealth GameObject. You might need to expand the component to reveal its properties. Edit the collider until it closely fits the sprite.
6. Enable Is Trigger.
7. Enter Play mode and test your game. The player character will pass through the CollectibleHealth GameObject because the collider component is functioning as a trigger. However, nothing else will happen yet, because you haven’t defined what will be triggered by the collision. Remember to exit Play mode when you’re done.
8. Save your changes.
3. Create a script for the collectible
So far you’ve been working in one script, PlayerController.cs. The collectables are going to impact the player character when they are triggered, but their functionality is something separate, so that requires a new script.
To create a new script, follow these instructions:
1. In the Project window, navigate to your Scripts folder.
2. Right-click and select Create > C# Script.
3. Name your new script “HealthCollectible”.
5. In the Hierarchy, select the CollectibleHealth GameObject.
6. Drag the new script from the Project window and release it over Add Component in the Inspector window to assign the script to the CollectibleHealth GameObject. Alternatively, you can search for and add the component as you have done previously.
7. Double-click the HealthCollectible script to open it in your IDE.
4. Check the GameObject that enters the trigger
Right now the player character is exploring the world alone, but later in this course you’re going to create moving enemies. Either the player character or an enemy could collide with the collectible, and only the player character should get the health increase.
To check the GameObject that enters the trigger, follow these instructions:
1. Delete the Start and Update functions. This script will only be executed when the player character collides with a health collectible, not at the start of the game or every frame. Your script should now look like this:
using System.Collections;
using System.Collections.Generic;
using UnityEngine;


public class HealthCollectible : MonoBehaviour
{


}
2. Declare a new function to be called when another GameObject collides with the health collectible:
void OnTriggerEnter2D(Collider2D other)
{


}
Here’s an explanation of this code:
- OnTriggerEnter2D is a specific Unity function that is called on in the first frame when the physics system detects a GameObject with a Rigidbody component hitting the GameObject collider that is a trigger.
- The parameter (other) will contain the reference to the collider component that just entered the trigger.
3. Add the following instruction to the function:
Debug.Log("Object that entered the trigger: " + other);This will print the reference to the collider in the Console window, with a string of text to make the message easier to understand.
4. To see this debug message clearly, go back to your PlayerController script and comment the Debug.Log instruction in the Update method.
5. Save your changes and return to the Unity Editor.
6. Test the game.
Now when the player character collides with the collectible, your message will be printed in the Console window with the correct collider reference.

5. Increase the player character health
To write the code for your function, follow these instructions:
1. Return to your HealthCollectible script and delete the Debug.Log instruction from your function.
2. In your function, add the following instruction:
PlayerController controller = other.GetComponent<PlayerController>();Here’s an explanation of this code:
- This instruction creates a variable that contains the reference to the Player Controller (Script) component on GameObject that collides with the collectible.
- The PlayerController script is only attached to the PlayerCharacter GameObject, so the variable will only be filled with this reference if the player character collides with the collectible.
- If a GameObject that doesn’t have this script attached collides with the collectible, this variable will remain empty and return no value (null).
3. Leave a line empty and then add the following code:
  if (controller != null)
   {

   }
Before you read on, take a moment to consider this code — what do you think it will do?
Here’s an explanation of of this code:
- This code is a conditional statement. Conditional statements contain instructions that will only be executed under certain conditions.
- This specific statement is an if statement, because the instructions will only be executed when the condition is true.
- The conditions for the statement are contained in parentheses. The instructions that you add to this statement will only be executed if the controller variable (controller) is not equal to (!=) nothing (null). Or, phrased differently: the instructions will only be executed if the controller variable contains the reference to the PlayerController script.
4. Within the braces of the if statement, add the following two instructions:
controller.ChangeHealth(1);
Destroy(gameObject);
Here’s an explanation of of this code:
- The first instruction assigns a value of 1 to the parameter of the ChangeHealth function, which is the amount variable.
- The second instruction calls a built-in Unity function that destroys whatever you pass to it (give it) as a parameter. In this case, you’ve passed a reference to the GameObject that this script is attached to: the CollectibleHealth GameObject.
- Your IDE may identify an error with this code, because ChangeHealth cannot currently be accessed via this script.
5. Save your changes and return to the Unity Editor.
6. Go to the Console window. You’ll find the following error message displayed: “Assets/Scripts/HeathCollectible.cs(14,14): error CS0122: 'PlayerController.ChangeHealth(int)' is inaccessible due to its protection level”.
Note: You might find that the Unity Editor refers you back to a more comprehensive IDE error message, depending on your exact software configuration.
You’ll need to fix the error before you can test the health collectible.
6. Fix the protection level error
In your collectible script, you’ve written a function to pass a value to the amount variable, which is the parameter of the ChangeHealth function that you wrote in the previous tutorial. However, by default you can only access a function from inside the script it’s contained in. The HealthCollectible script doesn’t have permission to access the function, which is what is causing the error.
To grant the HealthCollectible script access to the ChangeHealth function, follow these instructions:
1. Open the PlayerController script in your IDE.
2. Find the ChangeHealth function and add the public keyword at the beginning of the function declaration:
public void ChangeHealth (int amount)This keyword makes the function accessible to your collectible script — and, potentially, to other scripts too.
3. Go to the top of the PlayerController class, where you have declared the variables for use in this script. Assign a value of 1 to the currentHealth variable in its declaration:
int currentHealth = 1;This low initial value will help you to test the game when you add multiple collectibles to increase the player character’s health.
4. Go to the Start function and use a double forward slash to comment the instruction that sets maxHealth as the value for currentHealth:
// currentHealth = maxHealth;You’ve just set a low value in the variable declaration and you no longer need this code right now, but you will use it again later. Turning the instruction into a comment means you won’t have to write it again when you need it.
5. Save your changes and return to the Unity Editor. After the script has recompiled, the error message will disappear from the Console window.
6. You can now test your game. When the player character collides with the CollectibleHealth GameObject, the collectible should disappear and the Console window will display that the player’s health increased by 1.
7. When you exit Play mode, turn the CollectibleHealth GameObject into a prefab and then add more instances of the prefab to the scene.
8. Test the game again to confirm that the player character can’t get more than the maxHealth variable value.
7. More things to try
If you want to further develop your skills, explore new concepts, or improve your project, check out some of the optional activities below. Each one is tagged as either Easy, Medium, or Difficult, so you can choose the level of challenge.
These activities are entirely optional, so if you’re not interested, no problem — just skip this step. We do recommend attempting at least one of them in order to get the most out of this learning experience. Good luck!
Easy: Switch the health collectible sprite
If the sprite for the health collectible prefab in your asset pack doesn’t fit your vision for the game, switch to a sprite from one of the other asset packs or source your own alternative instead. You can also have multiple different sprites for health collectibles in your game.
Important: Remember to read and follow the creator’s license agreement if you use third-party sprites for anything in your game.
Medium: Create a variable for the health increase
Right now all the collectibles provide the same health increase, but you could also change the value that the HealthCollectible script passes to the ChangeHealth function into a public variable. You can then use this variable to set different health increases for variants of the collectible.
8. Check your scripts
If you’re completing the 2D Beginner course, take a moment to check that your scripts are correct before continuing.
PlayerController.cs
Important: If you completed any extension work in your script, this will not be reflected in the reference script below.
using System.Collections;
using System.Collections.Generic;
using UnityEngine;
using UnityEngine.InputSystem;


public class PlayerController : MonoBehaviour
{
  // Variables related to player character movement
  public InputAction MoveAction;
  Rigidbody2D rigidbody2d;
  Vector2 move;
  public float speed = 3.0f;


  // Variables related to the health system
  public int maxHealth = 5;
  int currentHealth = 1;


  // Start is called before the first frame update
  void Start()
  {
     MoveAction.Enable();
     rigidbody2d = GetComponent<Rigidbody2D>();
     //currentHealth = maxHealth;
  }

  // Update is called once per frame
  void Update()
  {
     move = MoveAction.ReadValue<Vector2>();
  }


  // FixedUpdate has the same call rate as the physics system
  void FixedUpdate()
  {
     Vector2 position = (Vector2)rigidbody2d.position + move * speed * Time.deltaTime;
     rigidbody2d.MovePosition(position);
  }


  public void ChangeHealth (int amount)
  {
     currentHealth = Mathf.Clamp(currentHealth + amount, 0, maxHealth);
     Debug.Log(currentHealth + "/" + maxHealth);
  }


}
HealthCollectible.cs
using System.Collections;
using System.Collections.Generic;
using UnityEngine;


public class HealthCollectible : MonoBehaviour
{


void OnTriggerEnter2D(Collider2D other)
{
   PlayerController controller = other.GetComponent<PlayerController>();


   if (controller != null)
   {
   controller.ChangeHealth(1);
   Destroy(gameObject);
      }

   }

}
9. Next steps
You’ve fully implemented the health increase, but there is a small problem: the collectible gets destroyed when the player character activates the trigger, whether or not the player character actually needs any health. Next, you’ll refine your system so the collectible is only consumed when the player character actually needs a health increase.