Set up a 2D player character
Tutorial
·
Beginner
·
+10XP
·
25 mins
·
(5714)
Unity Technologies
In this tutorial you’ll create a GameObject for the player character and move it using your own customs script.
By the end of this tutorial, you’ll be able to do the following:
- Create a GameObject using a sprite.
- Describe how 2D positions are controlled in Unity.
- Write a custom C# script to set a GameObject’s position using information stored in a variable.
1. Overview
Creating a character and setting it up to move in response to player input is a fundamental part of your 2D adventure game. Without a basic version of the character ready at the start of your development process, you won’t be able to test anything else that you work on, and iterative testing is a critical part of making any game.
In this first tutorial, you’ll create a player character using a 2D sprite and move it in a placeholder game environment with code.
By the end of the tutorial, you’ll be able to do the following:
- Create a GameObject using a sprite.
- Describe how 2D positions are controlled in Unity.
- Write a custom C# script to set a GameObject’s position using information stored in a variable.
Note: For the purposes of this tutorial, we chose to use the Ruby’s Adventure asset set, and the file paths used in instructions will reflect this. If you chose another asset set, the file names will be the same, but in your corresponding theme folder.
2. Before you begin
New to Unity?
If you’re new to Unity, welcome! The Unity Essentials learning pathway has been designed to help you get set up and ready to create in the Unity Editor. We recommend you complete this pathway before continuing with the 2D Beginner: Adventure Game course.
Update the Unity Hub
Before you begin to set up your Unity project, consider updating your Unity Hub to the latest release. If you are using an older version of the Hub, there may be differences between the guidance provided and your experience.
Review the Unity Editor basics
If you need to refresh your memory of the Unity Editor basics, you can take a moment to review Explore the Unity Editor at any time.
Set up your Unity project
To set up your Unity project for this course, follow these instructions:
1. Install the latest version of Unity 2022.3 LTS, if you haven’t already done so.
Note: To avoid potential issues with the Input Manager UI later in the course, we encourage you to use version 2022.3.50f1 or newer.
2. Create a new Unity project using the Universal 2D (URP) Template.
3. Download the asset package and drag and drop it into the Assets folder of the Project window.
The Import Unity Package window will open, listing all the assets this package will import into your project.
This package contains all the assets you'll need to complete this project.
4. Select Import.
There are three different themes for the sprites, so when you’re instructed to use a specific asset, you can pick any of the themes you want.
3. Create a new scene
You’re going to create your 2D adventure game in a scene. Scenes are how your game is organized in Unity — one scene per small game or level is a good starting point for a beginner.
To create your scene, follow these instructions:
1. In the Project window, navigate to Assets > Scenes.
2. Right-click in the Project window within the Scenes folder and select Create > Scene using the context menu. Alternatively, you can use the shortcut Ctrl+N (macOS: Cmd+N).
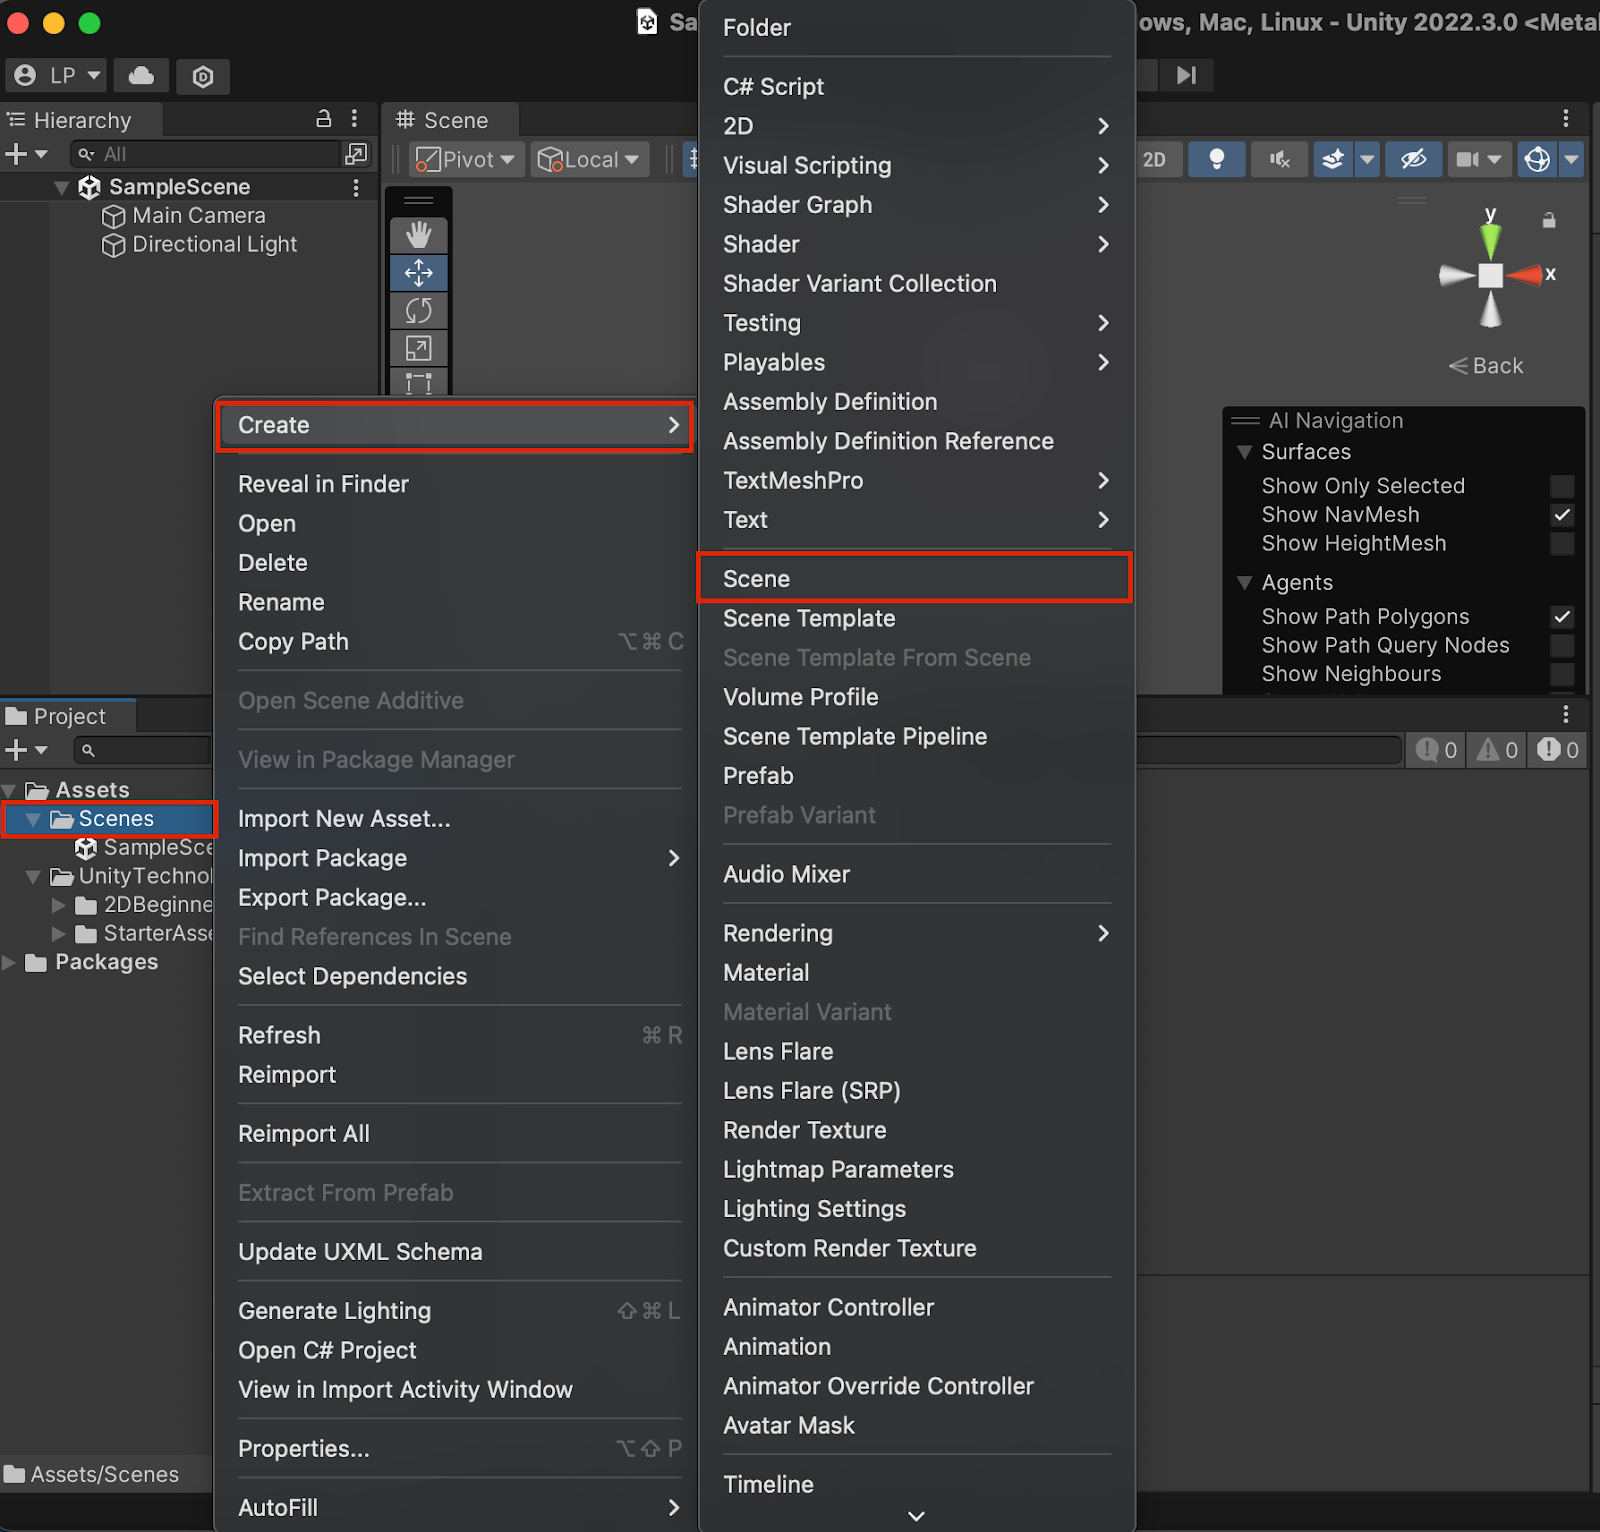
Note: A dialog might warn you about unsaved changes in the current scene. If you encounter this, select Don’t Save.
3. Name your new scene “MainScene”. If you focus on something else by accident first, right-click the scene icon and select Rename to change the default name.
4. Double-click the MainScene icon to open it in the Editor.
4. Create a player character with a sprite
Before you begin to create a level, let’s explore some 2D basics by setting up the player character for your game.
A sprite is a 2D asset used to create your game visuals in Unity. You’ll work with a variety of sprites as you make your game. We’ve prepared three different sets of assets, including sprites, so that you can choose the theme of your adventure game.
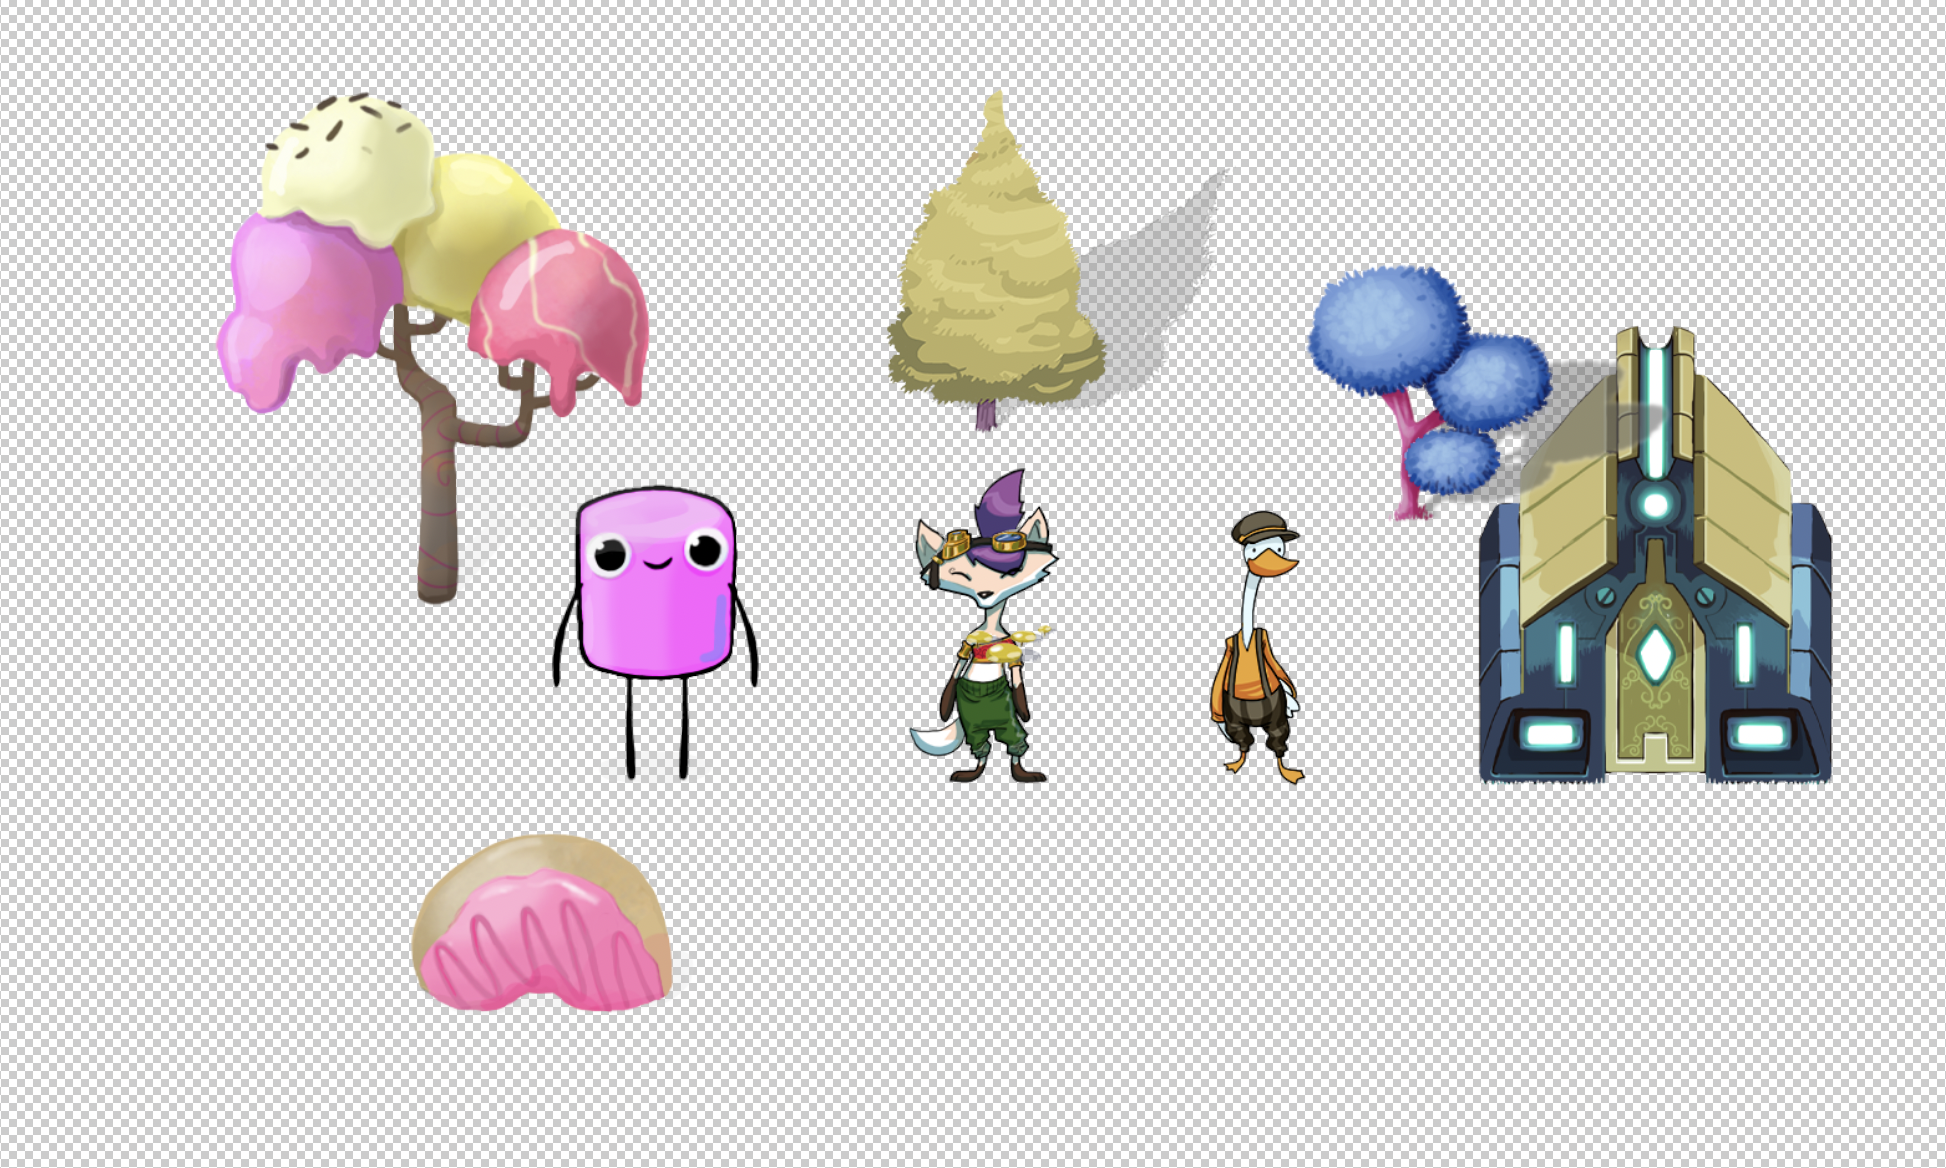
You can also mix and match assets from these sets or find your own sprites to use if you want to!
To create a GameObject for the player character using a sprite, follow these instructions:
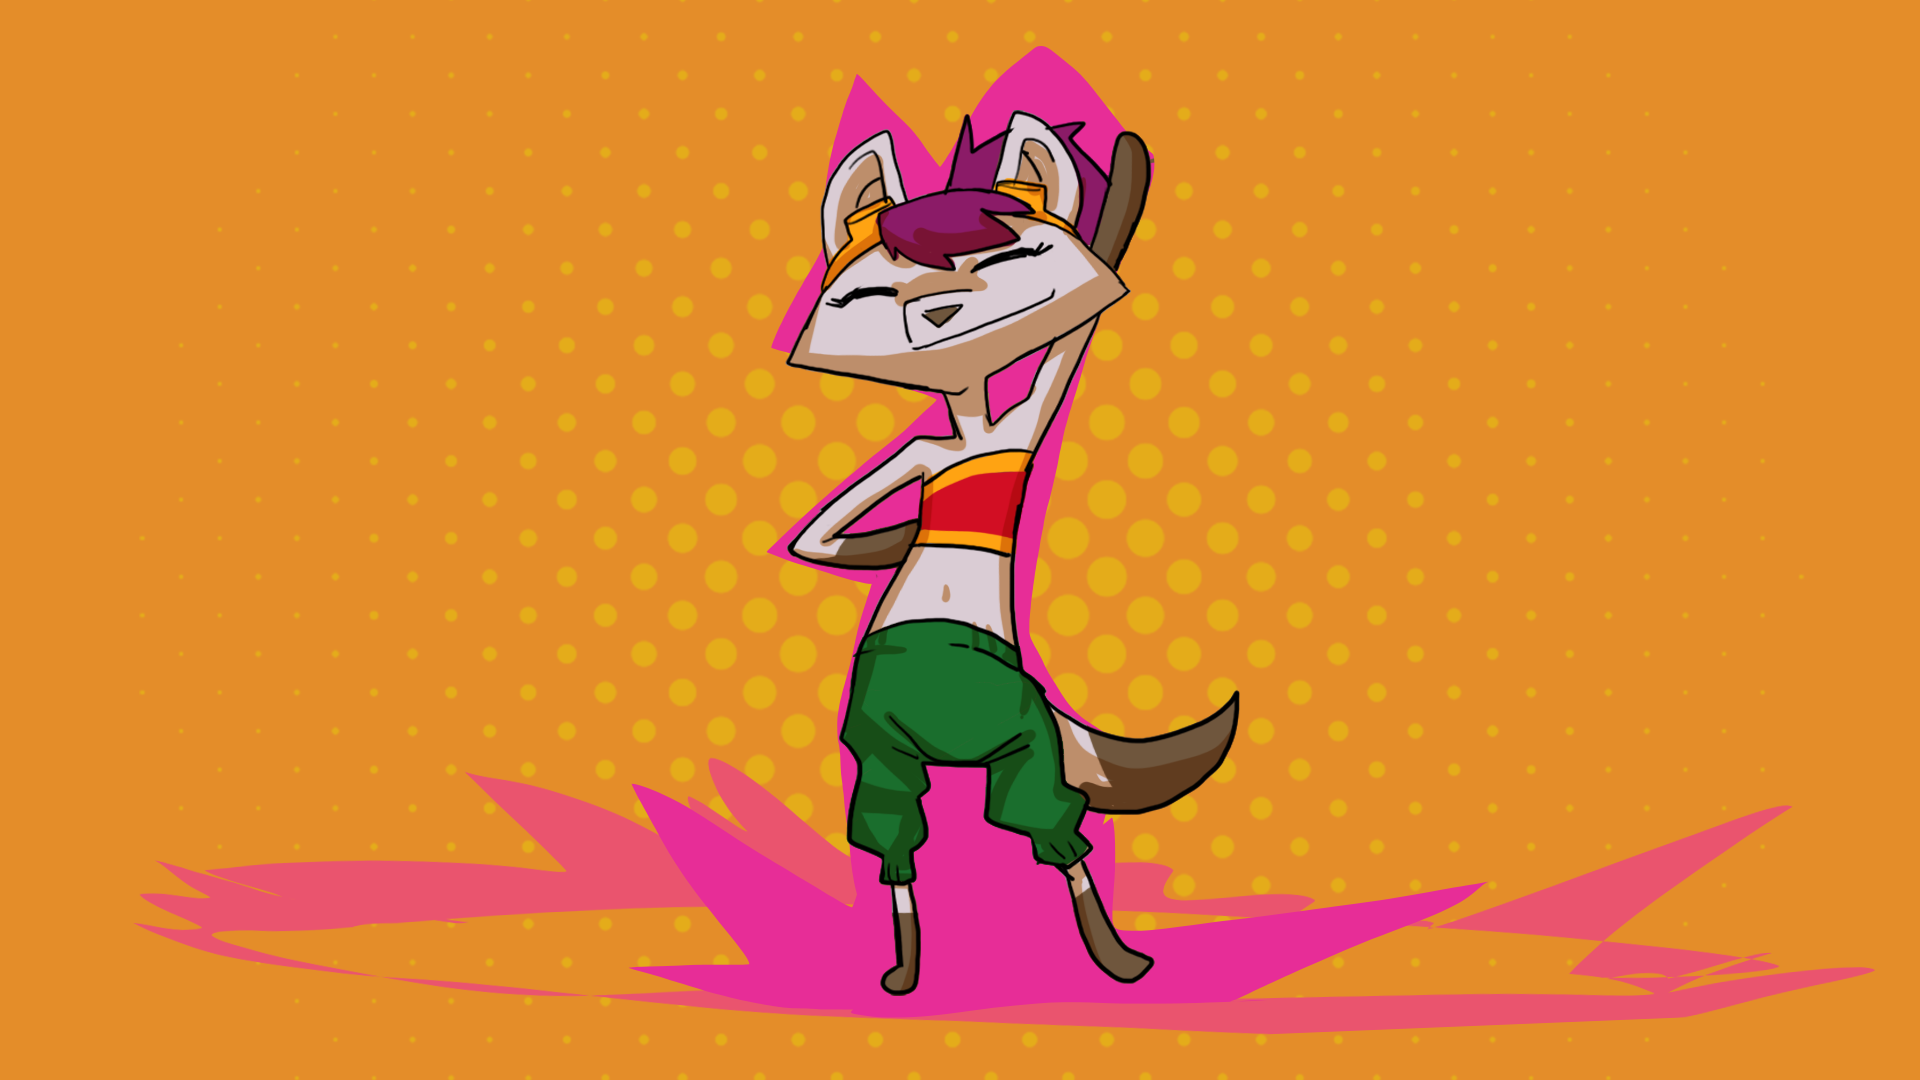
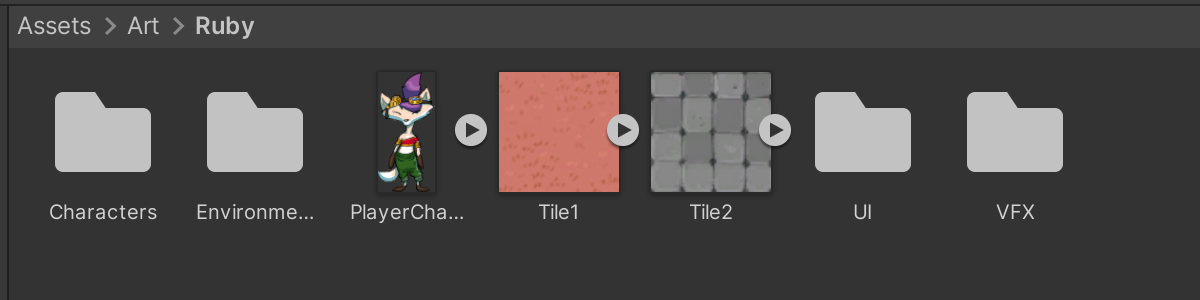
1. In the Project window, go to Assets > Art, then open the folder for your chosen asset pack. Select the PlayerCharacter sprite.
Note: If you want to use your own asset, you can drag and drop it into the Project window from your file explorer or finder window. When you are working in a project with the 2D template, the default import settings in Unity converts images to sprites.
2. In the Inspector window, review the import settings and check the Texture Type property is set to Sprite (2D and UI).
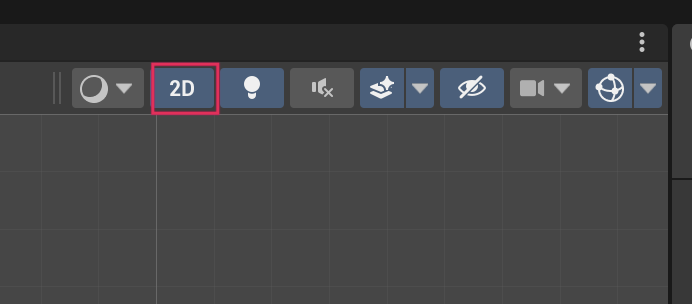
3. In the Scene view toolbar, confirm that 2D mode is enabled.
4. In the Project window, select the arrow icon on the PlayerCharacter asset to reveal the sprite that Unity created when the image was imported.
5. Drag the PlayerCharacter sprite from the Project window and release it over the Scene view to create a new GameObject. You can right-click the GameObject and select Rename to adjust the name if you wish.
Note: If you’re working with your own assets rather than the ones we have provided here, you might find that the sprite looks very small in the Scene view. If that’s the case, select the asset in the Project window and find the Pixels Per Unit property in the Inspector window. This value is the number of pixels that make up one Unity unit for the selected sprite — adjust it until you’re happy with the sprite size.
6. Move the sprite within the white camera bound rectangle within the Scene view. As you do this, check the GameObject’s Transform component in the Inspector window — the Position property values will change based on where you place the character.
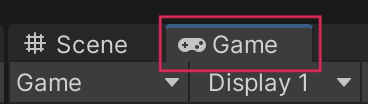
7. Select the Game tab to switch to the Game view — if your player character is inside the camera bounds, you’ll see it on a blue background. If the GameObject is outside the bounds, it won’t be visible at all.
Note: If you want to change the background color, select the Main Camera GameObject, and in its Camera component, use the foldout (triangle) to expand the Environment section, set the Background Type to Solid Color, and choose a color using the Background property’s color picker.
8. Select Scene to return to the Scene view, then go to File > Save or use the shortcut Ctrl+S (macOS: Cmd+S) to save your changes.
We’ll remind you to save when it’s particularly important, but you should develop a habit of regularly saving as you work on any project in Unity!
5. Set an initial player character position
Next, you’re going to position the player character GameObject in a specific position in the scene. You’re making a 2D game, so you only need to focus on the horizontal and vertical axes right now. The paired coordinates for positions on these axes are often expressed as (X,Y) — for example (2,-4). You can set the position coordinates for a GameObject using either its Transform component or a script.
To do this, follow these instructions:
1. In the Hierarchy window, select the Main Camera GameObject.
2. In the Inspector window, go to the Transform component and check the Position property is set to (0,0).
These values mean that the GameObject is at the center of the scene.
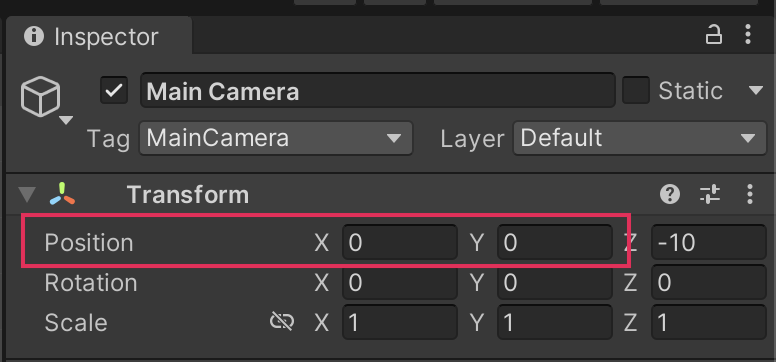
Note: For now, ignore the depth value.
3. With your cursor inside the Scene view, press F to focus your view on the Main Camera at the center of the scene.
Important: If your cursor is not in the Scene view, this focus action will not work.
4. In the Hierarchy window, select your PlayerCharacter GameObject.
5. In the Inspector window, go to the Transform component. Set the following Position property values:
- X to -2
- Y to 0
Your GameObject should be vertically in line with the Main Camera icon, but to the left of it horizontally.
Tip: If you find it difficult to visualize positions before you make the change, image the GameObject on the axes of a graph. Negative values will move a GameObject to the left on the horizontal x-axis, or down on the vertical y-axis.
6. Save your changes.
6. Create a new script
The first script that you create for this game is going to control the player character’s movement, which is a key functionality for the game.
To create a new script, follow these instructions:
1. In the Project window, go to the root Assets folder.
2. Right-click an empty space and select Create > Folder. Name your new folder “Scripts”.
3. Open the Scripts folder, then right-click and select Create > C# Script.
4. Name your new script “PlayerController”.
5. Double-click PlayerController to open the script file in your default IDE (integrated development environment). This will be Visual Studio unless you have set an alternative default IDE on your computer.
Refresh your memory of the default script content
In Unity Essentials, you explored the basics of working with scripts in Unity. Before you continue with this tutorial, let’s review some basics about the default content in new scripts:
- For now, you can ignore the using instructions at the top of the script (lines 1 to 3). These instructions define the namespaces that the script can access. A namespace is a grouping of code that contains particular systems or functionality — it’s a way to keep everything as organized as possible. You will need to add the correct namespace to a script when you want to access features and systems that aren’t included in the Unity Editor by default.
- The PlayerController public class is the new component that you are writing. A class is a way to organize code that contributes to a particular component or controls a particular system. You’re going to add instructions that tell the computer what this component needs to do within the braces of this class ({}).
There are two functions within the class for the component: Start and Update. Functions are a way to group related instructions, and these two functions relate to when the computer will perform the instructions. The instructions in each function are contained within another pair of braces. You’ll learn more about these functions as you work through this course.
7. Add code to make the player character move
First, you’re going to write some code to make the player character move when the PlayerController script has been added.
To write the code, follow these instructions:
1. Find the Update function. This function is called, which means that the instructions in it are completed (executed), regularly while the game is running.
2. Add the following instruction within the Update function braces:
Vector2 position = transform.position;This instruction stores the current position of the GameObject.
Here’s an explanation of your change:
- This instruction declares (creates) a new variable called position. Variables are named places that you can store data so that you can retrieve the data when you need to. You can think of a variable like a locker or cupboard with a name on it.
- The variable’s type is Vector2. Different variable types can store different data. The Vector2 type can store two numerical values, so it’s ideal for 2D coordinates.
- The equal sign (=) tells the computer what to store in the variable.
- transform.position tells the computer to get the to store the Position property X and Y values that are contained within the Transform component. You can use the dot (called the dot operator) to access data contained within something else.
- The semicolon (;) tells the computer that the instruction is finished.
3. Add a second instruction to the Update function:
position.x = position.x + 0.1f;Based on the previous instruction that you wrote, what do you think this instruction does? Take a moment to try and work it out before reading on.
Here’s an explanation of your change:
- This instruction sets a new horizontal (x-axis) position for the GameObject.
- You have accessed the x-coordinate value stored within the position variable that you declared in the previous instruction.
- The equals sign (=) tells the computer to store a new value for the x-coordinate.
- The new position for the coordinate is the current position (position.x) plus 0.1. f indicates a number with a decimal place (called a floating point number).
- The semicolon (;) tells the computer that the instruction is finished.
4. Add a final instruction to the Update function:
transform.position = position;What do you think that this instruction does? Take a moment to consider before reading on!
Here’s an explanation of your change:
- This instruction sets the Position property in the Transform component using your position variable.
- Previously, the updates that you made were being stored in your variable but hadn’t been applied to the GameObject. This instruction will actually make the player character move.
- Remember, the semicolon to end the instruction is very important — if you don’t include it, an error message will display in the Unity Editor console window and the code won’t work.
5. Save your script changes, then return to Unity Editor.
8. Test your changes
Now you’re ready to test your code! To apply the script and check your work, follow these instructions:
1. In the Hierarchy window, select the PlayCharacter GameObject.
2. In the Inspector window, select Add Component. Search for and add your PlayerController (Script) component. Alternatively, you can drag the script icon from the Project window and release it over Add Component in the Inspector window to assign it to the GameObject.

3. Save your changes.
4. Select Play to enter Play mode and test the script. The player character should move right very quickly and disappear offscreen!
Note: Remember to exit Play mode when you are done.
9. More things to try
If you want to further develop your skills, explore new concepts, or improve your project, check out some of the optional activities below. Each one is tagged as either Easy, Medium, or Difficult, so you can choose the level of challenge.
These activities are entirely optional, so if you’re not interested, no problem — just skip this step. We do recommend attempting at least one of them in order to get the most out of this learning experience. Good luck!
Easy: Switch to vertical movement
You’ve used one axis to move the PlayerCharacter GameObject — try switching to the other axis to make the movement vertical instead of horizontal.
Medium: Move the GameObject on both axes
You now have all the knowledge that you need to move the PlayerCharacter GameObject simultaneously on both axes. Try adding another instruction to the Update function to achieve this!
Difficult: Reduce the PlayerCharacter speed
If you want to stretch yourself, try adjusting the code that you’ve already written so the PlayerCharacter GameObject moves more slowly.
10. Check your script
Take a moment to check that your script is correct before continuing.
PlayerController.cs
using System.Collections;
using System.Collections.Generic;
using UnityEngine;


public class PlayerController : MonoBehaviour
{
   // Start is called before the first frame update
   void Start()
   {

   }


   // Update is called once per frame
   void Update()
   {
       Vector2 position = transform.position;
       position.x = position.x + 0.1f;
       transform.position = position;
   }
}
11. Next steps
In this tutorial you’ve set up basic movement for the character. Next, you’ll create a basic gameplay environment for the character to move around.