
Create static enemies
Tutorial
Beginner
+10XP
0 mins
(130)
Unity Technologies
In this tutorial, you’ll create static enemies that detect the player when they enter their line of sight.
1. Overview
Your game is now taking shape — The player character can move around an environment with the camera following them. But, there’s one important thing missing to make that an interesting challenge: enemies!
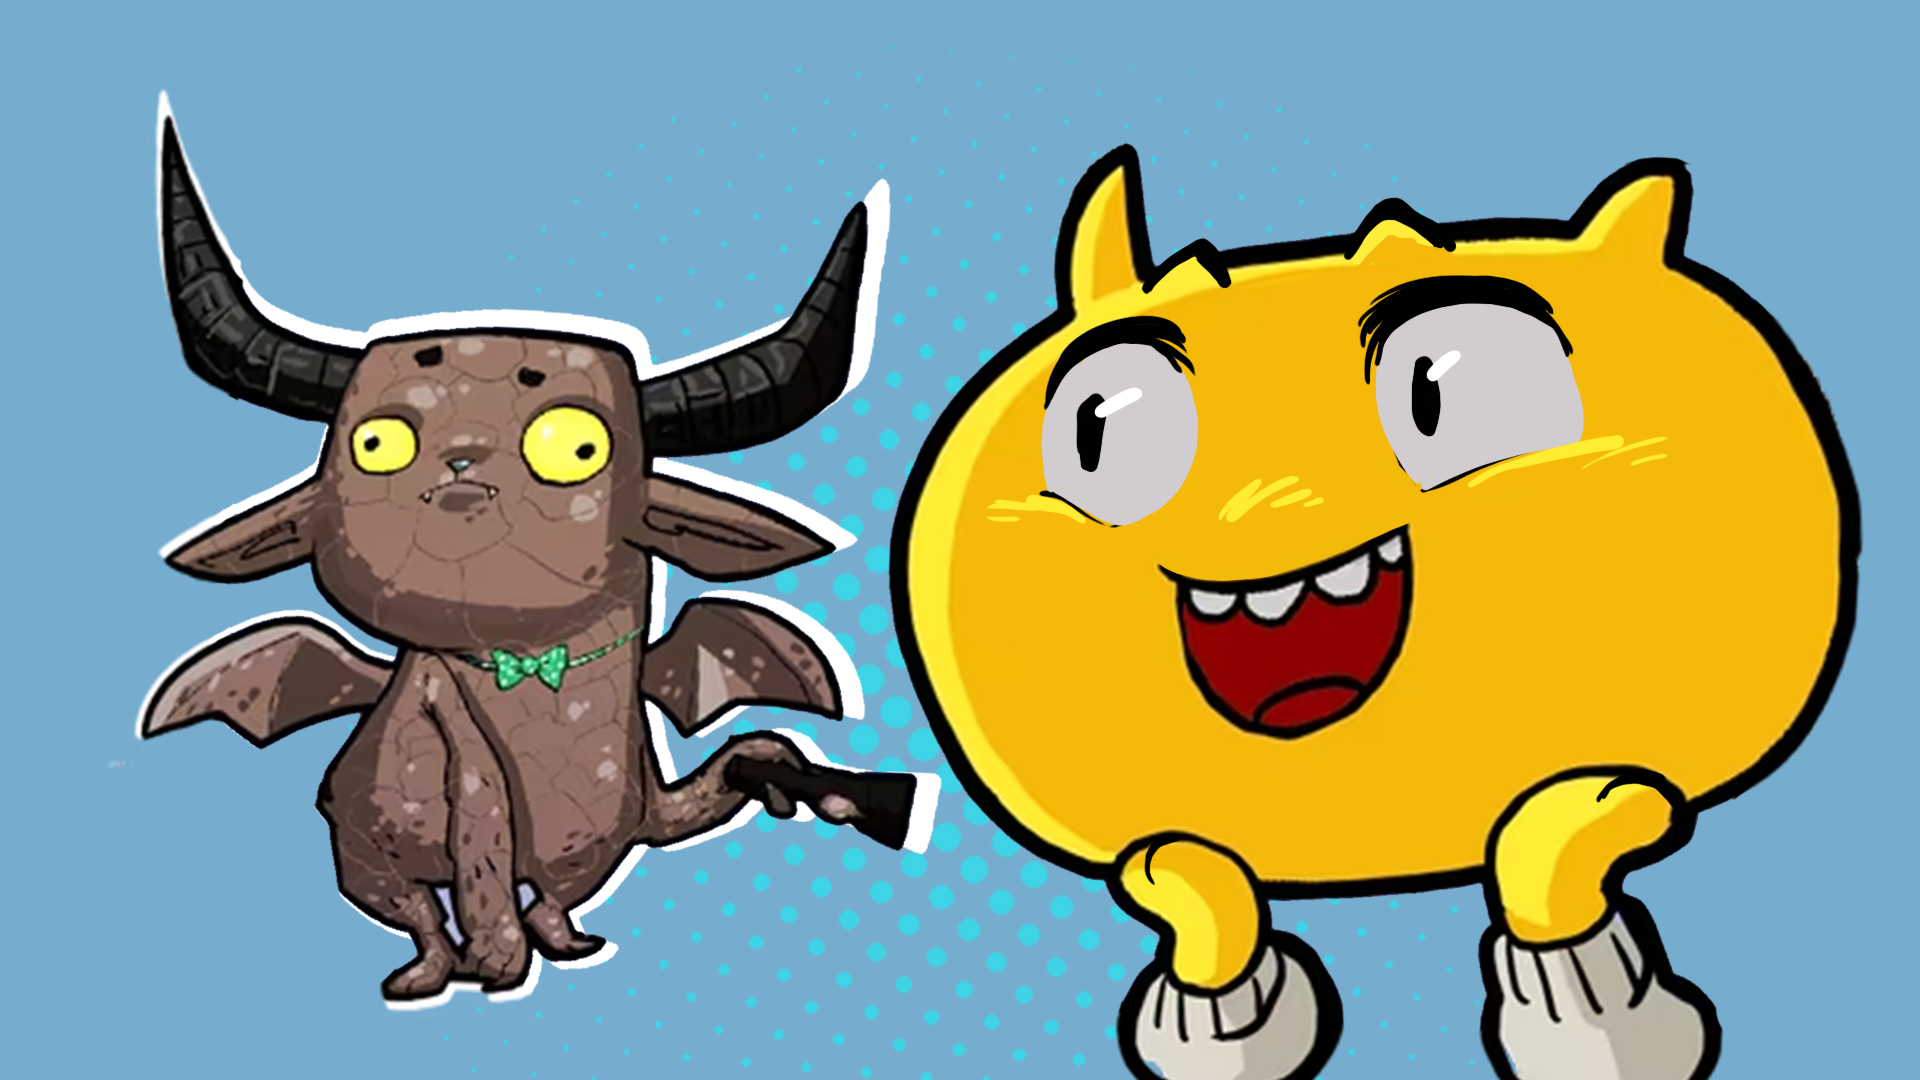
In this tutorial, you’ll add a static Gargoyle enemy to the haunted house.
2. Create a Gargoyle prefab
The first step in bringing the Gargoyle to life is adding its 3D model into the scene—just like you did earlier with the player character.
Remember, a prefab is a reusable, pre-configured GameObject. It lets you place multiple copies of the same GameObject in your scene while keeping them easy to update or edit later. This is especially useful when you need several versions of the same GameObject, like in your haunted house with its many gargoyles.
1. Create an empty container for your Gargoyle character:
- In the Hierarchy window, right click and select Create Empty. This will create a new empty GameObject in your scene.
- Rename it “Gargoyle”.
2. Add the Gargoyle to the scene:
- In the Project window, navigate to _3DStealthGame > Art > Models > Characters > Enemies.
- Search for the Gargoyle_Model model.
- Drag the Gargoyle_Model onto the Gargoyle GameObject in the Hierarchy window.
- In the Inspector window, make sure that the Transform component of the Gargoyle_Model has its Position property set to X = 0, Y = 0, and Z = 0.
- While you work on setting up the Gargoyle properly, place it near the Player GameObject using the Move Tool. Don’t worry, you’ll position it more accurately later on.
Note: The Gargoyle model is read-only. To edit it or duplicate it easily, you’ll need to turn it into a prefab.
3. Create a Gargoyle prefab:
- From the Hierarchy window, drag the Gargoyle GameObject into the _3DStealthGame > Prefabs > Characters folder in the Project window.
- If prompted, select Original Prefab.
4. Open the prefab for editing:
- In the Hierarchy window, select the arrow icon to the right of the Gargoyle GameObject.
- This opens prefab editing mode where you can make changes that apply to every instance of the prefab.
In the next step you’ll bring the Gargoyle to life with animations. Let’s make this creepy creature move!
3. Animate the Gargoyle
Just like the player character, the Gargoyle has its own signature movement that adds personality and boosts the eerie atmosphere of the game. But in this case, the Gargoyle only has one animation to play, so its Animator Controller will be super simple to make!
1. Make sure you're in prefab editing mode:
- If you're not in prefab editing mode, double-click the Gargoyle prefab in the Project window to enter it.
2. Create an Animator Controller:
- In the Project window, navigate to _3DStealthGame > Art > Animation > Animators.
- Right-click the Animators folder and select Create > Animation > Animator Controller.
- Name the new Animator Controller “Gargoyle_Controller”.
3. Set the Animator component:
- In the Hierarchy window, expand the Gargoyle gameObject and select the Gargoyle_Model GameObject.
- In the Inspector window, find the Animator component.
- Click and drag the Gargoyle_Controller onto the Animator component’s Controller property box.
4. Add the Idle animation:
- Double-click the Gargoyle_Controller to open it in the Animator window.
- In the Project window, navigate to _3DStealthGame > Art > Animation > Animations.
- Expand the Gargoyle@Idle model asset.
- Click and drag the Idle animation into the Animator window.
- This will automatically create an Idle state.
The Gargoyle’s Animator Controller is now complete: it only plays the idle animation.
5. Test the animation:
- Save your scene.
- Select the Play button to enter Play mode and check out your animated Gargoyle.
- When you're done, make sure to exit Play mode.
Now your Gargoyle is alive (well, sort of!) However, if the player character walks into it, you’ll notice they can pass right through. Creepy, yes, but not very realistic. In the next step, you’ll fix that by adding a collider so the Gargoyle can physically interact with the player character.
4. Add a collider to the Gargoyle
To make sure the player can physically bump into the Gargoyle—and to prepare the Gargoyle to later detect the player using its flashlight beam—you’ll need to add a collider. These invisible shapes define the physical boundaries of GameObjects in the world, allowing Unity’s physics system to interact with them.
1. Add a Capsule Collider component:
- Make sure you are in prefab editing mode.
- In the Inspector window, with the Gargoyle selected, select the Add Component button.
- Search for and add the Capsule Collider component.
Note: A Capsule Collider component is a great match for the Gargoyle’s shape: tall, rounded, and simple.
2. Adjust the collider settings:
- In the Capsule Collider component:
- Set the Center property to (X = 0, Y = 0.9, and Z = 0).
- Set the Radius property to 0.3.
- Set the Height property to 1.8.
3. Test the collider:
- Save your scene.
- Select the Play button to enter Play mode and see that now the Player GameObject won’t be able to pass through the Gargoyle GameObject anymore.
- When you're done, make sure to exit Play mode.
You’ve added your Gargoyle and defined its physical presence in the scene. Next, you’ll add a collider to represent the Gargoyle’s field of view—an area where it will be able to detect the Player whenever they pass through it
5. Create a point of view Trigger
The Gargoyle GameObject still needs a way to detect when the Player enters its view. Earlier, you used colliders to create physical boundaries that prevent GameObjects from passing through. However, all colliders in Unity can be turned into Triggers by enabling the Is Trigger checkbox. When a collider is set as a trigger, it won’t physically block GameObjects, but it can detect when something enters or exits its area to trigger a certain action.
In this case, we want the Player to be able to walk through a certain area —the area in front of the Gargoyle— and trigger a response when they do. So, to set this up, you’ll create a Capsule collider and enable Is Trigger so that it can detect the Player without blocking its movement..
For better control of this trigger, you’ll create a new GameObject to hold this trigger collider. Make it a child of the Gargoyle GameObject, and use it to represent the Gargoyle’s field of view — the space where the Gargoyle can detect the Player GameObject.
1. Create a child GameObject:
- If you're not in prefab editing mode, double-click the Gargoyle prefab in the Project window to enter it.
- In the Hierarchy window, right-click the Gargoyle GameObject and select Create Empty.
- Rename the new GameObject “PointOfView”.
Note: This will represent the Gargoyle’s field of view.
2. Adjust the Transform component:
- With the PointOfView GameObject selected, open the Toggle Tool Handle Rotation dropdown located at the top of the Scene view and select Local.
- In the Inspector window, update the PointOfView GameObject’s Transform component as follows:
- Position property: (X = 0, Y = 1.4, and Z = 0.4).
- Rotation property: (X = 20, Y = 0, Z = 0).
3. Enable the Capsule Collider component as a Trigger:
- With the PointOfView GameObject still selected, in the Inspector window, select the Add Component button.
- Search for and add the Capsule Collider component.
- Enable the Is Trigger property.
4. Resize the Trigger:
- Adjust the Capsule Collider component’s settings as follows:
- Center property: (X = 0, Y = 0, Z = 0.95).
- Radius property: 0.7.
- Height property: 2.
- Direction property: Z-Axis.
The shape and size of the Capsule Collider now defines the area where the Gargoyle can detect the Player.
Now that the Gargoyle has a proper visual trigger set up, you're ready to write the script that will detect the Player GameObject and trigger a game over when the player character gets caught.
6. Create the Observer script
Now that you’ve created the point of view trigger, it’s time to define what happens when the Player GameObject enters it. To do this, you’ll write a script that watches for the Player GameObject and responds when they’re detected.
This script will be called Observer because its job is to observe the Player GameObject’s movements and trigger a consequence; in this case, restarting the game if the player character gets caught. This script can be reused for other enemies or GameObjects that need to observe the Player GameObject, making it a flexible and modular solution for different scenarios in your game.
If you're curious to understand how the script works, check out Step 9, where we explain the key parts in more detail. If you already have some experience, you’re welcome to write your own version of the Observer script and customize it as you like!
1. Create a new script:
- In the Project window, navigate to _3DStealthGame > Scripts.
- Right-click the Scripts folder.
- Select Create > MonoBehaviour Script.
- Rename the script “Observer” and press Enter.
2. Assign the script
- If you're not already in prefab editing mode, double-click the PointOfView prefab in the Project window to open it.
- In the Inspector window, select the Add Component button and search for and add the Observer script.
3. Open the script:
- Double-click the newly created Observer script.
- This will open the script in the code editor or IDE you've set up (such as Visual Studio).
4. Copy the provided code:
- Once the script is open, delete any pre-filled content.
- Copy and paste the following lines of code into the script, then save it:
using System.Collections;
using System.Collections.Generic;
using UnityEngine;

public class Observer : MonoBehaviour
{
    public Transform player;
    bool m_IsPlayerInRange;

    void OnTriggerEnter (Collider other)
    {
        if (other.transform == player)
        {
            m_IsPlayerInRange = true;
        }
    }

    void OnTriggerExit (Collider other)
    {
        if (other.transform == player)
        {
            m_IsPlayerInRange = false;
        }
    }

    void Update ()
    {
        if (m_IsPlayerInRange)
        {
            Vector3 direction = player.position - transform.position + Vector3.up;
            Ray ray = new Ray(transform.position, direction);
            RaycastHit raycastHit;

            if(Physics.Raycast(ray, out raycastHit))
            {
                if (raycastHit.collider.transform == player)
                {
                    Debug.Log("Player was caught!");
                }
            }
        }
    }
}
7. Test the behavior of the trigger
Let’s bring the Gargoyle to life—literally. By setting the variables in the Observer script, you’ll give the Gargoyle the ability to detect specifically the Player GameObject. That way, it won’t just be a spooky statue—it’ll become an actual threat that can catch the Player and potentially end the game!
You’ll also get to test the collider you previously set as a trigger. When the Player enters the trigger area, the collider won’t block their movement, but it will detect the interaction. To confirm it’s working, the script will print a message to the Console window, so you can check that the detection happened correctly.
1. Assign the script’s variables:
- Exit prefab editing mode, in case you are still in it.
- In the Hierarchy window, use the foldout (triangle) to expand the Gargoyle GameObject and select its PointOfView child GameObject.
- Confirm the Observer script has been added correctly to the PointOfView GameObject.
- Drag the Player GameObject from the Hierarchy window into the Player property box of the Observer component in the Inspector window.
Note: Make sure to assign the Player GameObject from the Hierarchy window, not the prefab from the Project window.
2. Observe the detection:
- Select the Play button to enter Play mode.
- Move the Player GameObject into the Gargoyle GameObject’s field of vision (the Trigger area from the PointOfView GameObject).
- When the Player GameObject enters the Trigger area, a message should appear in the Console that states, "Player was caught!".
Note: Remember to exit Play mode when you’re done testing.
3. Create a prefab of the PointOfView GameObject:
- Because the PointOfView GameObject is part of the Gargoyle prefab, you first need to enter prefab editing mode for the Gargoyle GameObject in order to convert the PointOfView GameObject into a prefab as well.
- From the Hierarchy window, click and drag the PointOfView GameObject into the _3DStealthGame > Prefabs folder in the Project window.
You now have a configured static enemy with animation, a collider, and the ability to detect the Player GameObject's presence.
8. Place Gargoyles in your scene
With your first Gargoyle GameObject already in place, it’s time to expand your level’s difficulty by adding more. Before you start, take a moment to consider how many you truly need. Gargoyles are static enemies—they won’t chase the player character or patrol the scene—so their strength lies in blocking paths, creating tension at chokepoints, and forcing players to choose alternate routes.
Don't worry about placing too many just yet: in the next tutorial, you’ll add dynamic Ghost enemies that move through the level. So for now, think about how Gargoyles can complement that upcoming gameplay, and decide how many will serve your current level design best.
1. Decide how many Gargoyles to use:
- Analyze your level layout and ask yourself the following questions:
- Where would a static obstacle add tension or force the player to change direction?
- Are there key hallways, intersections, or shortcuts that feel too easy to cross?
- Could placing a Gargoyle near a room entrance make it riskier to enter?
Don’t overload the scene; more enemies are coming in the next tutorial. Once you’ve answered the above questions, you’re ready to move into the next steps.
2. Duplicate the Gargoyle:
- In the Hierarchy window, select the Gargoyle GameObject.
- Press Ctrl+D (macOS: Cmd+D) as many times as needed based on your design.
3. Place each Gargoyle thoughtfully:
- Select each new Gargoyle GameObject and using the Move/Rotate tools place them based on your answers to the questions above.
You don’t need to follow a template; just make sure each placement serves a purpose.
4. Create a parent GameObject to organize enemies:
- Right-click in the Hierarchy window and select Create Empty.
- Rename the new GameObject “Enemies”.
- Reset the Enemies GameObject’s Transform component’s Position property to X = 0, Y = 0, and Z = 0.
- Hold the Shift key, select all the Gargoyles you created, and drag them inside the Enemies GameObject to set them as child GameObjects.
Your level now has strategic, static Gargoyle enemies placed with intention. In the next tutorial, you’ll add patrolling Ghost enemies that will give your haunted house a much more dynamic playability.
9. Review the Observer script
This step is completely optional, but if you’re curious about how the Observer script works, here are a few parts of the code you might find especially interesting.
1. Detection of Triggers:
void OnTriggerEnter (Collider other)
{
    if (other.transform == player)
    {
        m_IsPlayerInRange = true;
    }
}

void OnTriggerExit (Collider other)
{
    if (other.transform == player)
    {
        m_IsPlayerInRange = false;
    }
}- When any GameObject enters the trigger area, this checks if it’s the Player GameObject. If yes, m_IsPlayerInRange is set to true.
- Similarly, when the Player GameObject exits the trigger area, m_IsPlayerInRange is set back to false.
2. Check if the Player GameObject has been seen in the Update method:
if (m_IsPlayerInRange)
{
    Vector3 direction = player.position - transform.position + Vector3.up;
    Ray ray = new Ray(transform.position, direction);
    RaycastHit raycastHit;

    if(Physics.Raycast(ray, out raycastHit))
    {
        if (raycastHit.collider.transform == player)
        {
            Debug.Log("Player was caught!");
        }
    }
}- If m_IsPlayerInRange only performs the visibility check if the Player GameObject is inside the trigger zone.
- The PointOfView GameObject creates a ray starting at the observer and pointing toward the Player GameObject.
- If the first GameObject hit by the ray is the Player GameObject, it means the player has been "caught."
If you’d like to dive deeper into programming, we recommend checking out the Junior Programmer Pathway, where you’ll learn the fundamentals of coding in Unity.
10. Next steps
With these steps completed, you’ve created a fully functional enemy that detects the player character when they’re near.
In the next tutorial, you’’ll create a different type of enemy that can move around, which will make the gameplay more dynamic.