Publish and share your game
Exercise
Beginner
+60XP
30 mins
Unity Technologies

In this tutorial, you’ll build your game and publish it online so you can share it with friends and family.
1. Overview

Publishing a Unity project lets you share your game on different platforms, like mobile and web. Each platform has unique challenges, such as adapting controls for touchscreens and optimizing performance.
In this tutorial, you'll configure your project for WebGL so that anyone with the link can play your game on their computer. You’ll adjust build settings, create a build, and publish your game to Unity Play, Unity’s free web hosting platform.
2. Configure the scenes in the build
A build packages your Unity project into a playable version that can run on a specific platform. To ensure that all necessary content is included, you must select the scenes that should be part of the final build.
In this step, you'll add your game scene to the Build Profile so Unity knows to include it when creating the final playable version.
1. Open the Build Profiles window:
- Make sure you have your Main scene open.
- From the main menu, select File > Build Profiles.
- Alternatively, press Ctrl+Shift+B (macOS: Cmd+Shift+B).
2. Configure the scene list:
- In the Build Profiles window, under the Platforms section, select Scene List.
Note: If there are any existing scenes in the Scene List section that you no longer need, select them and press Delete to remove them from the list.
- Select the Add Open Scenes button and your scene will now be listed in the Scene List.
Note: If you want to include the MainMenu scene we provided during the Bonus Features tutorial, or if you created your own menu scene, make sure to add it and that it appears before your Main scene.
Your game scene is now properly added to the build, ensuring it’s included when you generate a playable version. Also, when your game loop is complete, the Main scene will be reloaded after finishing the rounds.
3. Switch to the Web platform
Unity allows you to publish a single project to many different platforms, including mobile, console, desktop, web, and more. To publish your project to the web, you first need to switch to that platform.
1. Select the Web platform:
- If the Build Profiles window is not already open, re-open it (File > Build Profiles).
- Under the Platforms section, select Web.
2. Switch platforms:
- Select the Switch Platform button and wait for the process to complete.
- This process will take a few minutes.
Tip: If the Web platform appears grayed out, select Install with Unity Hub and install the WebGL Build Support module before switching platforms.
After this process is complete, your project assets and settings are configured for deployment to the Web platform.
4. Build your project
Now that you've switched platforms, you can create a build of your project.
A build is a packaged, playable version of your game that you create when you want people to play it outside the Unity Editor.
1. Initiate the build:
- In the Build Profiles window, select the Build button.
This will open a file explorer asking you where you want to save your build.
Tip: To stay organized, first, make a new folder named something like “Web Builds”, and open it.
- Enter a name for your build, such as "[YourFirstName] 3D Beginner", then select Select Folder (macOS: Save).
2. Wait for your build to complete:
- The first time your project builds can take up to ten minutes. Subsequent builds will not take as long.
- When the process is complete, the folder containing your build will appear. Keep that folder open; you’ll need it in the next step.
5. Publish to Unity Play
With your build complete, you're ready to publish it to Unity Play, allowing you to play your project online and easily share it with others.
1. Zip up your build folder:
- Locate the folder of the build you just did ([YourFirstName] 3D Beginner), then compress it into a zip folder.
- On Windows, right-click the folder and select Send to > Compressed (zipped) folder.
- On macOS, right-click the folder and select Compress [Folder Name].
This will create a new .zip file that you can upload to Unity Play.
2. Upload your build .zip file to Unity Play:
- Go to the Unity Play upload page (you’ll need to be signed in with your Unity account)
- Drag and drop your .zip file onto the upload area and wait for it to process.
- Edit the title, description, and visibility of your project.
- Select Save to publish your game.
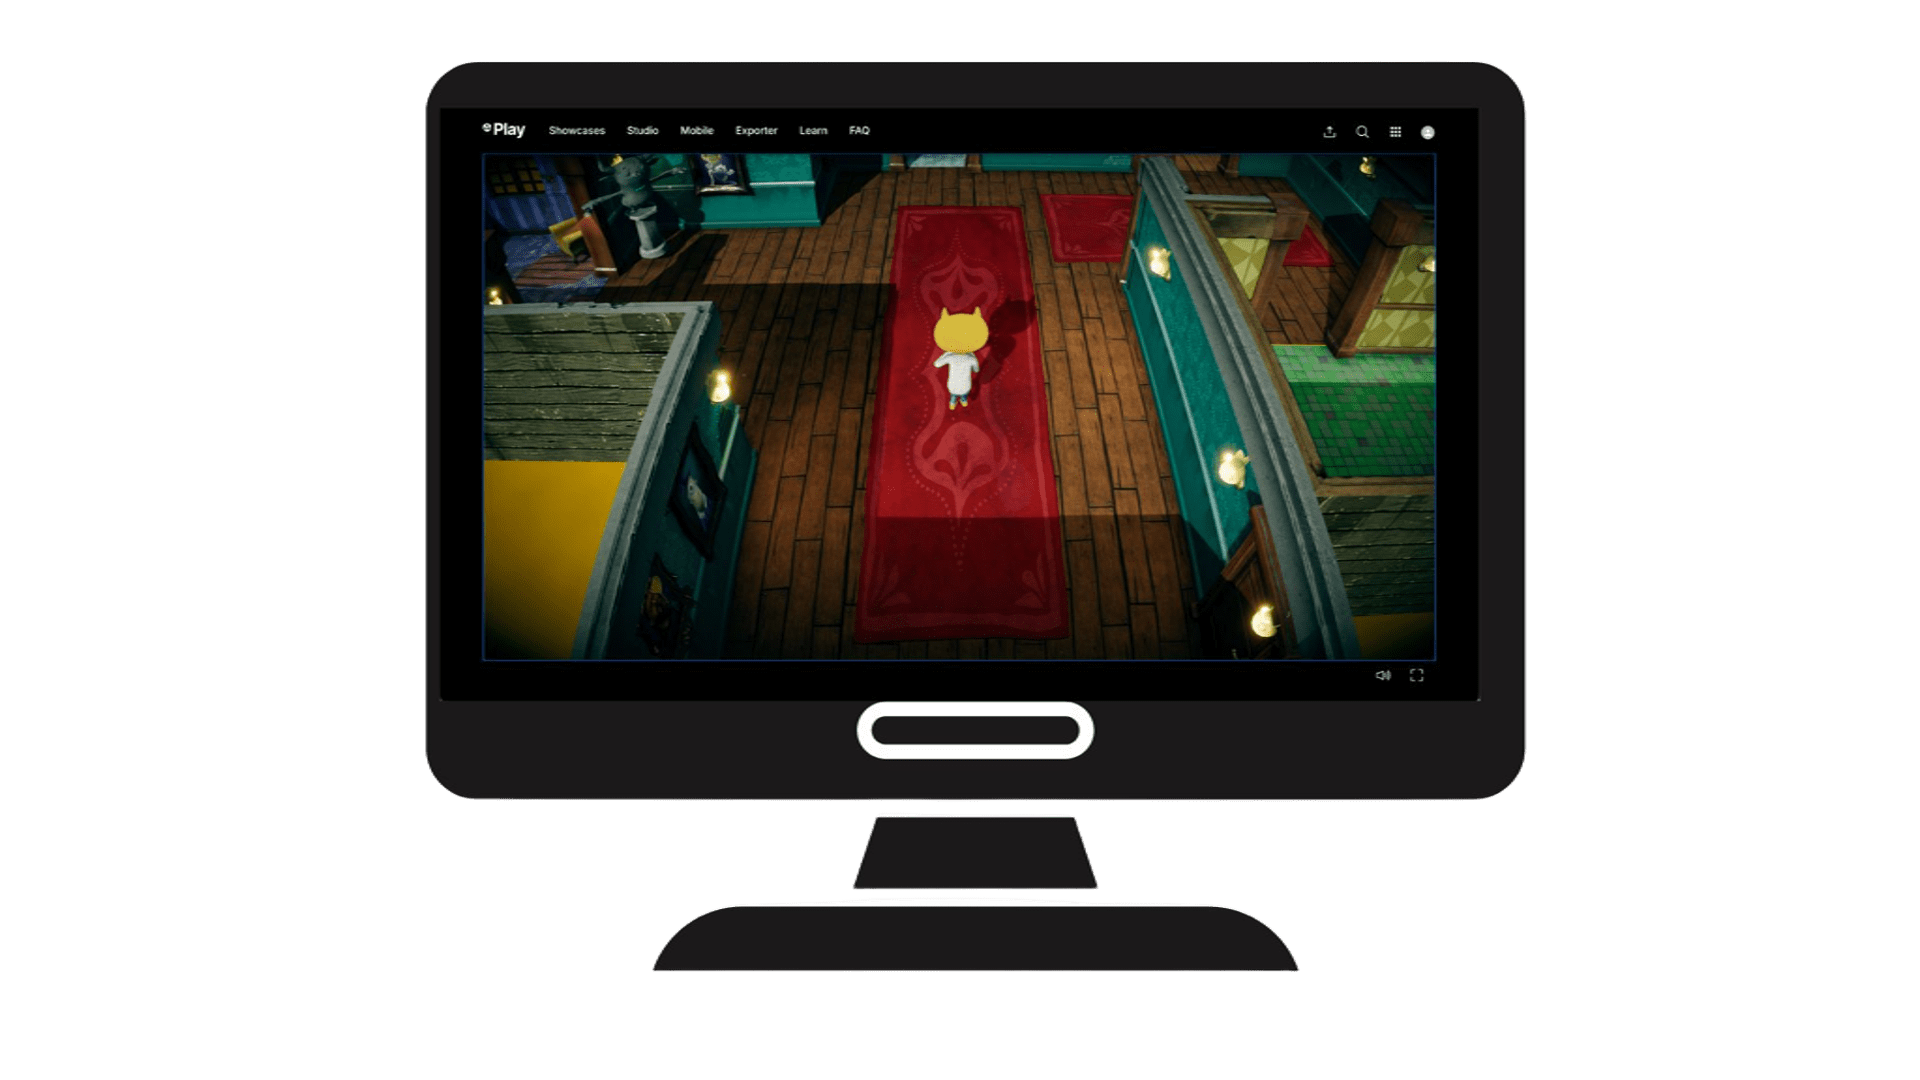
Your game is now live on Unity Play, making it accessible for others to play and test!
6. Test your game
Now that your game is published, it’s time to try it out! This is your chance to see how well everything works, from controls to performance, and make any final tweaks before sharing it with others.
7. Your next steps
You’re officially finished with your 3D Stealth game. Congratulations! What will you do next? Consider some of the options below:
Learn the Unity essentials
The Unity Essentials Learning pathway includes everything you need to create confidently with Unity, including the Unity interface, 3D worldbuilding, 2D workflows, Audio, and programming.
Learn the programming fundamentals
If you’re not already confident with your programming, it’s recommended that you start with the Create with Code course or the more comprehensive Junior Programmer pathway, which will take your programming skills to the next level. You can also check out the Creator Kit: Beginner Code project.
Expand your artistic design skills
You did a bit of design in this project, but there is an entire Creative Core pathway that will take you through the fundamentals of materials, visual effects, lighting, post-processing, audio, user interface design, and more.
Continue with more game development
If you want to continue down the games path, Unity Learn has a wide range of games-based learning content, including the following:
8. Share your project
If you feel proud of the game you made and you want to share it, you can upload a link to it here so other learners can see what you’ve made. You can also check out other Unity learners’ submissions below.
1. Locate the Unity Play link for your published project.
2. Add a submission title and description below, then add your Unity Play link. If you have additional details to share about your process or the project that you have created, you can share them in the description too.
3. Set who can view your submission:
- Public: Anyone who views this tutorial.
- Private: Just you.
4. Select Save and preview submission.
5. Check your submission preview, complete the CAPTCHA test, and select Submit and continue.
Please login to submit
Complete this Tutorial
Submission Gallery
Play

LanceWusky's Haunted House Game
It was fun making this, i added and changed up a bit of how the game was suppose to be played and added my own twist to it. i hope everyone enjoys it.
Play

3D Stealth Game Tutorial Prototype
Prototype build of 3D Stealth Game-Haunted House with most basic functions implemented
Play
Way is Long
WAY IS LONG is a post-apocalyptic survival escape game where hope is the only thing that still moves forward. After the fall of civilization, the world is silent — except for the dead. Cities lie in ruins, streets are overrun, and danger waits in every shadow. You play as a lone survivor, a boy with no weapons, no safe place, and no second chances.