
Unity NavMesh
Tutorial
Beginner
+0XP
35m
(677)
Unity Technologies
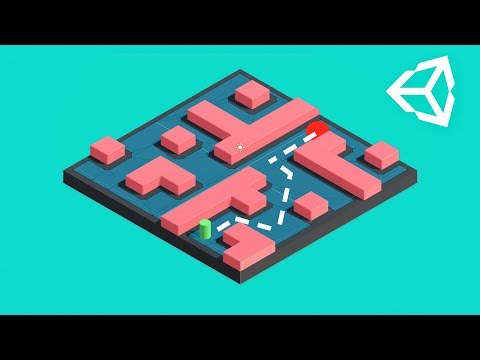
Learn how to create AI pathfinding using the Unity NavMesh components!
This video was produced by Brackeys.
1. Basics
Learn how to create AI pathfinding using the Unity NavMesh components!
This video was produced by Brackeys.
Download the Example Project here.
PlayerController
using UnityEngine;
using UnityEngine.AI;

public class PlayerController : MonoBehaviour {

    public Camera cam;

    public NavMeshAgent agent;

    // Update is called once per frame
    void Update ()
    {
        if (Input.GetMouseButtonDown(0))
        {
            Ray ray = cam.ScreenPointToRay(Input.mousePosition);
            RaycastHit hit;

            if (Physics.Raycast(ray, out hit))
            {
                agent.SetDestination(hit.point);
            }
        }
    }
}2. Making it Dynamic
Learn how to update your NavMesh at runtime!
This video was produced by Brackeys.
ObstacleAnimation
using System.Collections;
using System.Collections.Generic;
using UnityEngine;

public class ObstacleAnimation : MonoBehaviour {

    public float speed = .2f;
    public float strength = 9f;

    private float randomOffset;

    // Use this for initialization
    void Start () {
        randomOffset = Random.Range(0f, 2f);
    }

    // Update is called once per frame
    void Update () {
        Vector3 pos = transform.position;
        pos.x = Mathf.Sin(Time.time * speed + randomOffset) * strength;
        transform.position = pos;
    }
}
LevelGenerator
using UnityEngine;

public class LevelGenerator : MonoBehaviour {

        public NavMeshSurface surface;
    public int width = 10;
    public int height = 10;

    public GameObject wall;
    public GameObject player;

    private bool playerSpawned = false;

    // Use this for initialization
    void Start () {
        GenerateLevel();
                surface.BuildNavMesh();
    }

    // Create a grid based level
    void GenerateLevel()
    {
        // Loop over the grid
        for (int x = 0; x <= width; x+=2)
        {
            for (int y = 0; y <= height; y+=2)
            {
                // Should we place a wall?
                if (Random.value > .7f)
                {
                    // Spawn a wall
                    Vector3 pos = new Vector3(x - width / 2f, 1f, y - height / 2f);
                    Instantiate(wall, pos, Quaternion.identity, transform);
                } else if (!playerSpawned) // Should we spawn a player?
                {
                    // Spawn the player
                    Vector3 pos = new Vector3(x - width / 2f, 1.25f, y - height / 2f);
                    Instantiate(player, pos, Quaternion.identity);
                    playerSpawned = true;
                }
            }
        }
    }
}3. Animated Character
Learn how to link together surfaces and how to add an animated character to our Agent.
This video was produced by Brackeys.
PlayerController
using UnityEngine;
using UnityEngine.AI;
using UnityStandardAssets.Characters.ThirdPerson;

public class PlayerController : MonoBehaviour {

    public Camera cam;

    public NavMeshAgent agent;

    public ThirdPersonCharacter character;

    void Start()
    {
        agent.updateRotation = false;
    }

    // Update is called once per frame
    void Update ()
    {
        if (Input.GetMouseButtonDown(0))
        {
            Ray ray = cam.ScreenPointToRay(Input.mousePosition);
            RaycastHit hit;

            if (Physics.Raycast(ray, out hit))
            {
                agent.SetDesitnation(hit.point);
            }
        }

        if (agent.remainingDistance > agent.stoppingDistance)
        {
            character.Move(agent.desiredVelocity, false, false);
        }
        else
        {
            character.Move(Vector3.zero, false, false);
        }

    }
}