
Customize the Germ Targets
Tutorial
Beginner
+10XP
20 mins
326
Unity Technologies
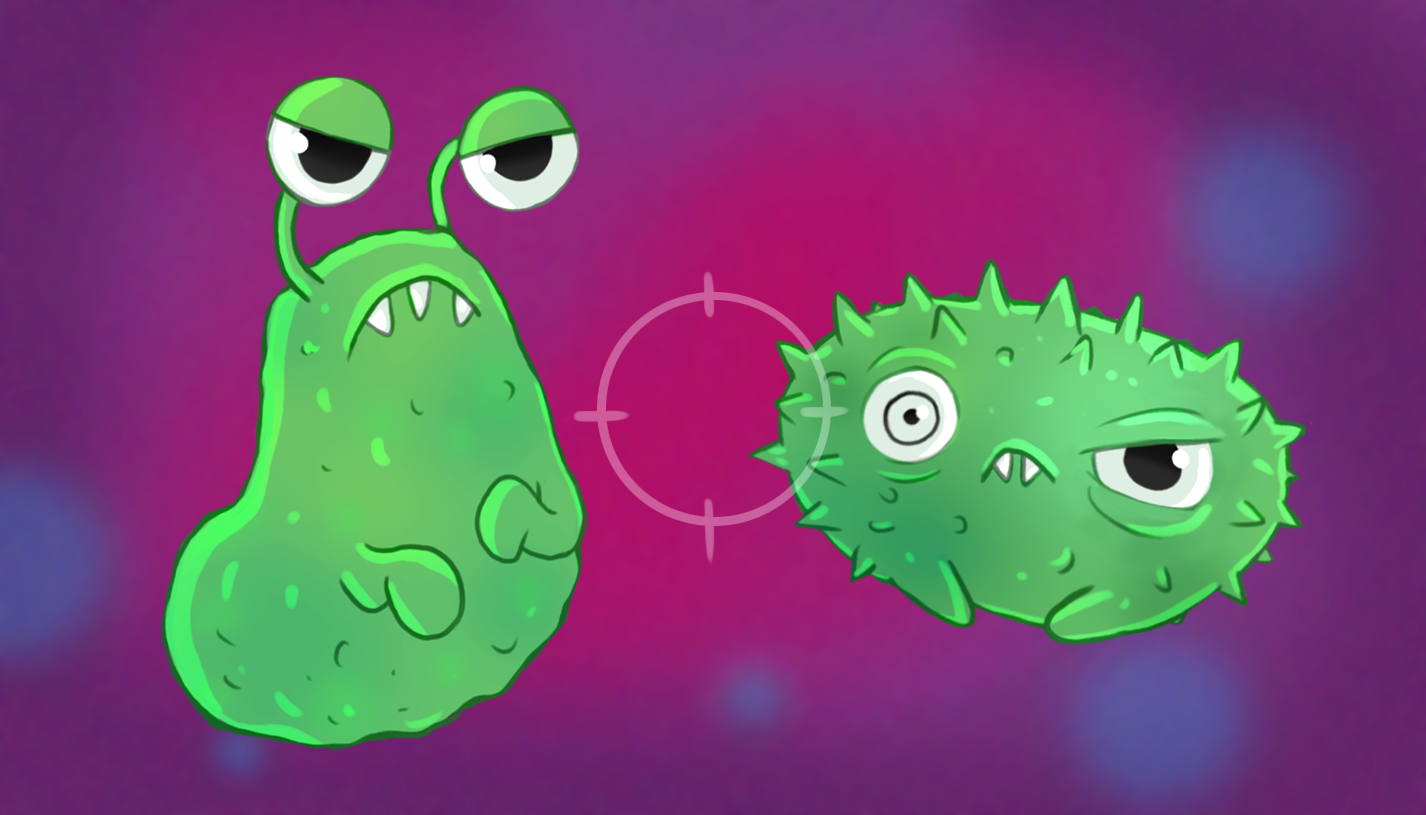
The number and attributes of targets in a game can have a huge impact on gameplay and player experience. Changing this is also a great way to make the Creator Kit game your own.
In this tutorial, you’ll:
- Create your own level GameObject
- Add more targets to the game
- Change the stats for each target
- Create a new Prefab target, which can be reused easily to populate your game
1. Create your Own Level for the Game
You’ve explored an example level of this game — now you’re going to start from the beginning.
We’ve created a template with one room to get you started.
To make your own copy:
1. From the top menu bar, go to FPSKIT > Create new Scene.

2. In the dialogue box, give your new Scene a unique name and click Save. This will create the new Scene in Assets > Creator Kit - FPS > Scenes, and automatically open it for you.
Now you’re ready to go!
2. Add More Targets
Let’s start by adding targets to the room:
1. In the Project window, go to Assets > Creator Kit - FPS > Prefabs > Targets. Select the GermSlimeTarget Prefab.
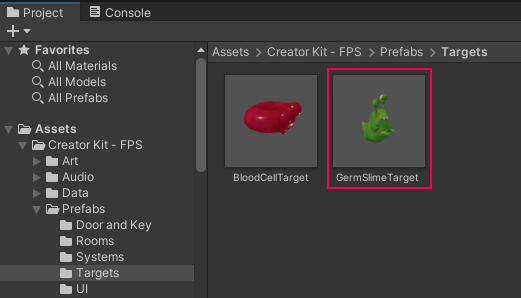
2. Drag the GermSlimeTarget Prefab from the Project window into the Scene view.
You should now be able to see the GermSlime in the Hierarchy window. This shows that you have successfully placed a new GameObject in your scene.
3. Now let’s move the GermSlime to a new position. First, select the Move Tool in the toolbar.

You’ll be able to see three arrows (blue, green and red) overlaid on the new target.
4. First, click on the green arrow and drag upwards to change the vertical placement of your GermSlimeTarget. This will lift it out of the floor of the room.
5. Click and drag the red and blue arrows to change the horizontal placement of the GermSlimeTarget. Place it wherever you like in the room.
You can also select the cube in the center of the three movement arrows to move the GameObject in multiple directions at once.
6. Once the GermSlimeTarget is placed where you want, press Ctrl + S (Windows) or Cmd + S (macOS) to save your Scene.
7. Select Play to test the game again and try to destroy your new germ. You can add as many new targets to the game as you like.
TIP: Make sure to press Play again to exit Play Mode when you’re done — any changes you make whilst in Play Mode won’t be saved!
3. Change Target Stats
The Prefab targets in this game have simple stats for their health and the points value given when they are hit by medicine. You can change these stats to make the germs easier or harder for the doctor to cure.
To adjust the stats for a target:
1. In the Scene view, click on the GermSlimeTarget.
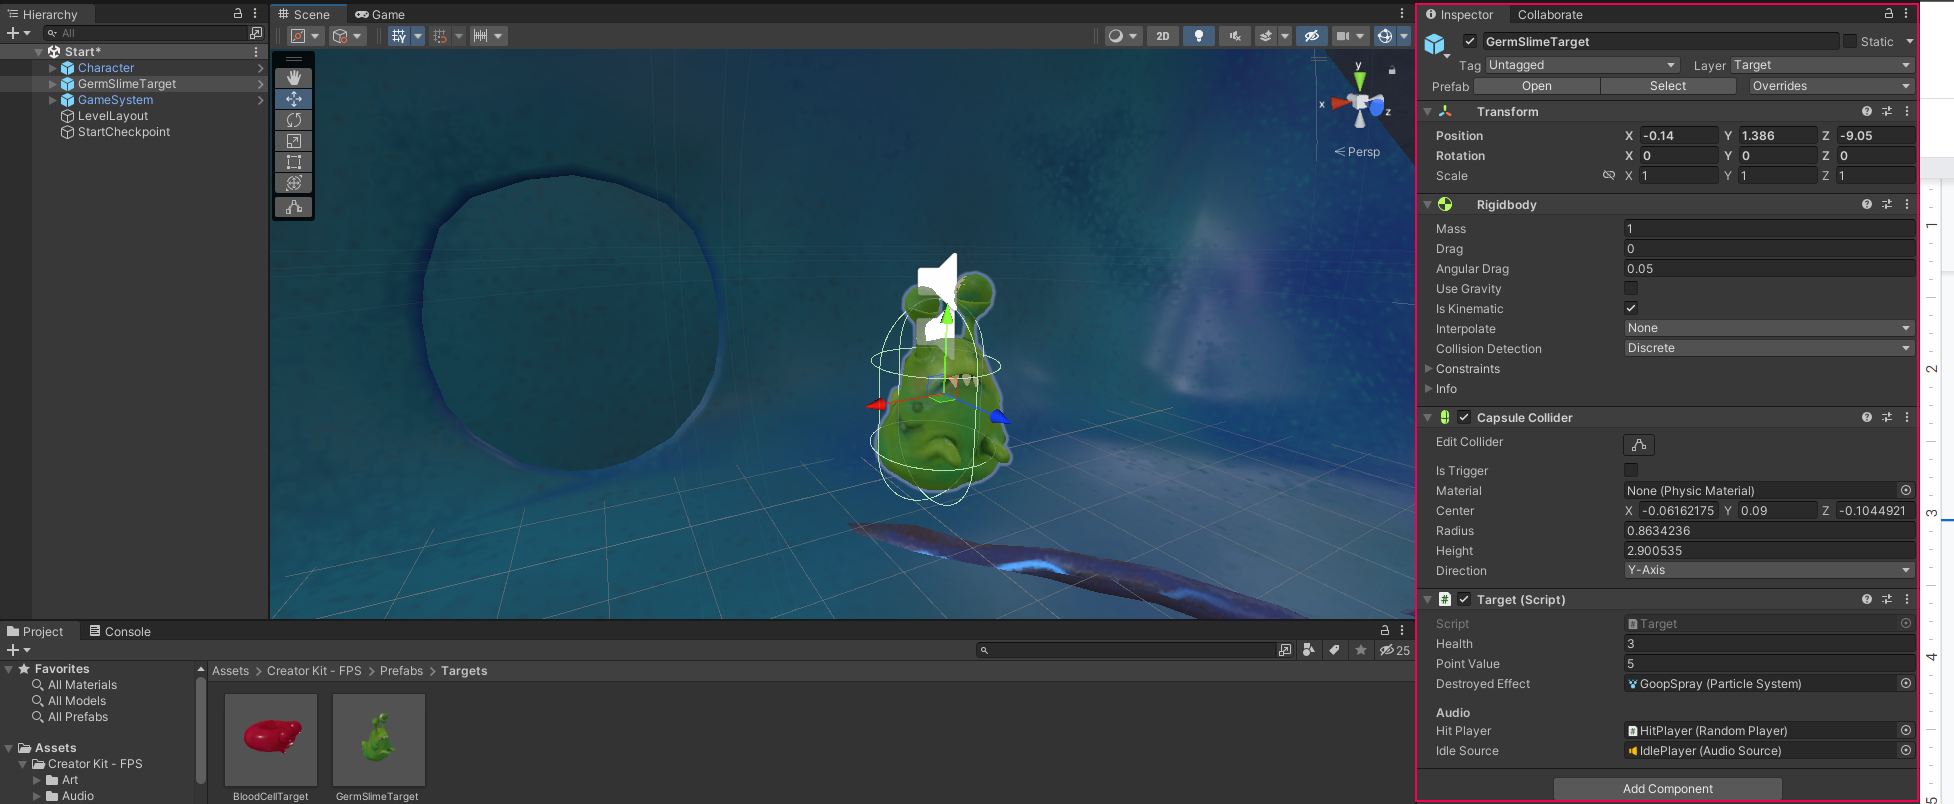
The Inspector window will now show the target’s settings.
The Inspector window shows all components connected to a GameObject. Components are used to add different features to GameObjects in Unity.
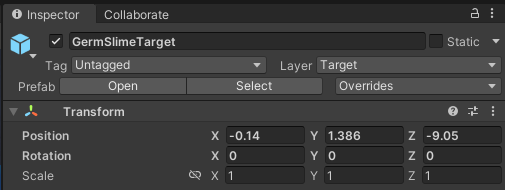
Each component has exposed values that show its behaviour. For example, the Transform component has a set Position — changing these values will change where the target is located in your scene.
For now, let’s focus on the Target component.
2. Change the Health and Point Value of the target.
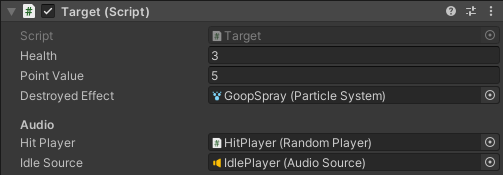
Increasing its Health will make your germ harder to destroy, while decreasing it will make this easier. The Point Value you have set will display in the top left corner of the Scene view when you destroy the germ.
3. Press Ctrl + S (Windows) or Cmd + S (macOS) to save your game. Now play to test your changes.
You might have noticed that the red blood cells already in the game can also be targeted by the doctor’s medicine. You can select a red blood cell and find out its Health and Point Value in exactly the same way.
Now that you’ve experimented with the GermSlimes already prepared for the game, you’re ready to create a new target from scratch!
4. Create a New Target
To create a new germ target for your game:
1. In the Project window, go to Assets > Creator Kit - FPS > Art > Models > Characters, and select GermSpike.
Note: Do not select the GermSpikeModel.
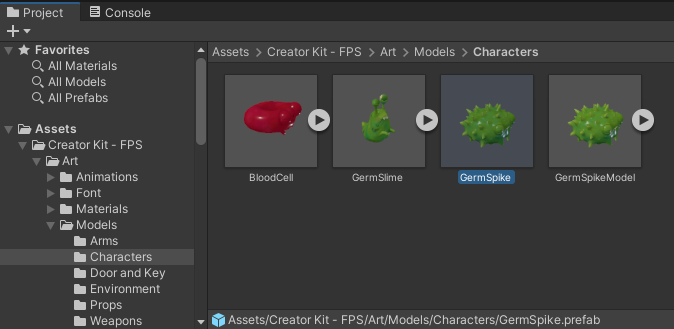
2. Drag and drop the model into the Scene view.
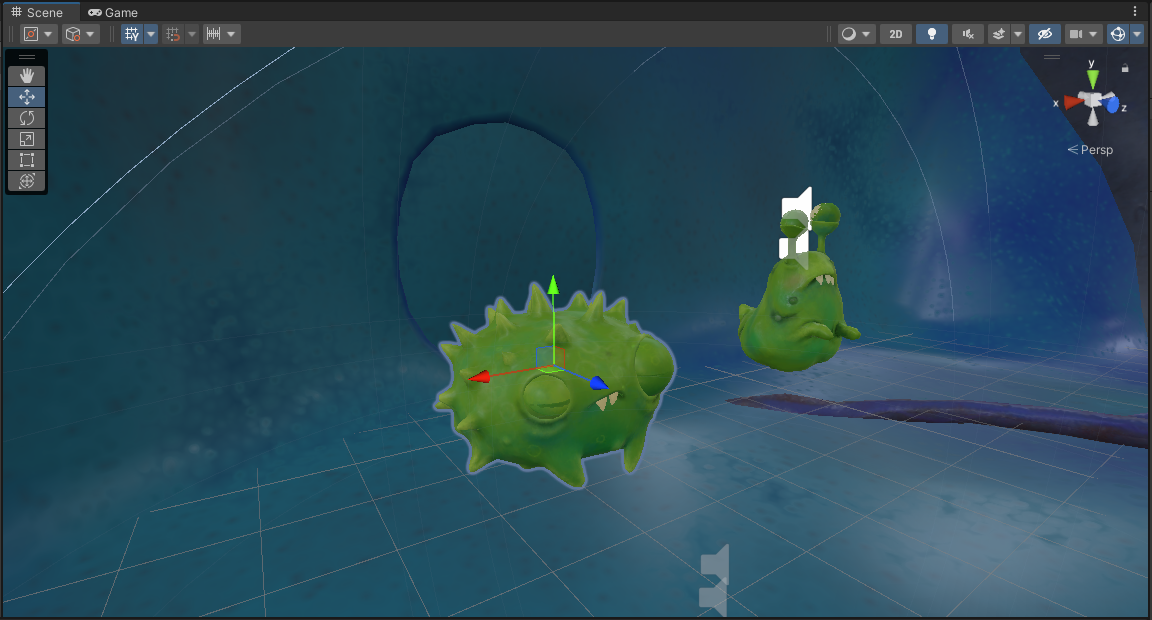
3. Make sure that the object is selected, and look at the Inspector window. You should only see a Transform component for now.
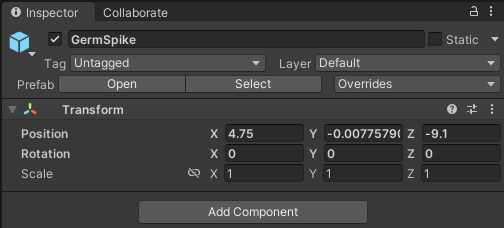
4. Click the Add Component button, and begin typing “Rigidbody” into the search bar.
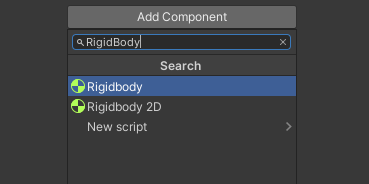
Click on the Rigidbody component to add it to the Inspector window.
5. Find the Rigidbody component in the Inspector window and:
- Disable the Use Gravity checkbox
- Enable the Is Kinematic checkbox
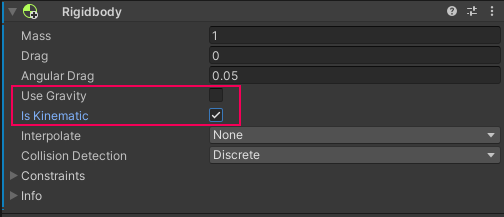
This will make your new germ a physical object in the Game. Disabling Use Gravity will make the germ float, and enabling Is Kinematic will stop bullets (or anything else) from moving it around.
6. Click Add Component again and search for Sphere Collider. Add the component.

A Sphere Collider will make sure the germ can be hit; this is sometimes called a ‘hitbox’. In the Scene view, you will see the Collider as a green sphere around your germ.
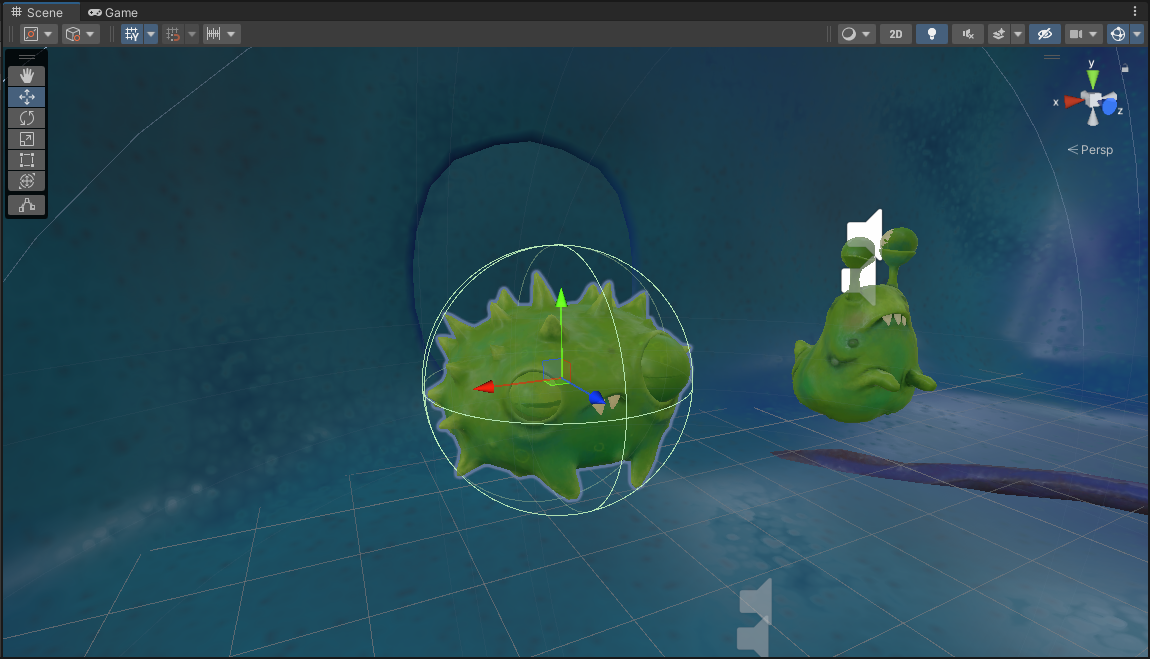
7. In the Center field, set Y to 0.95. This will ensure that the collider sits at the center of the germ, rather than below it.
8. To change the size of the Collider:
- Hover over the word Radius in the Inspector window.
- Click and drag your mouse right or left to increase or decrease the size of the hitbox.

Making the Collider bigger will make your germ easier to hit, making it smaller will make it more difficult.
9. Click Add Component once more and add the Target component.
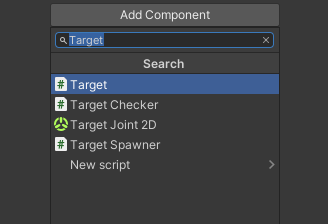
This component adds a custom script that makes the germ a target. Once it has been added, change the Health and Point Value for the target and test the game again. Make sure to save the changes when you’re done.
5. Add the Target Animation and Sounds
To make sure that the correct audio plays when the germ is hit, you need to add GameObjects to the Target component:
1. In the Hierarchy, click the grey arrow to the left of the GermSpike GameObject. This will reveal its child GameObjects: HitPlayer and IdlePlayer.
2. Drag the HitPlayer GameObject from the Hierarchy to the Hit Player field in the Target component in the Inspector (under the Audio heading).
3. Drag the IdlePlayer GameObject from the Hierarchy to the Idle Source field in the Target component in the Inspector (under the Audio heading).
4. Save your changes.
Now that you’ve added the correct sounds, there’s a simple way to duplicate this GermSpike target: creating your own Prefab.
6. Turn a Target into a Prefab
Prefabs are a great way to standardize different objects in your game: all copies of the Prefab template in a Scene are linked. This means that if you change the object values for a germ Prefab, each copy of that germ within the Scene will change to match it.
To turn your new germ target into a Prefab:
1. In the Project window, go to Assets > Creator Kit - FPS > Prefabs > Targets.
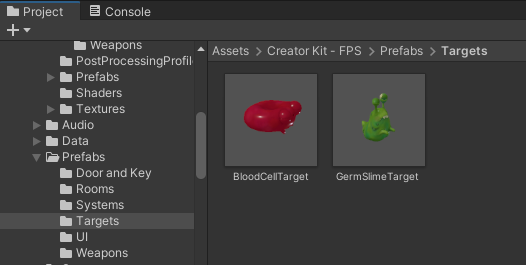
2. Drag and drop the GermSpike GameObject from the Hierarchy window to the Project window.
3. A dialogue box will appear asking you if you want to save an Original Prefab or a Prefab Variant — select Original Prefab.
That’s it! Now that you have a new Prefab in your Project folder, you can use it to add multiple copies of the germ into your Scene.