Modify the Doctor’s Weapons
Tutorial
Beginner
+10XP
10 mins
185
Unity Technologies

Now the doctor has to face more challenging targets, it’s time to enhance their tools for germ-destruction. In this tutorial, you’ll:
- Create a new weapon
- Customize its functionality
- Make the weapon available to the player
1. Create a New Weapon
To create a new weapon Prefab:
1. In the Project window, go to Assets > Creator Kit - FPS > Prefabs > Weapons.
2. Select the GermOBlaster Prefab. Make a copy by pressing Ctrl + D (Windows) or Cmd + D (macOS) to duplicate it.

3. Click on the copy name, or select it and press F2 (Windows) or Return (macOS). Give your new weapon a different name.
4. Save your changes.
2. Adjust Your New Weapon Prefab
The original GermOBlaster has an automatic high speed firing with lots of medicine ammunition.
Let’s make the new weapon a single shot per trigger press, with less ammunition but higher damage:
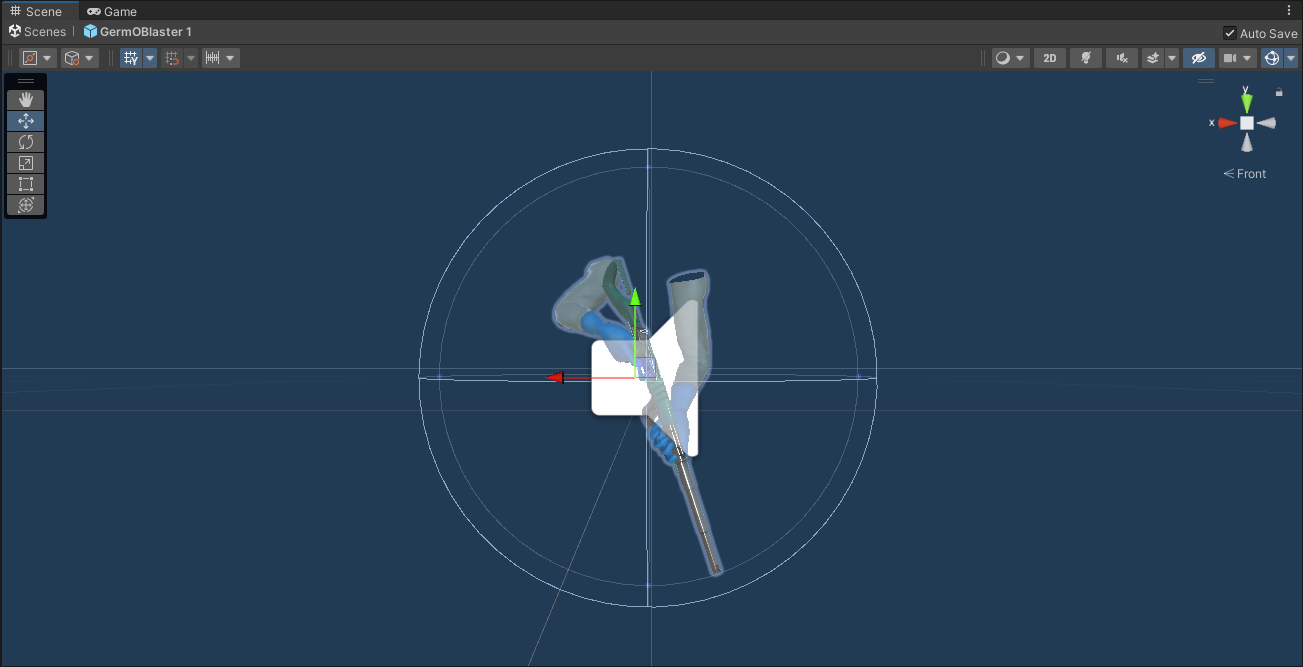
1. Double click on the new weapon, or click the Open Prefab button in the Inspector window when your copy is selected. Unity Editor is now in ‘Prefab Mode’, and will display the weapon in the Scene view.

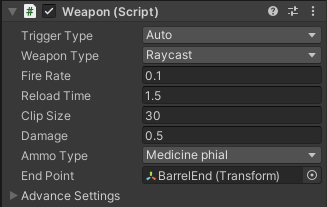
2. In the Inspector, find the Weapon component. This is a custom script written for this Creator Kit, with lots of different configurable values.

3. Change the Trigger Type to Manual using the drop-down menu. Now the weapon will only fire once when the trigger is pressed, instead of firing as fast as it can.
4. Change the Clip Size value from 30 to 8, to reduce the amount of ammo in a single reload clip.
5. Change the Damage value from 0.5 to 5. This means that each hit with this weapon will cause germs more damage than the GermOBlaster.
6. Now that you have created a new type of weapon, save the Prefab using the keyboard shortcut Ctrl + S (Windows) or Cmd + S (macOS) or click the Save button on the top right corner of the Scene view (save button will only show if Auto Save is unchecked).
7. Exit Prefab Mode by clicking on Scenes on the top left corner of the Scene view.

3. Make your Weapon Available to the Player
Now that you’ve successfully created another germ-busting weapon, make it available to the player:
1. In the Hierarchy, select the Character GameObject.
2. In the Inspector window, find the Controller component. This is another custom script, which handles all player input.
3. Expand the Starting Weapons entry by selecting the small arrow to the left of its name.

4. Change the Size from 3 to 4. This will give the player four weapons at the start of the level to the player.
5. Drag the new weapon Prefab from the Project window to the Element 3 field that has appeared in the Inspector.
6. Save your changes.
Now you can test the weapon in Play Mode! Use the mouse wheel or the 1, 2 and 3 keys to switch the weapon used to cure the germs.