
Create an X-ray shader
Tutorial
intermediate
+50XP
15m
(21)
Unity Technologies
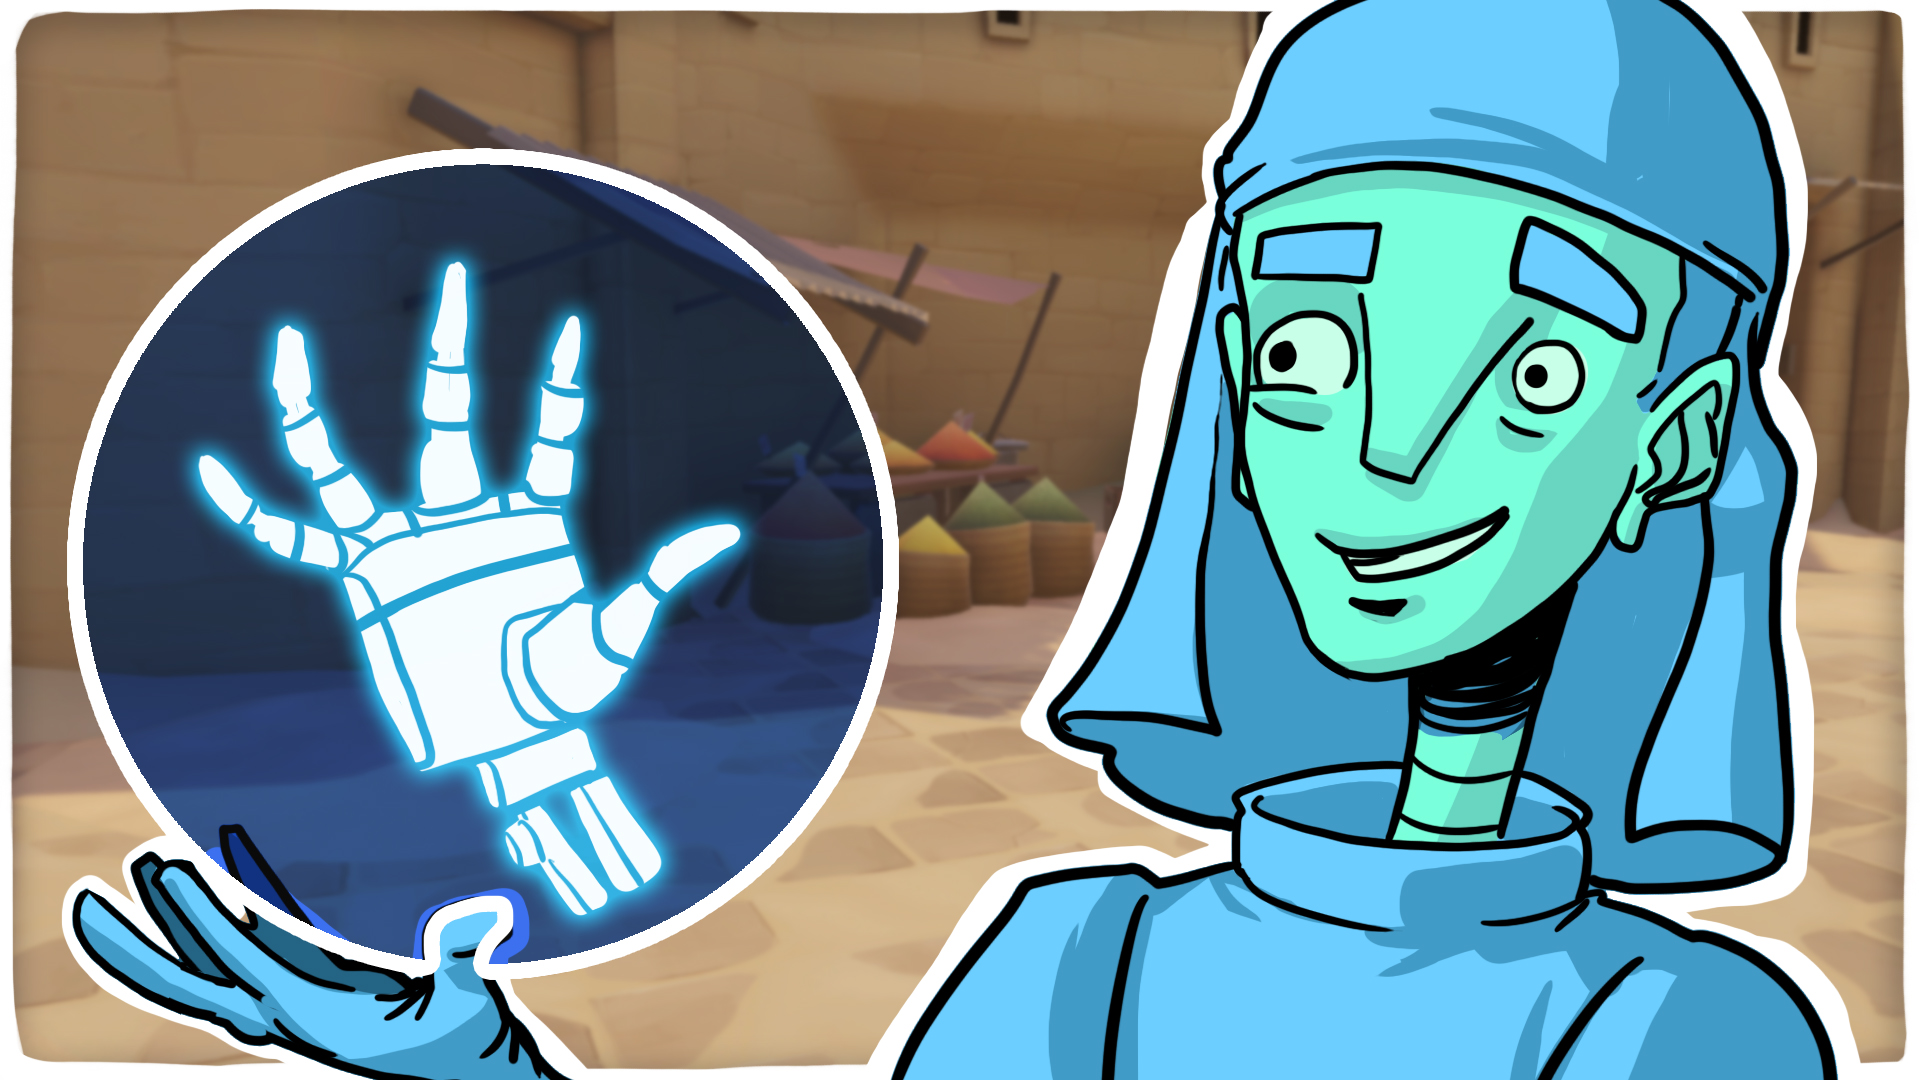
In this tutorial, you'll create an X-ray shader that makes GameObhjects appear semi-transparent with glowing edges, creating a see-through scanning effect. This shader is commonly used to show GameObjects through walls, create holographic displays, or add sci-fi visual effects.
By the end of this tutorial, you'll understand:
- How to configure Graph Inspector settings for transparency
- Why depth testing matters for see-through effects
- How to use the same value for both color and alpha
- How to create glowing transparent materials
1. Overview
X-ray shaders create a distinctive see-through effect with glowing edges, making GameObjects visible even when they're behind other geometry. The X-ray effect combines two key techniques:
- Transparency with alpha blending, making the GameObject see-through.
- Fresnel edge glow, making the edges bright and visible even when transparent.
This technique is widely used in games for the following purposes:
- Showing interactive GameObjects or objectives through walls
- Highlighting enemies or items behind obstacles
This shader builds on concepts introduced in the Create a Highlight shader tutorial, which you can reference if needed. It also introduces a depth test setting that allows the GameObject to render even when it is behind other GameObjects, creating a see-through effect.
Important: This tutorial is part of the Get Started with Shader Graph course, which covers different units focused on different types of shaders. In case you haven't downloaded the project files, follow these instructions on how to create a new project and import the project assets.
2. Create the X-ray Shader Graph
For the X-ray effect, you'll use an Unlit Shader Graph instead of a Lit Shader.
Lit shaders calculate how light in your scene affects the surface, creating realistic lighting, shadows, and reflections. Unlit shaders ignore scene lighting entirely and display colors at full brightness. For X-ray effects, you want the glow to be visible and consistent regardless of whether the GameObject is in shadow or light, making Unlit the appropriate choice.
To create an X-ray Shader Graph, follow these instructions:
1. Create a new Unlit Shader Graph
- In the Project window, navigate to your Shaders folder.
- Right-click in the Shaders folders and select Create > Shader Graph > URP > Unlit Shader Graph.
- Rename it "X-ray".
- Double-click the X-ray Shader Graph to open it in the Shader Graph window.
Notice the Master Stack looks slightly different from the Lit shader: it has fewer inputs because it doesn't need lighting calculations.
3. Create a material from the shader
Shaders define the rendering instructions, but they can't be applied directly to objects. To use a shader on a GameObject, you need to create a material, an instance of the shader with specific parameter values.
Note: Unity creates an auto-generated material when you create a Shader Graph, but it's better practice to create your own material manually as the auto-generated material isn't always fully editable.
1. Create a new material
- In the Project window, right-click the X-ray shader and select Create > Material.
- Rename it "X-ray_CoffeeBot"
The GameObject used in this tutorial is a coffee robot with an inner skeleton. You’ll apply the shader to the inner skeleton mesh, allowing you to see inside the robot.
Note: When you create a material directly from a shader, Unity automatically assigns that shader to the new material. If you can’t see the shader assigned in the material’s Inspector window, you can drag the shader and drop it onto the material to assign it.
The material is now using your X-ray shader. Even though the shader is empty right now, the material is ready to receive the shader properties you'll create in the following steps.
4. Add GameObject and apply material
Now you'll bring a GameObject into your scene and apply the X-ray material to it. This lets you see your shader working in real-time as you build it.
To add a GameObject to your scene and apply the X-ray material to it, follow these instructions:
1. Open the Development_Scene
- In the Project window, open the _GetStartedWithShaderGraph > Scenes folder.
- Double-click the Development_Scene to open it.
2. Add the GameObject to your scene
- In the Project window, locate the CoffeeBot prefab inside the _GetStartedWithShaderGraph > Prefabs folder.
- Drag the CoffeeBot prefab into the Hierarchy window.
- In the Scene view, position the CoffeeBot GameObject next to the small table that's already placed in the scene.
Note: The GameObjects provided with this course are specially crafted to showcase shader effects effectively. If you use your own custom GameObjects, the shader will still work, but the visual results may look slightly different depending on the GameObject’s shape and UV layout.
3. Apply the X-ray material
- Select the CoffeeBot_Insides child GameObject of the CoffeeBot GameObject.
- In the Inspector window, locate the Mesh Renderer component.
- Use the foldout (triangle) to expand the Materials section if it's collapsed.
- Drag the X-ray_CoffeeBot material from the Project window into the Material property box.
The X-ray material is now applied to the CoffeeBot_Insides GameObject. However, the CoffeeBot_Insides GameObject currently looks plain because the shader is empty, but as you build the shader in the following steps, you'll see the X-ray effect develop in real-time.
5. Configure Graph Inspector settings
The magic of the X-ray effect happens largely in the Graph Settings. These technical rendering settings control how Unity draws your shader, enabling transparency and the see-through depth behavior.
To configure the Graph Inspector settings, follow these instructions:
1. Open Graph Settings
- In the Shader Graph window, locate the Graph Inspector.
- Select the Graph Settings section.
Graph Settings control technical rendering properties that affect how Unity's rendering pipeline handles your shader. These aren't visual properties like color or texture; they’re instructions about when and how to render the shader.
2. Set Surface Type to Transparent
- Locate the Surface Type setting.
- Change it from Opaque to Transparent.
Setting this to Transparent enables alpha blending, which you'll use to make the GameObjects semi-transparent.
3. Set Blending Mode to Alpha
- Locate the Blending Mode setting.
- Check that it is set to Alpha.
Blending Mode controls how transparent surfaces mix with the GameObjects behind them. By setting it to Alpha, the shader will use the alpha channel (the transparency value) to mix the color of the GameObjects it’s applied to with the color of the background GameObjects.
4. Confirm Render Face
- Locate the Render Face setting.
- Verify it's set to Front.
Render Face controls which sides of polygons Unity draws. Front means only the outward-facing polygons are rendered, which is standard for most GameObjects.
5. Set Depth Test to Greater
- Locate the Depth Test setting.
- Change it to Greater.
This is the key setting that creates the see-through X-ray effect. Normally, Unity only renders GameObjects that are closer to the camera than what's already been drawn (Depth Test: Less or LEqual). Setting it to Greater reverses this: the shader renders when GameObjects are behind other geometry.
Important: During this tutorial you’ll notice that nothing will be rendered in the Main Preview. As the material is configured to render only when it is behind other geometry, without other geometry in the preview, the object does not appear.
The Graph settings are now configured for X-ray rendering. Your shader will support transparency and will render through other Gameobjects.
6. Create shader properties
The X-ray shader needs two properties: one to control the edge glow intensity and one to set the glow color.
To create these shader properties, follow these instructions:
1. Create FresnelPower property
- In the Blackboard, select the Add (+) button and select Float.
- Rename it "FresnelPower".
- In the Graph Inspector, set the Mode property to Slider, then set the slider range as follows: Min = 0, Max = 6, and Default Value = 1.
Note: The slider range values were chosen based on our own experiments and aren't definitive. You can adjust it if you find a range that gives you better results.
This property will control how sharp and intense the X-ray edge glow appears, just like in the Highlight shader.
2. Create EmissionColor property
- In the Blackboard, select the Add (+) button and choose Color.
- Rename it "EmissionColor".
- In the Graph Inspector, set the Mode property to HDR.
- Set the Default value to any color you want your preview to show. Don’t worry about choosing the perfect color right now, as you’ll adjust it later.
This HDR color will define the color of your X-ray glow. Classic X-ray effects often use bright cyan, electric blue, or vivid green, but you can choose any color.
7. Create Fresnel Effect node
Just like the Highlight shader, the X-ray shader uses the Fresnel effect to create edge glow. However, this time the Fresnel output will control both the glow intensity and the transparency.
To create a Fresnel Effect node, follow these instructions:
1. Create the Fresnel Effect node
- Right-click in the Workspace, select Create Node, and search for and add a Fresnel Effect node (Math > Vector > Fresnel Effect).
- Drag the FresnelPower property from the Blackboard into the Workspace.
- Connect the FresnelPower(1) output to the Power input of the Fresnel Effect node.
The Fresnel Effect node is now configured. It will output higher values at the edges of the GameObject and lower values at the center, creating the edge-bright, center-transparent pattern characteristic of X-ray shaders.
8. Add color to the Fresnel
Now you'll combine the FresnelPower with your chosen emission color to create a colored X-ray glow.
To add color to the Fresnel, follow these instructions:
1. Add color to the Fresnel Effect
- Right-click in the Workspace, select Create Node, and search for and add an Add node (Math > Basic > Add).
- Drag the EmissionColor property from the Blackboard into the Workspace.
- Connect the EmissionColor(4) output to the A input of the Add node.
- Connect the Fresnel Effect Out(1) output to the B input of the Add node.
The Add node combines the EmissionColor with the Fresnel effect. Where the Fresnel value is high (at the edges), the combined color will be very bright. Where it's low (at the center), the color will be dimmer. This creates a gradient from bright glowing edges to a subtler center glow.
9. Connect to Base Color and Alpha
Now you'll connect the same Add node output to both Base Color (what color is displayed) and Alpha (how transparent it is) to create the X-ray effect.
To connect the Base Color and Alpha nodes, follow these instructions:
1. Connect to Base Color
- Locate the Master Stack on the right side.
- Find the Base Color node block in the Fragment section.
- Connect the Add Out(4) output to the Base Color input.
2. Connect to Alpha
- Locate the Alpha node block in the Fragment section of the Master Stack.
- Connect the Add Out(4) output to the Alpha input.
- Save your final shader with Ctrl+S (macOS: Cmd+S).
By connecting the same value to both Base Color and Alpha, you create the following relationship:
- Edges (high Fresnel value): Bright color and high opacity (more visible).
- Center (low Fresnel value): Dim color and low opacity (more transparent).
This creates the X-ray effect: glowing, visible edges with a transparent center that allows you to see through the object.
The Alpha output specifically controls transparency. Values closer to 0 are more transparent (invisible), while values closer to 1 are more opaque (solid). By using the Fresnel-driven value, the edges become solid and bright while the center fades to transparency.
Your X-ray shader logic is now complete. Look at your GameObject in the Scene view. You should see a glowing, semi-transparent effect.
10. Adjust shader parameters
You can now fine-tune the X-ray effect by adjusting the shader parameters exposed in the material’s Inspector window.
To adjust the shader parameters, follow these instructions:
1. Adjust shader parameters
- In the Project window, select the X-ray_CoffeeBot material if it isn't already selected.
- In the Inspector window, locate the FresnelPower and EmissionColor properties you defined for the shader.
- Position your Scene view or Game view camera to see the GameObject from different angles.
- Continue adjusting FresnelPower and EmissionColor until you achieve the desired highlight appearance.
Tip: Bright cyan, electric blue, bright green, or vivid purple work well for sci-fi highlight effects.
The X-ray effect should now be visible and customized to your preference.
11. Create prefab and save
Once your X-ray shader is finished, save your work and create a prefab so the object can be reused easily.
To create a prefab and save your work, follow these instructions:
1. Create a prefab of the CoffeeBot GameObject
- In the Project window, locate the Prefabs > _My Objects folder.
- Drag the CoffeeBot GameObject from the Hierarchy window into the _My Objects folder. This creates a prefab that stores the object, its material, and its components.
- In the Hierarchy window, select the CoffeeBot GameObject and, in the Inspector window, disable the checkbox in the GameObject header to deactivate it. This helps keep the scene organized.
- From the main menu, select File > Save.
Important: Saving (Ctrl+S (macOS: Cmd+S)) with the Shader Graph window open only saves the shader. Scene changes must be saved separately.
The prefab is now saved and ready to reuse, and the shader can be applied to any other objects by creating new materials from it.
12. Review your shader
Take a moment to review the final shader graph created in this tutorial and compare it with your own. Make sure all nodes are properly connected and that all properties are correctly declared.
13. Next steps
Congratulations!
You've created a complete X-ray shader using transparency, Fresnel effects, and depth testing. You now understand how Graph Inspector settings control rendering behavior, how to create see-through effects, and how to use the same value for both color and alpha to create transparent visual effects.
You’ve completed this unit and created the shaders introduced in this section. This unit is part of the Get Started with Shader Graph course, which is organized into multiple units that explore different shader techniques, we encourage you to check out our other units.