
Accessing your Projects in the Viewer
Tutorial
Beginner
+10XP
15m
(55)
Unity Technologies
The Unity Reflect Viewer allows users to access and engage with the BIM model outside of the CAD/BIM application the project was created in. This viewer, available for free from Unity, is a standalone installation that allows clients and colleagues to access the project without a Unity Reflect license. Projects that are assigned to a user can be accessed via the Viewer using a Unity account.
In this tutorial, you’ll open the Reflect Viewer and sign in to your account to see all the available projects.
1. Introduction
The Reflect Viewer allows you to access BIM data from a CAD application like Revit. A model exported from the BIM application can be viewed in the Reflect Viewer either on the desktop version of the application or the iOS mobile application. This allows the BIM designers to:
- Share the BIM model with clients without the need for expensive software or technical knowledge
- Instantly activate virtual reality or augmented reality experiences
- Have real-time access to the extensive BIM information contained in the model on relatively low-specification hardware and mobile devices.
For this tutorial, you will need:
- To install the Reflect Viewer (direct download) — either the iOS or desktop app
- A Unity account
- A Reflect project assigned to the Unity account you will be using
2. Accessing Projects in the Reflect Viewer
1. Open the Reflect Viewer (Figure 01).
2. Click Please sign in to log in to your account (Figure 02). This will take you to the Unity web-based login page. If you are already signed in to your Unity account on the device, Unity Reflect will use that logged in account and open the projects associated with it.
3. Log in with your Unity account.
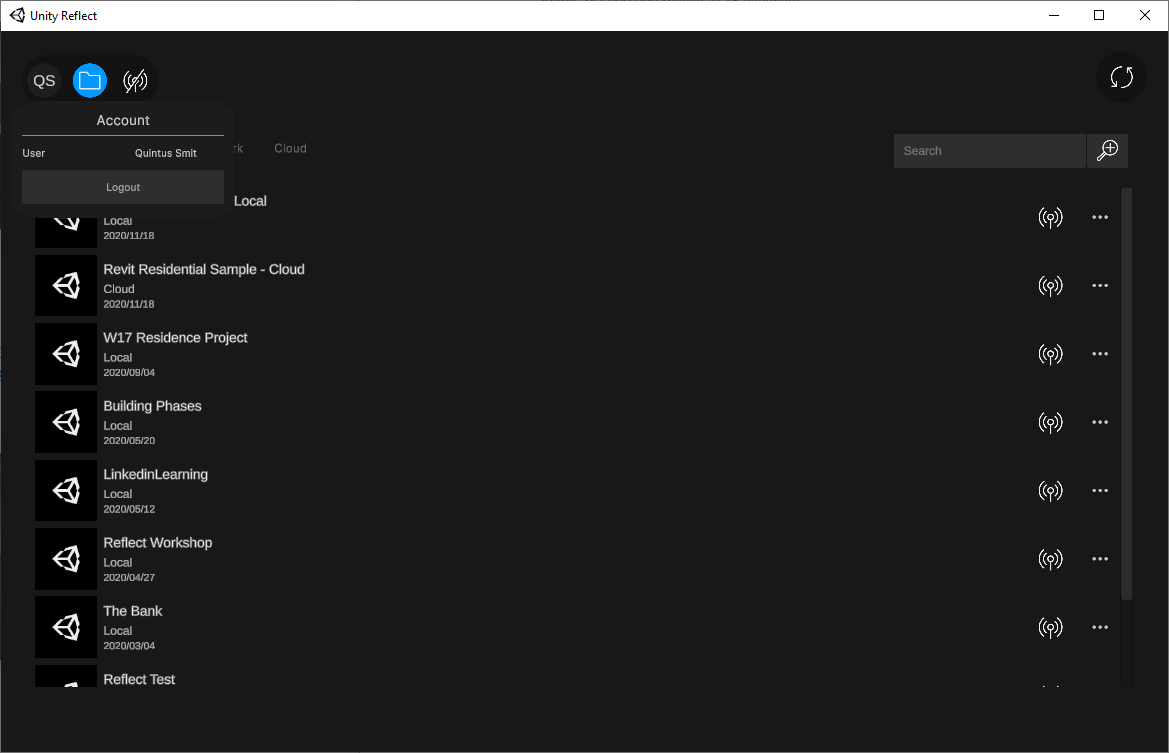
4. The Reflect Viewer will now display all projects shared with the Unity account (Figure 03). Note: If the Reflect Viewer closes without any error warning, you are not logged in with the correct account.
5. Click the Refresh icon to refresh the screen (Figure 04). This is useful when you have the Viewer open and a new project is shared with your account.
3. The Reflect Viewer Projects Interface
The Reflect Viewer project interface provides options to manage and access your projects. To the right of each project, you will see three dots. If you select this, a window will open that displays the information of the project, as well as the option to download or delete the project from your local workstation.
1. Selecting Download will start the process of downloading necessary files from the central Reflect server to the local device (Figure 06). These files will be downloaded automatically if you open a project.
2. Selecting a project in the list will open the relevant project in the Reflect Viewer (Figure 07) and also download any required files from the local Reflect server if this wasn’t done previously with the Download option.
4. Next Steps
You should now be able to log in to your account in the Reflect Viewer and use the provided tools to manage and open your Reflect projects. The next step is to open a project in the Viewer and then interact with the BIM model.