
UModeler X : Basic Bed Frame Modeling
Tutorial
Beginner
+10XP
7 mins
Unity Technologies
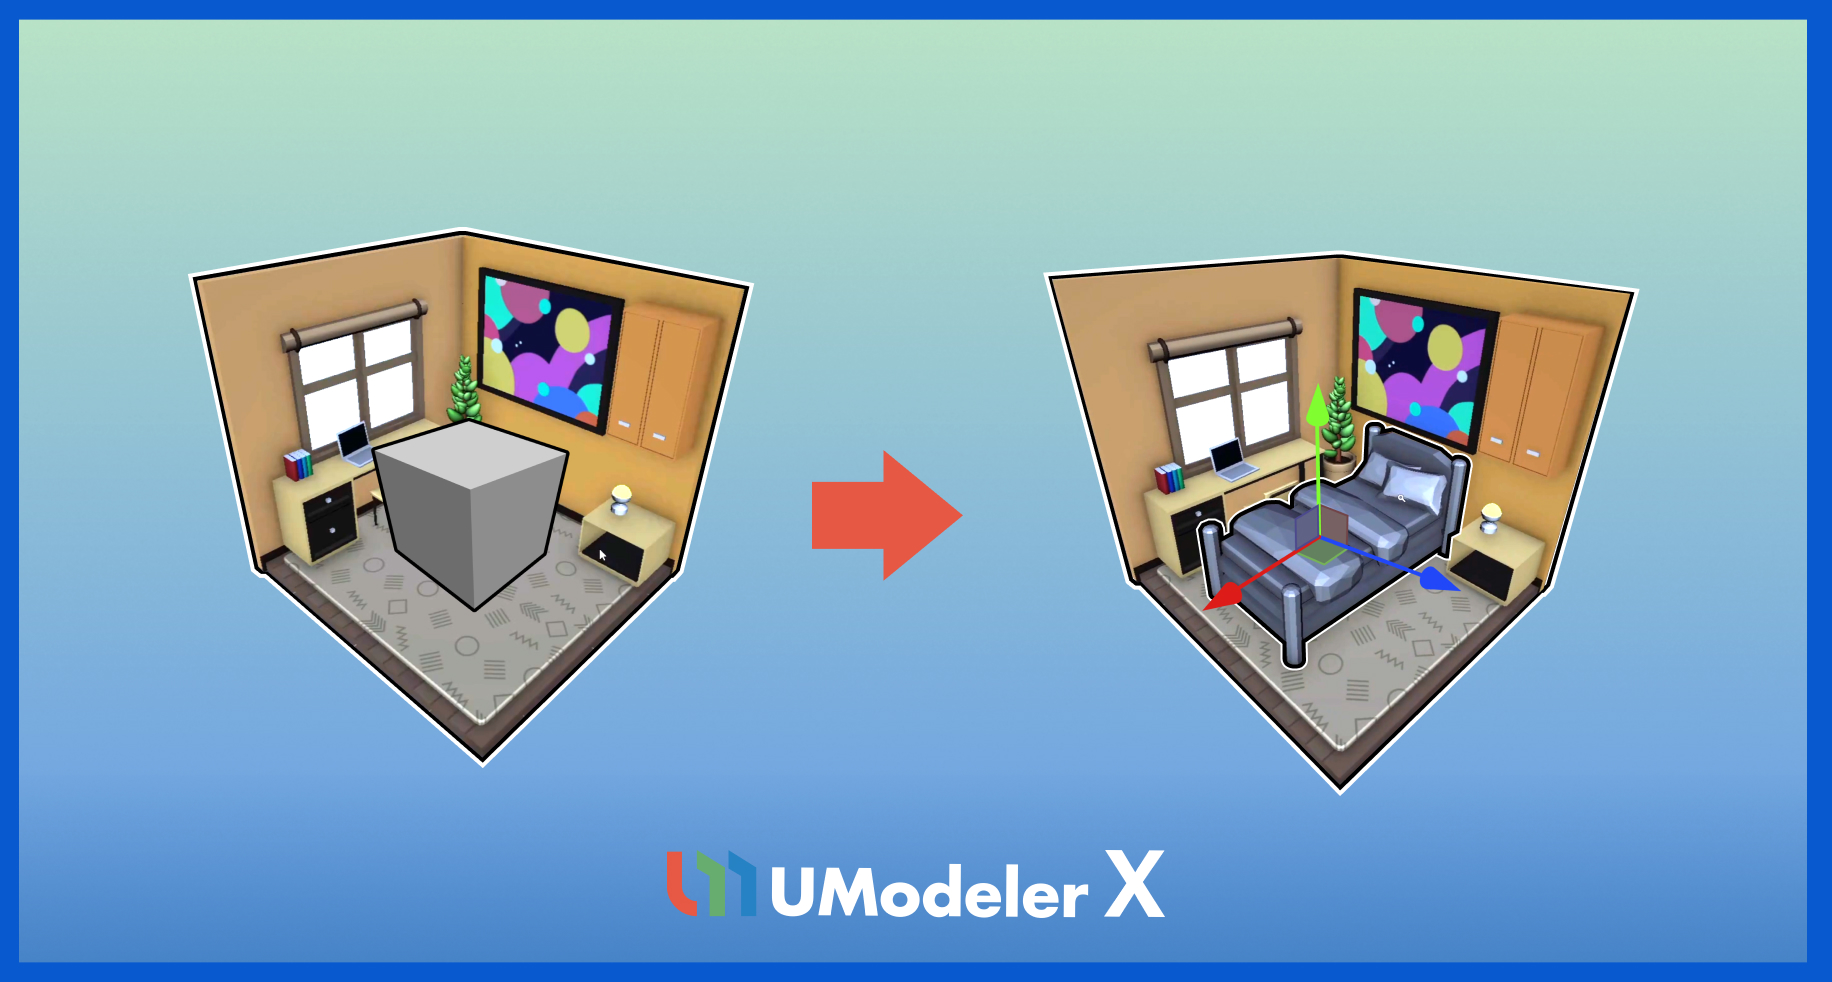
In this tutorial, you’ll model a complete bed frame in Unity using UModeler X. Starting from a simple box, you’ll use tools like Inset, Extrude, Poly Line, and Slice Cut to shape the base. Then, you’ll add Capsule legs, smooth with Subdivide and FFD, optimize with Decimate, and finish by creating a pillow and mattress - a great way to learn the core modeling workflow in UModeler X.
Resources
1. Overview
In this tutorial, you’ll model a complete bed frame in Unity using UModeler X. Starting from a simple box, you’ll use tools like Inset, Extrude, Poly Line, and Slice Cut to shape the base. Then, you’ll add Capsule legs, smooth with Subdivide and FFD, optimize with Decimate, and finish by creating a pillow and mattress - a great way to learn the core modeling workflow in UModeler X.
The asset used as an example can be downloaded as part of this process. Additionally, you can remove the bed from the scene and proceed with the example.
2. Create the basic shape
To create the basic shape of the bed, follow these instructions:
1. Select the New UModeler X tool and drag your cursor to define the size of the bed’s base.
2. Move your cursor upward along the Y-axis to set the desired height, then click to create a rectangular box.
The Inset Tool creates a new face inside the selected one, as if inserting another layer.
This tool only works in Face Mode.
Extrude (Shift + Move)
While in Move Mode, you can hold the Shift key while resizing to extrude the face.
While in Scale Mode, you can hold the Shift key while resizing to adjust the scale of the extruded face.
Divide faces (Poly Line Tool)
Use the Poly Line tool to create an edge by selecting the start and end points of the edge.
Slice Cut Tool
The Slice Cut Tool creates a virtual plane that generates edges where it intersects with the geometry.
Slice Cut creates an axis that divides the face, and this axis can be moved using the Move Tool.
To refine the bed’s shape, add two slices on both sides.
Now the basic shape is complete.
3. Add details
Capsule Tool
Basic shapes that serve as the foundation for object creation can be created using the Capsule Tool.
1. Use the Capsule Tool to create the bed legs.
2. Switch to Face Mode, select unwanted bottom faces, and delete them using the Delete key.
Combine
The Combine Tool merges multiple UModeler X objects into a single object.
1. After creating two bed legs, use the Combine Tool to combine them.
You can also combine them by holding the Ctrl key (macOS: Cmd) and right-clicking on each leg.
2. Use Duplicate to copy the bed legs and place them on the opposite side.
Bevel
1. Use the Box Tool to create a rectangular mattress.
2. Switch to Edge Mode, select all edges, and apply Bevel to smooth the corners.
Apply modifiers
1. Add a Subdivide Modifier and set it to level 2 to soften the shape.
2. The Subdivide Modifier divides each face into four smaller faces, creating a smoother surface.
The FFD (Free Form Deformation) Modifier surrounds the mesh with a control cage (grid box), allowing you to deform the shape by manipulating control vertices.
3. Add an FFD 3x3x3 Modifier, drag the vertices, and adjust the shape as desired.
The Decimate Modifier is used to reduce polygon count.
4. Adjust the Aggressiveness value to balance between model detail and optimization.
4. Create accessories
1. Use the Box Tool to create the pillow’s base shape.
2. Add a central edge loop using Loop Cut, then scale it to define the form.
3. In the Add tab, use Subdivide to increase face density.
4. Apply another Subdivide Modifier in the Modifier tab to smooth the surface.
5. Use FFD 3x3x3 to adjust the pillow’s shape,
6. Apply Decimate to reduce polygons and match the style of the blanket.
Now, place your completed bed model into the scene!
5. Next steps
You’ve finished the basic modeling process in UModeler X! In the next tutorial, you’ll learn about UV editing.