
UModeler X : Rigging in Unity
Tutorial
Beginner
+10XP
25 mins
Unity Technologies
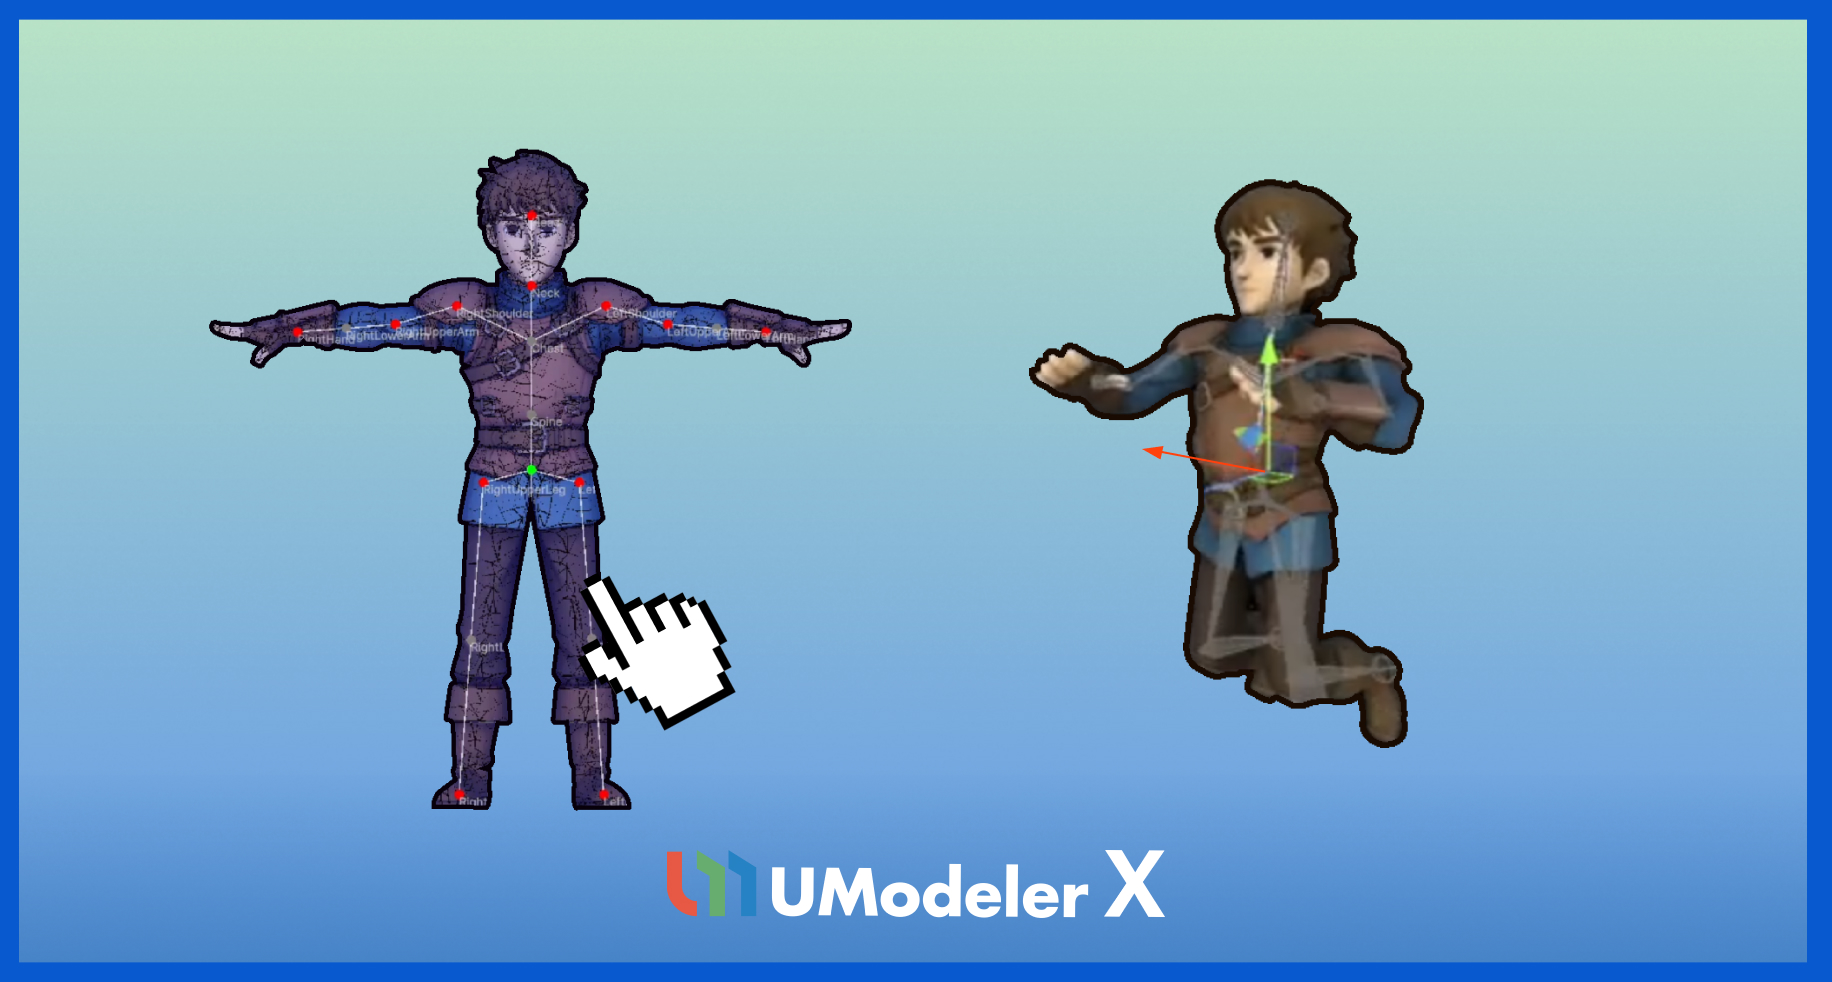
This tutorial guides you through the basics of character rigging in Unity using UModeler X.
You’ll learn how to convert meshes, create and edit bones, apply auto weighting and weight painting, reset poses, and verify rigging results.
The tutorial also covers setting animation types and previewing animations using Unity’s rig configuration tools.
Resources
1. Overview
This tutorial introduces the basics of character rigging in Unity using UModeler X.
You will learn how to convert meshes, create and edit bones, and apply auto weighting and weight painting.
The tutorial also covers resetting poses, verifying rigging results, and setting animation types to preview animations using Unity’s rig configuration tools.
The character can be downloaded here.
2. Enter Rigging Mode
Rigging Mode lets you add/edit bones and perform skinning for animation.
In Rigging Mode, you can assign weights to vertices and edit those weights to achieve the model’s movement.
1. Prepare a model with modeling and UV unwrap completed
Before you start rigging, make sure modeling and UV unwrapping are complete.
Modeling creates the shape of the 3D model, and UV unwrapping maps textures properly onto the surface.
Only models that have completed these two steps can be rigged.
Right-click the character model you want to rig and select UModelerize.
You can also use the Mesh Ops button (highlighted in red) to perform UModelerize more conveniently.
Setting up the Root Bone
The first step is to set up the Root Bone, which defines the highest-level bone structure of the model.
1. Right-click in the Hierarchy and select Create Empty.
2. Position the empty GameObject at the model’s Bottom Center (0, 0, 0).
3. Rename the GameObject to root for clarity.
2. Enter Rigging Mode
Once modeling and UV unwrapping are complete, enter Rigging Mode. Rigging Mode provides various tools needed for rigging, such as bone creation and weight editing.
The first step is to set the Root Bone, which specifies the highest-level bone structure (root) of the model.
Assign the root object to both the Animator Root and Root Bone slots, then select Start Rigging to enter Rigging Mode.
3. Create a structure and generate bones
A bone controls the movement of a 3D model and acts as its skeleton.
When creating bones, you need to define their positions and hierarchical connections.
UModeler X provides the Build Bones tool to make this process easier.
The Build Bones tool uses predefined structures to help you quickly build bone hierarchies.
How to Use the Build Bones Tool
1. Run the Build Bones tool.
2. In Structure, select a predefined bone setup (Limb, Human, Quadruped).
3. Select Start Building.
4. Move the displayed bone guide to fit your model.
5. When the guide is in place, click Make Bones to generate bones.
Bones are created according to the guide.
4. Proceed with rigging
Auto Weight tool
The Auto Weight tool is commonly used as the first step in skinning to quickly generate an initial weight setup, which can then be refined using the Weight Brush tool.
To use the Auto Weight tool, follow these instructions:
1. Run the Auto Weight tool.
2. Set the Blending Width property to 0.075.
3. Select Apply Auto Weight.
4. Hold the Shift key and select a specific bone to preview and verify the Auto Weight result on the model.
Weight Brush tool
The Weight Brush tool lets you paint vertex weights onto the selected bone.
To use the Weight Brush tool, follow these instructions:
1. Select the target bone in the Scene view or Bone Tree.
2. Run the Weight Brush tool.
3. Set the Weight value to control how strongly the selected bone affects the vertices.
4. Click and drag on the model surface to apply weights.
Warmer colors indicate stronger influence, while cooler colors indicate weaker influence.
5. Adjust the Weight value and repeat the process as needed to refine the result.
The weight is then applied to the vertices.
Reset Poses Tool
The Reset Poses Tool resets the position and rotation of moved bones, returning them to their original default pose.
Edit Bones tool
The Edit Bones tool lets you edit bones—add, delete, or detach them. To use the Edit Bones tool, follow these instructions:
1. Run the Edit Bones tool.
2. In the Scene or Bone Tree area, select the bone you want to edit.
3. Use the buttons in the Properties area to edit the selected bone, such as renaming the bone, adding child bones, or deleting existing bones.
Weight Mirror Tool
The Weight Mirror Tool copies vertex weights symmetrically from one side of the model to the other.
Use this tool to mirror the adjusted vertex weights from one side of the model to the opposite side.
If the desired mirror direction is reversed, enable the Flip option.
5. Verifying the result
Once rigging is complete, you can export your rigged object to FBX and apply animations to verify that rigging and skinning have been applied correctly.
To export your rigged object to FBX, follow these instructions:
1. In the Hierarchy window, right-click the mesh and select Export To FBX.
- If the menu is not available, install the FBX Exporter package via the Package Manager.
2. In the export dialog, select a destination folder, leave the other settings at their default values, and click Export.
3. Confirm that the FBX file has been created in your project folder.
4. Select the FBX file, and in the Rig section, change Animation Type from Generic to Humanoid, then select Apply.
5. Select Configure to verify that bones and weights are set up correctly.
6. In the Muscles & Settings section, adjust the Open/Close and Left/Right controls to preview basic character movements and check whether the rig deforms correctly.
6. Next steps
You now know the basics of UModeler X.
To continue improving your skills, we recommend exploring other tutorials or applying what you’ve learned to your own projects.