
2.6 Finishing an Animation Clip: additional settings
Tutorial
Beginner
+10XP
30 mins
(336)
Unity Technologies
In this tutorial, you’ll review various additional settings that are useful for animating both Humanoid and Generic Rigs.
1. Overview
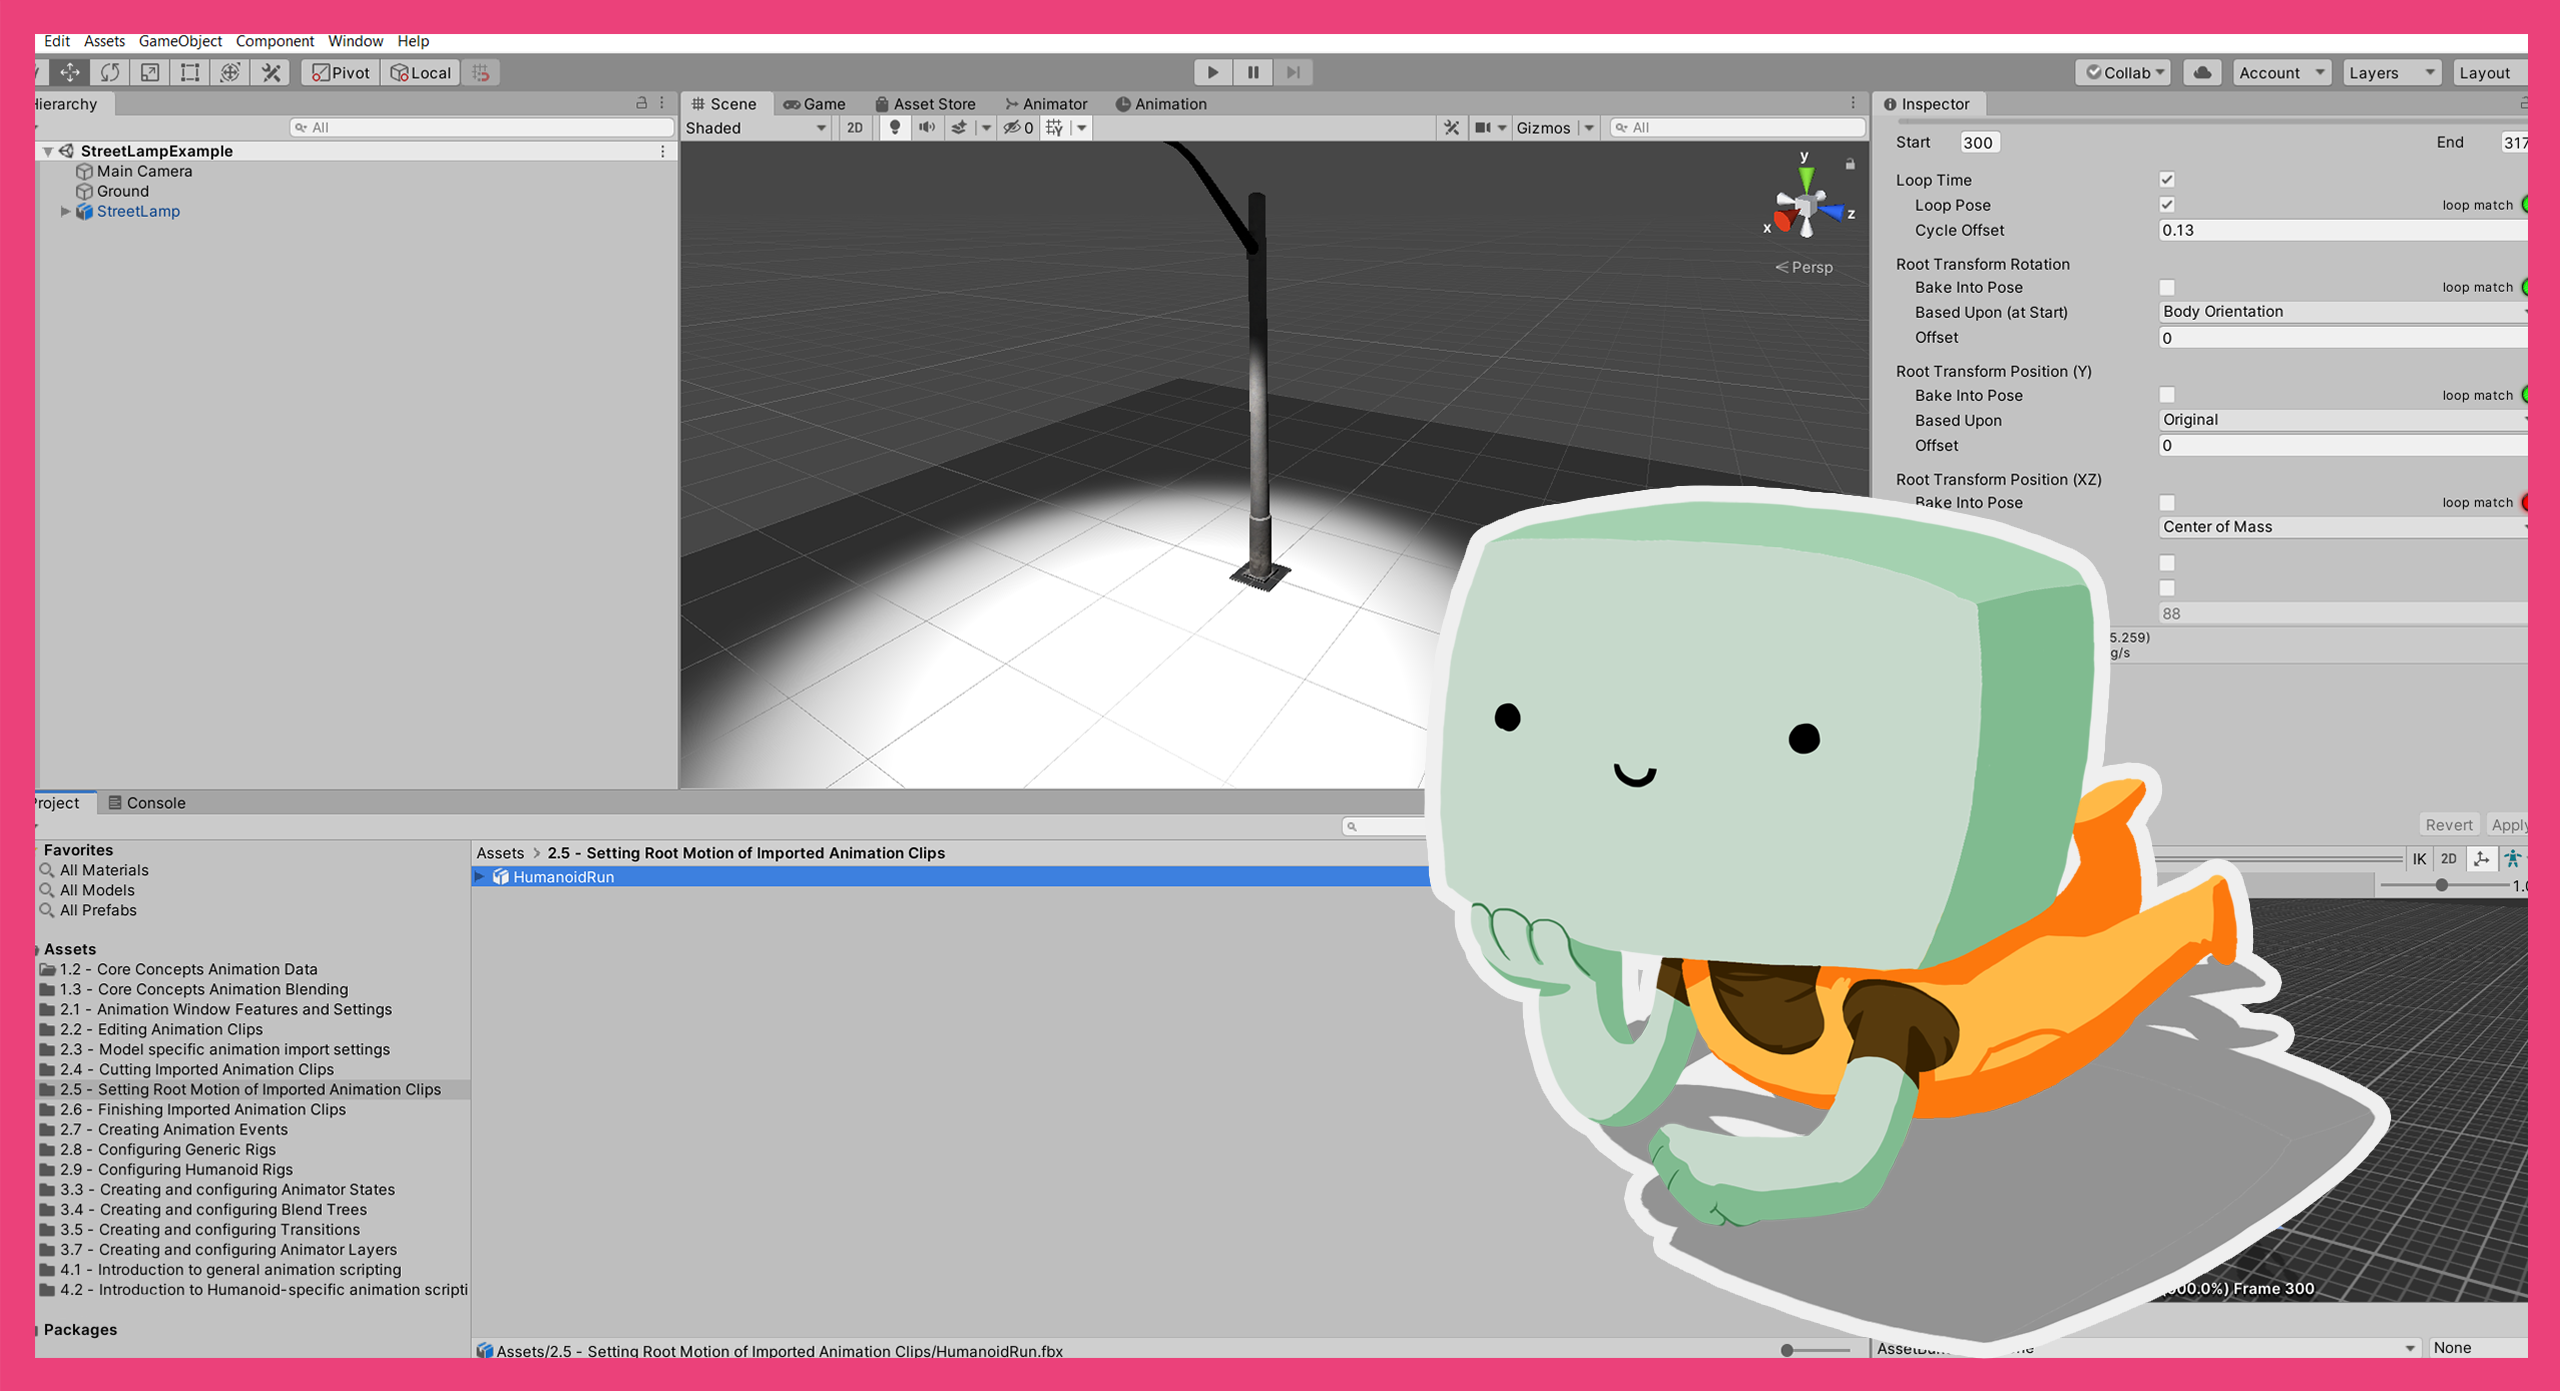
In Setting the Root Motion of imported Animation Clips, you explored various settings that apply to the example humanoid run Animation Clip.
In this tutorial, you’ll review some additional settings that are useful for animating both humanoid and generic rigs.
2. Before you begin
This tutorial uses the Introduction to 3D Animation Systems Unity project. If you haven't already done so, download this before continuing.
When you’ve downloaded the project:
1. Open the project in Unity Editor.
2. In the Project window, go to Assets > 2.6 Finishing Imported Animation Clips.
All the assets you need for this tutorial will be in this folder.
3. Configure the Mirror setting
The first setting you’re going to review in this tutorial is the Mirror setting. This particular setting is exclusively for humanoid rigged animation.
When enabled, the Mirror setting flips the animation on the YZ plane down the character’s middle. Since this flips both the pose and the Root Motion, you can use it for making a left turn into a right turn, for example.
The Mirror setting is also useful when you can’t get a decent starting pose with your desired leg planted, but can with the other leg.
To do this:
1. In the Inspector, configure the Cycle Offset with the opposite pose.
2. Enable the Mirror setting.
4. Enable the Additive Reference Pose setting
The last animation setting before the foldouts controls whether or not Unity should use an Additive Reference Pose.
With a normal animation, the values of the Animation Curves overwrite the default values for each of their bindings. By using Additive Animation, you can build on and make alterations to any existing animation.
For example, you might have animations of a character leaning in various directions. You might choose to add these leans to a normal running animation to emphasize turning.
Since Additive Animation is added to an existing animation, it’s stored as deltas from a Reference Pose. Deltas are small differences or changes. In the case of the leaning example, the Reference Pose would be a straight torso. The animation data would be the difference between a straight torso and the current frame’s lean.
The process to make an animation be treated as Additive Animation is:
1. In the Inspector, enable Additive Reference Pose.
2. Select the frame number that should serve as the reference pose.
Note: You’re not going to treat the example for this tutorial as Additive Animation. You’ll explore Additive Animation more in 3.7 Creating and configuring Animation Layers.
5. Adding curves
When Animation Clips are imported, their curves are locked and will appear as read-only. However, as part of the import process, more curves can be added so you can edit them. These curves can be used to store data that can vary over the course of the animation and should not be confused with the standard Animation Curves you have used when creating and editing Animation Clips.
Curves can be created and edited under the Curves foldout near the bottom of the animation importer.
To create a curve:
1. Select the Add (+) button under the Curves foldout.
2. Name the curve, so its value can be found at runtime.
3. Make sure the associated Animator Controller has a parameter with the same name as your curve.
If you’ve done this correctly, the parameter in the Animator Controller will automatically have its value set to the value of the new curve when the Animation Clip containing the curve is playing.
Cycle Offset note
It is important to note that the curves added to Animation Clips in this way do not take Cycle Offset into account. Instead, they play in-time with your original cut of the animation before applying any Cycle Offset.
This means that if you want to use the Preview pane to help you set the values for the curve (for example, if the curve is to represent the IK weights for foot falls), then you should:
1. Temporarily set the Cycle Offset back to 0.
2. Create the curves.
3. Reset the Cycle Offset to your desired value.
6. Editing curves
You can edit curves using the Curve Editor as normal. To open the Curve Editor, click on the image of the curve to the right of the curve’s name (which will be visible when the foldout is expanded).
You can also edit them in time with the animation by using the keyframe buttons. To do this:
1. Click on the preview timeline bar (at the top of the preview pane) to scrub the animation.
2. Click the New Keyframe button to create a new keyframe.
3. Set the value for the keyframe in the value field. You can move between keyframes by using the left and right arrows.
Tip: Don’t forget to set the Cycle Offset back to 0 if you want to use the preview, and then set it back to your desired value afterwards.
7. Additional import guidance
Animation Events
Unity supports Animation Events on imported animations. You can explore Animation Events in more detail in 2.7 Creating Animation Events.
Transforms and Avatar Masking
It is possible to only use some of the Transforms in the model’s hierarchy when you import its Animation Clips.
This process works in a similar way to Avatar Masking, but it’s used on a per-clip basis and doesn’t require an asset. You should use these settings if you only need to use part of an animation. You’ll explore Avatar Masking in more detail in 2.9 Configuring Humanoid Rigs.
Overriding Root Motion
Under the Motion Tab, you can select an override for the Root Motion node you selected as part of the rig. You’ll explore overriding Root Motion in more detail in 2.8 Configuring Generic Rigs.
Import Messages
The Import Messages foldout does not contain any settings. Instead, it contains information about things that may have changed due to the import process. If your animation looks different in Unity than it does in the digital content creation (DCC) software where it was created, check the import messages for information on why that might be.
8. Summary
In this tutorial, you’ve reviewed various additional settings that are useful for animating both Humanoid and Generic Rigs. You explored:
- How to configure Mirror settings.
- How to use Additive Reference Poses and how to configure an animation as an Additive Pose.
- How to add and edit curves using Cycle Offset and keyframes.
In the next tutorial, you’ll create and configure Animation Events.