
Build your first personal project
Exercise
foundational
+60XP
0 mins
Unity Technologies

Exercise complete!
You gained 40 XP points towards Unity Essentials
You gained 20 XP points towards Professional Skills
Next up in Teach Unity: Educator Professional Development
Submission Gallery
89iuhg
hgpguippgi

The absolute radiance
The absolute radiance with point light on it to make it more dramatic lol
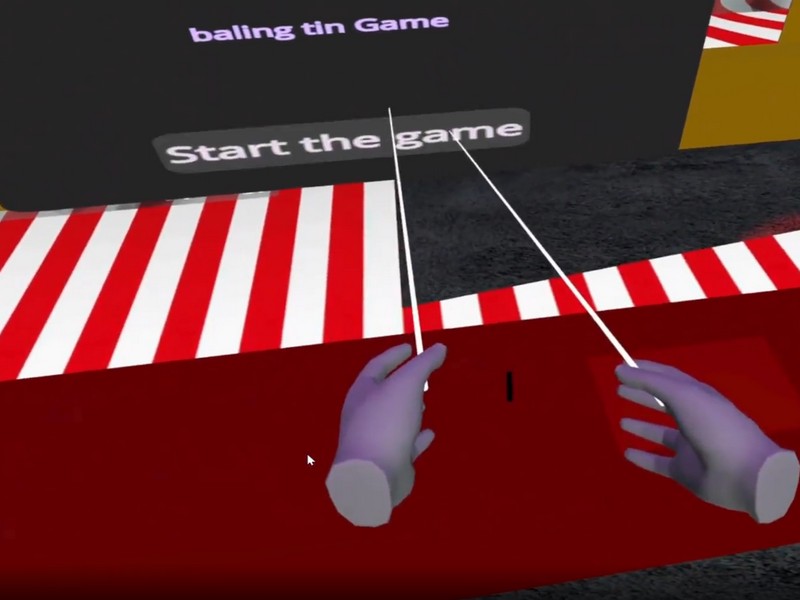
puzzle game
puzzle game

Mario's Gallery
This gallery features screenshots and gameplay videos of the Marine Mechanics game by Cara Anderson, a Level 5 Game Art student. It includes models from Sketchfab and the Unity Asset Store. A Global Volume with a Bloom effect has been applied to enhance the LED strip lights, a task that proved challenging as the scene became brighter than expected. Additionally, the model of the shark, although lacking textures, still effectively serves its purpose. I've also added some bubble particles to enrich the underwater atmosphere. Furthermore, there's a trigger Collision Box that activates a voiceover description of the game, generated using a Text-to-Voice converter, with a fade-out effect upon exiting the trigger. I hope you enjoy it.

Chicken
Chicken

YUYIN :3
hola