Add a face texture
Tutorial
·
Beginner
·
+10XP
·
30 mins
·
(151)
Unity Technologies
One of the most common features in AR face filter apps is covering the user’s face with a new material or texture. This could be used to apply a funny mask or to visualize tattoos.
In this tutorial you'll do the following:
- Add a 3D mesh overlay that covers the user’s face.
- Apply a simple color tint to the face overlay.
- Apply a more intricate texture to the face overlay.
1. Overview
In the previous tutorial, you went through the process of creating a simple face filter. In this tutorial, you’ll do the following:
- Add a custom texture to the face filter you created.
- Explore the Face_Reference_Mesh.
- Create a custom texture to display on your face.
- Explore best practices for creating custom textures.
2. Add the face reference mesh
One of the limitations of the AR Default Face prefab is that it only becomes visible when the application is running and a face is detected. This constraint makes debugging and design iteration a tedious task, since you have to build your project to see the results.
To solve this problem, a model is supplied by AR Foundation and included in the assets you imported earlier (Face_Reference_Mesh). A mesh is just another word for a 3D model. This Face Reference Mesh can be placed in the scene as a placeholder while you experiment with textures, accessories, and effects.
Follow these instructions to add the Face Reference Mesh to your scene:
1. Open your AR Template Unity project and the BasicFaceFilter scene, if you haven’t already done so.
2. In the Project window, navigate to Assets > _BasicFaceFilter > Prefabs.
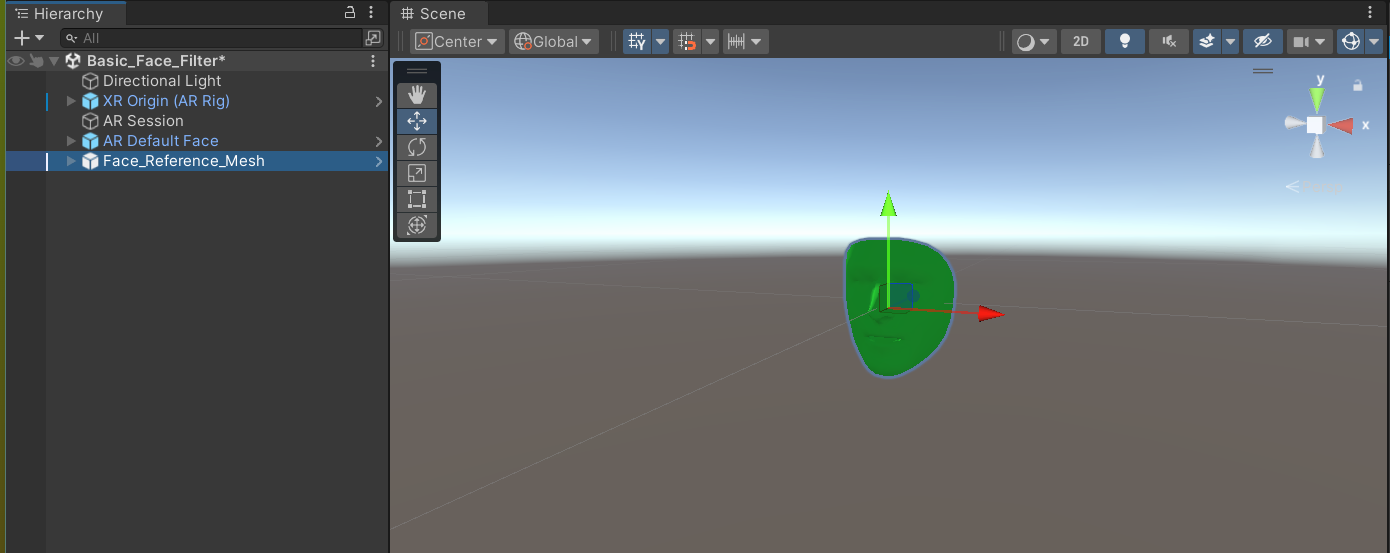
3. Drag the Face_Reference_Mesh prefab from the Project window into the Hierarchy window or the Scene view.
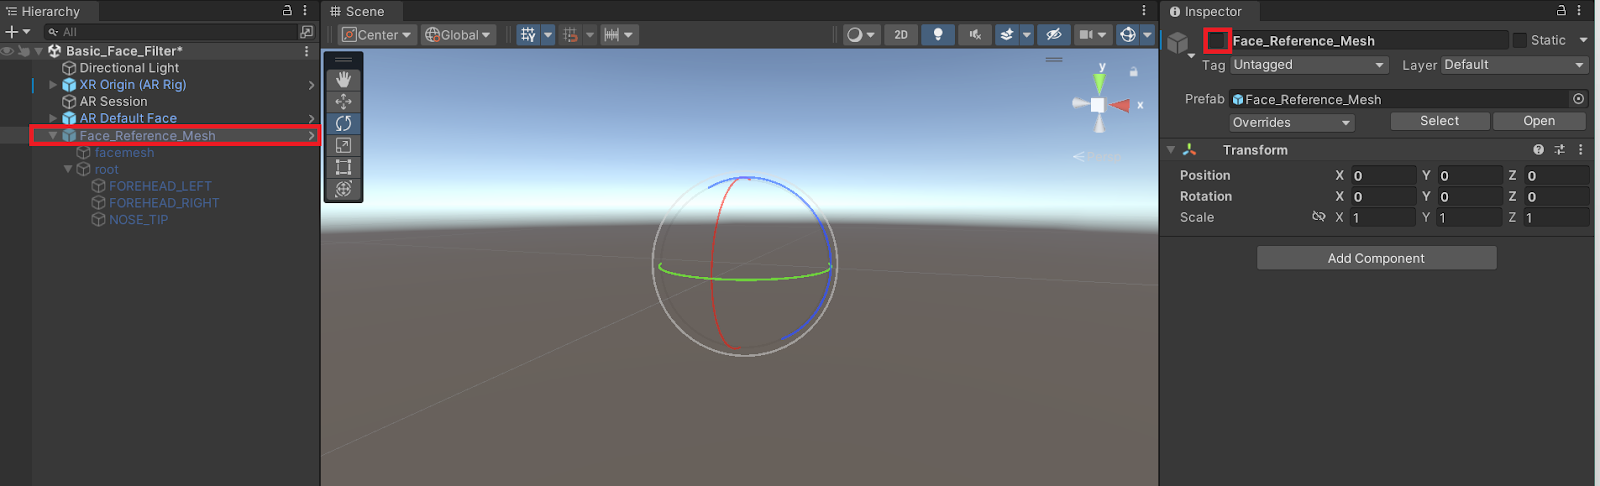
4. To get a good view of the face mesh, double-click the Face_Reference_Mesh in the Hierarchy window.
This will frame the mesh in the Scene view.
3. Create a new material
The base map (also called the Albedo) represents the color of an object before the influence of any lights. One of the best parts of creating AR face filters is creating new looks to display on your face, so now is the time to create a new look for yourself!
Follow these instructions to create a new material for your filter:
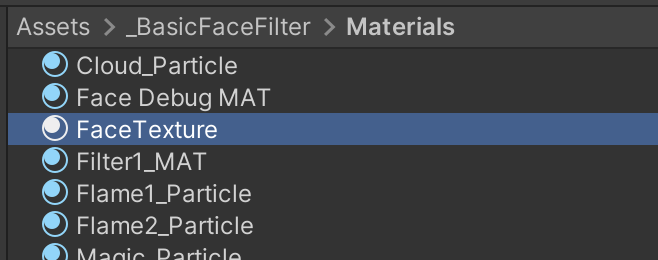
1. In the Project window, navigate to Assets > _BasicFaceFilter > Materials.
2. Right-click the folder and select Create > Material from the context menu to create a new material.
3. Name the new material “FaceTexture”.
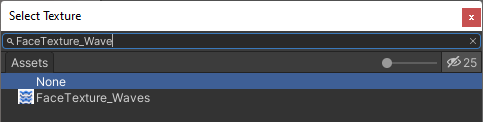
4. In the Inspector window, select the Object Picker (⊙) next to the Base Map property.
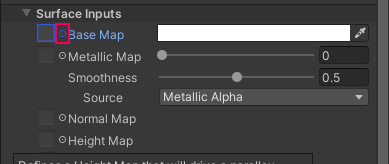
5. Search for “FaceTexture_Waves” and select it. Your selected image is now applied to the material as the color (Albedo) map.
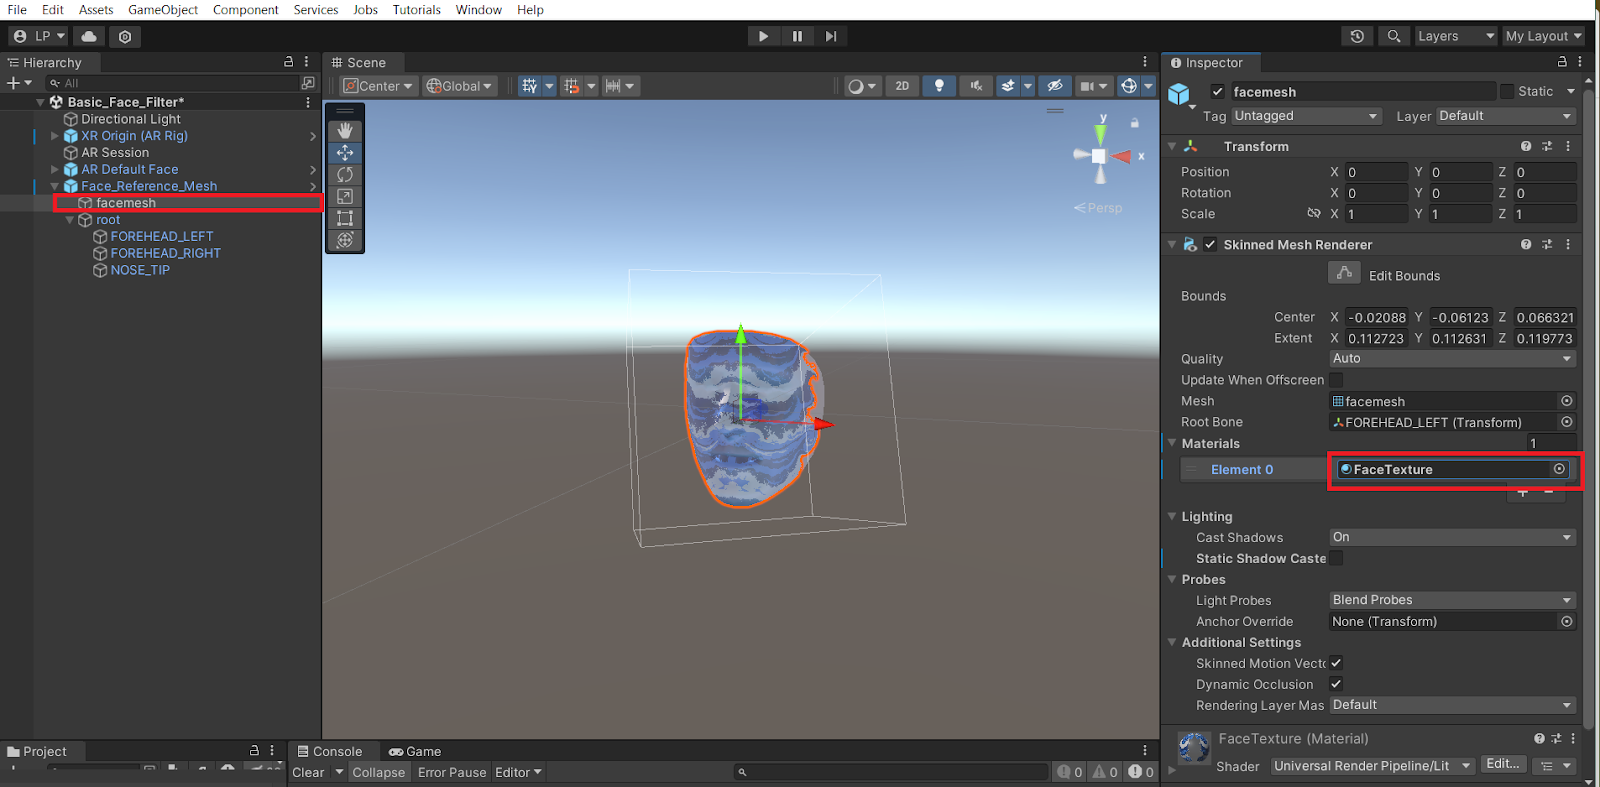
6. In the Hierarchy window, select the foldout (arrow) to the left of the Face_Reference_Mesh GameObject to reveal its child GameObjects.
7. Drag the FaceTexture material from the Project window onto the facemesh GameObject to apply your material. In the Scene view, the wave pattern will now be visible on the Face_Reference_Mesh.
4. Set a tint to the material
When a color is selected in the base map property, it is applied as a solid color to the material. When a texture is also added in the base map property, the selected color acts as a tint on the image texture.
Follow these instructions to change the tint of the Base Map:
1. In the Project window, select the FaceTexture material (in Assets > _BasicFaceFilter > Materials).
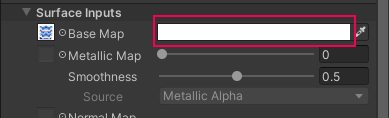
2. In the Inspector window, select the Base Map property color picker.
3. Change the tint color using the selectors in the Color dialog window.
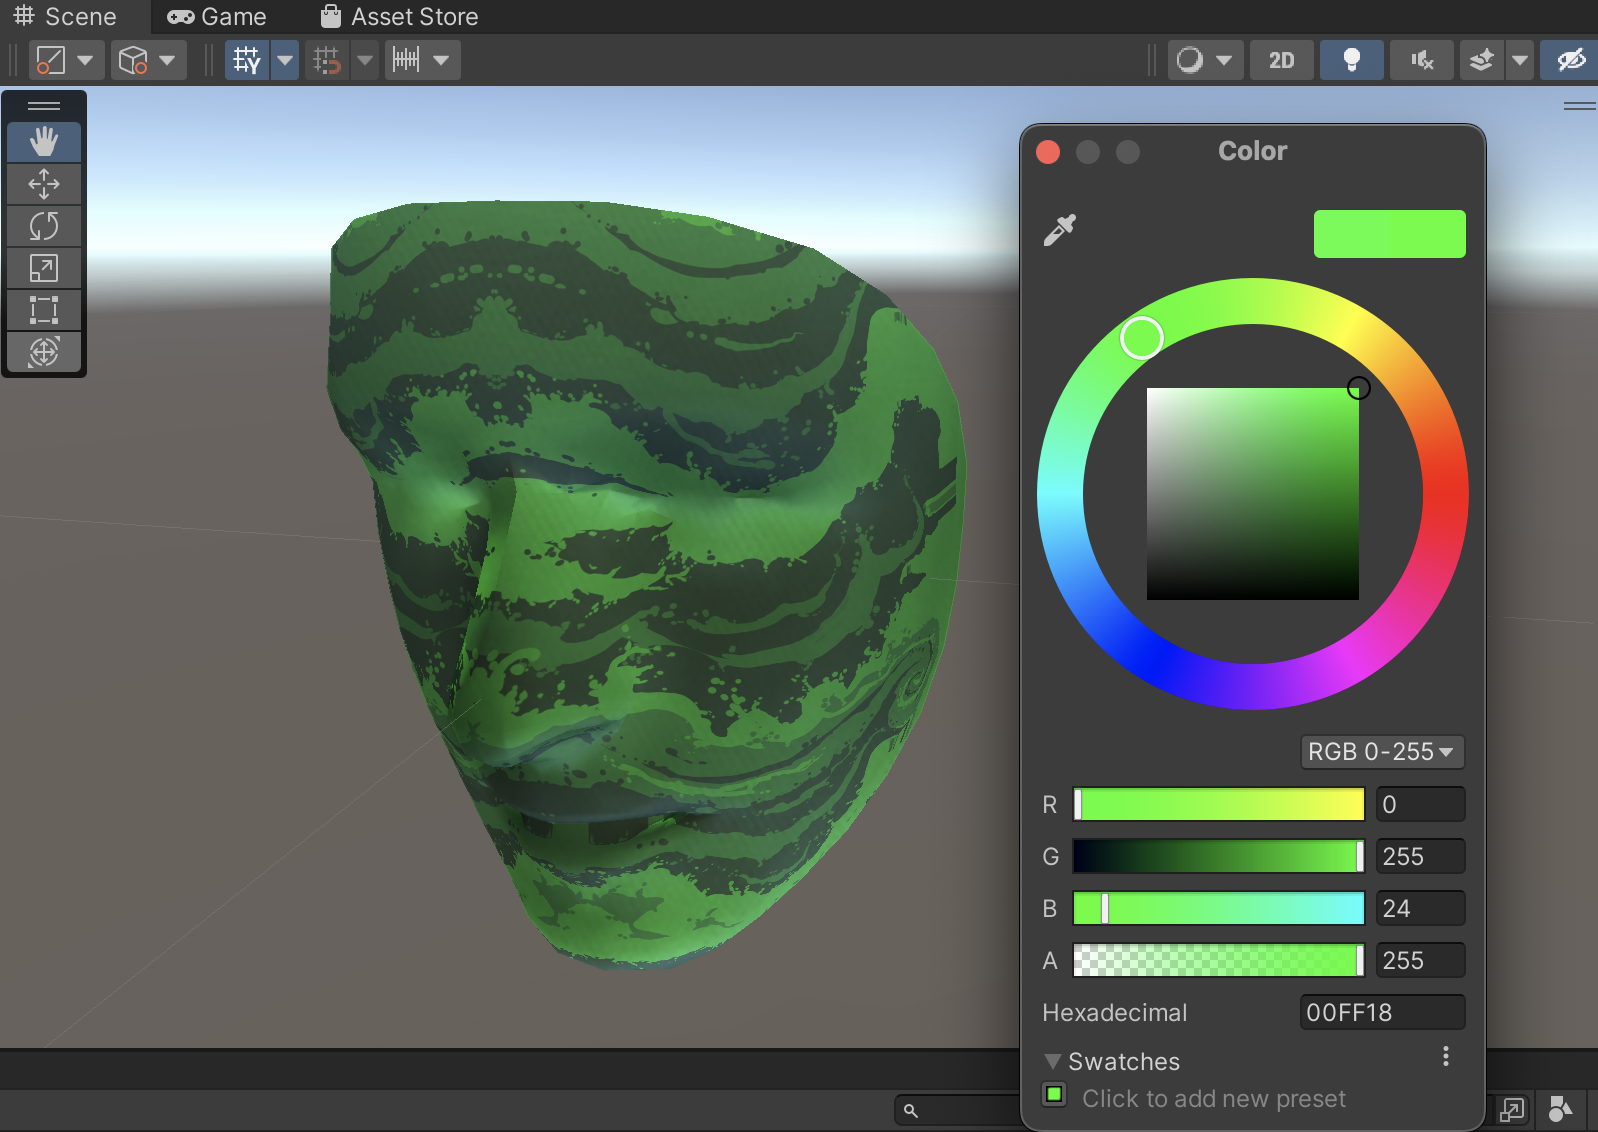
4. Experiment with colors and select a tint you like. You can remove the tint by changing the color back to white.
5. Set transparency
The transparency of a material is dictated by the information in its alpha channel. Alpha maps are grayscale maps that control the translucency of your material, with darker pixels being more transparent and lighter pixels being more opaque. These maps do not affect the color of your material.
Since alpha maps only use grayscale values, they don’t need three channels, as RGB color values do — they can be contained in one channel. Unity uses the grayscale values of the alpha channel of the Base Map image to control the transparency.
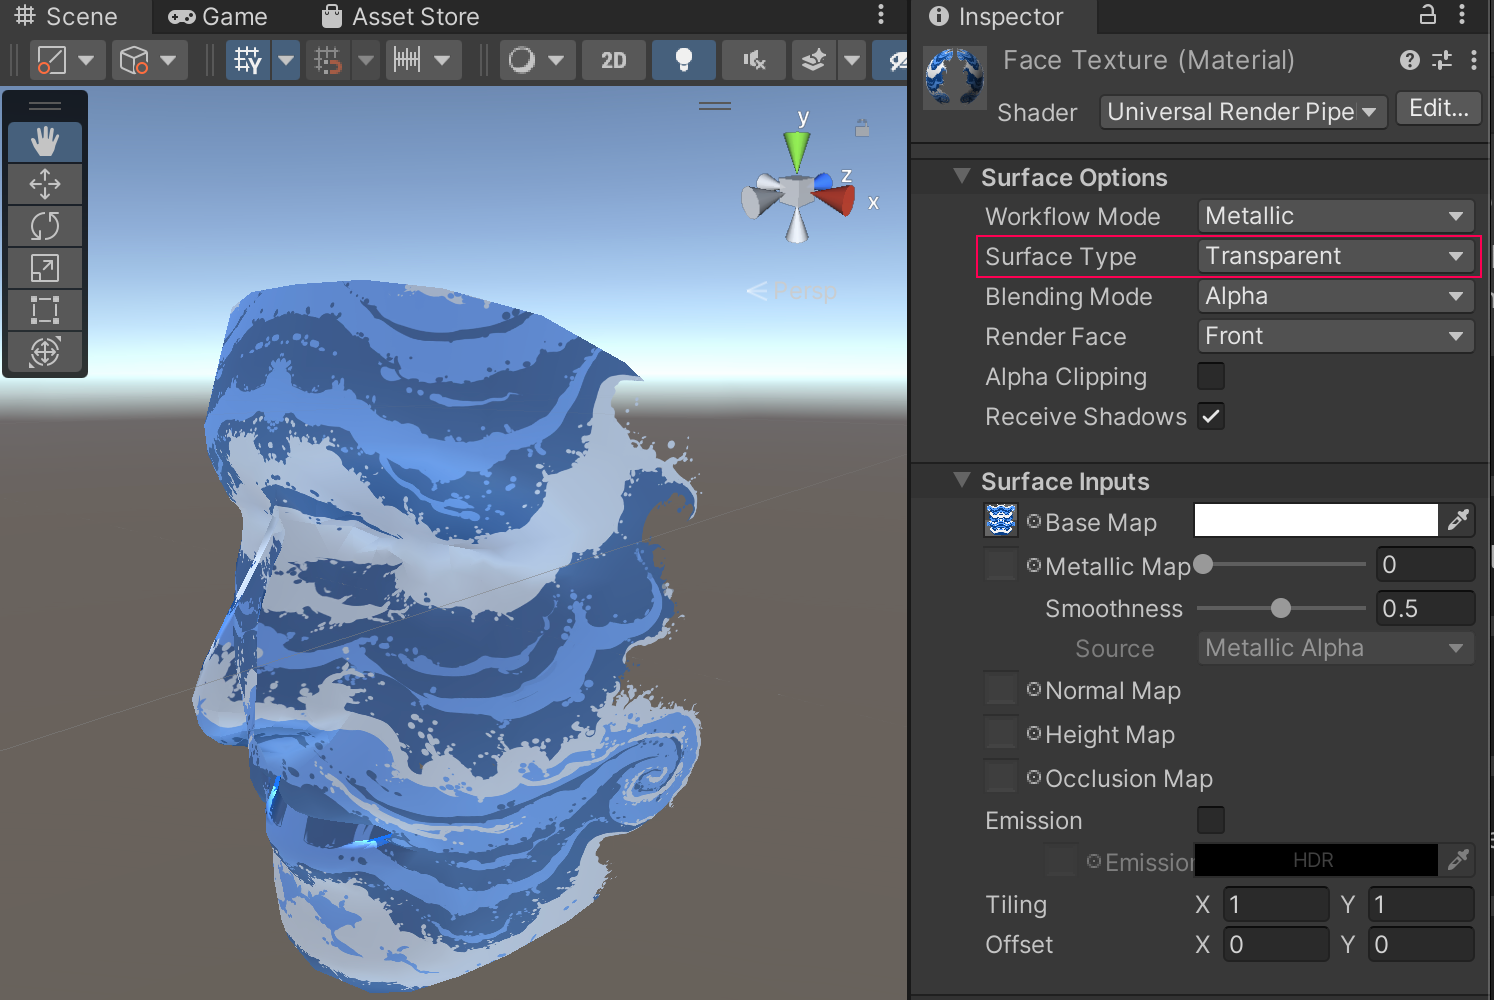
Follow these instructions to set the transparency of your material:
1. In the Project window, check that the FaceTexture material is still selected.
2. In the Inspector window, change the Surface Type property to Transparent.
3. In the Scene view, the face model should now have transparency in the areas around the edges to create a wave effect.
6. Apply your material to the default face
You have created a material and applied it to the Face_Reference_Mesh GameObject in your scene, but in order to see it working in your application, you’ll need to apply it to the AR Default Face prefab you created earlier. The Face_Reference_Mesh GameObject in your scene is just there as a reference, so you’ll need to make it invisible when you build your application.
Complete the following steps to apply your material to the prefab:
1. In the Project window, navigate to Assets > _BasicFaceFilter > Prefabs.
2. Double-click the AR Default Face prefab in the folder to open the prefab in the Scene view.
3. In the Inspector window, find the Mesh Renderer component.
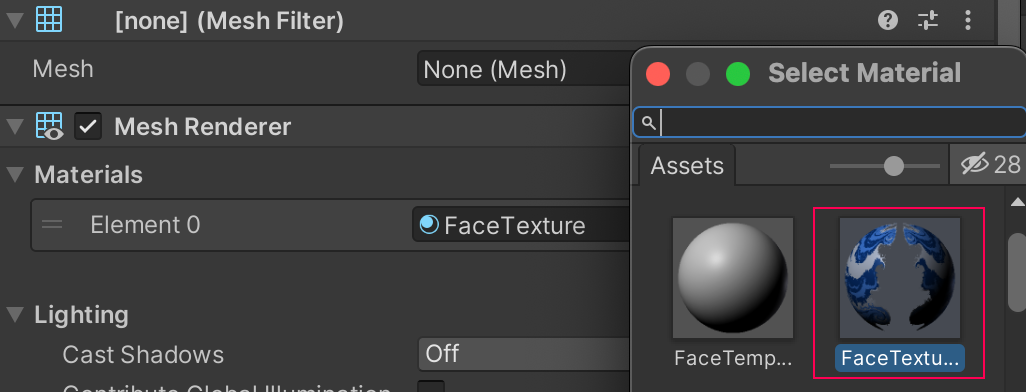
4. In the Materials section, select the Element 0 Object Picker (⊙).
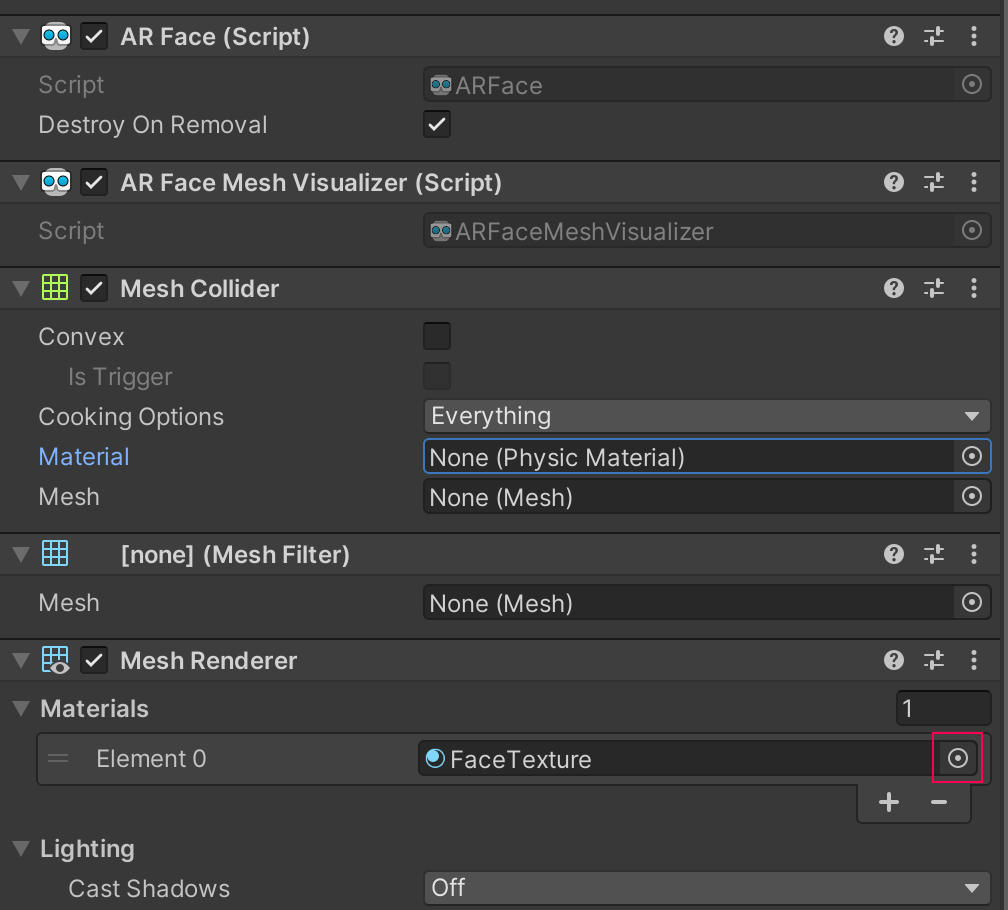
5. Select the FaceTexture material.
6. In the Hierarchy window, select the back arrow in the top left of the window to exit prefab editing mode.
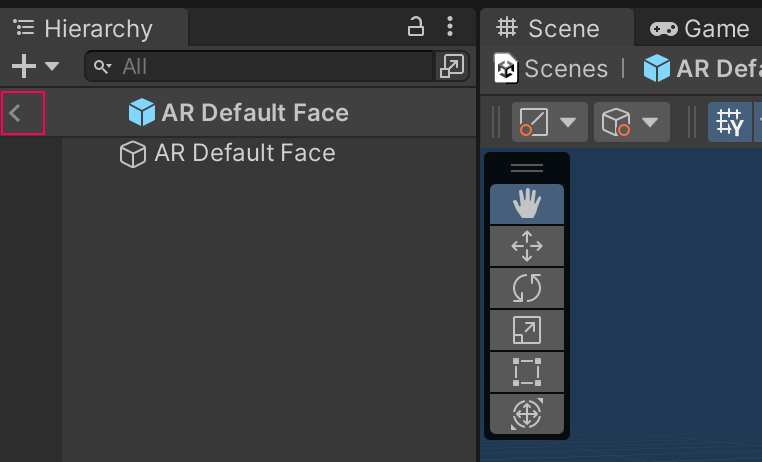
7. In the Hierarchy window, select the Face_Reference_Mesh GameObject and deactivate it in the Inspector window.
You no longer need this GameObject because you have now applied your material to the prefab. (You don’t want to have two faces when there should only be one in the scene!)
7. Build and test
When you test your app now, it should display the material you created and applied on any face it detects.
Follow these instructions to build and test your app:
1. Save the scene.
2. Open the Build Settings window (File > Build Settings).
3. Make sure that your device is plugged in and then select Build and Run to build the app onto your device.
4. The application will open automatically on your device. The new texture should now be displayed on your face in the app!
Note: For a reminder of how to build to your device, you can review the process for Android or iOS.
8. Image optimization tips
Optimization is the process of making things in your application as efficient as possible. Unoptimized textures can cause an application to run slowly.
Optimization is critical for AR experiences because they run on mobile devices, which have limited processing power compared to other devices. When it comes to creating textures for AR, you need to consider the image size, image type, and whether your textures need to have transparency.
Image size
The textures that you use for your AR applications (or any Unity project) are images. You can choose the texture size to balance quality and performance. If the texture size is too small, your app might provide a poor user experience, especially if the key purpose of the app is to present engaging visuals. If the texture size is too big, the app could run too slowly and provide a frustrating user experience.
You may have noticed that texture sizes are typically presented in powers of two. Examples of these sizes include 512 x 512, 1024 x 1024, 2048 x 2048 (2K) and 4096 x 4096 (4K).
Older graphics cards require these sizes to perform well at runtime. Most modern graphics cards don't have this restriction, but it is still considered best practice to use sizes in powers of two.
Image type
Image type also has a significant impact on optimization. You need to consider the following factors when making a decision:
- Storage space available on the target platform.
- Reading speed (that is, the speed at which the target platform can get the image from disk to system memory).
- Reading speed from system memory to the GPU.
- The video RAM storage budget of your target platform.
Here’s some guidance on potential advantages of different images types you might consider as a creator:
- PNG: This format preserves quality with reasonably small file size. However, PNG files are compressed, so they need decompression in the reading process. The benefit of the small file size tends to be greater than the extra time spent reading the file, and so in most cases PNGs are an ideal file type.
- TGA: This is a good choice for quality since it is uncompressed and includes an alpha channel. However, TGA is a large file format, so it could be slow to load. TGA files are good options for textures that can be pre-loaded, like background images in an AR app.
- JPG: This format has a small file size, but there is quality loss with every compression in the process. JPGs do not contain an alpha map, so they can't be used for anything that requires transparency.
9. More things to try
If you want to further develop your skills, explore new concepts, or improve your project, check out some of the optional activities below. Each one is tagged as either Easy, Medium, or Difficult, so you can choose the level of challenge.
These activities are entirely optional, so if you’re not interested, no problem — just skip this step. We do recommend attempting at least one of them in order to get the most out of this learning experience. Good luck!
Easy: Edit a material
Materials contain a variety of properties you can use to customize the look and feel of an object. In these tutorials you have changed the color of a material, but there are other properties of a material you can also change.
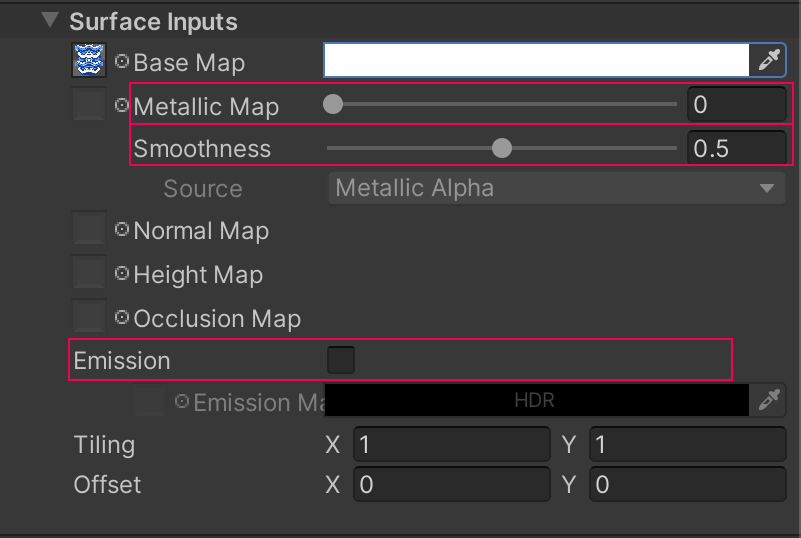
Try modifying the following properties of your material in the Surface Inputs section of the Inspector window when it is selected:
- Metallic Map: The higher this value, the more metallic your material will be. The more metallic, the more it will reflect light.
- Smoothness: The higher this value, the smoother your material will be. The smoother, the more it will reflect light.
- Emission: This property determines whether the material glows. When you enable this property, a color picker will become available.
For more information about how to adjust materials, you can explore Creative Core: Shaders and materials.
Medium: Modify a texture
Duplicate one of the provided textures and edit it to create your own texture. For example, you could delete sections of the texture or add a line in a different color.
Gimp is an open source alternative to Adobe® Photoshop® that can be used to create, modify, and export graphics. Download Gimp if you don’t have Photoshop. A quick search on a search engine should return a lot of tutorials to help you use your preferred texture editing software.
Difficult: Create your own texture
Create your very own texture from scratch, and begin designing your own filters! Use the canonical_face_texture.psd as a base to create your own textures to apply to the Face_Reference_Mesh.
Important: The wave texture provided in the sample files is an example of a texture that uses transparency. If you want to use transparency in your face filters, you'll need to save your texture image in a file format with an alpha channel, such as PNG.
10. Next steps
In this tutorial you created a custom material to add more colors and patterns to the face filter, but there is even more you can do! In the next tutorial, you’ll add some accessories to your filter as well.